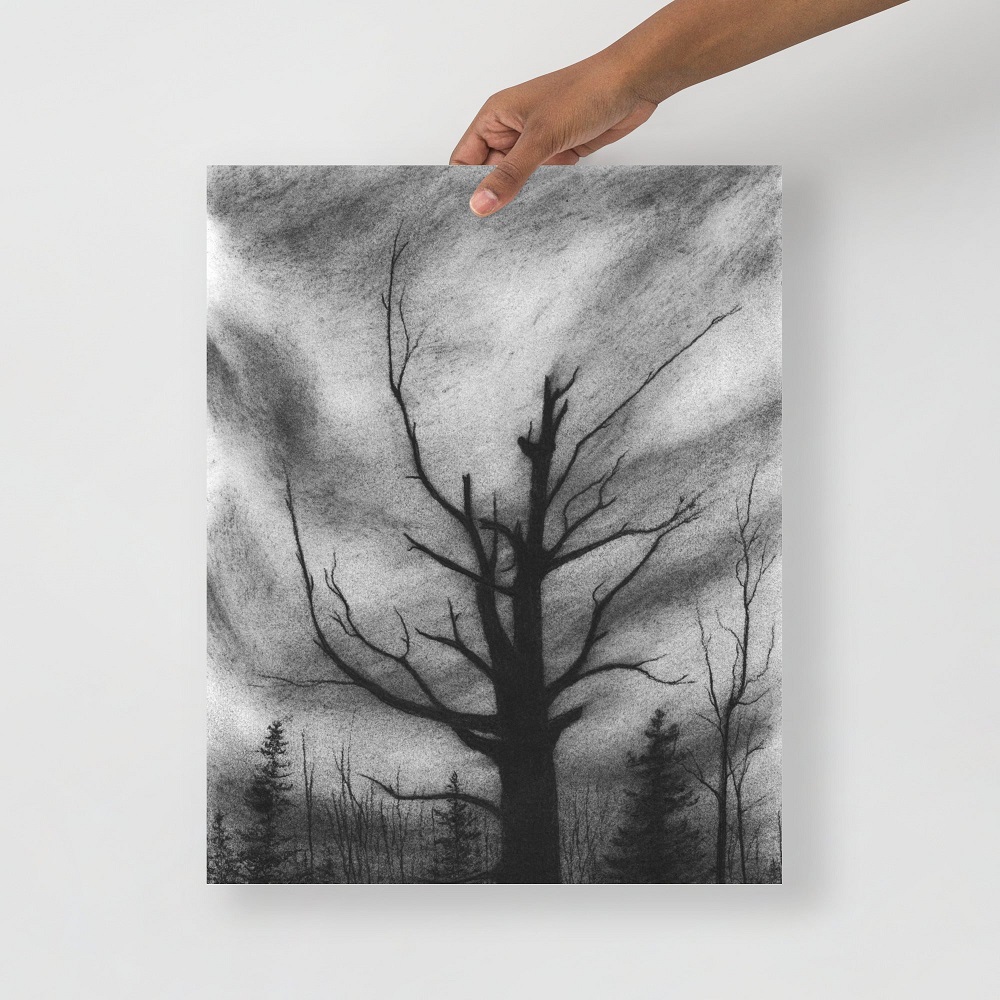
Creating beautiful charcoal plant drawing can be both relaxing and rewarding. Charcoal offers a unique depth and richness that can bring plant life to artistic brilliance. This guide will explore inspiration and practical tips for making stunning charcoal plant drawing. Whether you’re a beginner or an experienced artist, these ideas will help you develop your skills and create captivating artworks.
Gathering Inspiration
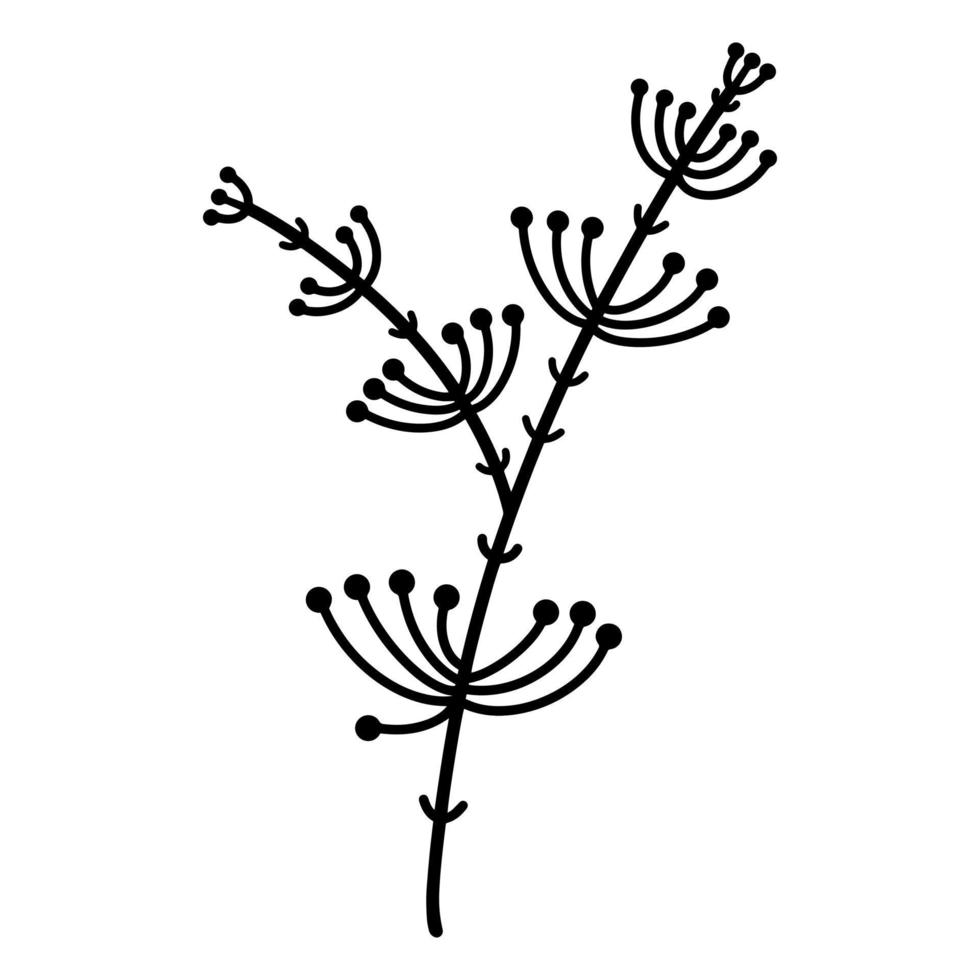
Studying Nature
Start by studying real plants. Spend time in a garden, park, or forest to observe various plants up close. Pay attention to the shapes, textures, and details of leaves, stems, and flowers. Sketching on-site helps you capture the essence of your subject. Observing nature directly provides a solid foundation for your drawings. When you’re out in nature, take note of the way light interacts with different parts of the plant, how shadows provide depth, and how different angles can drastically change the appearance. Take photographs for reference later, and even collect a leaf or two for a close-up study back at home.
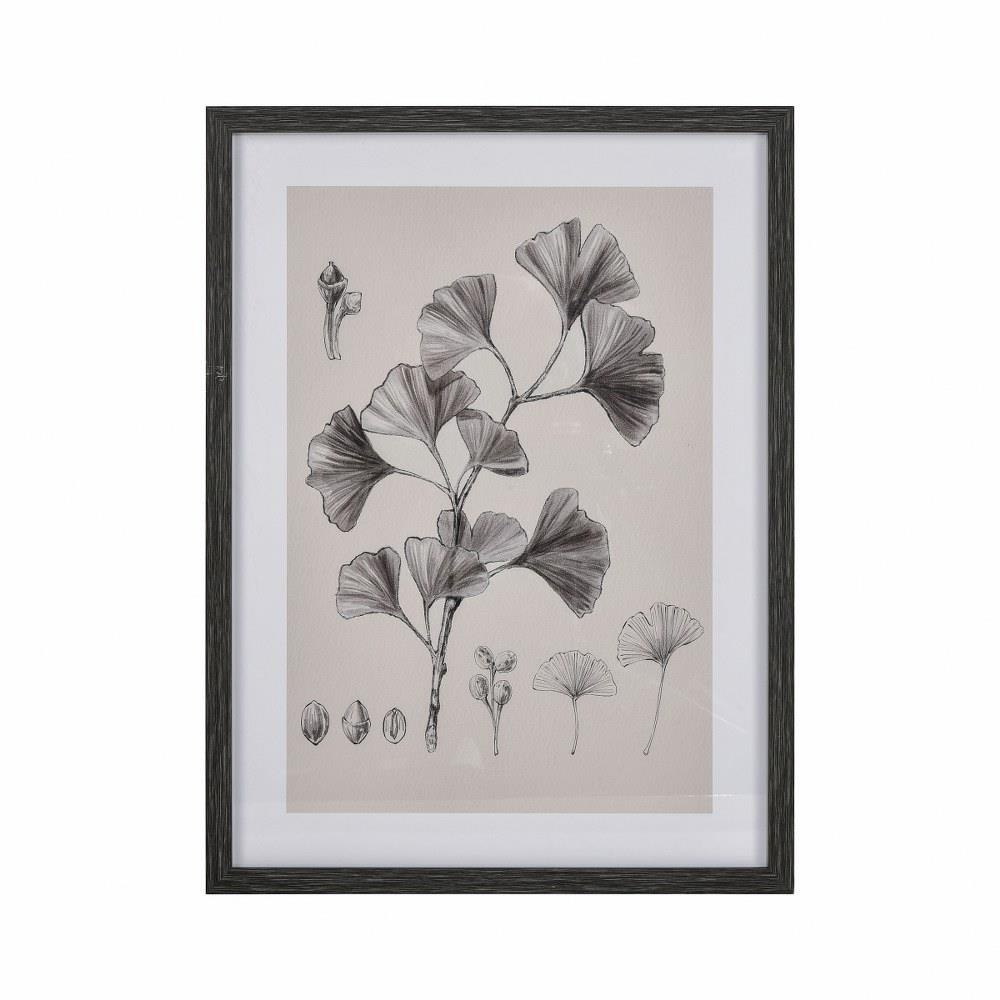
Botanical Illustrations
Look at botanical illustrations for inspiration. These detailed artworks often showcase the intricate beauty of plants. Study the techniques used by botanical artists to portray plants accurately and artistically. Botanical illustrations can inspire you to create detailed and realistic charcoal plant drawing. They serve as excellent references for fine details and accurate representation. Analyzing the work of famous botanical illustrators like Maria Sibylla Merian or Pierre-Joseph Redouté can provide you insights into the meticulous process of rendering botanical details. Consider visiting a library or museum with a dedicated collection of botanical illustrations for deeper inspiration.
Choosing Your Subject
Simple Plants
Start with simple plants like ferns, succulents, or single flowers. These subjects are less complex and easier to manage, especially for beginners. Simple forms allow you to focus on mastering basic techniques without becoming overwhelmed. They help build your confidence and skills as you progress in your drawing journey. A succulent’s thick leaves or a fern’s repetitive fronds are great practice subjects. As you get comfortable, try to capture different lighting conditions or focus on different parts of the plant to add variety to your practice.
Complex Compositions
Once you feel comfortable, try more complex compositions. This could include multiple plants, intricate leaves, or exotic flowers. Complex subjects challenge your skills and push you to explore advanced techniques. They allow you to create more dynamic and engaging drawings. Combining different plant elements can add depth and interest to your art. Consider composing a scene that tells a story, such as a dense undergrowth of a forest floor or a bouquet of mixed flora. Layer the plants in your composition to create a three-dimensional effect, making sure to capture the interplay between light and shadow.
Tools and Materials
Types of Charcoal
Different types of charcoal offer various effects. Vine charcoal provides soft, smooth lines and is easy to blend. Compressed charcoal offers darker, more intense tones. Charcoal pencils give you precision for detailed work. Experiment with different types to find out which ones suit your style and preferences. Each type adds unique textures and depth to your drawings. For instance, you might use vine charcoal for initial sketching and broader strokes, and then switch to compressed charcoal to reinforce the darkest areas. Each type of charcoal brings a different texture and tone to your work, enhancing the overall richness of your drawing.
Paper Selection
Choosing the right paper is crucial for charcoal drawings. Look for paper with a bit of texture to grip the charcoal. Rough or medium-textured paper works well as it holds the charcoal particles better and provides a rich, varied look. Smooth paper may be more challenging, but it can still produce beautiful results with practice. Test different papers to see what works best for your drawings. Artists often prefer heavyweight paper that can withstand heavy shading and erasing. Some may opt for toned paper to create a mid-tone background that makes highlights and shadows more pronounced. Always have a few different types of paper in your toolkit to experiment with different textures and tones.
Techniques for Charcoal Drawing
Shading and Blending
Mastering shading and blending is essential for creating depth and realism. Use blending stumps, fingers, or cloth to blend the charcoal smoothly. Gradually build up layers to achieve various tones. For darker areas, apply more pressure or use compressed charcoal. Practice creating gradients to enhance your shading skills. Stumping and blending provide a soft, natural transition between light and shadow. To enhance your shading and blending, consider starting with a light sketch and gradually adding layers of shading. Cross-hatching or stippling can be employed for textured surfaces, and a kneaded eraser can be used to lift off the charcoal for highlights and subtle details.
Detailing with Erasers
Erasers are not just for correcting mistakes; they can also help add details. Use kneaded erasers to lift off charcoal lightly and create highlights. Precision erasers can help define sharp edges and fine details. Erasing can add texture and contrast to your drawings. Experiment with different erasers to explore their effects and possibilities. By working with different erasers, you can soften edges, create highlights, or even add intricate details in your drawing. A precision eraser can help fine-tune small, complex areas, while a larger, shaped eraser can be used to lift larger sections of charcoal for a variety of effects.
Composing Your Drawing
Creating a Focal Point
A strong focal point draws attention to your artwork. Decide on a main element or area in your plant drawing that will be the focus. It could be a flower, a cluster of leaves, or an intricate pattern. Enhance the focal point with added detail, contrast, or darker tones. A focal point adds interest and guides the viewer’s eye through your drawing. Using compositional techniques such as the rule of thirds can help place your focal point in an impactful position. Additionally, varying the sharpness and blurriness of different parts of the drawing can direct the viewer’s eye and emphasize the focal area.
Balancing Elements
Balance is key to a harmonious composition. Arrange elements of your drawing to create a sense of balance and flow. Avoid overcrowding one area and leaving another empty. Balance can be achieved through symmetry, repetition, or varied placements. It helps create a pleasing and cohesive artwork. Careful planning and composition enhance visual appeal and clarity. Consider how the negative space interacts with the drawn elements and use it to your advantage. Cerating rough sketches and layouts before starting the final drawing can help visualize and adjust the balance of the composition.
Adding Final Touches
Enhancing Textures
Pay attention to the textures of your plant subjects. Charcoal can capture the ruggedness of bark, the softness of petals, or the smoothness of leaves. Use different techniques to highlight these textures. For example, short, quick strokes can mimic the rough texture of bark, while gentle shading can depict the smooth surface of leaves. Experimenting with textures adds realism and tactile quality. Layering different techniques, such as stippling, hatching, and cross-hatching, can provide a rich, varied texture that enhances the overall depth and interest of your drawing.
Adjusting Contrast
Contrast is important for making your drawing stand out. Ensure there is enough contrast between the light and dark areas. Deep shadows and bright highlights can make your drawing more dynamic and engaging. Adjusting contrast helps define shapes and adds depth. High contrast directs focus and emphasizes important areas, enhancing overall impact. Assess your drawing from a distance to check for adequate contrast and make necessary adjustments. A well-balanced contrast can significantly improve the visual appeal and readability of your artwork.
Displaying Your Artwork
Framing Your Drawing
Proper framing can enhance the presentation of your charcoal plant drawing. Choose a frame that complements the style and colors of your artwork. Using a mat board can also help highlight your drawing. Ensure the frame protects your artwork from dust and damage. Framing not only preserves your work but also adds a professional touch. Selecting a high-quality glass or acrylic covering can further protect your drawing from UV rays and physical damage, ensuring it remains pristine for years to come.
Sharing Online
Share your charcoal plant drawing online to reach a broader audience. Use social media platforms, art forums, and personal websites. Post high-quality images and provide descriptions to engage viewers. Sharing your art online can connect you with other artists and potential buyers. It’s a great way to receive feedback and showcase your talent to the world. Additionally, participating in online art communities and challenges can provide inspiration and motivation, helping you grow as an artist while sharing your progress and achievements with others.
Conclusion
Developing Your Style
Creating beautiful charcoal plant drawing involves practice, patience, and creativity. By studying nature, choosing the right subjects, and using proper techniques, you can develop your unique style. Consistent practice helps you refine your skills and discover what works best for you. Embrace your creativity and enjoy the process of learning and growing as an artist. Over time, you will find your voice and style, making your artwork distinctive and recognizable.
Enjoying the Process
Remember, drawing should be an enjoyable and fulfilling experience. Take time to appreciate the beauty of nature and express it through your art. Experiment with different techniques and tools, and don’t be afraid to make mistakes. Each drawing is a step forward in your artistic journey. Enjoy the process of creating and let your passion for art shine through your work. Happy drawing! Celebrating both successes and challenges along the way will make your artistic growth rewarding and enjoyable.