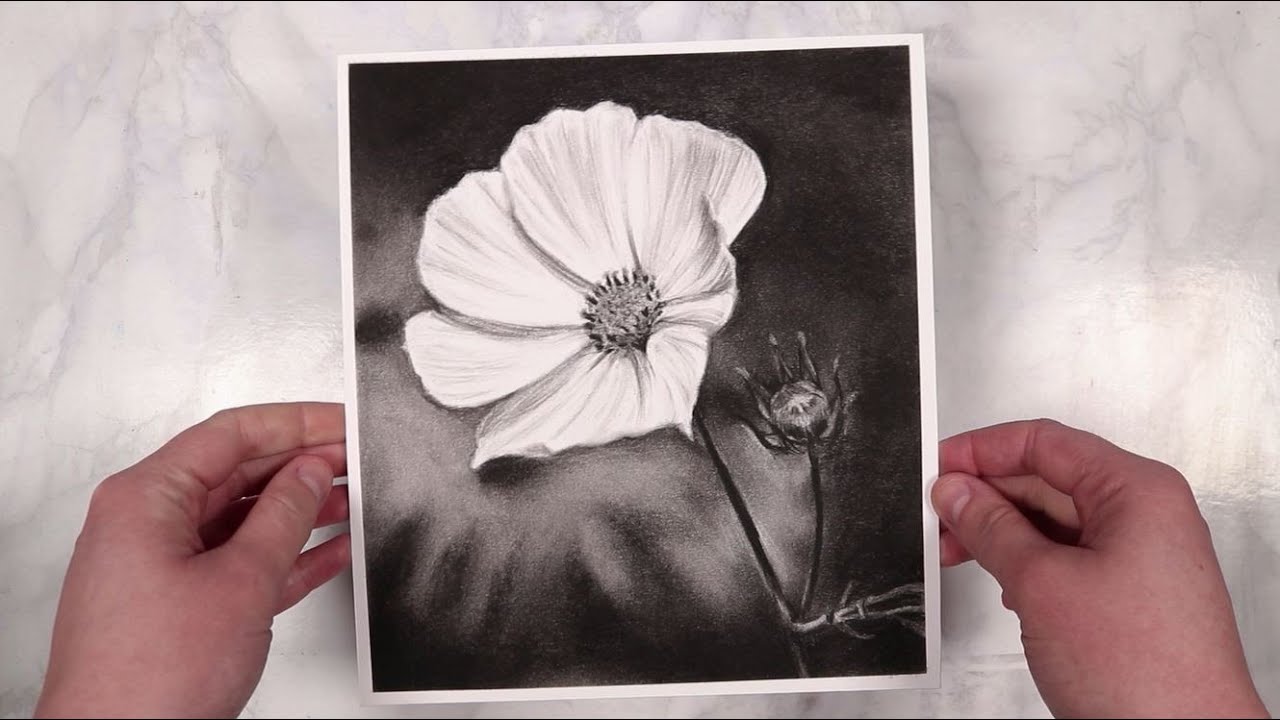
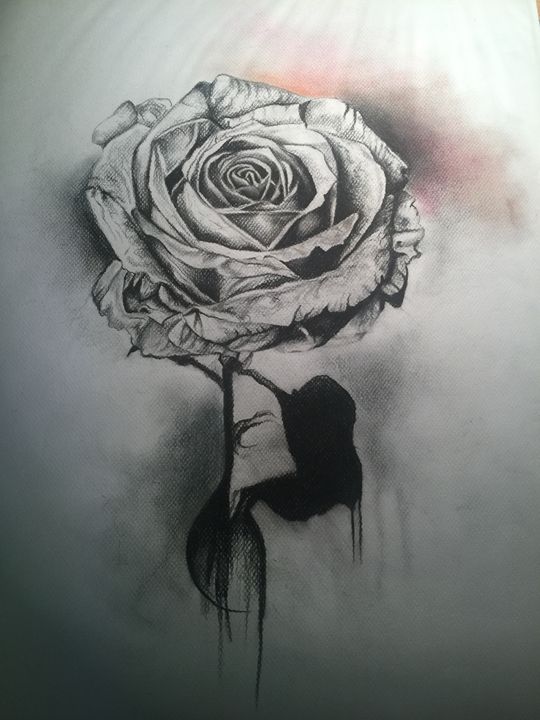
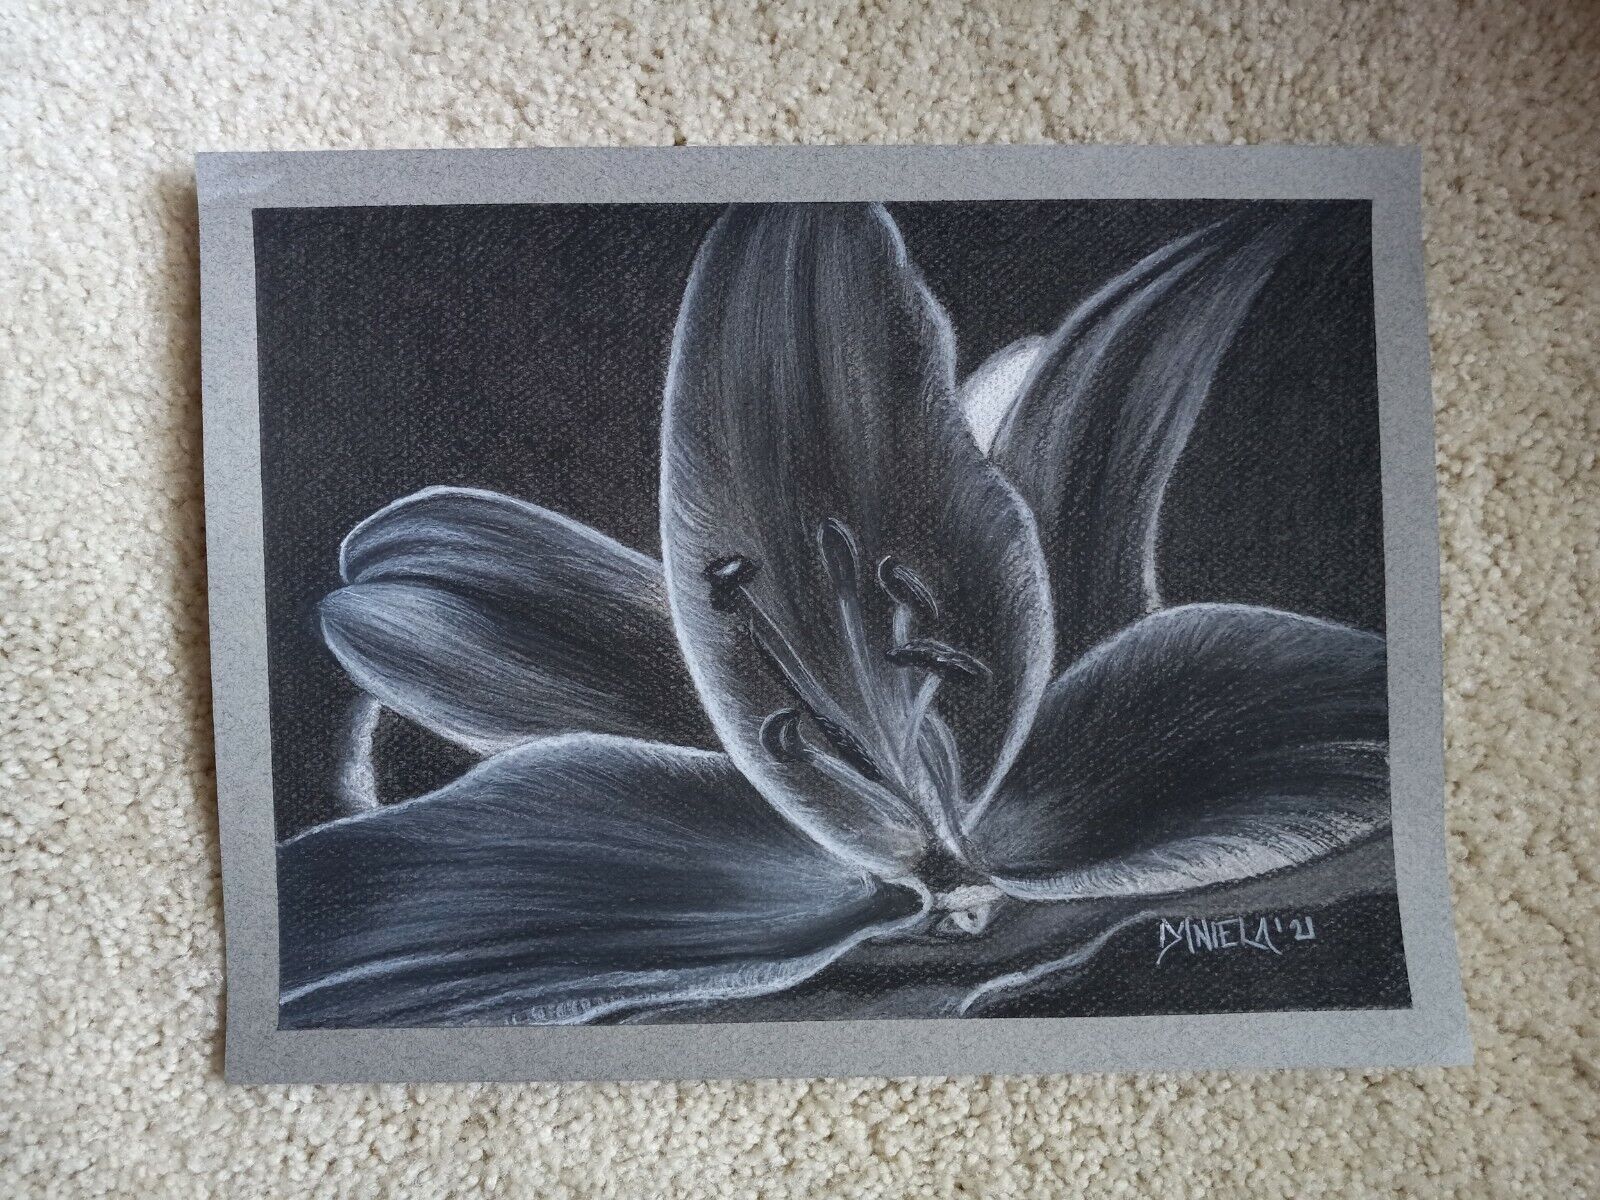
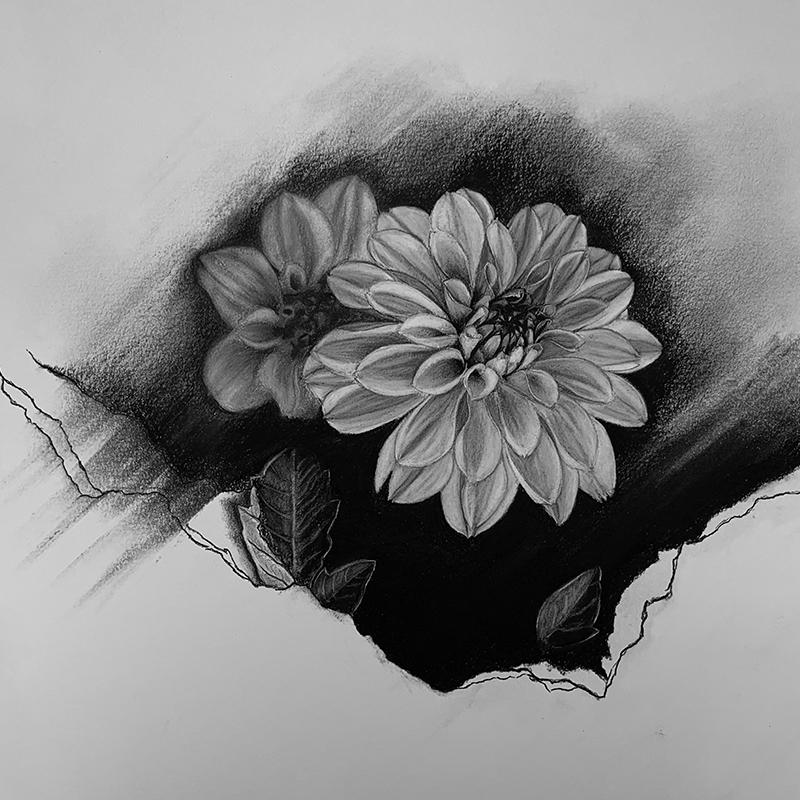
Flowers are a timeless muse for artists, symbolizing a wide array of emotions and beauty in the natural world. Charcoal, with its expressive and bold nature, offers a unique medium to capture the essence of flowers on paper. This guide will take you through the intricate process of flower charcoal drawing, covering the selection of your floral subject, the intricacies of sketching outlines, the development of shading and texture, and the application of final details to create a stunning and lifelike representation.
Selecting Your Floral Subject: Starting with Inspiration
Finding Floral Inspiration
To begin your flower charcoal drawing, seek out a subject that resonates with you. Flowers come in infinite shapes, sizes, and textures, each presenting distinct challenges and offerings. You might choose a single bloom for its elegance or a bouquet for complexity. Study your subject closely, observing how light interacts with petals and leaves. Take notice of curvatures, vein patterns, and any unique characteristics they possess.
Preparing Your Drawing Space
Once you’ve selected your floral subject, prepare your workspace with the necessary tools. You’ll need various charcoal sticks or pencils, a kneaded eraser, and quality drawing paper with good tooth to hold the charcoal. Ensure adequate lighting, and consider having a live flower or a high-resolution photograph to reference as you draw. Organize your tools so they’re within easy reach, freeing up your focus for artwork creation.

Sketching Outlines: The Structural Framework
Establishing Basic Shapes and Proportions
Start by lightly sketching the basic shapes that make up your flower. Observe the overall structure and dismantle it into circles, ovals, and triangles. Create guidelines to aid in maintaining proportions between different parts of the flower, such as petals, stems, and leaves. Your goal at this stage is to map out the composition, not to finalize details. This structural framework will guide you as you develop your drawing.
Refining Your Initial Sketch
With the basic shapes in place, refine your outline by adding curves that define individual petals and leaves. Look for patterns in the way petals overlap and how leaves extend from the stem. These subtle nuances contribute to the realism of your drawing. Keep your lines light so you can make adjustments as needed without leaving heavy marks on your drawing paper.

Shading and Texture: Creating Depth and Lifelike Quality
Implementing Light and Shadow
The next step involves bringing depth to your flower using light and shadow. Determine where the light source is coming from and which parts of the flower will be hit by this light. Begin to add layers of charcoal to suggest shadows, working from lighter tones to the darkest. Remember that petals often have a delicate texture so apply charcoal gently to avoid excessive darkness that can overpower the delicate nature of a flower.
Building Texture and Contrast
Texture is critical in flower drawings to communicate the softness of petals or the roughness of stems. Use the point of a charcoal pencil for fine lines on petals’ veins or to suggest the fuzziness of a flower center. For contrast, emphasize strong darks in the deeper parts of the flower, like under overlapping petals or where leaves meet the stem. It is this interplay between light and dark and detailed texture work that will make your flower come to life.

Final Details: Polishing Your Artwork
Perfecting Petal Edges and Fine Details
Examine your drawing and start perfecting the edges of petals and any fine details that require attention. Petal edges can be softly blended to suggest a thin, almost translucent quality or sharpened to show a more defined contour. Use your kneaded eraser to create highlights along the edges where light catches or to gently lift charcoal on highlights that became too dark. This stage is about refining and enhancing the nuances of your drawing.
Assessing Overall Composition and Balance
Step back frequently to assess the whole composition. This broader view allows you to evaluate balance, contrast, and the focal point of your artwork. Make any necessary adjustments, possibly deepening shadows or reinforcing highlights to create a balanced drawing. At this stage, it becomes a process of adding and subtracting charcoal until your flower looks vibrant and lifelike.

Enhancing Realism in Your Flower Drawing
Paying Attention to Fine Gradients
Realism in flower charcoal drawing is not only about capturing the form but also about recognizing and replicating the subtle tonal gradients that occur naturally. Flowers are not made of flat colors but possess a delicate interplay of light and shadow that gives them dimension. Introduce a range of grayscale tones by varying the pressure on your charcoal. Lightly dust areas that require a softer touch, and employ a firmer hand for deep shadows. This method adds volume to each petal and leaf, making them appear to occupy real space.
Adding Textural Accents
Texture can make or break the illusion of a real flower. Petals may have gentle ripples, and leaves may show a slightly crinkled surface. Use the charcoal pencil’s point to etch in these textural cues lightly. In contrast, for smooth surfaces, blend your charcoal smoothly with a paper stump or your finger wrapped in a tissue. Always tailor your texture application to reflect what you see in your floral subject, as this mindfulness to detail affords your drawing a touch of authenticity.

Creating a Sense of Environment
While the flower is the star of your drawing, don’t neglect the context in which it exists. Adding hints of its environment — be it a subtle suggestion of foliage in the background, a shadow it casts, or a surface it rests upon — roots it in reality and enhances its three-dimensionality. Be sure to integrate these elements gently; they should complement the flower, not compete with it for attention. Charcoal’s maneuverability allows for soft, diffused edges which can imply depth of field, directing the viewer’s eye to the flower itself.
Understanding the Charcoal Medium
Mastering Charcoal Techniques
Charcoal is a versatile medium that offers a wide spectrum of expressive possibilities, from the boldest blacks to the softest grays. To fully utilize its potential, practice different application techniques such as hatching, cross-hatching, stippling, and blending. Each method yields a different texture and tone, giving you a diverse toolkit to achieve various effects within your flower drawings. Learning to control charcoal’s sometimes-unruly nature is part of mastering the medium and infusing your artwork with nuanced expression.
Adjusting with Erasers
Charcoal is forgiving in that it can be easily erased and readjusted, which is particularly helpful when working on intricate areas such as the flower’s center or when rendering fine petal edges. A kneaded eraser is an indispensable tool, as it can be shaped to erase tiny details or lightly dabbed to lift off charcoal for subtle highlights. Keep your eraser pliable and clean for the best results, and don’t fear making changes; the malleability of charcoal encourages experimentation and editing.
In conclusion, mastering the beauty of flower charcoal drawing can bring an immense sense of fulfillment and peace. This process of capturing flowers on paper helps to hone your observation skills and develops your artistic touch with shading and detailing. From selecting the inspiring blossom, setting down the initial outlines, working through shading and texture, and perfecting your final details, each step brings you closer to creating a bloom that leaps from the page. Practice persistently, and each drawing will become a testament to both the beauty of nature and your evolving mastery of charcoal drawing.