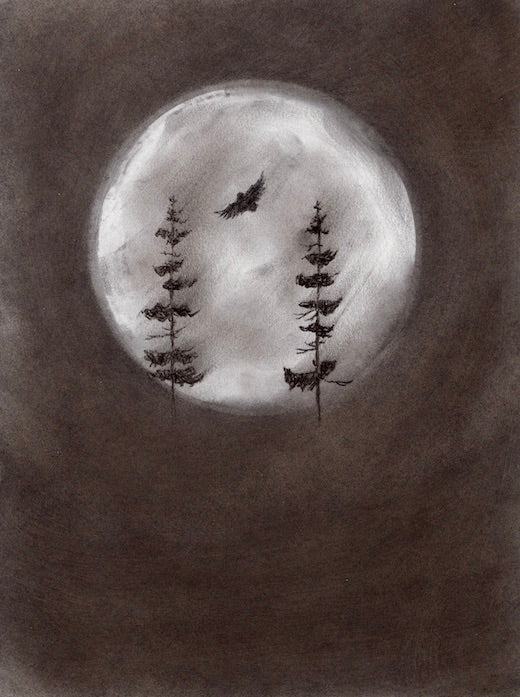
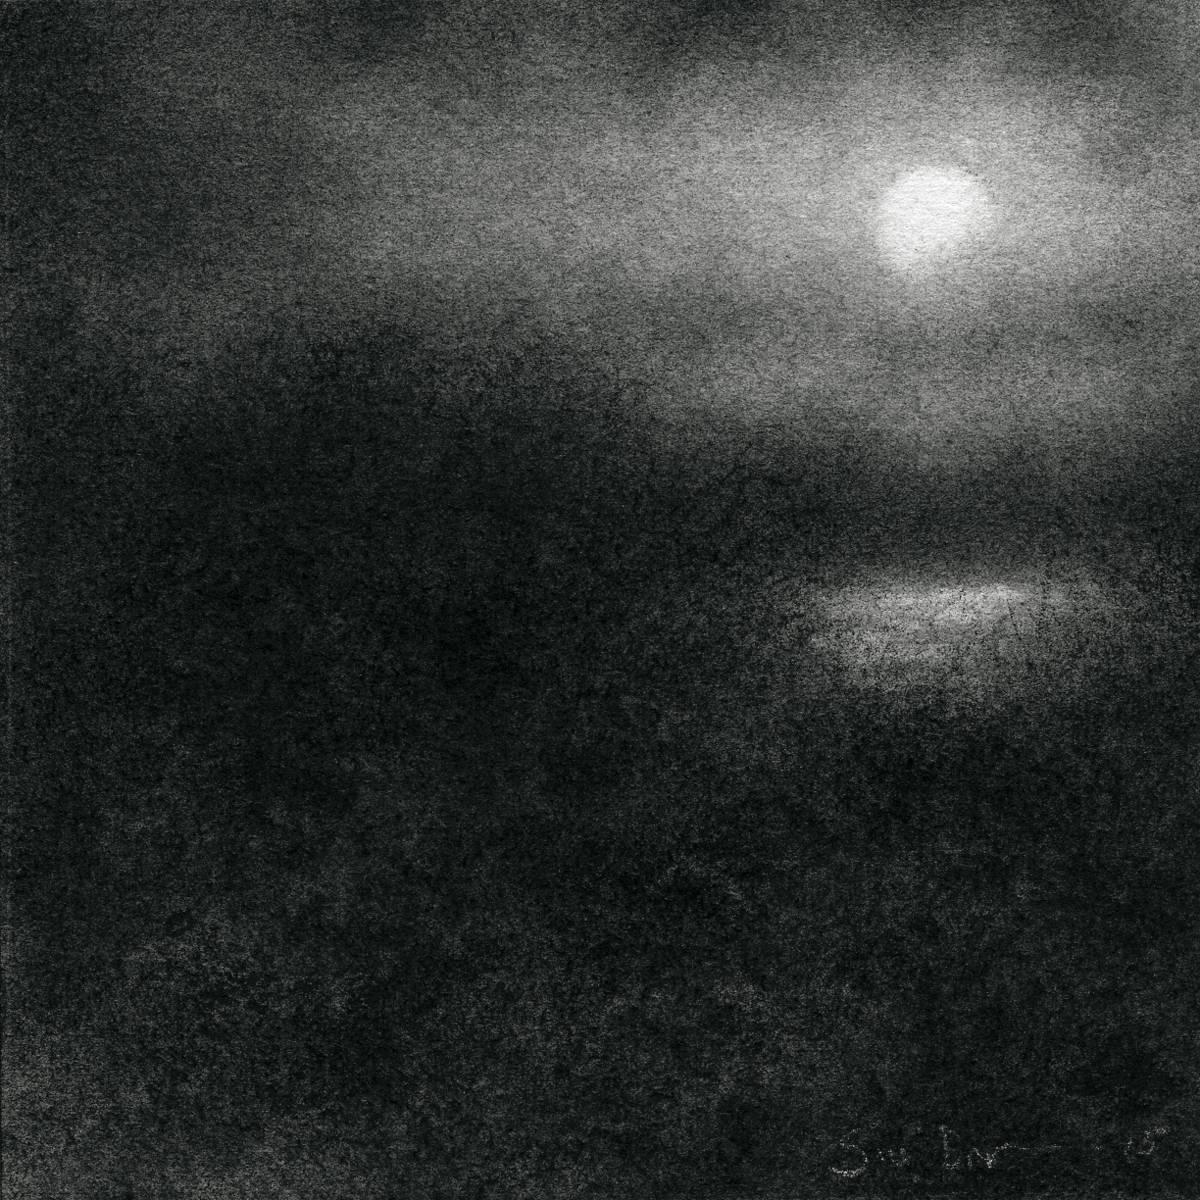
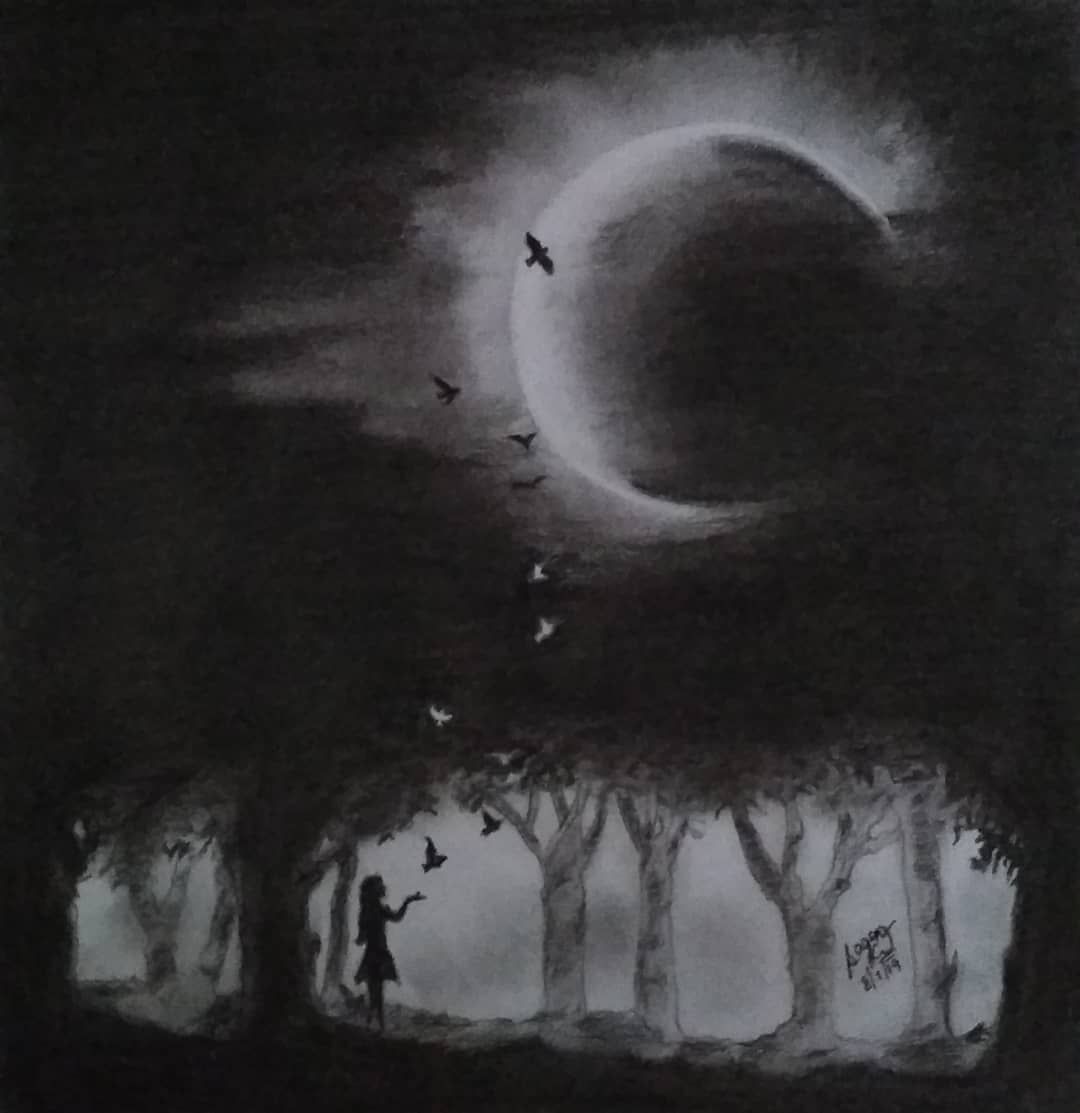
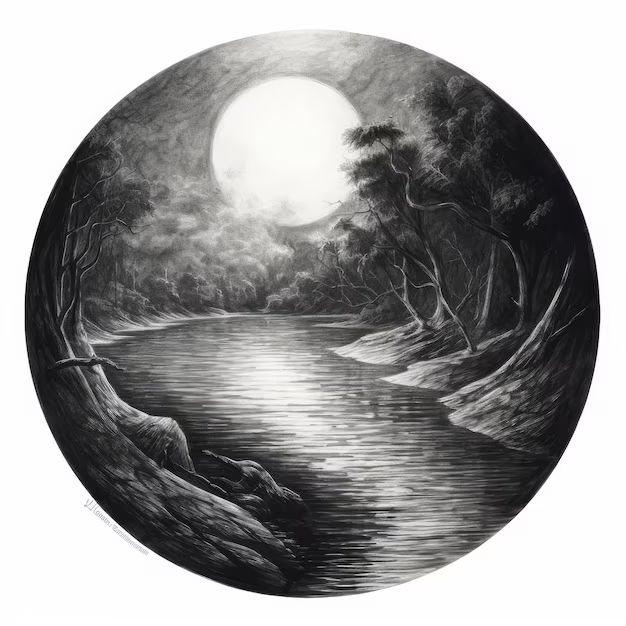
The moon, with its mystical presence and ethereal glow, has always captivated artists across different mediums. Charcoal drawing, with its capacity for deep contrast and subtle gradations, offers an ideal tool for capturing the moon’s essence. Crafting a realistic moon with charcoal involves understanding texture, mastering light and shadow, and applying precise blending techniques. This article will guide you through the steps to depict the moon’s radiant luminosity and rugged terrain, transforming a simple charcoal sketch into a celestial masterpiece.
Gathering Your Materials
Selecting the Right Charcoal
To begin, choosing the right type of charcoal is pivotal. Artists often use a combination of compressed and vine charcoal. Compressed charcoal provides deep, intense blacks, perfect for the moon’s dark craters and shadows. Vine charcoal, being softer and lighter, works well for the moon’s glowing surfaces and lighter shades. Having a range of charcoal pencils can also help in adding fine details to your lunar landscape.
Choosing Your Paper
The choice of paper greatly impacts the final effect. A paper with a moderate tooth, around 180 to 220 gsm, is ideal for holding charcoal while allowing for smooth blending. Opt for a dark-toned paper to accentuate the moon’s glow. Black or deep navy paper not only enhances the contrast but also simulates the night sky, setting a dramatic backdrop for your lunar drawing.
Outlining the Moon
Establishing Shape and Form
Start with a light, sketchy outline using vine charcoal to establish the moon’s round shape. Avoid pressing too hard; you just need a faint guide. Use a compass if you prefer perfect circles but maintain a loose hand to keep the realism. This stage is about capturing the basic form and proportional balance of the moon.
Mapping Major Features
Next, lightly sketch the primary features of the moon – the maria (large, dark plains), craters, and major rays emanating from impact sites. Refer to high-quality moon photographs to observe these features accurately. This roadmap will serve as your guide for shading and texturing in subsequent steps, so accuracy here lays the groundwork for a compelling drawing.
Mastering Light and Shadow
Emphasizing Contrast
The moon’s dramatic contrast between light and shadow is key to its realism. Identify the light source in your drawing and intensify the shadows in the craters and maria opposite to it. Use compressed charcoal for the darkest areas, layering and pressing harder for deeper shadows. This contrast is what gives the moon its three-dimensional appearance.
Creating a Glow
To simulate the moon’s glow, gradually lighten the shading as you approach the light source. Use your finger or a blending stump to smoothen the transition between the dark and light areas. A kneaded eraser can softly lift charcoal from the paper, creating gentle highlights that mimic the moon’s radiant glow against the dark sky.
Adding Texture and Details
Depicting the Surface
With the basic form and contrast established, focus on detailing the moon’s surface. Use vine charcoal for lighter, textured areas, gently layering to build up the moon’s rough terrain. For sharper details like small craters and ridges, switch to charcoal pencils. The variation in pressure and charcoal types enriches the lunar surface with a lifelike texture.
Fine-tuning the Drawing
In this phase, patience is your ally. Gradually refine the details, adjust contrasts, and enhance the textures. A putty or kneaded eraser works wonders in creating subtle highlights and rays, adding depth and realism. Remember, the moon is not perfectly smooth or uniformly bright, so embrace the imperfections and variations in tone.
Final Touches
Assessing Balance and Harmony
Step back from your work periodically to assess the overall balance. Adjust details and contrast as needed to ensure harmony between the moon’s glow and the surrounding darkness. This is also the time to clean up any smudges or stray marks around your drawing, maintaining the focus on the moon itself.
Setting the Drawing
Once satisfied, gently apply a spray fixative to set the charcoal. This step prevents smudging and preserves your drawing’s ethereal glow. Allow the fixative to dry completely before framing or displaying your work to protect the delicate charcoal surface.
Harnessing the Power of Subtlety
Generating Atmosphere with Light Layers
Charcoal drawing excels in creating atmosphere, and the moon’s enigmatic vibe calls for this subtle approach. Begin with the lightest touch, using vine charcoal to build up the atmosphere before committing to the richer, darker tones of compressed charcoal. This layering not only contributes to depth but also allows for the gradual manifestation of the moon’s faintest details without overpowering the drawing.
Negative Drawing Techniques
In charcoal art, the negative drawing technique — where you draw around an object to define it with the surrounding darkness — is particularly effective for celestial subjects. Utilizing the darkness of the paper, carve out the lighter areas of the moon by shading around them. This method promotes a softer transition between the moon and the void of space, enhancing the realistic glow and creating a sense of ethereal suspension in the night sky.
Reflections on Artistic Process
The Iterative Journey
The process of drawing the moon with charcoal is often iterative. It requires layers of reflection, evaluation, and revision. Embrace this process and allow yourself the freedom to make changes. Each layer builds on the previous one, and the moon’s craters, plains, and rays will become more defined with each pass. Remove charcoal with an eraser for highlights or correct shapes, and add more where the darkness needs deepening. Charcoal is forgiving in its ability to be manipulated — leverage this to refine the moon’s form and luminosity.
Embracing Artistic Growth
As your skills with charcoal progress, so too will your renderings of the moon. Each drawing is an opportunity to experiment with different textures and contrasts. Push the boundaries of what you can do with your materials. Experiment with different paper types; maybe a textured or tinted paper will bring a new dimension to your work. Your confidence will grow with each piece, allowing you to take on more complex compositions, perhaps incorporating the moon into larger nighttime landscapes or narrative scenes.
Crafting a realistic moon with charcoal drawing is an endeavor that rewards patience and precision. Through careful selection of materials, meticulous attention to light and shadow, and the strategic application of details, artists can capture the moon’s captivating glow and textured surface. With practice, your charcoal moons can illuminate your portfolio, infusing your work with the mysterious allure of our celestial neighbor.