Charcoal drawing stands out for its dramatic shades and ease of blending, making it an exceptional medium for artists looking to create striking visuals. Even those new to art can produce compelling images with the proper guidance. This practical guide aims to arm beginners with the knowledge they need to begin their journey into the world of charcoal drawing. By understanding the best materials to use and mastering foundational drawing techniques, anyone can start to produce beautiful charcoal pieces with ease.
Essential Charcoal Drawing Tools
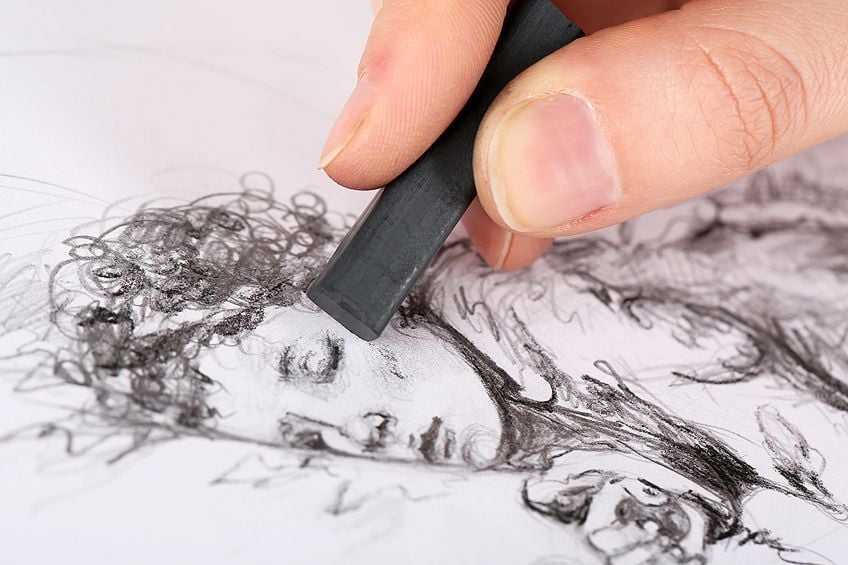
Selecting the Right Charcoal for Your Style
Charcoal comes in several forms – vine, compressed, and pencil – and each serves a unique purpose. Beginners might find charcoal pencils particularly user-friendly since they function much like regular pencils but provide the classic charcoal texture. With time and practice, incorporating vine or compressed charcoal allows for creating a variety of strokes and effects ranging from broad to very detailed.
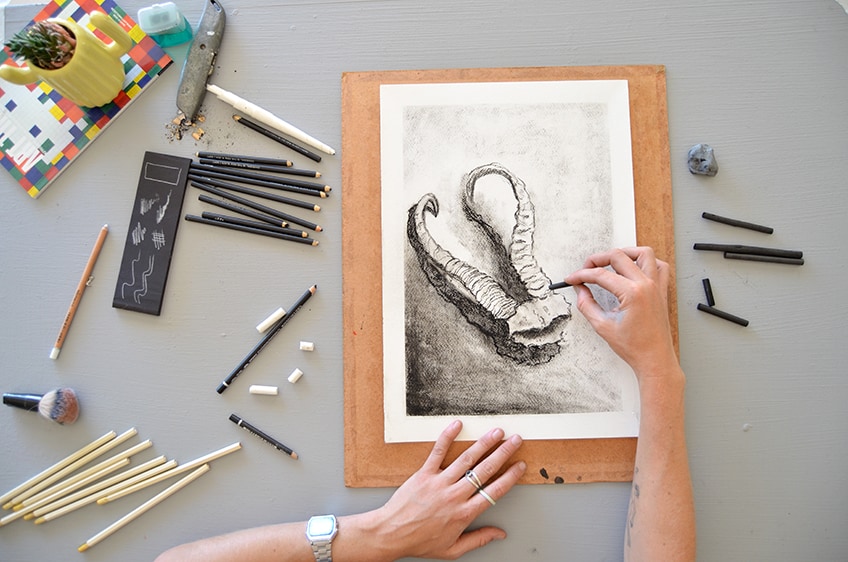
Accessorizing for Success
Quality drawing paper is paramount; it should possess enough tooth to hold the charcoal but allow for smooth blending. Other indispensable accessories include kneaded erasers, which you can shape to erase small areas or lighten your strokes, and blending tools like stumps or even cotton swabs. Fixative sprays are vital as they seal your artwork and prevent smudging. To keep your workspace clean and your art intact, consider wearing a smock and laying down a protective sheet where you work.
Laying the Foundation: Sketching and Basic Shapes
Initiating with a Light Sketch
It’s crucial to start your charcoal drawing with a preliminary sketch. This initial layer uses light, erasable lines to establish the composition of your piece. Working from general forms to specific details, the sketch serves as the foundation, guiding your subsequent, more confident strokes. Mistakes at this stage are easily rectified, so sketch without the pressure of perfection.
Building Upon Geometric Forms
Evolve your sketching skills by interpreting complex objects as basic geometric shapes. Seeing the world in this simplified way makes it easier to capture the essence of your subject in your drawings. Practice sketching cylinders, spheres, and cuboids as stand-ins for components of the human figure, trees, or buildings. Understanding the dimensional qualities of these shapes lays the groundwork for adding realism to your charcoal artworks.
Shading and Textural Techniques
Grasping the Concept of Value in Shading
Shading gives three-dimensionality to your charcoal drawings. Learning to control the pressure applied to charcoal will help you create a range of values from light greys to deep blacks. Start by applying the charcoal lightly and build up to the desired darkness. Work from one end of the drawing to the other to prevent smudging, and employ a blending tool to meld the shades seamlessly.
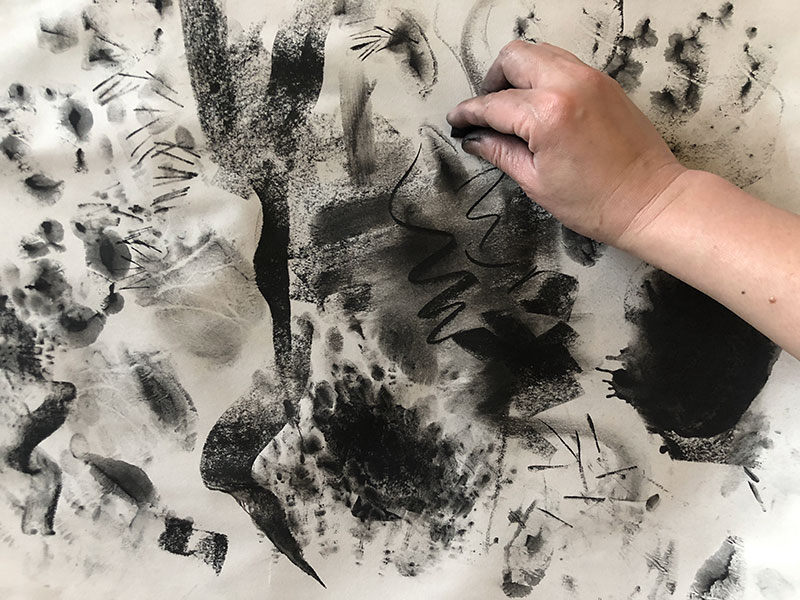
Injecting Life with Texture
Textures can transform a flat drawing into a lifelike scene. They add depth and interest, capturing the viewer’s eye. Spend time observing the various textures around you and practice replicating them on paper with charcoal. The pressure, angle, and movement of your tool will dictate the finish—so experiment with different strokes and techniques. Scratching with the edge of a sharp charcoal pencil effectively renders hair or fur, while dabbing with a kneaded eraser introduces highlights and variance in texture, mimicking the irregularities found in nature.

The Power of Highlights and Fine-Tuning
Harnessing Negative Space
The power of charcoal is not just in the marks you make but also in the marks you remove. A kneaded eraser can lift off charcoal to reveal the light of the paper beneath, effectively creating highlights and enhancing the sense of light within the piece. This subtractive approach allows for detailed and delicate work, such as refining facial features in portraits or ensuring the correct balance of light across your drawing.
Perfecting with Patience
Applying the finishing touches to your drawing should be a thoughtful process. Step back from your work and view it from different perspectives to gain a clearer vision of what adjustments are necessary. It might be increasing the contrast in certain areas, defining the edges more sharply, or perhaps softening a transition with gentle blending. Apply fixative spray evenly from a reasonable distance once you’ve finished your artwork, securing your efforts against time and touch.
The Charcoal Artist’s Secret Weapon
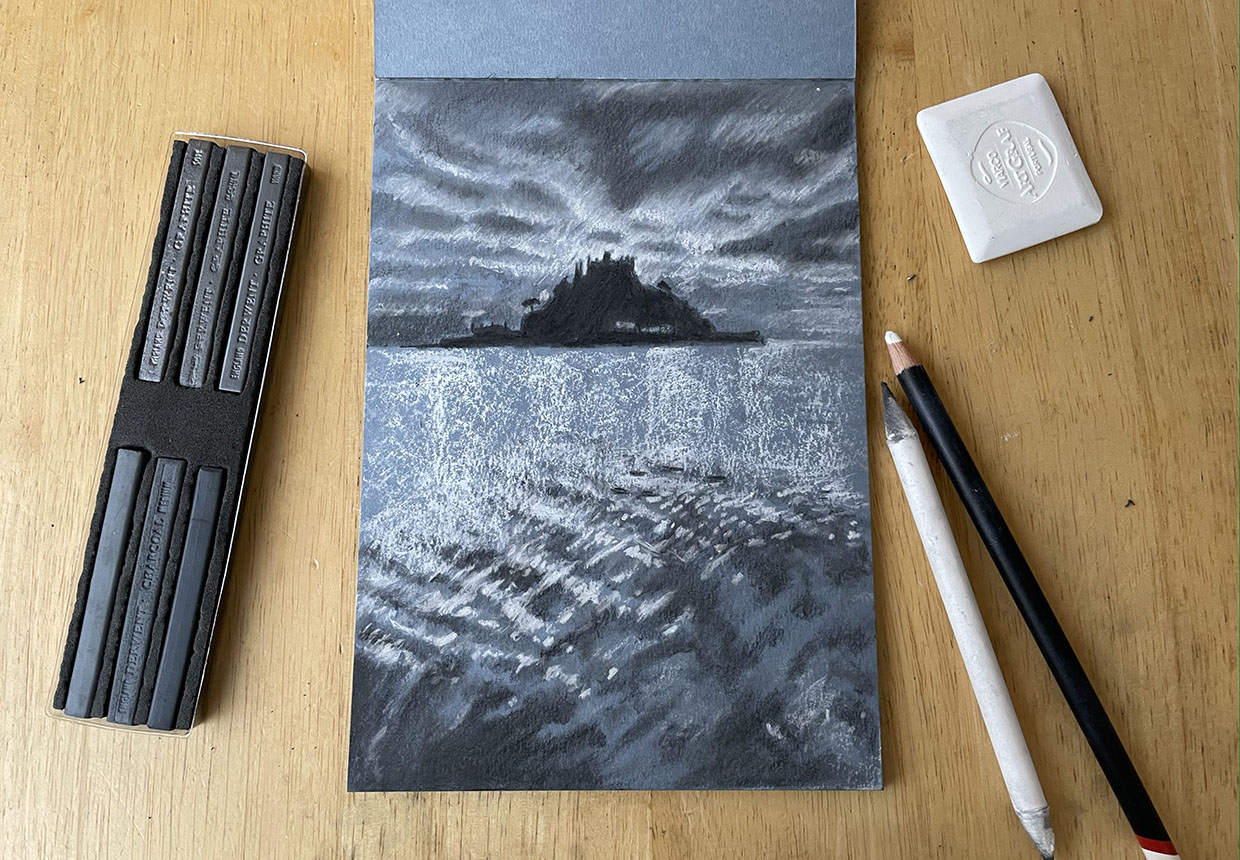
Mastering the Use of Light and Dark
One of the most captivating aspects of charcoal drawing is its inherent potential for strong contrasts. A successful charcoal artist learns to embrace the full spectrum from the deepest blacks to the brightest whites. By boldly accentuating the darkest regions of your subject matter and juxtaposing them against lighter areas, you can create a sense of drama and mood in your work. Practice alternating between pressing hard for darker lines and using a lighter touch for softer shades. Remember, it’s the contrast that often defines the soul of your drawing.
Crafting a Focal Point with Contrast
When planning your composition, consider which area of the drawing you’d like to draw the viewer’s eye to. By manipulating contrast, you can guide the viewer’s attention to this focal point. Sharp contrasts immediately attract the eye, while subtler shifts in tone suggest less critical areas of the image. Play around with contrast in different parts of your drawing – you will find this a powerful tool for creating visual hierarchy and storytelling within your artwork.
Preserving Your Artwork: Tips for Charcoal Longevity
Finalizing and Fixing Your Work
Once you’ve completed your charcoal masterpiece, you’ll want to ensure it stands the test of time. Using a workable fixative spray can literally ‘set’ your drawing, reducing the chance of smudging. This type of fixative also allows you to work on top of it if you wish to refine your drawing further. For the final layer, a final fixative provides a more permanent protection, sealing your artwork against the elements. Handle fixed drawings with care, and consider matting and framing under glass for the best preservation.
Storing Charcoal Drawings Properly
If framing isn’t an option immediately, store your charcoal drawings flat, with a clean sheet of glassine paper covering the surface to protect it from dust and contact. Avoid rolling or folding the paper, as this can cause the charcoal to crack or flake off. Proper storage in a dry, cool environment will ensure your efforts aren’t tarnished over time.
Charcoal drawing, with its bold lines and rich textures, is an inviting medium for beginners and seasoned artists alike. With the right tools, a mastery of basic shapes and shading techniques, and an understanding of textural and light effects, creating striking art is well within reach. So collect your charcoal, stepping into this artistic arena with confidence, and remember: every piece is a progression of your skills, and every mistake is a lesson learned on the path to becoming an accomplished charcoal artist. Embrace the medium with an experimental mindset, and over time, your work will not only gain depth and realism but will become a true reflection of your artistic voice.