Charcoal drawing is a form of dry art that utilizes charred sticks to create dramatic and expressive artwork. It’s a favorite among artists for its rich blacks and a wide range of shades that can blend smoothly. As a beginner in charcoal drawing, the medium may seem challenging at first, but with the correct techniques and practice, anyone can master it. This article provides beginners with essential tips and step-by-step guidance to kick off their journey into the world of charcoal drawing, covering everything from materials to essential techniques.
Choosing Your Materials
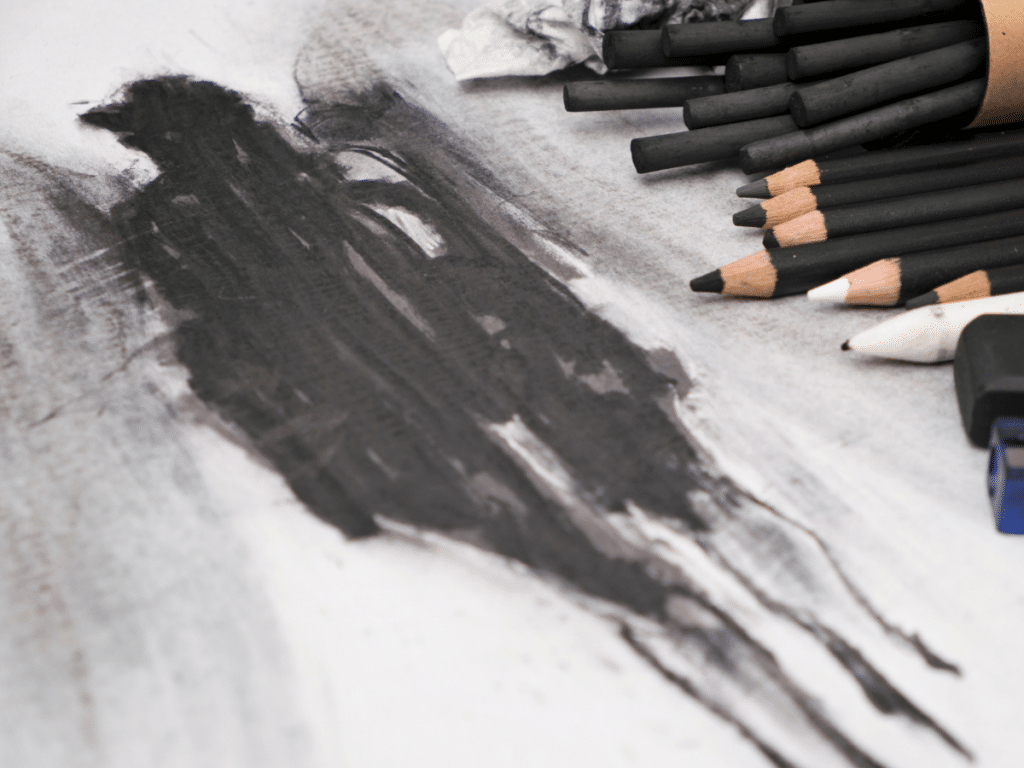
Picking the Right Charcoal
The first step in charcoal drawing is selecting your tools. There are different types of charcoal – vine, compressed, and pencil form. Vine charcoal is soft and erasable, making it perfect for sketching initial outlines. On the other hand, compressed charcoal is denser, producing darker blacks and being ideal for deeper shading. Charcoal pencils offer more control and are great for detailed work.
Selecting Paper and Additional Tools
The texture and color of the paper you choose can affect the outcome of your art. Consider starting with a medium-texture paper that provides a good grip for charcoal particles. Alongside charcoal and paper, other essential tools include kneaded erasers for lifting charcoal and blending stumps or your fingers for smoothing out the tones.
Basic Techniques to Master
Understanding Light and Shadow
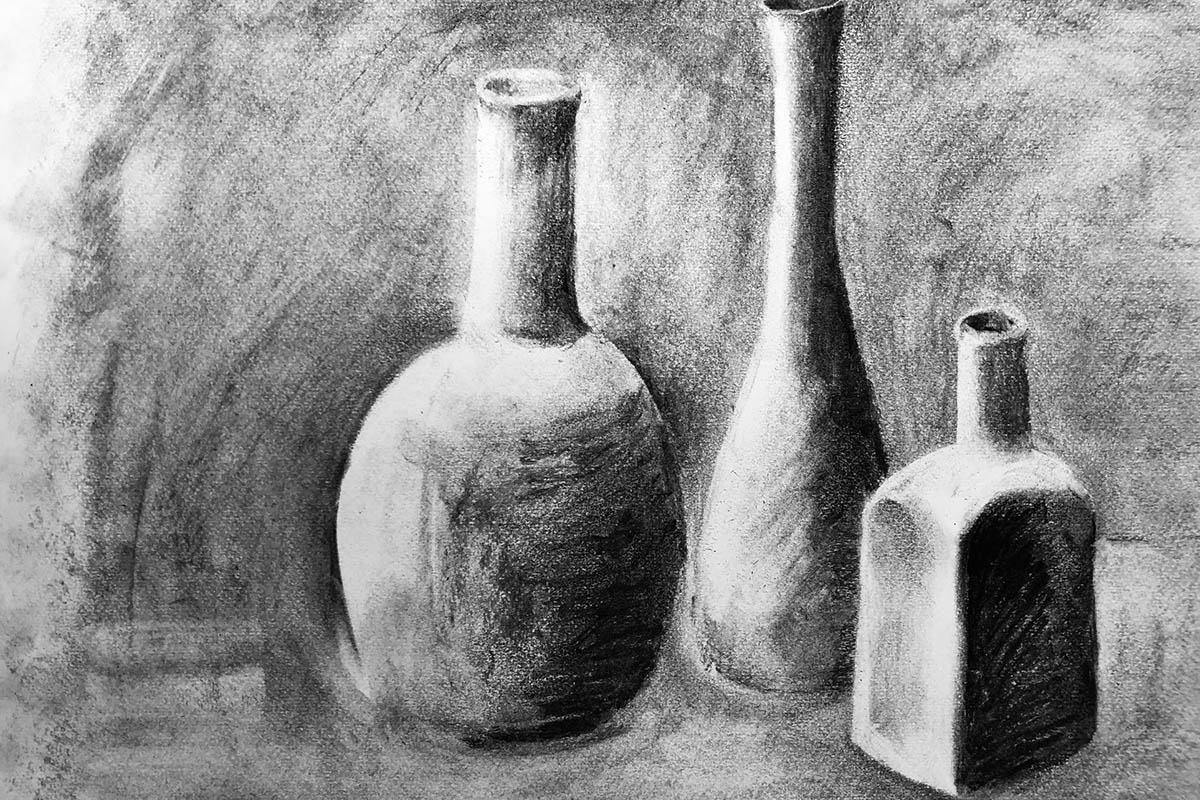
Charcoal drawing is all about understanding light and shadow. Start practicing by drawing simple shapes, like spheres and cubes, and experiment with creating the illusion of light falling on them. Remember, where the light is strongest, the shades are lightest; where light fades, the shadows darken.
Blending and Layering
Develop your blending skills to create gradient transitions between light and shadow. Use your fingers, a tissue, or a blending stump to soften and spread the charcoal. Practice layering different levels of pressure with your charcoal to build up to the darkness you need without smudging your work unintentionally.
Creating Your First Charcoal Artwork
Sketching the Outline
Begin with light strokes of vine charcoal to sketch the basic outline of your subject. This initial layer sets the foundation of your drawing and allows you to make adjustments easily. Make sure not to press too hard, as you might want to erase or adjust these lines later.
Applying and Building up Values
Once your outline is in place, it’s time to apply values. Start with the darkest areas of your drawing and gradually build up to the lighter ones. Keep in mind the source of light while you shade and use different types of charcoal to achieve various intensities and depths in your work.
Finishing Touches and Preservation
Detailing and Highlighting
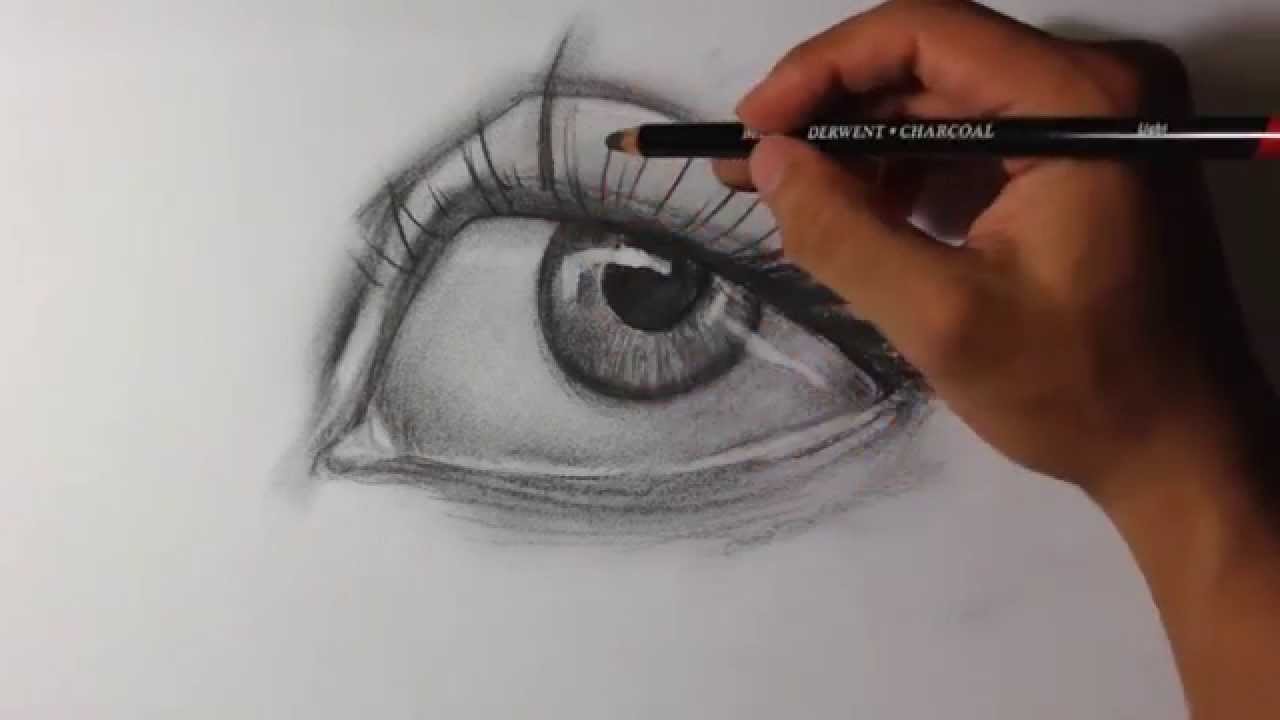
After laying down the basic shades, refine your artwork by adding details and highlights. Sharpened charcoal pencils are excellent for fine lines and textures. Use a kneaded eraser to bring out highlights by removing charcoal where the light hits the strongest.
Preserving Your Artwork
Charcoal is prone to smudging, so preserving your finished piece is crucial. Use a fixative spray to set your drawing and prevent it from smearing. Spray evenly across the surface from a distance to ensure a protective layer without disturbing the charcoal particles.
Experimenting with Textures
Exploring Charcoal’s Versatile Effects
Charcoal allows artists to play with a vast range of textures, from smooth gradients to rough, expressive marks. To familiarize yourself with charcoal’s potential, experiment with different strokes and pressures. Try hatching and cross-hatching for shaded effects or stippling for a dotted appearance. Charcoal’s versatility shines when you mix these textures within a single piece to create visual interest and depth.
Incorporating Textures in Your Work
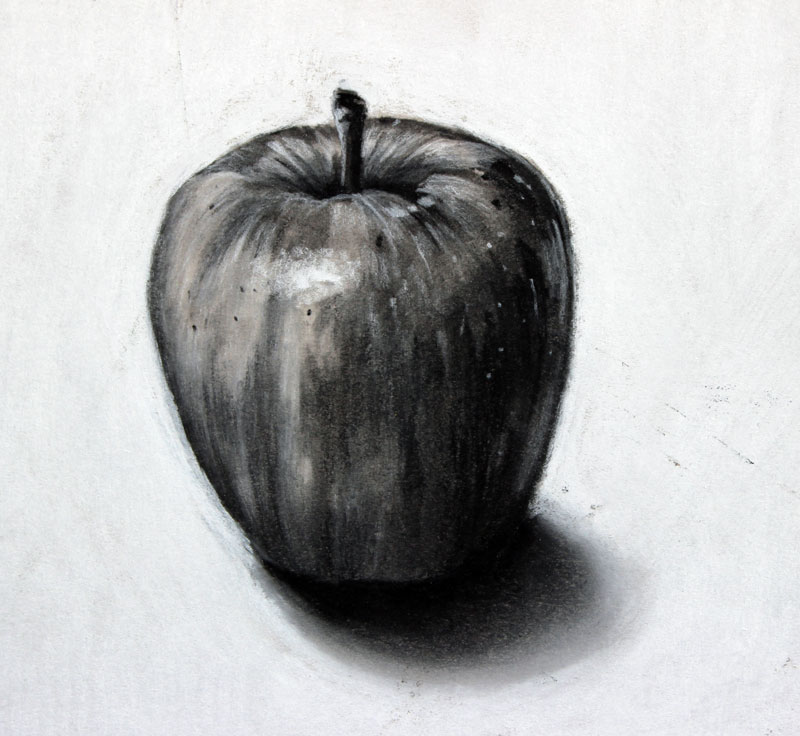
Textures can add realism or drama to your charcoal drawings. Start by observing the textures in real life and practice replicating them on paper using various charcoal forms. Combine smooth areas with textured details to make your drawings stand out and come to life.
Creative Exploration
Going Beyond Realistic Drawing
While many beginners start with realistic drawing to get a grasp of charcoal’s behavior, don’t be afraid to venture into more creative expressions. Abstract forms and experimental compositions can open up new ways of seeing and help develop a unique artistic voice. Use charcoal’s dynamic range to explore contrast and movement within your drawings.
Embracing the Process
Remember that art is as much about the process as it is about the end product. Embrace the trial and error that comes with learning a new medium. Each mistake is a lesson, and every piece is a step forward in your artistic journey. Cherish the smudges and the rough drafts; they’re evidence of your evolving skills.
Drawing from Life
Capturing the World Around You
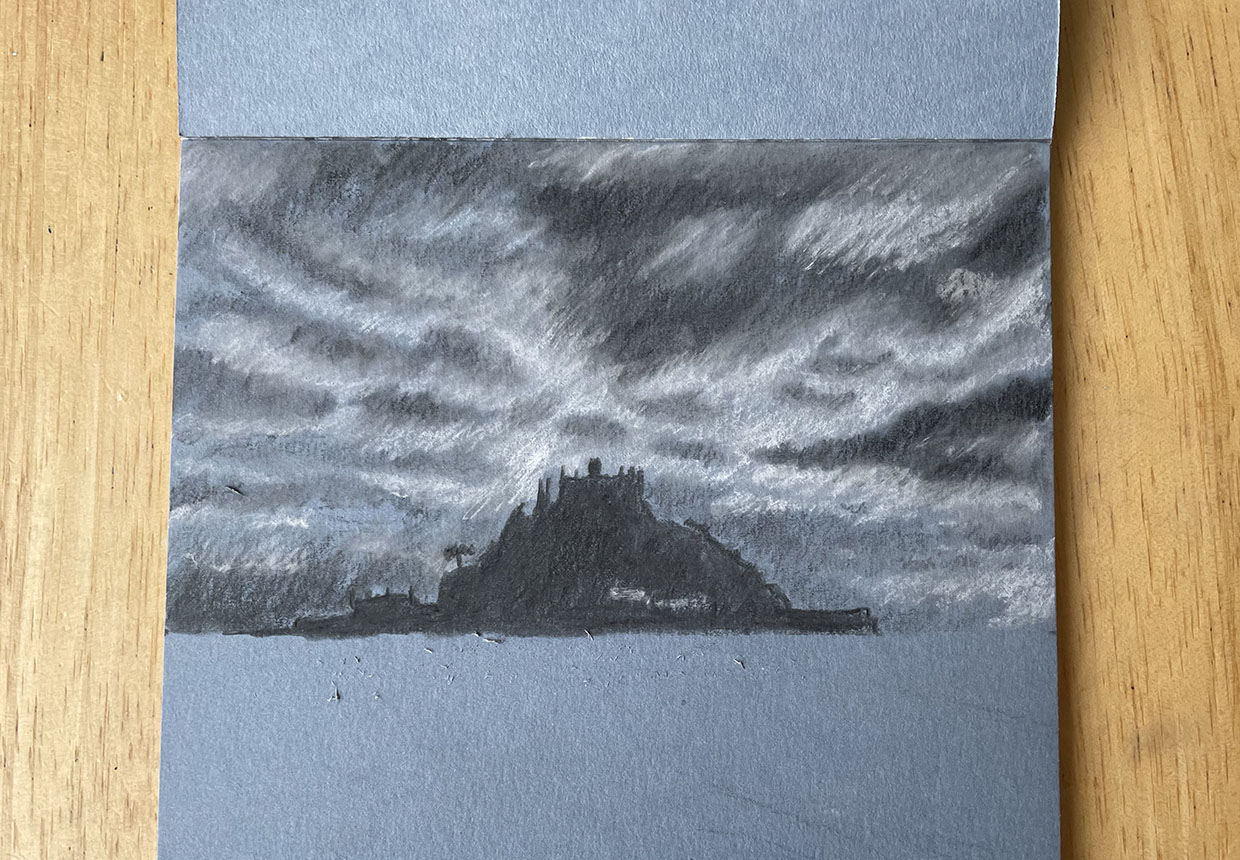
Drawing from life is a vital practice for developing observational skills and understanding form and space. Start with simple still life compositions or venture outside for plein air drawing, capturing landscapes or urban scenes. Charcoal’s quick application is ideal for on-the-spot sketching, enabling you to record impressions swiftly.
Live Models and Portraiture
If you’re interested in human figures or portraiture, consider attending live model sessions. Here, you can practice capturing human anatomy, gestures, and facial features. Using charcoal for these studies can be incredibly forgiving, allowing easy corrections and rich rendering of human skin tones and textures.
Maintaining Your Workspace
Clean as You Go
Charcoal can be messy, but maintaining a clean workspace can help you avoid unnecessary smudges on your artwork. Keep a damp cloth or paper towels at hand to wipe away excess charcoal from your fingers or tools. Also, dedicate separate spaces for your drawing and for laying out your materials to minimize cross-contamination.
Organizing Your Tools
Organization of your drawing tools can improve your workflow and help preserve your materials. Use storage solutions like pencil cases or art bins to keep your charcoal, erasers, and blending tools tidy. Not only does this help keep your workspace orderly, but it also prolongs the life of your art supplies, ensuring they’re ready for use whenever inspiration strikes.
Embarking on the journey of charcoal drawing as a beginner may seem daunting at first, but with the right materials, understanding of basic techniques, and plenty of practice, anyone can develop into a skilled charcoal artist. Start with simple exercises to grasp the play of light and shadow, practice blending and layering to achieve depth, and create your artworks with patience and focus. Remember to add details thoughtfully and preserve your pieces with a quality fixative. Charcoal drawing is an art form that rewards patience and experimentation, so embrace the process, and watch your skills grow with each piece you create.