Introduction to the Magic of Timekeeping
Time is a concept that rules our modern lives. We check our phones, watches, and clocks constantly. However, have you ever stopped to wonder how people told time before these machines existed? They looked to the sky. Specifically, they looked at the sun. Learning how to make a sundial is not just a craft project. Furthermore, it is a journey back in time. It connects us to the ancient rhythms of nature. For children, this activity is an amazing adventure. It combines history, science, and art into one package. Moreover, it gets them outside.
They can enjoy the fresh air and learn simultaneously. Therefore, this guide will walk you through everything you need to know. We will explore the history, the science, and the practical steps. You do not need expensive equipment. Consequently, you can start this project today with simple household items. This hands-on experience creates lasting memories. It also teaches patience and observation. So, let us embark on this educational journey together. We will unlock the secrets of the sun.
Understanding the Science Behind Sundials
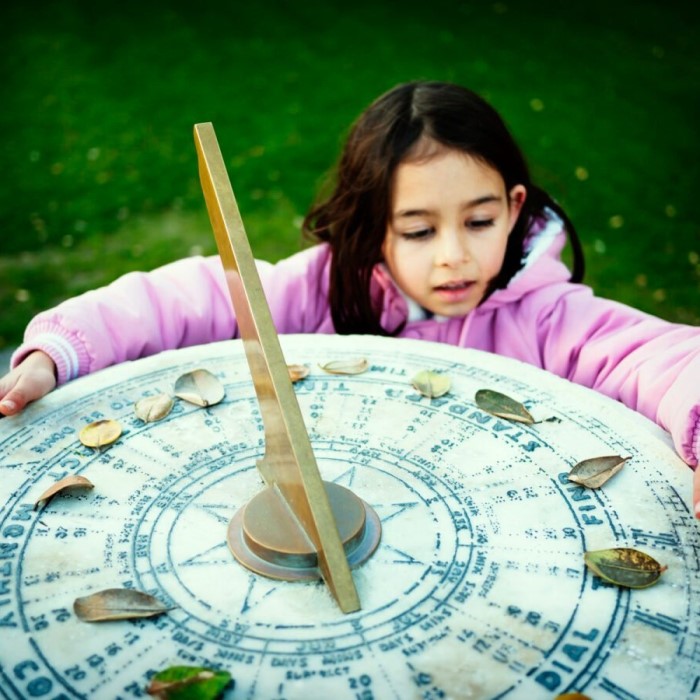
Before we start building, we must understand the science. How does a sundial actually work? Fundamentally, a sundial measures time by the position of the sun. The sun moves across the sky from east to west. Consequently, the shadows cast by objects change position and length throughout the day. A sundial uses a flat surface and a stick, often called a gnomon. The gnomon casts a shadow onto the flat plate. As the Earth rotates, the sun appears to move. Therefore, the shadow moves across the dial. This movement is predictable.
We can mark specific spots on the plate to indicate hours. It is a simple yet brilliant concept. Furthermore, it demonstrates the rotation of the Earth. This is a great way to teach kids about astronomy. They can see the Earth’s rotation in action. Additionally, this introduces the concept of latitude. The angle of the gnomon is crucial. It must match the latitude of your location. This ensures accuracy. If the angle is wrong, the time will be incorrect. Thus, science is at the heart of this simple device.
The History of Telling Time by the Sun
Sundials are one of the oldest instruments in human history. Ancient civilizations relied on them heavily. For example, the Egyptians used obelisks as primitive sundials thousands of years ago. They tracked the seasons for farming. Later, the Greeks and Romans developed more complex designs. Consequently, timekeeping became more accurate. These ancient scientists understood the movement of celestial bodies.
They used this knowledge to organize their days. Learning how to make a sundial connects us to this rich heritage. It is fascinating to think that you are doing what ancient astronomers did. Moreover, these devices were standard for centuries. Even after mechanical clocks were invented, sundials remained important. They were used to check the accuracy of clocks. Therefore, the sundial is a symbol of human ingenuity. It represents our desire to understand the world. Sharing this history with children adds depth to the project. It transforms a simple craft into a history lesson. They will appreciate the ingenuity of our ancestors.
Preparing Your Materials for the Project
Now, let us gather our supplies. The best part about this project is the simplicity of materials. You likely have everything you need at home. First, you need a base. This could be a paper plate, a piece of cardboard, or a flat stone. Paper plates are excellent for beginners. They are round and easy to write on. Second, you need a gnomon. This is the part that casts the shadow. A pencil, a chopstick, or a straight stick works perfectly.
Additionally, you will need a marker or a pencil for marking the time. A ruler is also helpful for positioning. If you want a permanent garden sundial, you can use a wooden post and stones. However, we will start with the paper plate method. It is the most accessible for young children. Furthermore, you will need a clock to set your dial. You must also choose a sunny spot. This location must be sunny for the entire day. Shadows from trees or buildings can interfere. Therefore, choose your location carefully. Preparation is key to success.
Step-by-Step Instructions for Construction
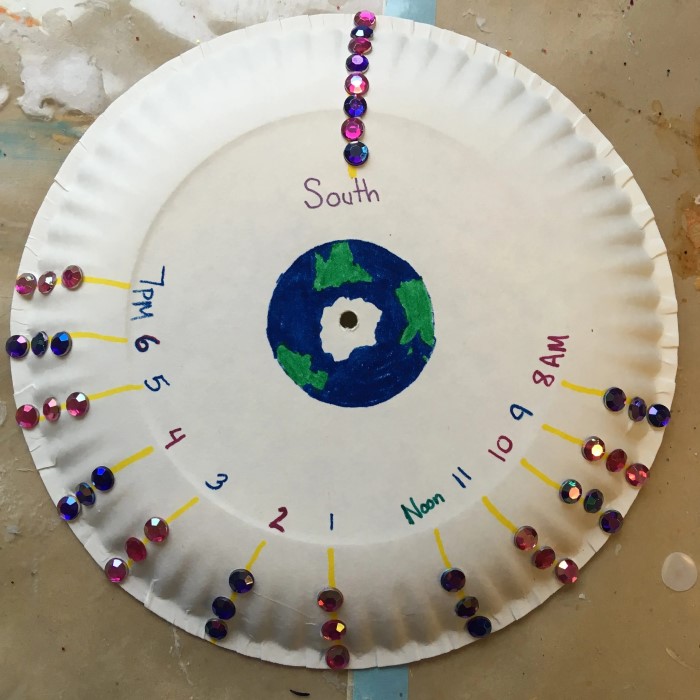
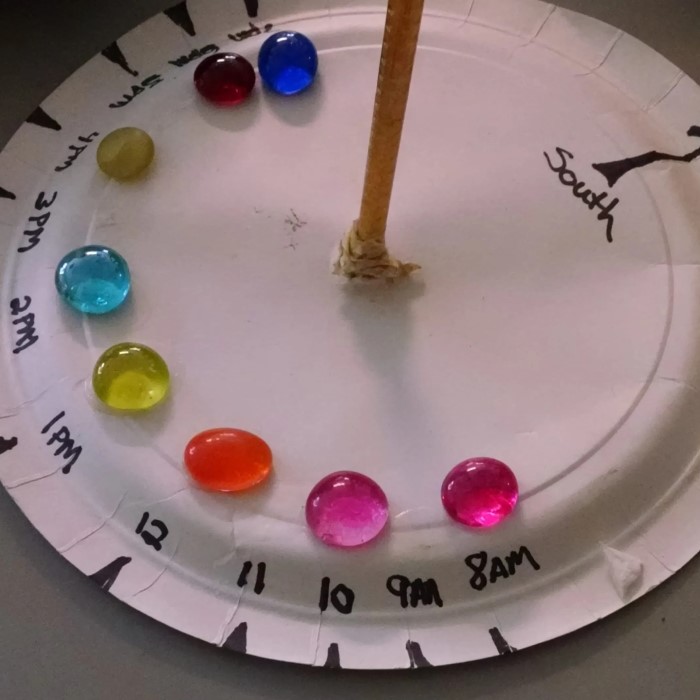
Here are the steps to build your timekeeper. First, take your paper plate. If you are using cardboard, cut it into a circle. Then, make a small hole in the very center of the plate. This is where the gnomon goes. Next, push your pencil or stick through the hole. The pencil should stand straight up. However, remember the science we discussed earlier. For better accuracy, the pencil should lean slightly north. This depends on your location. But for a simple kids’ project, a vertical stick works fine. Now, you are ready to calibrate it. Place your sundial in your chosen sunny spot. It must not move. Therefore, you might want to tape it down.
Check the time on a real clock. When it is exactly an hour, like 9:00 AM, go outside. Look at where the shadow falls. Mark this spot with a number. For example, write “9” at the end of the shadow. Repeat this process every hour. You will see the shadow move. Consequently, you will build a clock face. This process requires patience. However, the result is a working scientific instrument. You have successfully learned the basics of how to make a sundial.
Tips for Ensuring Accuracy and Fun
Accuracy can be a challenge with homemade devices. However, there are ways to improve your sundial. First, ensure the base is level. If the ground is uneven, the time will be wrong. You can use a flat board underneath the plate. Additionally, the gnomon must be secure. If it wobbles, the shadow will move unpredictably. Another tip involves the longitude of your location. Standard time zones are broad. Therefore, your specific location might differ from the “standard” time. Do not worry if your sundial is a few minutes off. This is normal.
Furthermore, remember Daylight Saving Time. During summer, your sundial will be an hour behind the clock. You can explain this to your kids. It is a great learning moment. To make it more fun, let the children decorate the dial. They can paint the plate or draw pictures on it. This adds an artistic element to the STEM activity. Moreover, checking the sundial becomes a daily game. They can record their observations in a journal. This encourages scientific thinking.

Troubleshooting Common Issues
Sometimes, things do not go as planned. Do not worry. Troubleshooting is part of the learning process. One common issue is no shadow. This happens if the sun is blocked. You might need to move your sundial to a clearer spot. Another issue is a shadow that is too faint. This happens on cloudy days. Unfortunately, sundials do not work without the sun. You can use this opportunity to discuss weather patterns. Sometimes, the marks seem wrong. The shadow might not hit the numbers exactly. This could be due to the angle of the gnomon.
As mentioned earlier, the Earth is tilted. The sun’s path changes with the seasons. Therefore, a sundial made in June might not be accurate in December. This is called the “equation of time.” You can look this up together. It is an advanced topic. However, it explains the variations. Furthermore, verify that your base did not move. A slight shift can throw off the reading. Solving these problems teaches resilience. It shows kids that science requires adjustment. It is rarely perfect on the first try.
Expanding the Learning Experience
Once you have built your sundial, the learning does not stop. You can expand the project in many directions. For instance, you can study the seasons. Observe how the shadow lengths change over months. In winter, the shadows are longer. In summer, they are shorter. This demonstrates the tilt of the Earth’s axis. Additionally, you can build different types of sundials. The horizontal dial is just one type. There are also vertical sundials.
You can paint one on a fence or a wall. Another option is an equatorial sundial. This type is more complex. It aligns perfectly with the Earth’s equator. Researching these designs is a great library or internet activity. Furthermore, you can connect this to literature. Read stories about ancient times. Discuss how the characters lived without digital clocks. This integrates reading and history. You can also create a sun journal. Have your child draw the shadow at the same time every week. They will notice the gradual shift. This long-term observation is a core scientific skill. Ultimately, the goal is to foster curiosity. The sundial is a tool to explore the universe.
Frequently Asked Questions About Sundials
Parents and kids often have questions about these devices. Here are answers to some common queries.
How accurate are homemade sundials?
Homemade sundials can be surprisingly accurate. However, they are not atomic clocks. They are accurate enough to tell time within 15 to 20 minutes. This depends on the precision of your markings. It also depends on the alignment. If you angle the gnomon correctly for your latitude, accuracy improves. Nevertheless, factors like the “equation of time” cause variations. These are natural astronomical variances. Therefore, your sundial will be a great indicator of approximate time. It teaches us that nature is not as rigid as our digital clocks.
Is a sundial 12 hours?
A sundial typically measures the hours of sunlight. It does not usually run for 12 hours. The sun is only up for a portion of the day. Therefore, the dial will only show time from sunrise to sunset. In winter, this might be less than 8 hours. In summer, it could be more than 12 hours. Furthermore, most sundials do not mark hours at night. So, the dial is active only when the sun shines. It represents the solar day. This varies in length throughout the year.
What is the best material for a sundial?
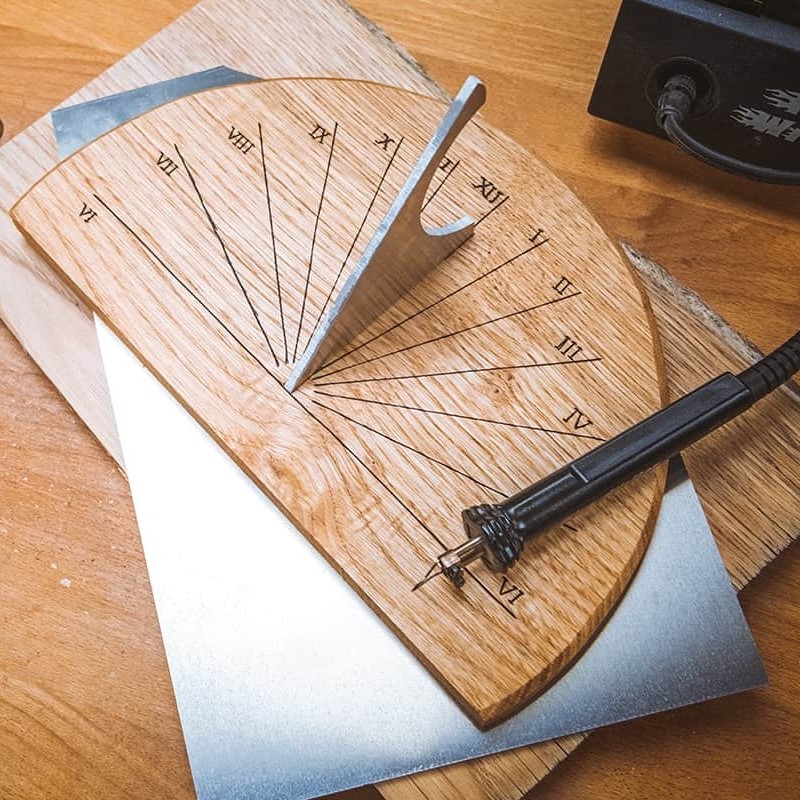
The best material depends on where you put it. For a quick indoor or temporary project, paper or cardboard is best. It is cheap and easy to use. However, for a permanent outdoor sundial, you need durability. Wood, stone, or metal are excellent choices. A wooden post with a metal rod works well. These materials withstand rain and wind. The surface must be smooth enough to mark. If you use stone, you can paint the numbers. Ultimately, the best material is what you have available to create a sturdy base.
Conclusion: The Timeless Joy of Nature
In conclusion, creating a timekeeping device from scratch is a rewarding experience. It blends education with recreation. We have explored the history of time. We have looked at the science of shadows. Additionally, we have provided a clear guide on how to make a sundial with simple materials. This project is more than just a craft. It is a tool for discovery. It encourages children to look up and observe their world.
They learn patience as they wait for the shadows to move. They learn science as they understand the Earth’s rotation. Moreover, they learn history. They realize that technology is not just screens and batteries. It is about understanding the laws of nature. We hope this guide inspires you to step outside. Grab a plate and a pencil. Start building memories today. The sun is waiting to tell you the time. Enjoy the process of exploration and learning with your family.