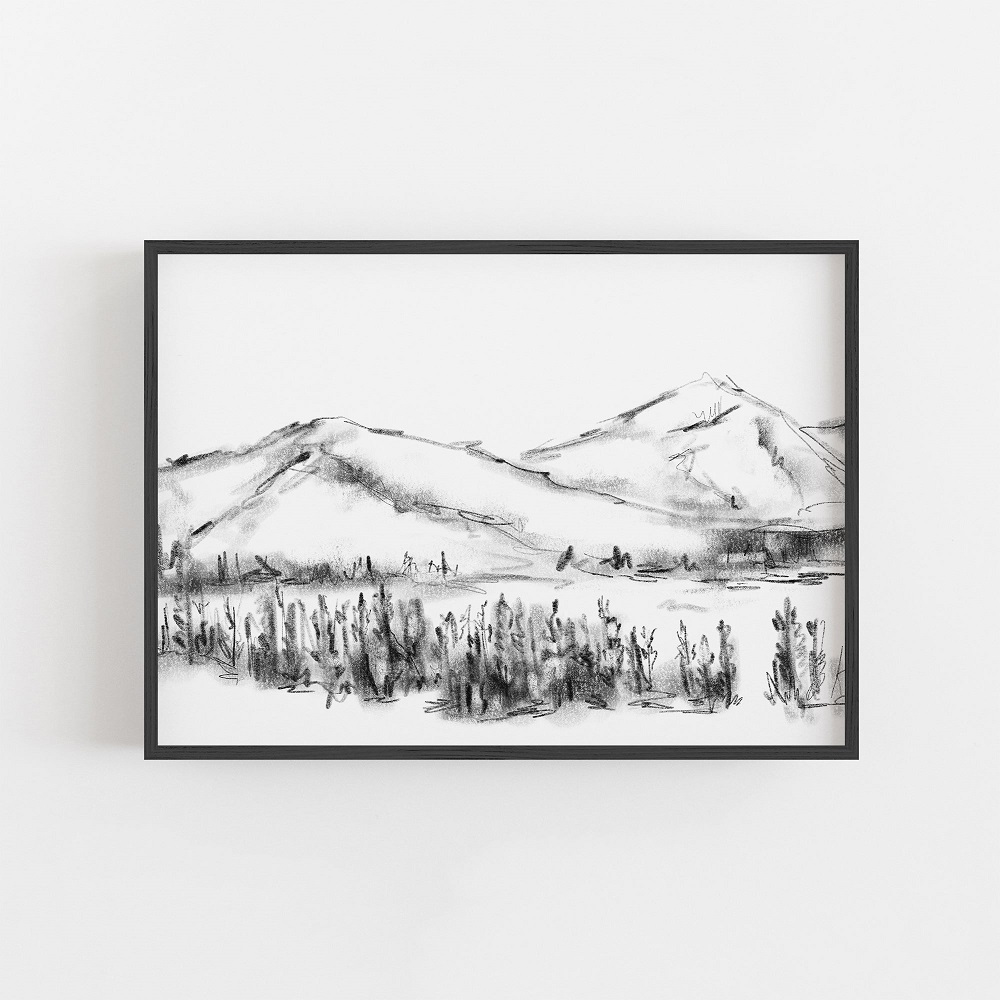
Charcoal drawing is a versatile and expressive medium that many artists enjoy. If you love capturing the majesty of mountains, charcoal can offer a unique way to convey their grandeur and texture. This article provides inspiration and ideas for enthusiasts looking to enhance their skills in charcoal mountain drawing.
Understanding the Basics
Essential Tools and Materials
Before you start, ensure you have the right tools and materials. Charcoal pencils, sticks, and vine charcoal are essential. Each type has its unique benefits, so experimenting with all three can help you achieve different effects. Additionally, you’ll need a good-quality paper that can handle the texture and layering of charcoal.
Choosing the right paper is crucial. Textured paper helps hold the charcoal better and adds depth to your drawings. Also, keep some blending tools like smudge sticks or even your fingers. These will help you soften edges and blend tones smoothly.
Basic Techniques
Understanding basic charcoal techniques is fundamental. Practice shading, hatching, and blending. These techniques help you create different textures and depths, which are essential for realistic mountain drawings. Start with basic shapes and gradually move to more complex forms.
Using a variety of pressure points can change the tone dramatically. Light strokes can provide subtle shading, while pressing harder gives you bold, dark lines. Blending can create smooth gradients, adding to the realistic effect of your drawing.
Finding Inspiration
Studying Real Mountains
One of the best ways to find inspiration is by studying real mountains. Go on hikes, take photos, or watch documentaries. The details you gather will improve the accuracy and realism of your drawings. Observing how light and shadow play on different mountain surfaces can provide invaluable insights.
Pay close attention to the various textures found in mountains. From rocky outcrops to smooth snowcaps, each type of texture requires different techniques. Capturing these details accurately can bring your drawings to life, making them more realistic and engaging.
Art Books and Online Galleries
Art books and online galleries are excellent sources of inspiration. They offer countless examples of mountain drawings, providing ideas for composition and technique. Studying how other artists handle charcoal can give you new perspectives and ideas for your work.
Explore different styles and approaches. Some artists may focus on hyper-realism, while others may lean towards more abstract representations. Understanding these different styles can broaden your own approach and inspire you to try new techniques.
Preparing Your Workspace
Setting Up Your Drawing Area
A well-organized workspace can make your charcoal mountain drawing sessions more enjoyable. Make sure you have good lighting, as it helps you see details more clearly. Natural light is ideal, but if it’s not available, use a lamp with a daylight bulb. Arrange your tools and materials within easy reach to keep the workflow smooth.
An easel can also be beneficial, especially for larger works. It allows you to step back and view your work from different angles. A flat surface is crucial for smaller pieces, ensuring that you have complete control over every stroke.
Keeping It Clean
Charcoal can be messy, so keep your workspace clean. Use a drop cloth or newspaper to protect your surfaces. Have a damp cloth or cleaning wipes handy for quick clean-ups. This not only keeps your area tidy but also ensures that stray charcoal marks don’t ruin your work.
Avoid touching your face and clothes while working with charcoal. Charcoal smudges easily, and it’s best to have a piece of paper under your hand to prevent unwanted marks on your drawing. Maintaining a clean workspace can help you focus better on your art.
Sketching Out Your Composition
Starting with a Light Sketch
Begin with a light sketch to outline the basic shapes of your mountain range. Use a light hand so that you can easily erase and adjust as needed. Getting the proportions and placement right is crucial for a balanced composition.
Focus on the overall shape and structure of the mountains first. Don’t worry about details at this stage. Getting the basic outline right sets a strong foundation for the rest of your drawing. Make sure to consider the perspective and depth to add realism.
Building Up Layers
After sketching the basic shapes, start building up layers. Use darker charcoal to add details and depth. Layering is essential in charcoal drawings as it adds texture and shading. Varying the pressure on the charcoal can create different shades and tones.
Gradually build up the layers, starting with the lightest areas and moving to the darkest. Blending each layer softly can create smooth transitions between different shades. This layering technique can add a three-dimensional effect to your drawing, making the mountains look more realistic.
Adding Depth and Texture
Shading Techniques
Shading is crucial for creating depth and texture in your mountain drawings. Use hatching, cross-hatching, and blending to achieve the desired effect. Hatching involves drawing closely spaced parallel lines, while cross-hatching involves drawing intersecting lines.
Try blending multiple layers of hatching to create a gradient effect. This method can mimic the natural shadows and highlights found in mountain landscapes. Experimenting with these techniques can help you find what works best for the specific textures you want to capture.
Capturing Textures
Different parts of a mountain have different textures. Rocks, snow, and vegetation each require unique techniques. Use sharp, crisp lines to depict rocky textures, and softer, blended strokes for snow and foliage. Combining these textures accurately will bring your drawing to life.
Study the textures of natural elements closely. Notice how light interacts with them and try to replicate that in your drawing. Combining various textures adds realism and interest to your artwork, making it more engaging and dynamic.
Incorporating Light and Shadow
Understanding Light Sources
Light sources play a vital role in any drawing. Determine the direction of the light source in your composition. This helps in accurately placing shadows and highlights. Properly placed light and shadows add depth and dimension to the drawing.
Consider how the light interacts with the different surfaces of the mountains. Lightly sketch where the light hits directly and where shadows fall. This understanding of light and shadow can add realism and dramatic effect to your drawing.
Enhancing Highlights and Shadows
Use an eraser to lift off charcoal and create highlights. This technique can add contrast and make your drawing more dynamic. Darken shadows gradually, ensuring a smooth transition between light and dark areas. Attention to detail in shadows can make your mountains appear more three-dimensional.
Explore using different types of erasers for various effects. Kneaded erasers are great for lifting off charcoal gently, while harder erasers can create sharp highlights. Understanding how to manipulate light and shadow effectively can significantly enhance the overall impact of your drawing.
Final Touches and Preservation
Adding Details
Once the overall structure and shading are complete, add finer details. These can include small rocks, crevices, and vegetation. Adding these details last ensures they don’t get smudged during the earlier stages of drawing.
Pay attention to the tiny details that make a mountain unique. These fine details can distinguish your drawing and add a layer of realism. Use fine charcoal pencils for detailed work, adding the final touches to perfect your artwork.
Fixing and Preserving
Use a fixative spray to preserve your charcoal mountain drawing. Spray lightly and evenly, holding the can at a distance to avoid blotches. Fixatives help prevent smudging and keep the charcoal in place. Proper preservation ensures your artwork remains in good condition for years.
Store your finished drawings in a dry, flat place. Use protective covers or frames to keep them safe from dust and damage. Taking these steps can preserve your hard work and keep it looking fresh and impressive.
Conclusion
Embrace Your Creativity
Charcoal mountain drawing offers immense potential for creativity and expression. Embrace the process and experiment with different techniques and styles. Each drawing is an opportunity to improve your skills and explore new ideas.
Keep Practicing
Like any art form, practice is key to mastering charcoal mountain drawing. Keep experimenting with different textures, light sources, and compositions. Over time, you’ll see improvement in your work. Enjoy the journey and let your passion for mountains guide your creative endeavors. Happy drawing!