Creating lifelike charcoal drawings of cats demands not only a passion for the subject but also a mastery of shading and texture techniques. Charcoal, with its rich blacks and versatile range of tones, offers artists the perfect medium for capturing the essence of a cat’s fur, gaze, and graceful movements. In this article, we’ll guide you through a step-by-step process to improve your cat charcoal drawing skills, focusing on drawing fundamentals, shading techniques, texture creation, and final detailing. Whether you’re a beginner or looking to refine your skills, these tips will help you create more dynamic and realistic cat drawings.
Drawing Fundamentals: Laying the Groundwork
Sketching the Basic Outline
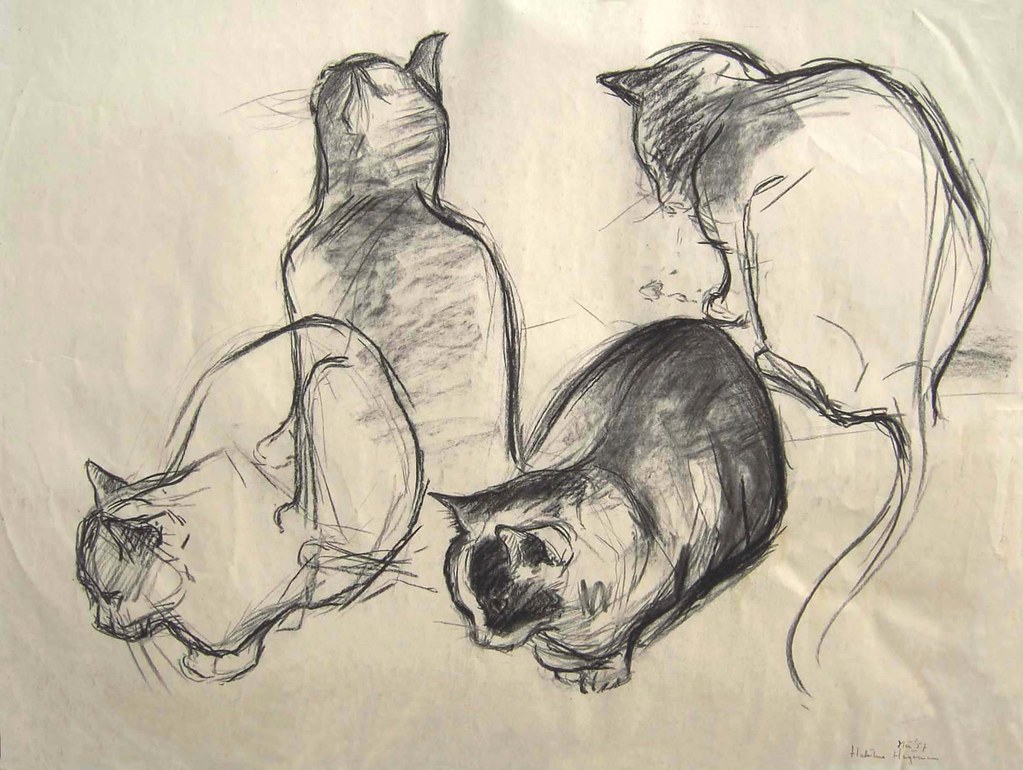
Begin with a light, rough sketch to outline the basic shape of the cat. Focus on getting the proportions right, paying attention to the size and placement of the ears, eyes, and nose. Use simple shapes and lines to map out the cat’s pose and body. This foundational step is crucial as it serves as a roadmap for your drawing, ensuring accuracy before you dive into the details.
Establishing Light and Shadow
Next, determine your light source, as it will guide the shading process. Lightly sketch areas where the deepest shadows and bright highlights will be. Understanding the interplay between light and shadow early on adds depth to your drawing and sets the stage for more detailed shading. This preparatory phase prevents overworking the drawing and keeps you aligned with your visualized outcome.
Shading Techniques: Bringing Your Cat to Life
Building Up Shadows
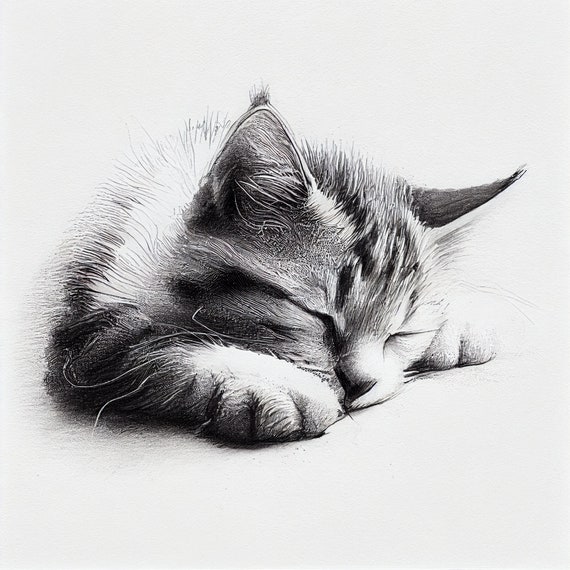
Begin shading with a soft touch, gradually building up the darkness where shadows are strongest, typically under the cat’s chin, behind its ears, and beneath its body. Use the side of your charcoal stick for broad strokes, then switch to the pointed end for tighter areas. Layering your shading in this way adds volume and dimension to your cat, making it appear more lifelike.
Creating Highlights
Highlights bring energy and realism to your drawing. Identify areas where the light hits the cat’s fur, eyes, and nose most intensely. Use your kneaded eraser to gently lift charcoal off of these areas to reveal the white of the paper beneath. This technique requires a delicate hand to avoid erasing too much. Highlights are pivotal for capturing the glossy texture of the cat’s fur and the sparkle in its eyes.
Texture Creation: Achieving Realistic Fur
Mimicking Fur Texture
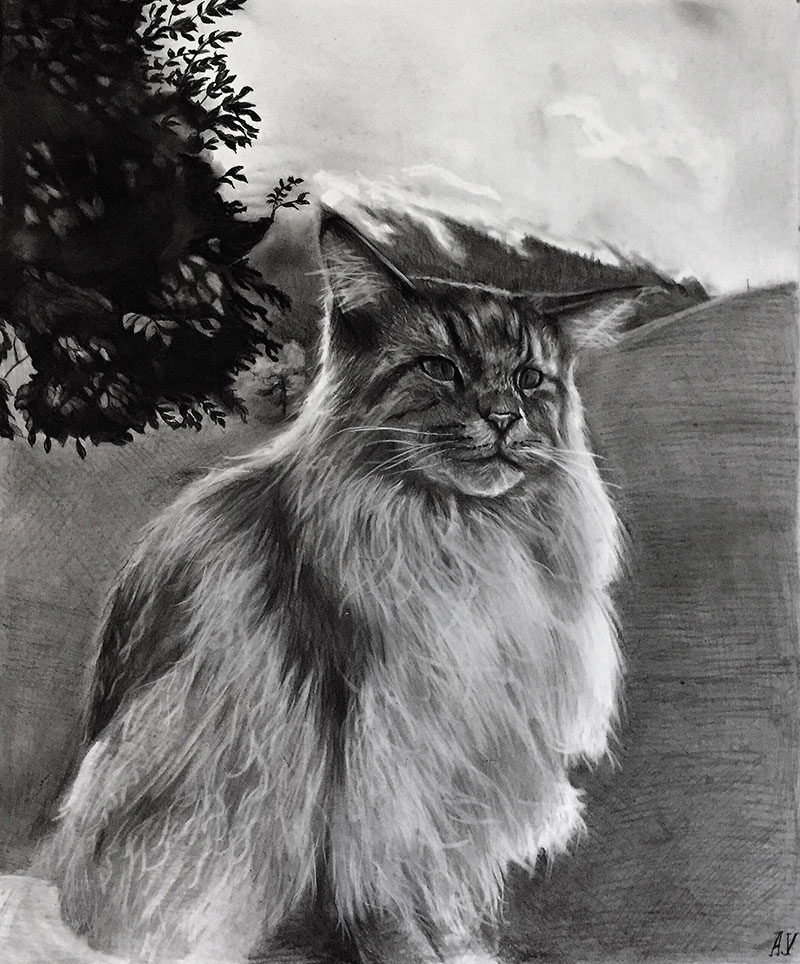
Texture is key in making your cat drawing feel real. Start with the direction in which the fur grows and use light, quick strokes to mimic this. Remember, the fur around the face, paws, and tail often has a different texture and length compared to the body. Switch between using the point and side of your charcoal stick to vary the thickness and darkness of these lines, creating a more natural fur appearance.
Layering for Depth
Layer your strokes to create the illusion of dense fur. Begin with lighter, softer strokes to establish the undercoat. Then, add darker, sharper lines to represent the topcoat of the fur, focusing on areas of shadow. This layering technique offers the dual benefit of creating depth and enhancing the textural realism of your cat’s fur. Keep your strokes loose to avoid making the fur appear stiff.
Final Details: Capturing Essence and Personality
Refining Facial Features
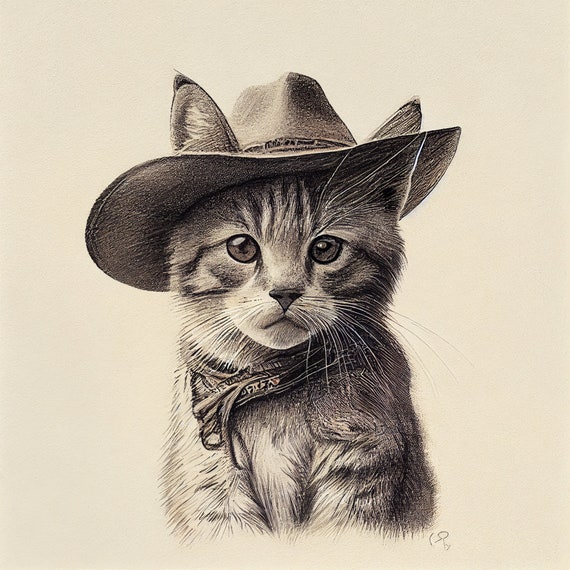
The cat’s eyes, ears, and whiskers are essential for conveying its personality and mood. Spend time refining these with precise, controlled strokes. Use your charcoal pencil to darken the pupils and outline the eyes, ensuring they’re symmetrical and expressive. For the whiskers, use a sharp charcoal pencil or a pointed eraser to create thin, crisp lines. This level of detail adds character and brings your charcoal cat to life.
Finishing Touches
Review your drawing from a distance to assess its overall balance. Make any necessary adjustments to the shading and texture to ensure consistency throughout the piece. Touch up the highlights once more if needed, and clean up the edges of your drawing for a polished look. The final step is fixing your drawing with a spray fixative to prevent smudging, preserving your masterpiece.
Enhancing Fur Realism: The Power of Contrast
Achieving Depth with Contrasts
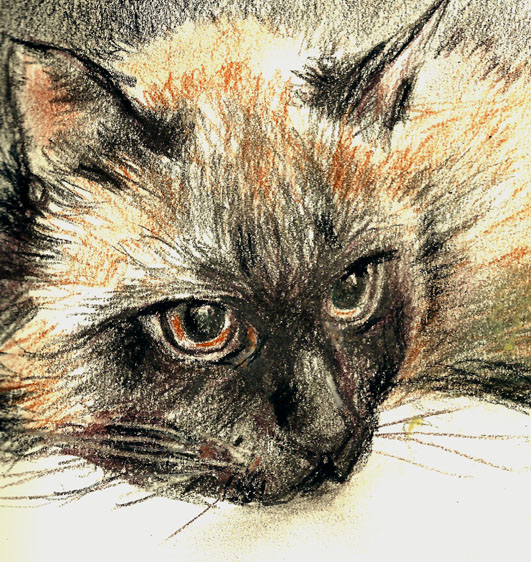
Creating contrast in your charcoal cat drawing is essential for achieving a realistic depth, particularly in the fur. Contrast comes from the play of light and dark areas next to each other. Emphasize the dark shadows in the deep grooves of the cat’s fur, and place them next to the lighter areas where the light reflects off the coat. This technique not only defines the shape and volume of the cat but also adds a dynamic, three-dimensional quality to your artwork.
Fine-Tuning with Details
Once you establish the basic contrast, focus on the smaller details that can make a substantial difference. Use a tapered, sharp charcoal pencil to define the strands of hair around the cat’s face and tail. These fine details contribute to the overall texture and must harmonize with the shading work you’ve done. Be meticulous, but also maintain spontaneity in your strokes to keep the fur looking natural.
Artistic Flair: Personalizing Your Drawing
Adding Your Signature Style
Every artist has a unique approach to texture and contrast, which becomes their signature style. As you develop confidence in your cat charcoal drawings, experiment with different strokes, shading techniques, and levels of detail to find what best expresses your artistic vision. Maybe you prefer a more impressionistic style with looser, broader strokes, or perhaps a hyper-realistic approach with meticulously fine shading. Let your personal touch shine through in how you render the cat’s fur, eyes, and stance.
Experimentation and Adaptation
Don’t be afraid to experiment with various charcoal grades and types. From vine charcoal for soft, diffused shading to compressed charcoal for darker, more intense lines – each kind can significantly affect the texture and depth in your drawings. Adapt your techniques to match the material’s properties, and don’t hesitate to mix different charcoal forms to achieve the desired effect.
Reflecting and Improving: The Artistic Journey
Reviewing Your Progress
Take time to reflect on each drawing session. What worked well? What could improve? Consistently reviewing your work and identifying areas for improvement can lead to great leaps forward in your artistic abilities. Keep an art journal or photographic record of your drawings to track progress and define goals for further development.
Seeking Inspiration and Education
Look at other artists’ work for inspiration, attend galleries, or take art classes to keep learning. Charcoal drawing, like any art form, thrives on continuous learning and exposure to different styles and techniques. Moreover, don’t underestimate the value of critique; constructive feedback from fellow artists or mentors can provide new insights and ways to enhance your skills.
In conclusion, mastering the art of drawing cats in charcoal involves a delicate balance of understanding form, mastering shading and texture techniques, and paying attention to fine details. By following this step-by-step guide, artists can improve their skills, achieving lifelike results that capture the beauty and essence of their feline subjects. Practice is essential in refining these techniques, so continually challenge yourself with new poses and textures to explore the full potential of charcoal drawing.