Drawing with charcoal allows for expressively capturing the intricate beauty of flowers. This guide aims to equip beginners with a straightforward approach to charcoal flower drawing, detailing each step from the setup to the finished piece.
Preparing Your Drawing Space and Materials
Choosing the Right Tools
To embark on your charcoal drawing journey, you’ll need charcoal sticks or pencils, a kneaded eraser for corrections, a blending tool like a tortillon, and textured paper suitable for charcoal work. Charcoal paper, with its slight grain, is ideal as it grips the charcoal well, allowing for rich, velvety blacks and a range of tones.
Setting Up Your Workspace
Organize a dedicated area for drawing where you can work comfortably for extended periods. Look for a spot with good natural lighting, such as near a window. Protect your workspace with scrap paper to catch falling charcoal dust, which can be messy. Keep a sharpener close if using charcoal pencils and prep your kneaded eraser by stretching it, making it more pliable and ready for precise erasing.
Starting with Basic Shapes and Outlines
Sketching the Flower’s Basic Shape
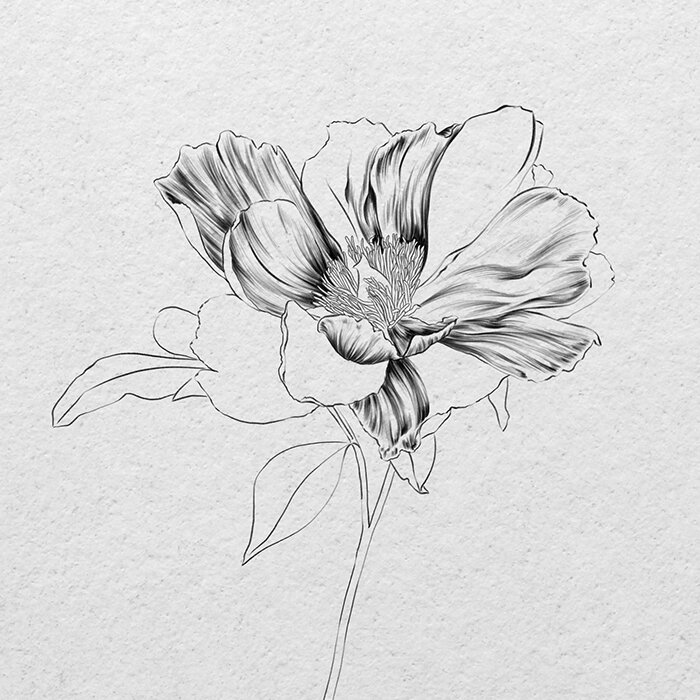
Begin by lightly drawing the fundamental geometric shapes that define your flower. If it’s a rose, lightly sketch an oval to represent the flower’s body and add circles to map out the future placement of the petals. By starting with simple shapes, you reduce the complex form of the flower into manageable parts.
Outlining Petals and Foliage
Transition from basic shapes to more definitive lines to outline the flower’s petals, starting from the flower’s core and moving outward. Keep the outlines light and easy to adjust as necessary. Include the stem and any leaves, remembering that these are as important as the flower itself for achieving a lifelike drawing.
Developing Form with Light and Shadow
Establishing Light Sources
Identify and lightly mark the direction of your light source on the drawing, which will significantly impact where to place shadows and highlights. Consistency with light direction is key to conveying a believable three-dimensional form on the two-dimensional paper.
Adding Shadows and Highlights
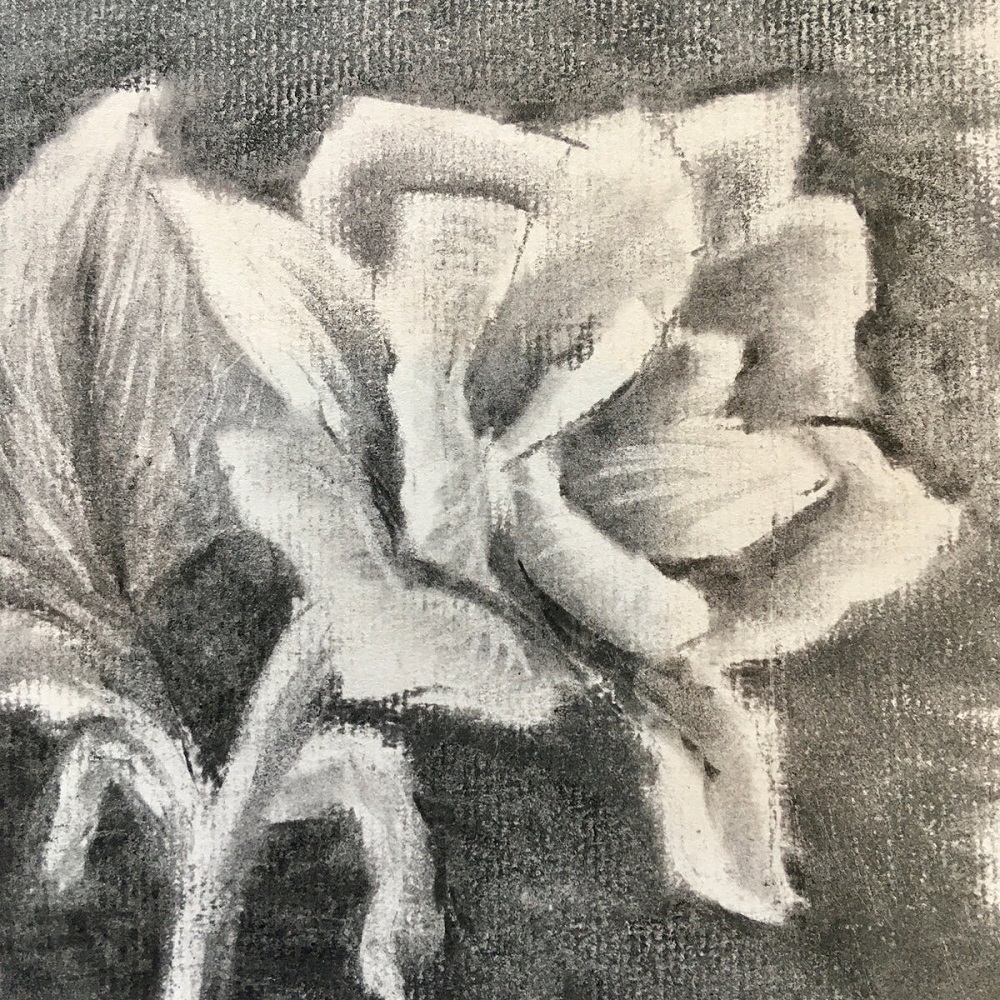
Use the fuller side of your charcoal stick to lay down broad shadows and create the form of the petals. Depress harder for areas in the darkest shadow and less so in areas closer to the light. Blend these areas with your tortillon for soft transitions between light and shadow, helping to build a more realistic sense of depth and volume.
Refining Details and Texture
Enhancing Petal Details
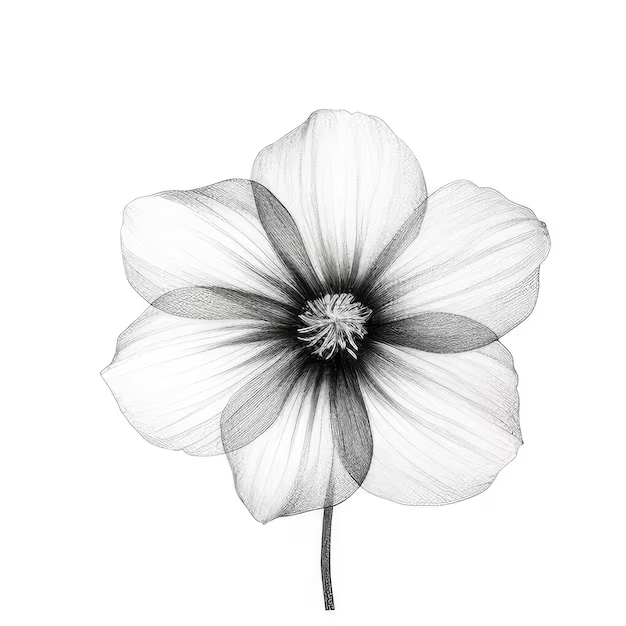
With the basic form established, use a charcoal pencil for finer details, such as the delicate edges of the petals and any distinctive markings or textures. Observe closely where petals overlap, creating natural pockets of shadows, and where the light catches the edges, providing highlights.
Texturing Leaves and Stem
To make the leaves and stem feel alive and dynamic, draw in the details of their textures, such as the veins and slight grooves on the surface of the leaves. Use the sharp tip of your charcoal pencil for intricate work and allow some blending for these elements, ensuring they feel integrated with the rest of the drawing.
Correcting Mistakes and Adjusting Contrasts
Using Your Kneaded Eraser
The kneaded eraser works wonders for lifting charcoal off the paper for corrections and fine-tuning. Mold it to a fine point to erase small details or flatten it to dab at the paper, creating soft highlights. This flexibility makes it an invaluable tool in both correcting mistakes and refining the overall tonal balance of your drawing.
Fine-Tuning the Dark and Light Areas
Examine your drawing with a critical eye. Pay particular attention to where deeper shadows can enhance the form or where too much darkness has muddied the image. Enhance contrasts to ensure your flower drawing has visual impact, with a dynamic range from the deepest blacks to the lightest greys and pure whites for highlights.
Adding the Finishing Touches
Assessing the Overall Composition
Take several steps back from your work, giving yourself a fresh perspective to appraise the drawing’s overall balance and composition. Check if your flower is positioned well on the page and if the values you’ve applied throughout the drawing create a harmonious whole.
Final Detailing and Fixes
Apply your final touches judiciously. This might include reinforcing the darkest areas of shadow one last time, refining the transitions between petals, or subtly suggesting a background that helps your flower stand out. When you’re satisfied with the final drawing, apply a light spray of a workable fixative to prevent smudging, sign your artwork, and admire your finished charcoal flower drawing.
Embracing the Artistic Process
Practicing Patience and Technique
With the fundamentals now in place, it’s important to embrace the artistic process and practice patience. Charcoal drawing is a skill honed over time with repeated practice. Focus on the way your hand moves, the pressure you apply, and how the charcoal reacts to the surface of the paper. Remember, mistakes can lead to new understanding and breakthroughs in technique.
Building Confidence Through Repetition
Challenge yourself to draw a variety of flowers. Experiment with different petal shapes, sizes, and arrangements. The repetition will not only build your confidence but will also expand your repertoire of texture effects, shading techniques, and compositional understanding, which are invaluable to your growth as an artist.
Experimenting with Charcoal Varieties
Exploring Charcoal Types
Don’t hesitate to experiment with different types of charcoal. Compressed charcoal offers a darker and more intense line, while vine or willow charcoal provides softer, subtler marks. By exploring these varieties, you can discover new depths in your floral drawings and identify your preferred medium.
Combining Techniques for Unique Effects
Consider incorporating both compressed and vine charcoal in your work. Use vine charcoal for lighter areas and delicate shading, while compressed charcoal can be reserved for the richest darks and detailed lines. The combination can yield drawings with a dynamic range of tones and a compelling sense of realism.
Understanding the Luminosity of Charcoal
The Power of Negative Space
One unique aspect of charcoal drawing is its capacity for luminosity, even in the darkest compositions. Emphasize the power of negative space, the areas of the paper you leave untouched, to let the white of the paper serve as natural highlights. Pay attention to how the contrast between light and dark can make your flower drawings come alive.
Capturing the Glow of Light
Analyze how the light falls on different parts of the flower and focus on replicating that glow in your work. Charcoal’s ability to create smooth gradients can help simulate light seamlessly transitioning across the flower’s surfaces, adding a sense of vitality and dimension to your drawing.
Advanced Techniques for Enhanced Realism
Implementing Subtle Tones
As you grow more comfortable with charcoal drawing, you’ll learn the subtleties of value control. Delicate transitions from light to dark are essential for conveying the soft curves and folds of petals. Practice layering charcoal lightly and building up the tones gradually for a more nuanced and realistic depiction of your chosen flower.
Creating Depth with Layering
Develop the depth in your flower drawings by layering different charcoal applications. Start with a soft base layer of vine charcoal, then refine with detailed strokes of compressed charcoal, and finish by pulling out highlights with a kneaded eraser. This layering technique adds complexity and richness that mimics the multi-dimensional nature of real flowers.
Reflection and Artistic Growth
Assessing Your Progress
After completing each drawing, take time to reflect on what you’ve learned during the process. Identify what worked well and what can be improved. This self-assessment is crucial for artistic growth and can guide you on which skills to focus on in your future practice.
Continuing Your Artistic Journey
Remember that each drawing is a step on your artistic journey. Celebrate your successes and embrace the lessons learned from challenges faced. Keep seeking inspiration from the natural world, other artists, or different styles of floral art. As you continue to practice, your use of charcoal will improve. You will explore more possibilities with this medium. Your drawings will become increasingly rich. They will also become more detailed. This marks your development as an artist. It deepens your appreciation for the delicate beauty of flowers.
Charcoal drawing is both forgiving and challenging, making it ideal for beginners and experienced artists alike. Through practice with drawing flowers, you’ll refine your ability to see and replicate complex forms and delicate textures. This guide is just the start; let your creativity and the unique properties of charcoal lead you in developing your artistic voice.