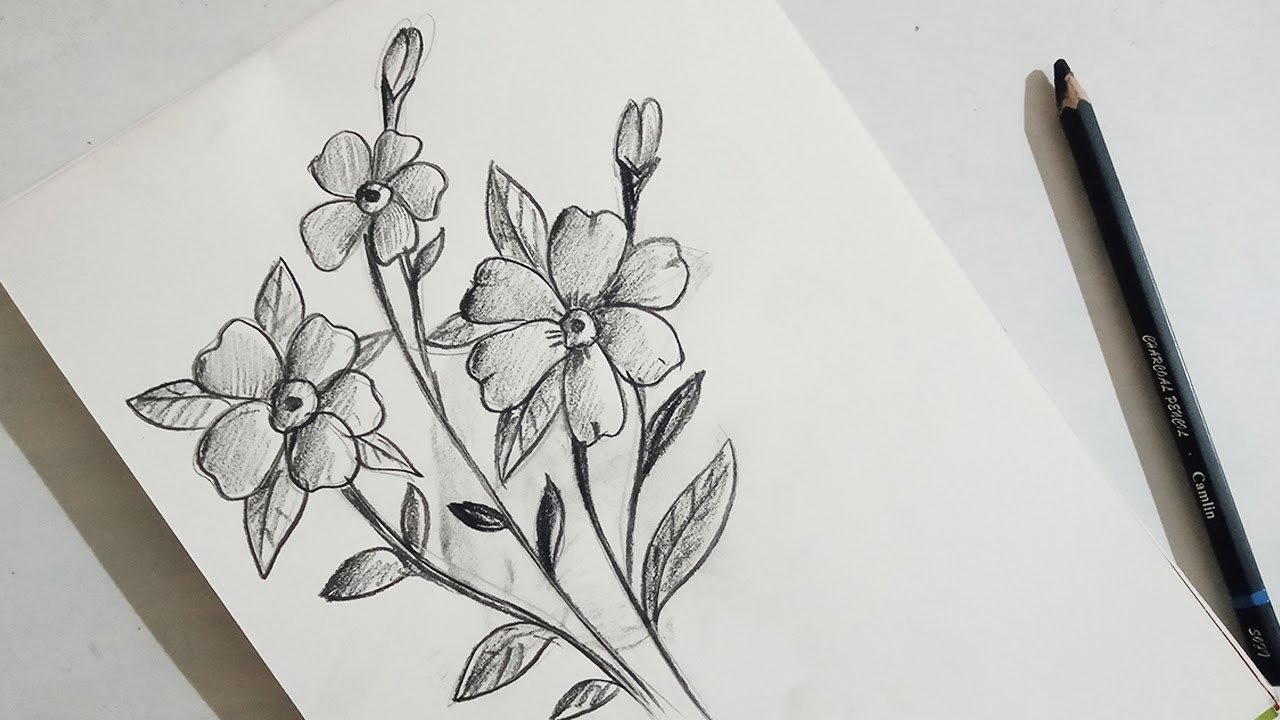
Charcoal drawing stands as a timeless medium, revered for its rich blacks and wide range of tones. Among the plethora of subjects, flowers often emerge as captivating subjects for their inherent beauty and the challenge they pose in capturing their delicate forms. Fortunately, even beginners can create breathtaking charcoal flower drawings by employing some uncomplicated techniques. This article explores straightforward strategies to help artists of all levels harness the power of charcoal to depict flowers in a compelling, realistic manner.
Starting with the Basics: Understanding Charcoal
Choosing the Right Materials
The foundation of any great charcoal drawing lies in selecting appropriate materials. For flower drawings, soft charcoal is ideal for shading and creating those wide tonal ranges, while hard charcoal pencils grant fine detail and precision. Invest in a good quality charcoal set that includes both sticks and pencils, along with a kneaded eraser for lifting charcoal and creating highlights.
Preparing Your Paper
Your choice of paper significantly impacts the final outcome. A heavy, textured paper will hold charcoal well and allow for more expressive marks. Lighter paper can be suitable for detailed work but may not withstand heavy erasure or layering. Having your paper prepped and understanding its limitations sets the stage for a successful drawing.
Sketching Your Floral Subject: Laying the Groundwork
Drafting the Basic Shapes
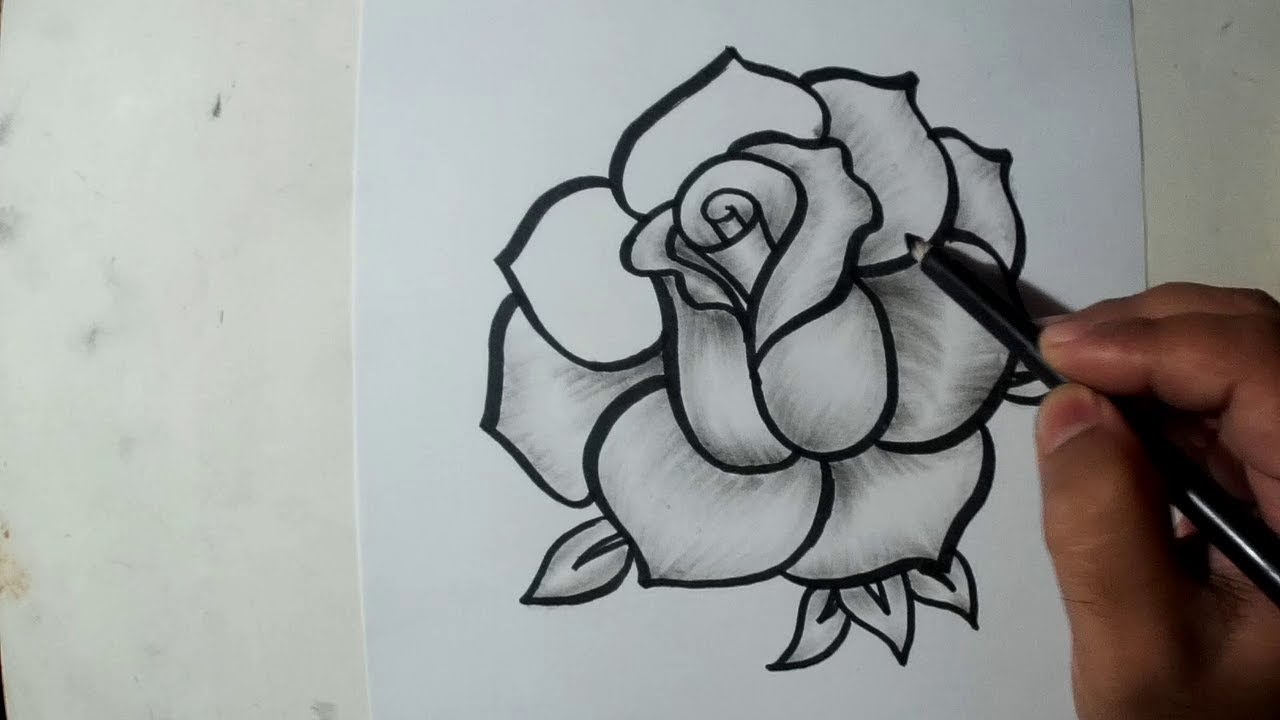
Begin your charcoal flower drawing by lightly sketching the basic shapes of the flower with a hard charcoal pencil. Focus on the general outline and do not get caught up in the details. This step is about mapping out the composition and ensuring everything is correctly sized and positioned. A light touch is crucial here; you’ll want these initial lines to blend into the shading later on.
Establishing Shadows and Highlights
Once the basic shapes are in place, identify where the light source is coming from. This will guide you in establishing the shadow areas and highlights, which are critical for creating depth and dimension in your drawing. Use a soft charcoal stick to gently apply a base layer of shadow, keeping in mind that the darkest areas will likely be at the flower’s base and under petals.
Bringing Your Flower to Life: Shading and Detailing
Shading Techniques for Realism
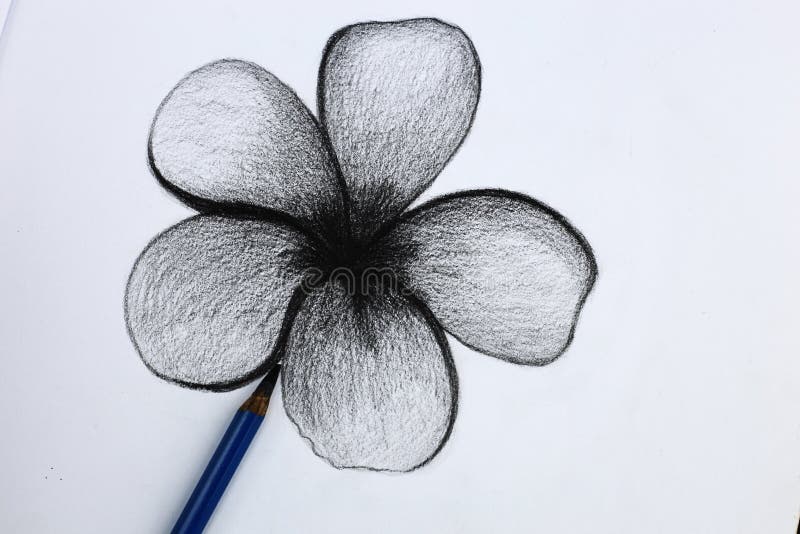
Shading is where your drawing begins to come to life. Using the side of your charcoal stick, create broad strokes for larger shadowed areas, applying pressure for darker tones and easing off for lighter ones. Switch to charcoal pencils for tighter spaces and sharper shadows. Remember, the contrast between light and dark areas is key to achieving a realistic look in your drawing.
Adding Details and Textures
The devil is in the details, especially with the intricate textures of a flower. Use a sharpened hard charcoal pencil to define petal edges, veins, and any distinctive textures. Work from dark to light, gradually building up the drawing’s detail. A kneaded eraser can be dabbed onto the paper to lift charcoal for highlights or to clean up edges for a more defined look.
Finishing Touches: Refining Your Drawing
Refining and Adjusting Contrast
As your drawing nears completion, step back often to assess your work. Adjust shadows and highlights as needed to create a balanced composition. You may find that some areas require darkening to pop against the lighter tones, or vice versa. Use your kneaded eraser to subtly adjust tones, especially in the flower’s lighter areas, for nuanced detailing.
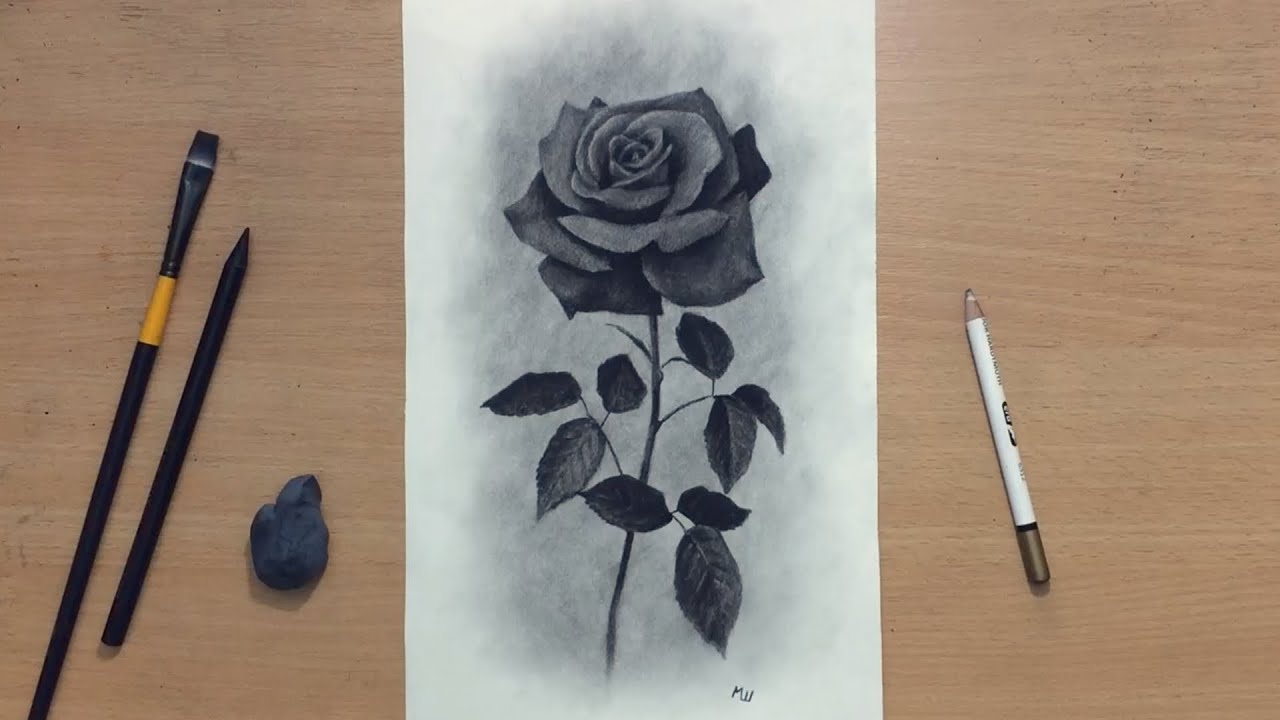
Sealing Your Work
Charcoal is prone to smudging, making it essential to seal your finished drawing with a fixative spray. Ensure your work is completely to your liking before applying the fixative, as altering the drawing afterward can be challenging. Spray evenly across the surface following the product’s instructions, and allow it to dry completely. This will preserve your flower drawing, keeping it safe from smears and smudges.
Emphasizing Texture in Your Charcoal Flower Drawings
Exploring a Variety of Charcoal Marks
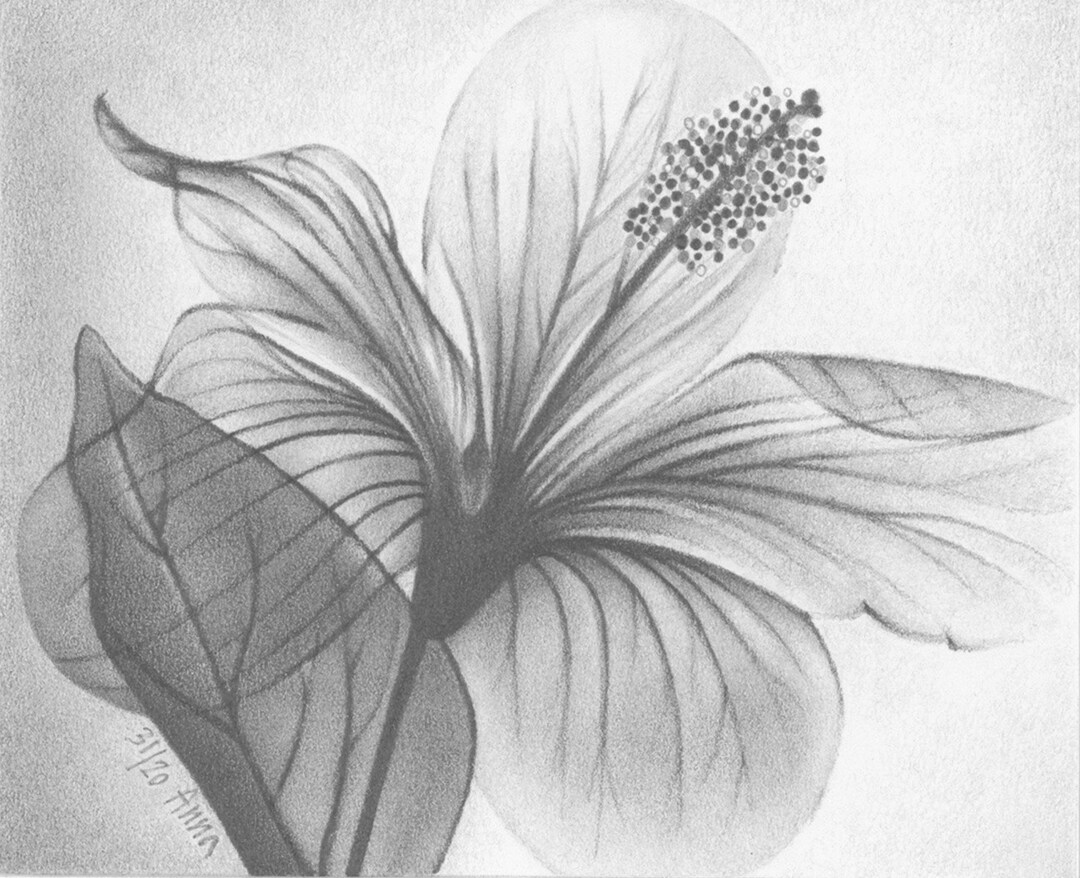
To truly capture the essence of flowers in your charcoal drawings, it’s important to play with different charcoal marks that can mimic the textures you find in petals and leaves. Use various techniques such as hatching, cross-hatching, and stippling with your charcoal pencils to suggest the fine details in these natural elements. Each type of mark can contribute to the overall richness and lifelike quality of your drawing.
Experimenting with Finger Blending for Softness
For softer textures, such as the delicate transitions between light and shade on a petal, finger blending can be an effective tool. Gently smudge the charcoal using your finger to smooth out the harsh lines, creating a softer, more natural gradient. This technique also helps to fill in the texture of the paper, achieving an even more realistic portrayal of the flower’s surface.
Capturing the Light: Highlighting Techniques
Using a Kneaded Eraser for Fine Highlights
Brightness is just as significant as shadow in conveying the dimension and delicate nature of flowers. Use your kneaded eraser to carve out fine highlights where the light most strongly hits the flower, such as the tips of the petals or the tops of folds. You can shape the eraser into a point to get into small spaces, or use it flat to create broader highlights. Remember, the contrast between the light and dark areas will make your flower ‘pop’ off the page.
Reinforcing Highlights with White Charcoal or Pastel
For the brightest highlights or to add subtle color variations, you can bring in white charcoal or pastels. These can be used sparingly to enhance the natural glow of certain areas within the flower. Applying these strategically not only elevates the highlights but can also serve to make certain elements of the flower stand out and demand attention.
In conclusion, charcoal flower drawings can be a fulfilling challenge, offering an enjoyable exploration into the medium’s expressive potential. By starting with the right materials, carefully sketching your subject, and meticulously applying shading and details, you’ll create stunning, lifelike representations of flowers. Remember, practice is essential; each drawing you complete will build your confidence and skill in this beautiful art form.