Why Binder Cover Ideas Matter in 2025
In today’s fast-paced world, staying organized is more important than ever. Whether you’re a student, teacher, or professional, binders are essential tools for managing notes, reports, and files. However, plain black or white binders can blend together easily. That’s where smart and creative binder cover ideas come in handy. A well-designed binder cover helps you identify documents quickly. It also reflects your personality or brand identity. In 2025, customizing your binder has become a popular trend across schools and offices. From digital printing to DIY arts and stickers, there are many ways to make your binder stand out. Not only does a unique design boost organization, but it also makes carrying your materials more enjoyable. This guide will walk you through different types of binder covers, how to personalize them, and the latest trends shaping the way we organize our work in 2025.
Different Types of Binders and Their Covers
Before diving into design ideas, it’s helpful to understand the various types of binders available. Each one may influence the kind of cover you choose. The most common type is the three-ring binder, which comes in sizes like 1-inch, 2-inch, and 3-inch capacities. These are ideal for students and professionals who need flexibility with page additions and removals. Then there are view binders, which have clear pockets on the front, back, and spine.
They allow inserts for easy labeling and branding. D-Ring binders hold more pages than standard O-rings because their D-shape provides more space. For those who prefer a sleek look, slim profile binders offer minimal bulk while still holding a moderate amount of paper. Many modern users also opt for zippered binders that include pockets and compartments for extra storage. Lastly, custom hardcover binders are great for presentations or long-term projects. They let you imprint logos, names, or artwork directly onto the surface. Knowing which type of binder you own helps you pick the best binder cover ideas that suit both function and style.
Popular Materials for Customizing Binder Covers
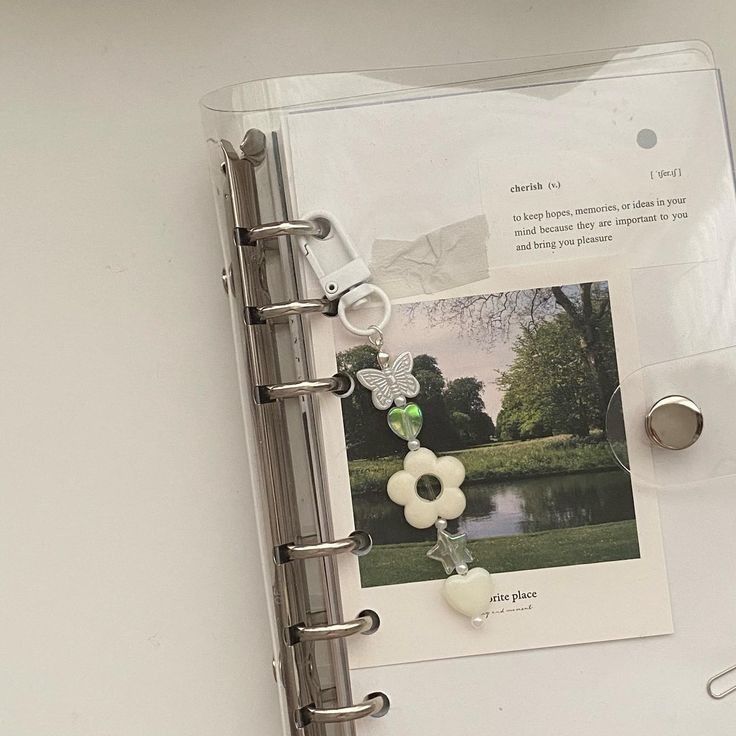
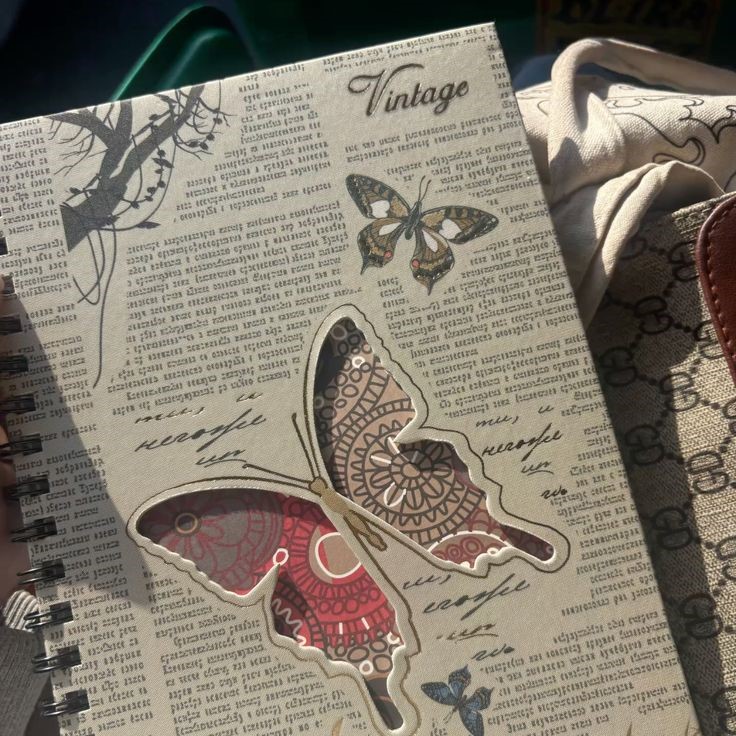
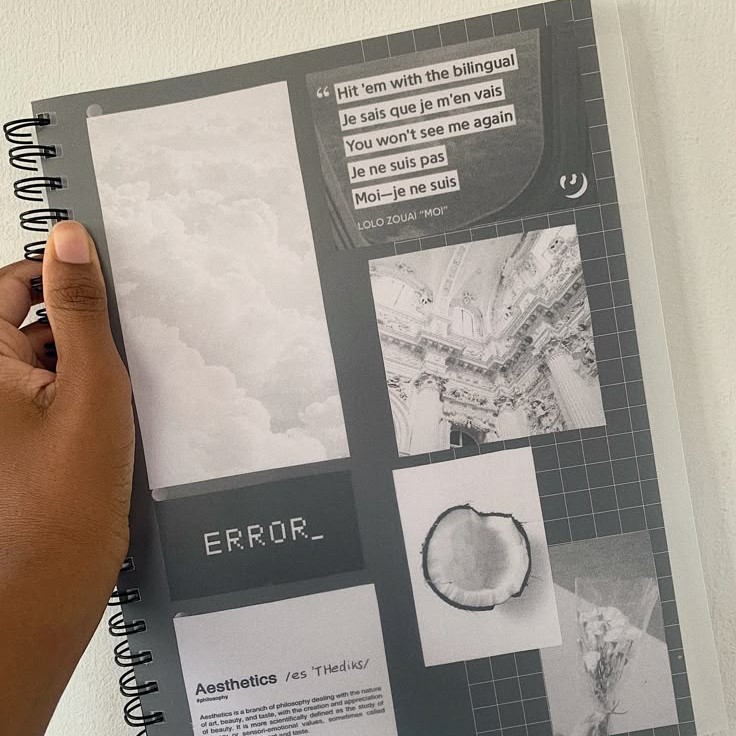
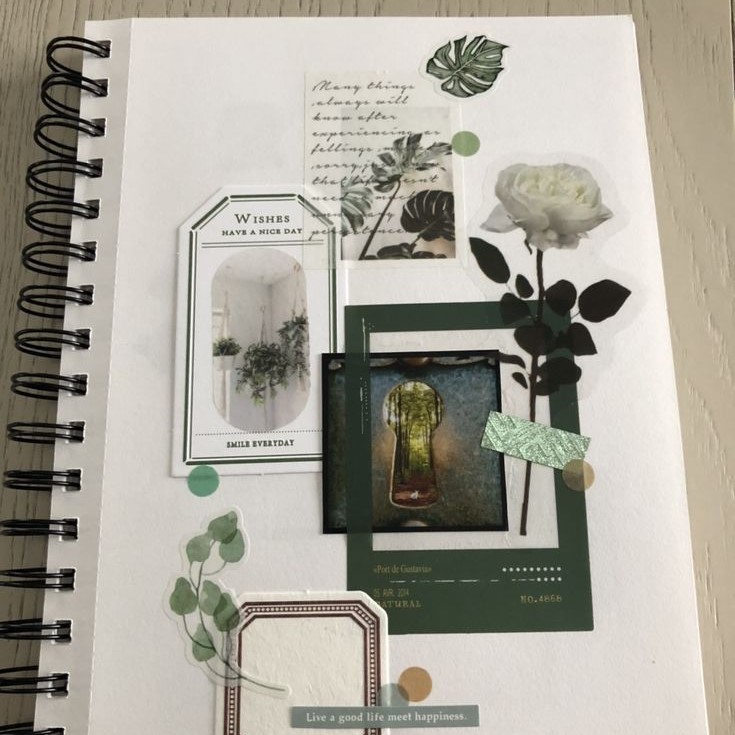
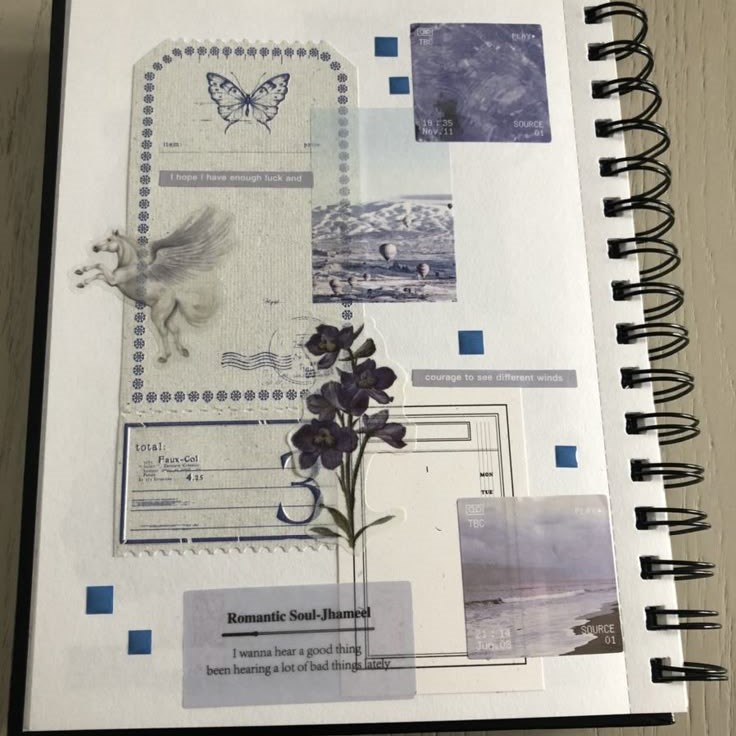
When selecting materials for decorating your binder cover, the options are nearly endless. One of the most affordable choices is sticker paper. You can print images, quotes, or patterns at home and apply them easily. Another popular option is contact paper or laminating sheets, which protect your design from wear and tear. If you enjoy drawing or painting, art supplies like markers, watercolors, or acrylic paints give your cover a personal touch. For a cleaner and more professional finish, consider using vinyl stickers or decals.
These can be custom ordered online and applied smoothly without damaging the binder. Those who prefer a reusable solution often choose dry-erase or chalkboard covers, which allow frequent label changes. Some people use fabric covers that attach with Velcro or magnets for an interchangeable look. Additionally, digital templates from platforms like Canva or Google Docs help create polished designs that can be printed and cut to size. Lastly, embellishments such as ribbons, buttons, or beads add a tactile element to your design. With so many materials available, you can mix and match to find the perfect combination that suits your needs and style.
Step-by-Step Guide to Creating Your Own Binder Cover
Creating your own binder cover may seem challenging at first, but with a few simple steps, you can turn a basic notebook into a personalized organizer. Start by choosing a theme. Think about what represents you—school spirit, hobbies, favorite colors, or motivational quotes. Once you have a theme, gather your materials. Basic supplies might include printer paper, sticker paper, scissors, glue, and decorative items. If you’re using digital tools, open a design program like Canva or PowerPoint. Next, measure your binder cover.
Most standard three-ring binders are around 11 inches wide and 8.5 inches tall. Leave space for the rings when designing. After measuring, begin creating your layout. Add background colors, photos, text, and borders. Be sure to leave room for labels or titles. When your design is ready, print it on sticker paper or regular paper if you’ll be gluing it on. Cut the design to fit the binder. Before attaching, test the placement to make sure everything looks aligned. Use tape or adhesive spray to secure it in place. Finally, add final touches like glitter, washi tape, or small drawings. Let it dry if needed. Now you have a custom binder cover that stands out and boosts your motivation every time you open it.
Digital Tools for Designing Binder Covers
If you love technology and want a clean and editable design, digital tools can help bring your binder cover ideas to life. One of the most popular platforms is Canva. It offers free templates for binder covers that you can customize with text, shapes, and images. It also allows you to upload your own photos or artwork. Google Slides is another useful tool. Though not designed for this purpose, its slide-size feature matches a standard binder cover, making it easy to edit and download. Adobe Illustrator is ideal for advanced users who want full control over vector graphics. It gives crisp lines and high-quality prints.
For younger students or beginners, Microsoft Word has built-in templates under the “Labels” section that can be adjusted to fit a binder. Fotor and PicMonkey are other user-friendly editors that provide drag-and-drop features. Whichever tool you choose, remember to set the document size correctly. Save your file in PDF or PNG format before printing. Also, check the margins to avoid cutting off any part of your design. Using these tools ensures your binder cover ideas look professional and match your style perfectly.
Best Practices for Organizing Content Inside the Binder
While a beautiful cover catches attention, how you organize the inside content truly adds value. To start, use dividers with labeled tabs. These separate subjects, projects, or sections clearly. Choose color-coded tabs for quick visual identification. For example, blue can represent math, green for science, and purple for writing. Next, invest in clear sheet protectors. These keep important papers safe from spills or bending. Use them for frequently accessed documents like course syllabi or project outlines. Pocket folders inside the binder are also helpful for storing loose handouts, flashcards, or homework assignments.
Label each pocket to avoid confusion later. Consider using colored sticky notes or flags to mark key pages. This helps you flip to important spots quickly. If your binder gets too heavy, label each section with dates or topics. This prevents clutter and saves time when searching for old notes. Lastly, perform a monthly check-up. Remove unnecessary papers and reorganize sections as needed. Keeping the inside just as neat as the outside ensures your binder cover ideas support real-world productivity and success.
How to Refresh Your Binder Cover Throughout the Year
One major benefit of customizing your binder is the ability to change it up as your needs shift. At the start of a new semester or work quarter, you may want to update your binder cover ideas to reflect new goals or themes. If you used removable materials like vinyl stickers or fabric covers, take them off and replace them with fresh designs. For printed sticker paper covers, carefully peel them away and apply a new one. If your binder is decorated with permanent paint or markers, consider placing a removable overlay on top.
Clear contact paper or dry-erase sleeves can serve as flexible layers for temporary labels or doodles. Some people use magnetic sheets that stick to metal-based binders. These allow instant swaps of photos, messages, or calendars. Reusable fabric patches or felt appliques are also great for updating your look without damaging the original surface. If you made a digital design, simply adjust the template and print again. Regularly refreshing your binder keeps it exciting and functional. It also helps maintain motivation throughout the year.
Eco-Friendly and Sustainable Binder Cover Options
As environmental awareness grows, many people are looking for greener alternatives when choosing their binder cover ideas. One approach is to use recycled materials such as scrap paper, magazine cutouts, or old greeting cards for collages. These can be glued onto the cover for a unique and eco-conscious look. Another sustainable choice is biodegradable sticker paper, which breaks down naturally over time. Instead of buying new binders every year, consider refurbishing old ones with paint, fabric wraps, or second-hand covers found at thrift stores. Digital covers eliminate paper waste entirely.
By designing online and displaying your image on a tablet or screen protector, you can switch styles without printing anything. Cloth binders made from organic cotton or hemp are also becoming popular. They can be washed and reused for years. Additionally, some brands now sell plantable seed paper labels, which you can remove and grow into flowers or herbs once they’ve served their purpose. Making eco-friendly choices not only supports the planet but also encourages creativity in reimagining how we reuse and refresh our materials.
Summarize
Creative binder cover ideas go beyond decoration—they play a role in organization, motivation, and personal expression. Whether you use digital tools, handmade crafts, or eco-friendly materials, a customized cover helps your binder stand out. From understanding different types of binders to learning how to refresh your design, this guide covered multiple approaches. Staying updated with the latest trends ensures your organizational tools remain stylish and effective in 2025. No matter your age or profession, a well-designed binder enhances your daily workflow. So, get inspired, explore your options, and make your next binder cover uniquely yours.