Introduction to Glaze Ceramics
Glaze ceramics bring life and finish to pottery works. This introduction will lay the groundwork for mastering glazing techniques. But first, let’s grasp the glaze ceramics definition.
Glaze is a glass-like coating applied to pottery for decoration and protection. It fuses with the ceramic surface during firing. This creates a glossy, often colorful, finish. It also seals the object’s pores, making it waterproof and durable.
Understanding glazes is key to successful ceramic art. Different formulas offer varied textures, appearances, and functions. Knowing how to mix, apply, and fire glazes is vital to achieve the desired effects. We will explore these aspects in the following sections.
With this knowledge, artists can express themselves through a rich palette of glaze options. They can also solve common problems and apply advanced techniques to enhance their work. By the end of this guide, you can expect to better understand the complexities of glazing. You’ll be ready to elevate your own ceramic projects.
Types of Ceramic Glazes
There are several types of ceramic glazes that artists can choose from. Each type provides a unique look and feel to the finished ceramic piece. Here’s an overview of the most common ones:
- Gloss Glazes deliver a shiny, reflective finish. They make colors vibrant and are popular for functional ware.
- Matte Glazes have a non-reflective, satin finish. They offer a soft, muted appearance popular in decorative art.
- Satin Glazes fall between glossy and matte. They provide a smooth, pearl-like sheen that’s elegant and subtle.
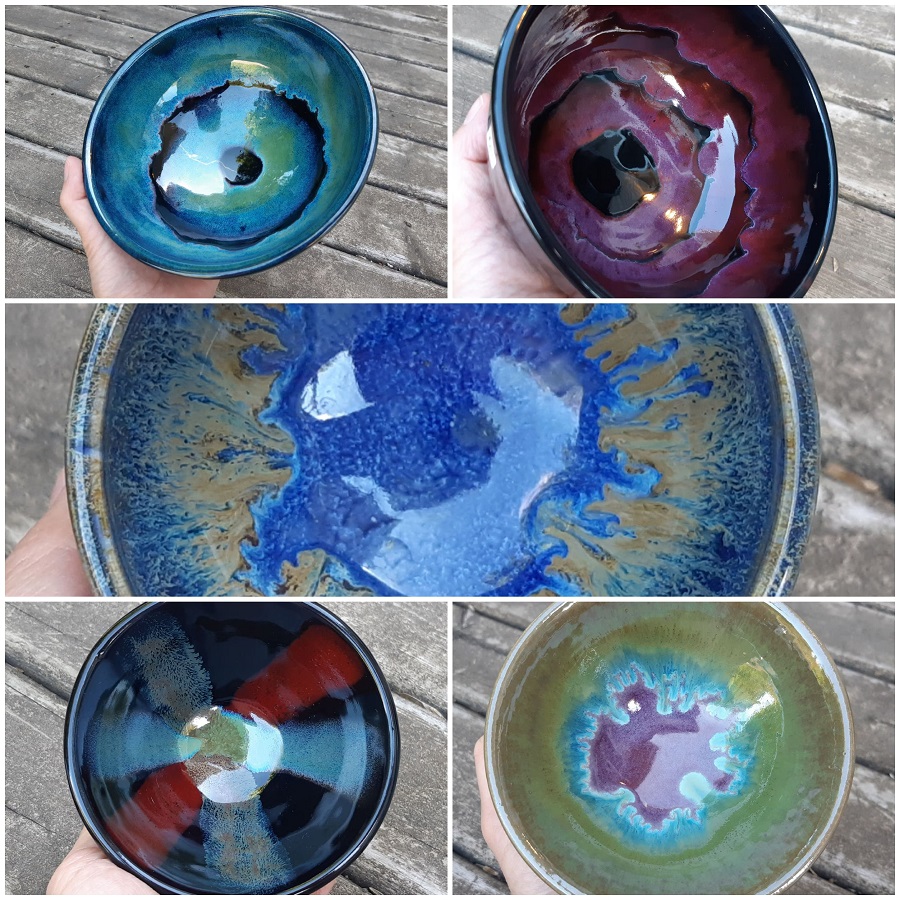
- Crystalline Glazes create impressive crystal patterns. They need precise firing conditions but result in stunning, unique surfaces.
- Celadon Glazes are translucent and often greenish. They have a traditional, Asian aesthetic and highlight embossed details well.
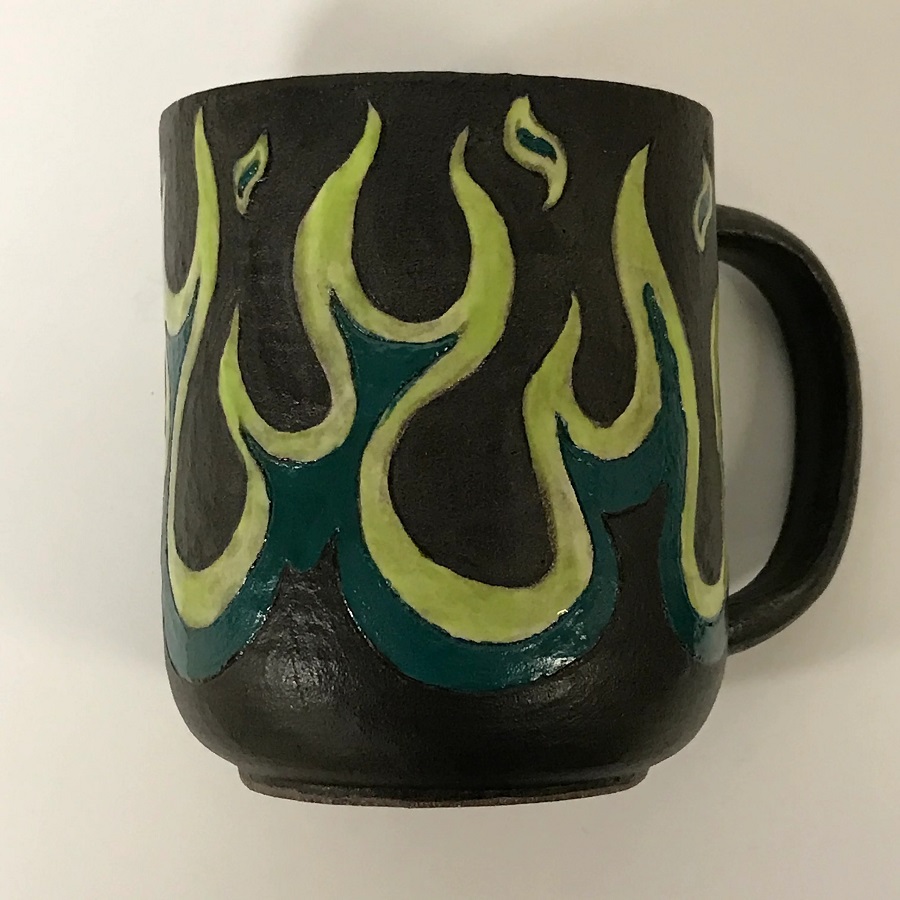
- Raku Glazes give a distinctive, crackled texture. They work best with the Raku firing method for dramatic effect.
Understanding these options aligns with the glaze ceramics definition of creating a glass-like coating. Artists select glazes based on artistic vision and functionality needs. Experimenting with different types can lead to unique and expressive outcomes in ceramic art.
Preparing Your Ceramics for Glazing
Before applying any type of glaze, preparing your ceramic pieces is critical. This stage is about ensuring a clean, absorbent surface for the glaze to adhere to properly. Here are some steps to prepare your ceramics for glazing:
- Clean your bisqueware thoroughly. Use a damp sponge to wipe off any dust or debris. Remember, a spotless surface is essential for an even glaze application.
- Check for any flaws. Inspect your ceramics for cracks or uneven spots. Repair them before glazing to avoid flaws in the final product.
- Consider bisque firing your piece. Bisque firing turns your pottery into a hard, porous state ready for glazing. It’s an essential step that aligns with the glaze ceramics definition of preparing the body for that glass-like coating.
- Ensure your bisqueware is bone dry. Any moisture can cause the glaze to apply unevenly or lead to cracking during the firing process.
For a successful glazing process, starting with perfectly prepped ceramics is a must. This preparation aligns with the glaze ceramics definition by making the surface ready to fuse with the glaze. The result is a durable, waterproof finish that enhances your ceramic art.
Application Techniques for Glazing
To perfect glazing, artists must master application techniques. The way artists apply glaze impacts the final look of the ceramic piece. Here are some common techniques:
- Dipping involves immersing the bisqueware into the glaze. This technique ensures a fast and even coat.
- Brushing allows for detailed glazing. Artists use brushes to apply glaze to specific areas. This technique takes more time but offers control.
- Pouring is when glaze is poured over a ceramic piece. It creates an even layer and is good for large items.
- Spraying glaze with airbrush equipment. It is ideal for achieving a smooth, even coverage. It especially suits larger or irregularly shaped pieces.
- Swirling can create a marbled effect. Pour different glazes into a container and swirl the bisqueware through them.
No matter the technique chosen, even application is key. It aligns with the glaze ceramics definition. It promotes a consistent finish. These techniques can vary based on the type of glaze used. Thus, it’s essential to understand the properties of the glaze. This ensures that the application method chosen is suitable. With practice, artists gain a feel for the best techniques to use for their work. Their choices often reflect their artistic vision and the functionality of the piece. In the end, mastering these techniques will lead to impressive and durable glazed ceramics.

Firing Ceramics: Understanding the Process
Firing is a crucial step in ceramic making. It’s where the glaze and clay body unite. For artists, understanding the firing process is as important as the glaze ceramics definition itself. Here are key points to know:
- Know the Types of Kilns. Electric, gas, wood, or raku kilns are common choices. Each type affects the final glaze differently.
- Understand Firing Temperatures. Glazes require specific temperatures to mature. These range from low-fire to high-fire, labeled as Cone 022 up to Cone 10.
- Control the Heating Rate. How fast a kiln heats up influences glaze behavior. It must align with the glaze’s requirements.
- Hold the Temperature. Once the target temperature is hit, hold it steady. This ensures the glaze melts and bonds properly.
- Cooling is Part of the Process. Cooling, or annealing, is vital. It prevents stress in the ceramic that could lead to cracking.
The firing process finalizes the artist’s vision. It’s what gives the glaze ceramics a durable, glass-like surface. A carefully monitored firing cycle is key to the success of glazed pieces. Practice and experience often lead to mastery in this complex process.
Common Glazing Problems and Solutions
While glazing can be a rewarding process, it’s not without its challenges. Problems can arise leaving artists puzzled. Here are issues often faced with solutions:
- Pinholing occurs when small holes appear in the fired glaze. To fix this, ensure your ware is clean before applying the glaze. Also, control your kiln’s firing and cooling rates.
- Crazing means fine cracks in the glaze. Adjust the glaze fit by tweaking the clay body or glaze formulation. Or, alter the cooling rate of the kiln.
- Shivering can happen when the glaze compresses and flakes off. To solve this, try a glaze with a different expansion ratio. Or, adjust the clay body composition.
- Running glaze flows off the piece in the kiln. To prevent this, apply the glaze more thinly. And, be precise with firing temperatures.
- Crawling is when the glaze pulls away, leaving bare patches. It can be due to a dusty bisqueware or too thick glaze application. Clean your ceramics thoroughly and use the correct glaze thickness.
- Blistering appears as bubbles on the surface. Control your kiln’s heating cycle and glaze thickness to prevent this. Fine-tuning the glaze composition may be necessary.
These problems, once understood, can be avoided or fixed. With these solutions, they align with the glaze ceramics definition of achieving a flawless glass-like coating. Practice and patience in resolving these issues will undoubtedly lead to more consistent and beautiful results.
Advanced Glazing Techniques for Artists
For those ready to explore beyond the basics, advanced glazing techniques can add complexity and depth to ceramic works. Mastering these methods requires patience, but the results can be stunning. Here, we delve into some of the sophisticated techniques artists use to elevate their glaze ceramics.
- Layering Glazes: By applying multiple layers of different glazes, artists can create intricate designs and effects. Each layer must dry before adding the next. This technique can develop rich textures and visual depth.
- Wax Resist: This involves using a wax-based substance to prevent glaze from adhering to certain parts of the ceramic. After glazing, the wax burns off during firing, leaving a contrast between the glazed and unglazed areas.
- Sgraffito: This technique involves scratching through a layer of glaze to reveal the clay body beneath. It allows for detailed patterns and lines, and it’s an excellent way to add illustration or texture to your ceramics.
- Underglaze Decoration: Artists can paint designs onto bisqueware using underglazes, then cover the piece with a clear glaze. The underglaze decoration shows through, offering another avenue for artistic expression.
- Glaze Mixing: Mixing custom glazes gives artists control over color and finish. Experimenting with different oxide and pigment combinations can yield unique glaze hues and effects.
- Combining Techniques: Advanced artists often combine these techniques to create truly one-of-a-kind pieces. For example, using sgraffito on an underglazed piece can add dimension and interest.
Adopting these advanced methods involves a deep understanding of the glaze ceramics definition and its principles. The more artists practice and experiment with advanced techniques, the better they can express their artistic vision and produce works with a distinctive finish.
Tips for Maintaining and Storing Glazed Ceramics
After mastering the art of glazing ceramics, maintaining and storing your finished pieces is vital. Here are some tips to keep your glazed ceramics looking great for years to come:
- Handle with Care: Glazed ceramics can be delicate. Always pick up items with both hands. Avoid dragging them across surfaces to prevent scratches.
- Cleaning Tips: Use a soft cloth to wipe the surface. For deeper cleaning, use mild soap and water. Rin’t use abrasive cleaners, as they can damage the glaze.
- Storing Strategies: Stack pieces carefully with a soft material in between. This avoids chips and scratches. Don’t stack too high to prevent toppling.
- Avoid Sudden Temperature Changes: Don’t move ceramics from a cold area to a hot one quickly. This can cause cracking. Let them adjust slowly to temperature changes.
- Check for Damage Regularly: Inspect your pieces for any cracks or glazing issues. Early detection can save a piece from further damage.
- Display with Thought: Keep glazed ceramics out of direct sunlight. UV rays can fade colors over time. Also, consider the weight on shelves to prevent sagging.
By following these tips, your glazed ceramics will stay in beautiful condition. They reflect the time and effort you put into them, aligning with the glaze ceramics definition of a durable, glass-like finish. Good care ensures your ceramics are not only functional but continue to bring joy through their appearance.