Introduction to Slab Box Ceramics
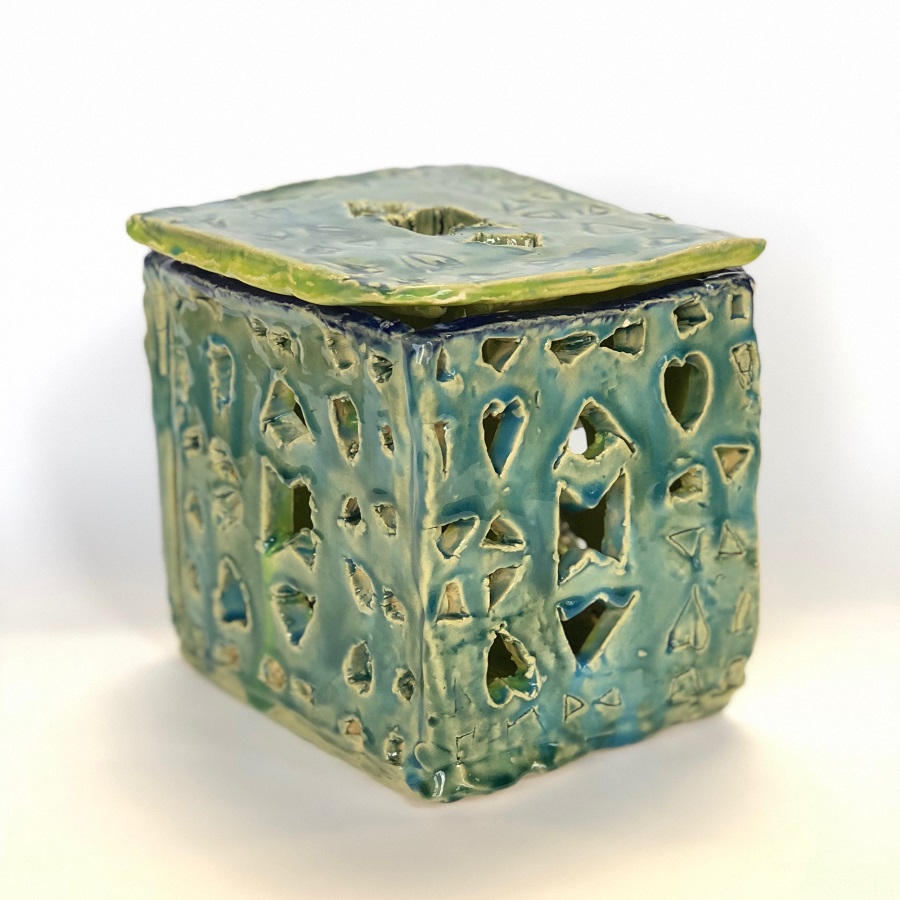
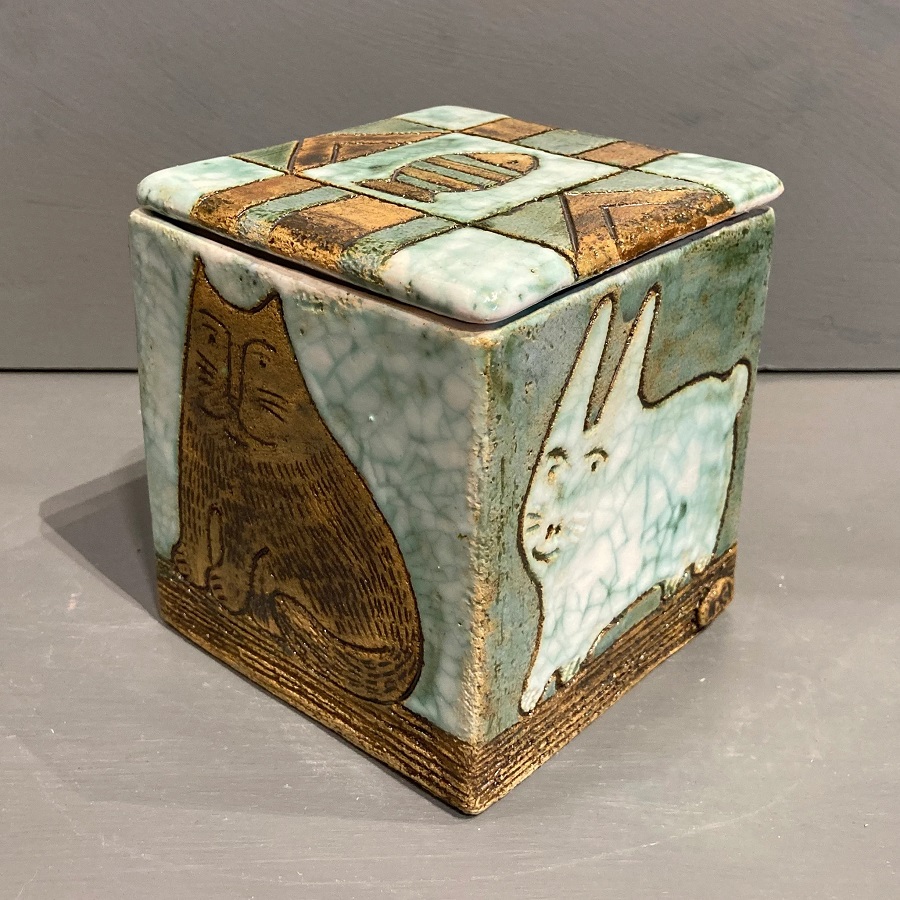
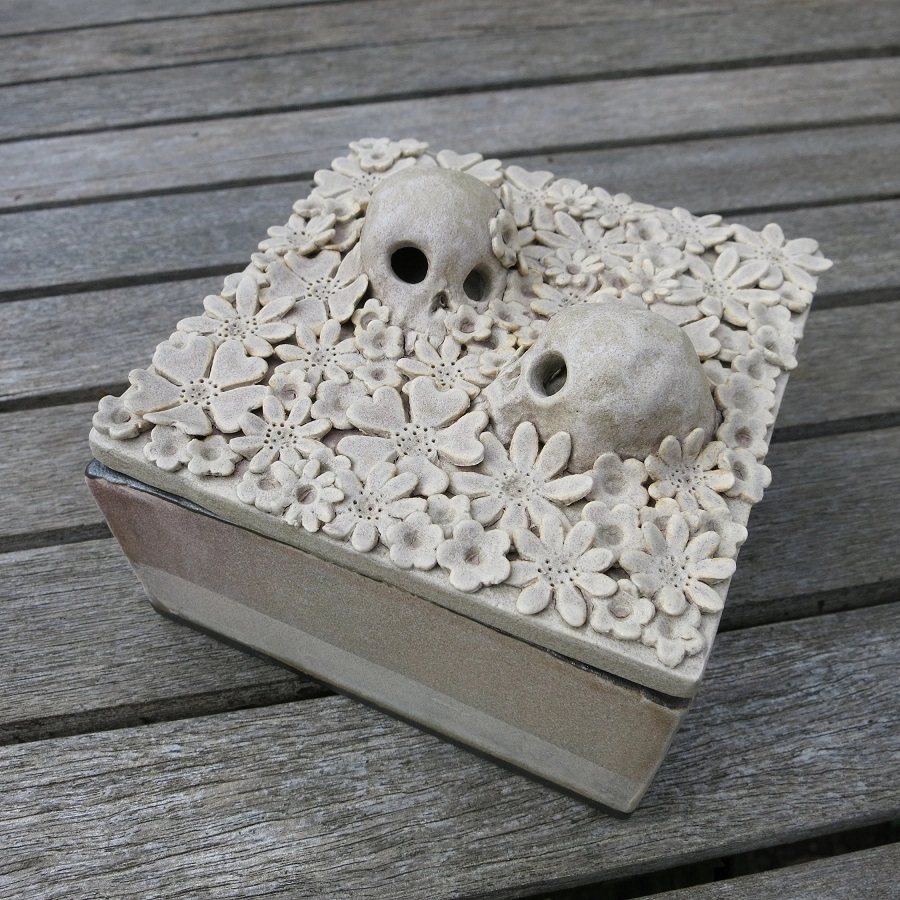
Slab box ceramics is an art form rooted in simplicity and elegance. It involves shaping pliable clay into a box using slabs. This technique allows for creativity and versatility in design. Slab boxes can range from small trinket holders to large decorative pieces. In this guide, we delve into the step-by-step process of creating your own slab box ceramics.
First, we explore what slab box ceramics really entails. It is not just about the end product, but also the journey of molding and transforming the clay. The process brings a sense of fulfillment and accomplishment. Creating slab box ceramics requires patience and a steady hand. It is both a skill and an expression of the artist’s vision.
Next, we move on to the essential tools and materials you’ll need. This foundation sets the stage for a successful slab box project. You will learn about each tool’s purpose and how to select the best materials. Understanding your tools and materials is crucial for working effectively with clay.
Join us as we embark on this artistic adventure. By the end of this blog, you’ll have the knowledge to master slab box ceramics. Let’s unveil the magic that clay holds and transform it into a work of art.

Essential Tools and Materials for Slab Box Making
Before diving into the process of creating slab box ceramics, you need to gather the right tools and materials. The quality of your final product heavily relies on these essentials. Here’s a list of what you’ll need for a smooth start:
- Rolling Pin: A large, sturdy rolling pin is essential to roll out slabs of clay evenly.
- Clay Slabs: High-quality clay that’s suitable for slab building. Choose clay with good plasticity and less shrinkage.
- Canvas or Slab Mat: To roll out your clay without it sticking to the work surface.
- Ribs: Wooden, metal, or silicone ribs help compress and smooth out the clay slabs.
- Clay Knife or Wire Cutter: To cut the clay slab into precise shapes for your box.
- Slip: A mixture of clay and water, acting as a glue to join the slabs.
- Brushes: For applying slip and later, for glazing.
- Sponge: A slightly damp sponge will smooth edges and remove excess clay.
- Ruler and Square: For measuring and ensuring right angles.
Each tool serves a specific purpose in the delicate process of slab box making. The rolling pin and slab mat aid in spreading the clay evenly, creating a uniform base for your box. The ribs are indispensable for smoothing out the surface, ensuring no air is trapped between the layers. The clay knife needs to be sharp enough to cut without dragging. The slip should be of just the right consistency for efficient adherence of the slabs, while brushes and sponges impact the final texture and finish. Pay attention to the ruler and square as precision is key in forming a properly structured box.
Preparing the Clay: Tips and Techniques
Proper preparation of clay is critical for successful slab box ceramics. First, knead your clay thoroughly to remove any air pockets. This ensures a smooth, even consistency. Start by wedging the clay on a canvas or a hard surface. Use a cut-and-slam technique to push out trapped air. Make sure your clay has the right moisture content; too dry and it will crack, too wet and it won’t hold its shape.
Next, condition your clay for optimal plasticity. This means it can stretch without tearing. You’ll want it soft enough to manipulate but firm enough to support itself. A well-conditioned clay will make the rolling process easier and prevent warping. Allow your kneaded clay to rest before rolling. This lets the particles align and reduces stress in the material.
Here are key steps for preparing your clay:
- Wedge your clay: To even out the consistency and remove air bubbles.
- Test for moisture: Press into the clay. If it holds the indent, it’s ready.
- Let it rest: After kneading, wrap it in a damp cloth and set aside.
When preparing clay, patience is your ally. Rushing can lead to imperfections that might ruin the final product. With these tips, your clay will be in the perfect state for the next stage – rolling out a flawless slab for your box.

Rolling the Perfect Slab for Your Box
After preparing your clay, rolling out a perfect slab is the next critical step. The slab is the foundation of your box, so strive for uniform thickness. Here are the steps to roll out an immaculate slab for slab box ceramics:
- Start on a Canvas: Lay your well-conditioned clay on a canvas or slab mat. This stops the clay from sticking.
- Use Even Pressure: With your rolling pin, apply even pressure. Roll from the center outwards.
- Maintain Consistency: Aim for consistent thickness. Use guide sticks if needed. This prevents warping later on.
- Rotate the Clay: Turn the clay quarter turns to ensure even rolling. This helps avoid unevenness.
- Check for Blemishes: Look for imperfections or air bubbles. Smooth these out with a rib or sponge.
If you notice the slab is too wet, let it stiffen slightly. This makes it easier to handle without distortion. As you work, keep the clay covered with a damp cloth to prevent drying out. The perfect slab will lead to a sturdy and attractive slab box, reflecting your skill and dedication to the craft.
Cutting and Assembling the Slabs
Cutting and assembling your clay slabs is a delicate part of making slab box ceramics. It’s where your box starts to take shape. Careful cutting ensures pieces fit snugly together. Proper assembling provides the box’s strength and durability. Follow these steps for best results:
- Measure Twice, Cut Once: Use your ruler and square to mark where to cut. Accurate measurements lead to a better fit.
- Use a Sharp Tool: A sharp clay knife or wire cutter makes clean cuts. This prevents rough edges.
- Score the Edges: Scratch the edges of the slabs where they will join. This helps the slip bond the pieces.
- Apply Slip Thoroughly: Brush on slip where the slabs will connect. It acts like glue to keep pieces together.
- Assemble Gently: Press the slabs together with care. Align edges for a smooth finish.
- Support the Structure: While the slip is setting, support the box with internal props if needed.
- Smooth the Seams: Use a sponge or your fingers to smooth out any seams. This will strengthen the bonds.
Make sure each slab fits well before joining them. Take your time during this stage. A well-assembled slab box will look even and be strong after firing. Keep slab box ceramics principles in mind to ensure a pleasing and lasting result.

Adding Texture and Decorative Elements
Once your slab box structure is in place, adding texture and decorative elements brings it to life. This step is where your creativity truly shines. Here’s how you can enhance your slab box ceramics with unique touches:
- Embossing: Press objects into the clay for a relief effect. Use stamps, leaves, or any textured materials.
- Carving: Etch designs into the slab before it dries. Use a pointed tool for fine lines.
- Slip Trailing: Draw raised patterns with slip applied from a squeeze bottle. This adds dimension.
- Adding Appendages: Attach handles or feet to your box. Score and slip them on carefully.
- Incising: Create intricate patterns by cutting into the almost-dry clay. Do this with caution.
Before you begin decorating, plan your design. Sketch ideas on paper if it helps. As you add textures or elements, work gently. Don’t press too hard or you might warp the clay. Allow creativity to guide you, but stay mindful of the clay’s state. It should be leather-hard for best results, as too-dry clay will crumble and wet clay will slump.
Each decorative step must be done with care, but don’t fear mistakes. They often lead to unique results. When your box reflects your vision, the next stages await. The decoration phase is not just about aesthetics; it’s about personalizing your creation. Your slab box ceramics piece is now ready for drying and the first firing, known as biscuit firing.
Drying and Biscuit Firing Your Slab Box
Successfully creating your slab box design leads to the next key phase: drying and biscuit firing. This stage is crucial for the strength and durability of your piece. Here are the steps to ensure your slab box is ready for glazing:
- Dry Slowly: Place your slab box in a space with consistent temperature and low humidity. Let it dry slowly to prevent cracks.
- Wait for Bone Dry: Your piece should be bone dry before firing. This means no coolness to the touch, indicating all moisture has evaporated.
- Biscuit Firing: Place your slab box in the kiln for the first firing. Set the kiln to the right temperature for your clay type.
- Monitor the Kiln: Keep an eye on the kiln temperature throughout the process. Any drastic changes can affect your piece.
Drying can take several days, depending on the size and thickness of your slab box. Rushing this process can cause cracks or even break the box. Once the piece is bone dry, biscuit firing hardens the clay, making it porous and ready for glazing. The fired slab box ceramics will be white or off-white, showing it’s ready for the final steps. Careful drying and correct firing are your foundation for a beautiful, lasting ceramic piece.
Glazing Techniques for Slab Boxes
Applying glaze to slab box ceramics can transform your piece into a visually stunning artifact. Here is what you need to keep in mind for glazing techniques:
- Select Your Glaze: Choose a glaze that complements your clay body and design. Test it beforehand.
- Clean Your Bisque: Wipe the biscuit fired box to remove dust. This helps the glaze adhere better.
- Apply Evenly: Use a brush or pouring technique to cover your box. Ensure an even coat.
- Mind the Details: Pay attention to edges and textures. These may require a different glaze application.
- Wipe Excess: Clean any glaze drips or pools. This prevents flaws after the final firing.
- Consider Safety: Use only food-safe glazes if your box will be used for storing edibles.
After glazing, inspect your piece for even coverage. Remember, the glaze will change color and texture after firing. With these steps, your slab box ceramics are now ready for their final transformation in the kiln.
Final Firing: Bringing Your Slab Box to Life
After the biscuit firing and glazing, your slab box ceramics are at their final stage. The final firing is when your creation truly transforms. It’s where the beauty of the glaze comes to life. Here is how to achieve the best results in this conclusive phase:
- Set the Kiln Right: Make sure your kiln reaches the ideal temperature for your glaze. This ensures a proper finish.
- Load Carefully: Place your glazed slab box inside gently. Avoid it touching other pieces.
- Monitor Firing: Keep an eye on the process to ensure a uniform temperature is maintained.
- Cool Down: Once firing is done, allow the kiln and your piece to slowly cool. This avoids cracking.
- Inspect Your Piece: Check your slab box for any glaze faults or blemishes after it cools.
The final firing can take several hours. It’s essential for developing strength and the visual appeal of your glaze. Witness the colors deepen and the surface shine as your box undergoes this last transformation. Once it’s complete, your slab box is not just a ceramic object – it’s a token of your skill and creativity. Handle it with pride and showcase your slab box masterpiece to the world.