Introduction to Gold Luster in Ceramics
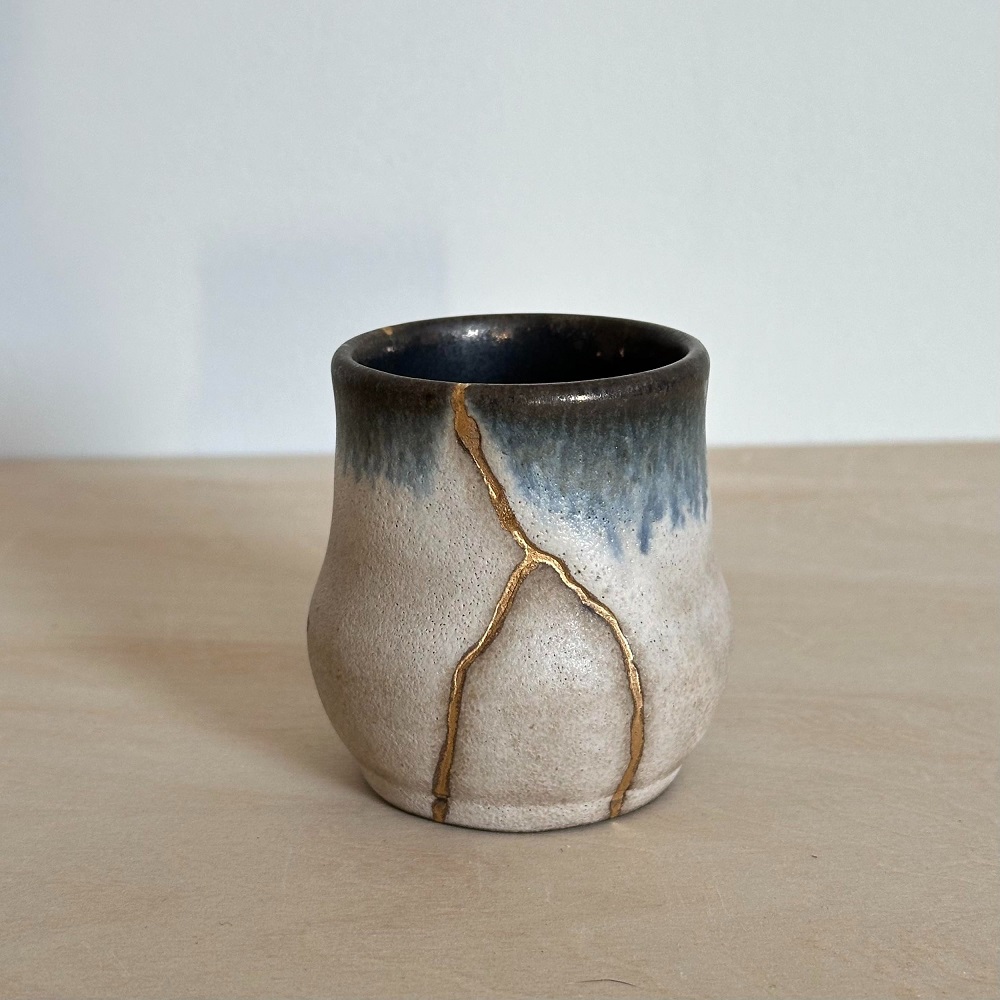
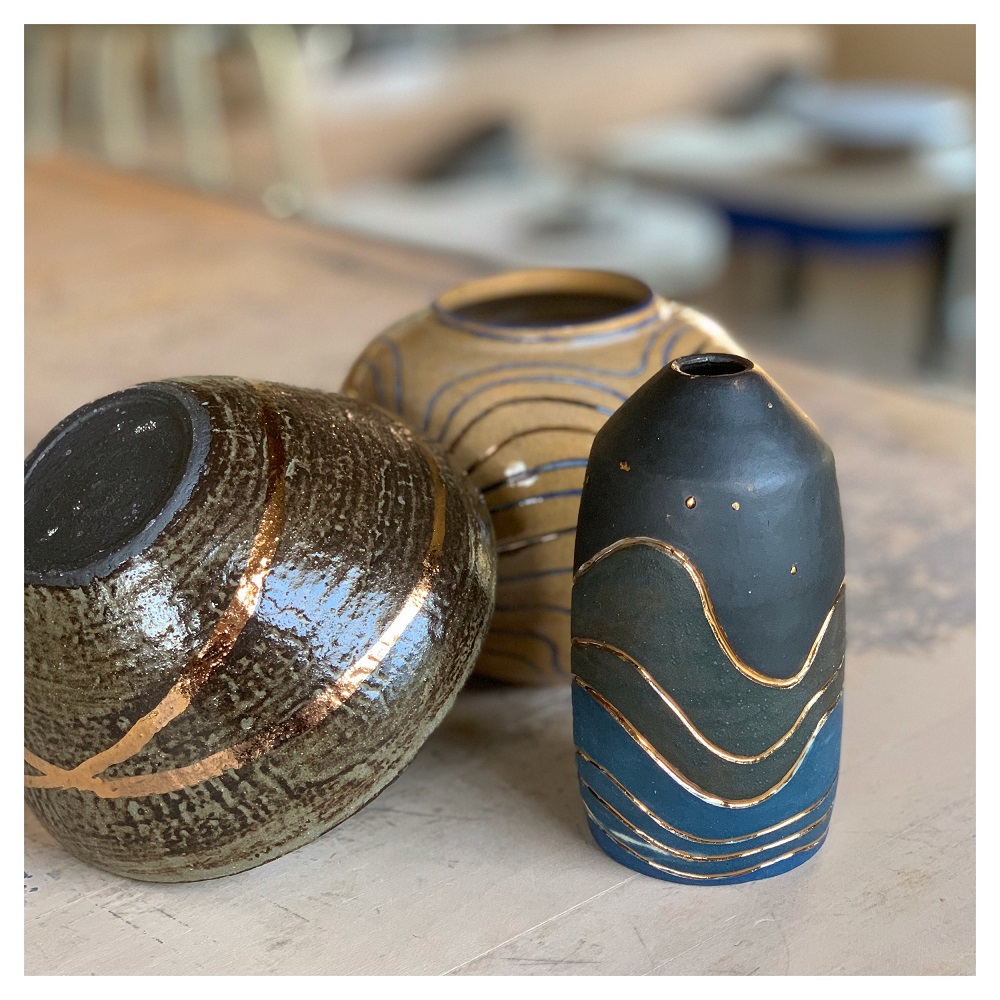
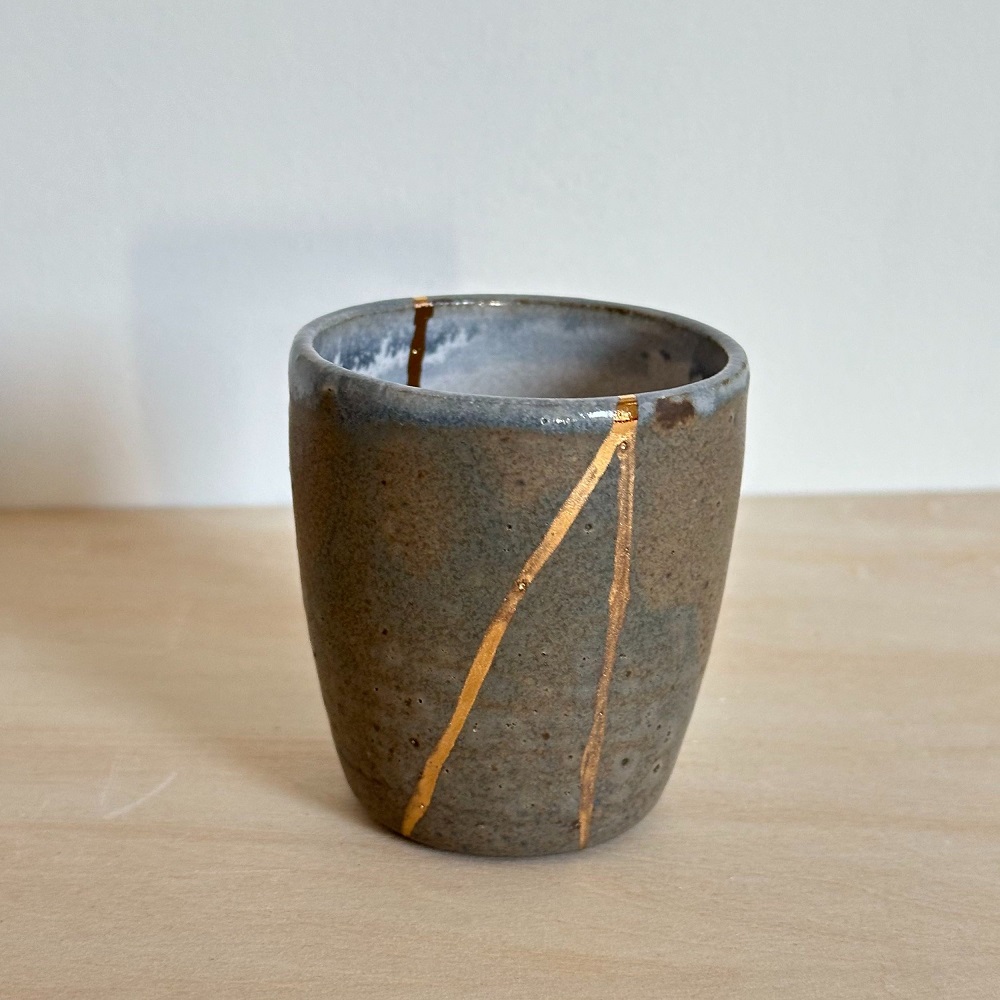
Gold luster in ceramics brings a touch of elegance to any piece. It’s a decorative technique that applies a metallic glaze containing gold to the surface. When fired in a kiln, it leaves a shiny, reflective finish. Gold luster ceramics stand out for their luxurious appeal. Artists use this method to accentuate details or add a rich finishing touch.
Gold luster requires a third firing of a ceramic piece. It’s usually applied after the initial bisque firing and glaze firings are complete. Painted onto the ceramic surface, gold luster transforms a simple piece into a work of art. This technique demands precision and care. Yet, it rewards creators with extraordinary and captivating results.
The process involves several key steps. These include the preparation of the piece, the application of the luster, and the final firing. It requires specific materials that are compatible with the gold luster. Proper firing conditions are critical to achieving the desired sheen. The captivating glow of gold luster ceramics can elevate functional items into decorative masterpieces. It can also turn ordinary decor items into focal points of luxury.

The History of Gold Lusterware
The art of gold lusterware began in the 9th century. It first appeared in the Middle East. Craftsmen in the Islamic world discovered it. They applied luster over glaze on ceramics. These pieces shined with a metallic sheen. The technique spread across continents. It became popular in the Mediterranean and later in Europe.
In the 16th century, Spanish potters embraced gold luster. It spread through trade to Italy. There, it merged with local tin-glazed pottery, known as majolica. This led to a renaissance of gold luster ceramics in Europe. The Italians loved the technique. Their artisans experimented with designs and techniques. They achieved renown for their dazzling pieces.
By the 18th and 19th centuries, gold lusterware reached England. Here, new methods evolved. These included the addition of platinum and silver. Techniques improved, making luster more durable. This allowed for richer and more subtle gold effects.
Today, artists and potters still use gold luster. They keep the tradition alive. They combine ancient practices with modern styles. Gold luster ceramics now have new life in contemporary design. Heritage techniques blend with cutting-edge trends. This shows the enduring appeal of gold lusterware’s opulent glow.
Essential Materials for Creating Gold Luster Ceramics
When planning to create gold luster ceramics, gathering the right materials is crucial. First, you need a ceramic piece that has gone through initial bisque firing. The bisque firing gets your piece ready for the luster application. Next, comes the gold luster itself. This special overglaze contains actual gold in a liquid form. Artists can find it in art supply stores or online shops specializing in ceramic materials.
Having a palette and fine brushes on hand is essential too. They allow for precise luster application. Brushes should be clean and soft, to avoid scratches on the ceramic surface. Use a separate set of tools for gold luster projects to avoid contamination.
Clean workspace is also a must. It prevents dust from marring the lustrous finish. Access to a kiln with temperature control is another key requirement. This enables the proper firing needed to set the gold luster. It’s worth reminding that the kiln should have a programmable controller. It ensures accurate temperature rises and holds, specific to gold luster firing.
Finally, ventilation and safety gear like gloves and masks are important. They protect you from the fumes produced during the firing. Adequate safety measures ensure the creator’s well-being while crafting these beautiful pieces.

Step-by-Step Guide to Applying Gold Luster
Applying gold luster to ceramics is a delicate process. It requires a steady hand and an eye for detail. Here’s a step-by-step guide to help you achieve that sought-after golden sheen.
- Start with a Clean Surface: Ensure your ceramic piece is spotless. Any grease or dust can prevent the luster from adhering correctly.
- Mix the Gold Luster: Shake or stir the gold luster liquid well. This ensures the gold particles are evenly distributed.
- Apply the Luster Carefully: Dip a fine brush into the luster. Paint the gold onto the ceramic surface. You can add accents or cover large areas, depending on your design.
- Let it Dry: Allow the luster to dry completely. This can take several hours or as recommended by the luster manufacturer.
- Inspect and Touch Up: Check for uneven spots or missed areas. Apply a second coat if necessary. Be gentle to avoid brush strokes.
- Prepare for Firing: Once dry and inspected, the piece is ready for its final firing. Ensure your kiln is programmed to the specific temperature for gold luster.
- Fire the Piece: Follow the kiln instructions for gold luster carefully. This includes the temperature ramp-up and hold times.
- Cool Down: Allow the piece to cool down in the kiln after firing. Rapid temperature changes can crack the glaze or the ceramic.
- Admire the Results: Once cooled, remove the piece from the kiln. You should now have a beautifully lustrous gold finish that elevates your ceramic art.
Remember to use these keywords: ‘gold luster ceramics’. This ensures your content stays focused and relevant. Plan each step with care. This is how you create a masterpiece with a luxurious golden touch.
Firing Ceramics with Gold Luster: Tips and Techniques
Firing ceramics with gold luster is a delicate operation. It demands precision and control. Here are some useful tips and techniques to fire your gold luster ceramics effectively.
Choose the Right Kiln Temperature
Selecting the right kiln temperature is crucial. Gold luster fires at a lower temperature than glazes. Often, it fires between 560°C and 730°C (1040°F to 1350°F). Check the gold luster’s instructions. Your kiln should have a programmable controller to manage specific temperatures.
Ramp Up Slowly
Heat the kiln slowly to the target temperature. This promotes even application of heat. It prevents the gold luster from burning off. Follow the kiln’s manual for ramp rates.
Hold Time is Key
Once you reach the target temperature, hold it steady. This ‘soak’ allows the gold luster to mature. The usual hold time is about an hour. Refer to your gold luster’s specific instructions.
Ventilation Matters During Firing
Ensure good ventilation in your kiln area. Gold luster can produce fumes. A vent hood or an open window can help keep the air clean.
Cooling Down
Allow the ceramics to cool in the kiln after firing. Fast cooling might crack the surface. The kiln should naturally return to room temperature before unloading.
Inspecting Your Work
After cooling, inspect the luster’s quality. Check for even coverage and sheen. If necessary, make notes for future reference.
Remember, practice makes perfect. Take note of each step. With each firing, you’ll refine your technique for perfect gold luster ceramics.

Safety Measures When Working with Gold Luster
Working with gold luster ceramics requires attention to safety. Here are essential measures to keep in mind:
- Use Personal Protective Equipment (PPE): Always wear gloves and a mask. They shield you from inhaling fumes during firing.
- Good Ventilation is Crucial: Work in a well-ventilated space. This helps to avoid breathing in harmful vapors.
- Separate Your Tools: Have dedicated brushes and palettes for gold luster. This prevents cross-contamination with other materials.
- Handle Chemicals with Care: Gold luster contains real gold and solvents. Store them safely and follow the maker’s instructions.
- Fire Safely: Monitor the kiln and follow proper firing protocols. Always have a fire extinguisher nearby just in case.
- Keep a Clean Workspace: A tidy area reduces risks and unwanted dust on your ceramics.
- Stay Informed: Know the materials you work with. Read safety data sheets for any chemicals you use.
By following these steps, you’ll ensure not only the quality of your gold luster ceramics but also your health and safety in the studio.
Design Inspiration for Gold Luster Ceramics
Drawing inspiration for your gold luster ceramics can be an exciting part of the creative process. Look to various sources to stimulate your designs and make your pieces stand out. Here are prompts to jumpstart your creativity:
- Historical Artifacts: Study ancient lusterware for patterns and shapes. Museums and art books can be excellent resources.
- Nature’s Palette: Take cues from nature. Flowers, leaves, and landscapes can translate into elegant gold accents on ceramics.
- Modern Trends: Incorporate current design trends. Geometric shapes and minimalist lines with gold luster can give a contemporary look.
- Cultural Motifs: Explore different cultures for unique ideas. Asian calligraphy or African patterns can add depth to your design.
- Your Imagination: Let your creativity flow. Sketch your own designs. Sometimes the best inspiration comes from within.
- Collaborations: Work with other artists. Brainstorming with peers can lead to innovative designs.
When you infuse your work with personal or inspired design, it enhances the allure of gold luster ceramics. Remember, practice and experimentation are key to developing a signature style that shines with gold.
Caring for Gold Luster Ceramic Pieces
Caring for gold luster ceramics ensures they keep their splendid shine. Proper care is not complex, but demands gentle handling and mindful cleaning. Follow these guidelines for your handcrafted works.
- Handle with Care: Gold luster ceramics are delicate. Use both hands while moving pieces to prevent drops.
- Wipe Gently: Clean with a soft, dry cloth. Rub lightly to avoid scratching the gold surface.
- Avoid Harsh Chemicals: Skip abrasive cleaners. They can strip the gold luster off your ceramics.
- Limit Water Exposure: Don’t soak these ceramics in water. Prolonged moisture may damage the luster.
- Use Mild Soap: If needed, use a slight amount of mild soap. Rinse quickly and pat dry.
- Keep Away from High Heat: Store ceramics away from stoves or heaters. Heat can alter the glaze’s look.
- Stay Out of Direct Sunlight: Keep pieces in shaded areas. Sunlight can fade the gold over time.
By tending to gold luster ceramics with these steps, you’ll help maintain their beauty and longevity. Your treasured pieces will continue to captivate and charm with their golden glow.