The Basics of Paintable Ceramics
Paintable ceramics bring art to a hands-on level, offering endless creative opportunities. For beginners, understanding the basics is crucial. Ceramic painting involves several key steps that transform simple white pottery into vibrant, personalized art pieces. Here’s what you need to know to kickoff your journey in the world of paintable ceramics.
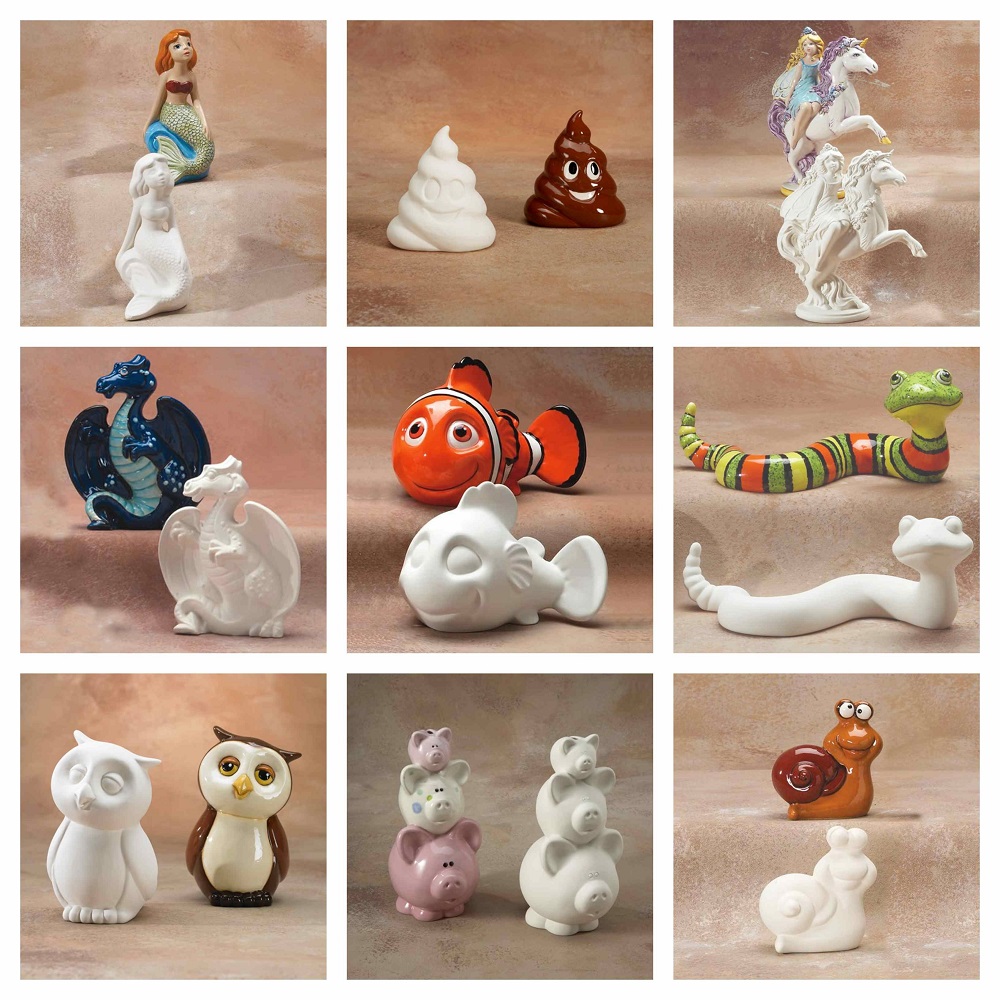
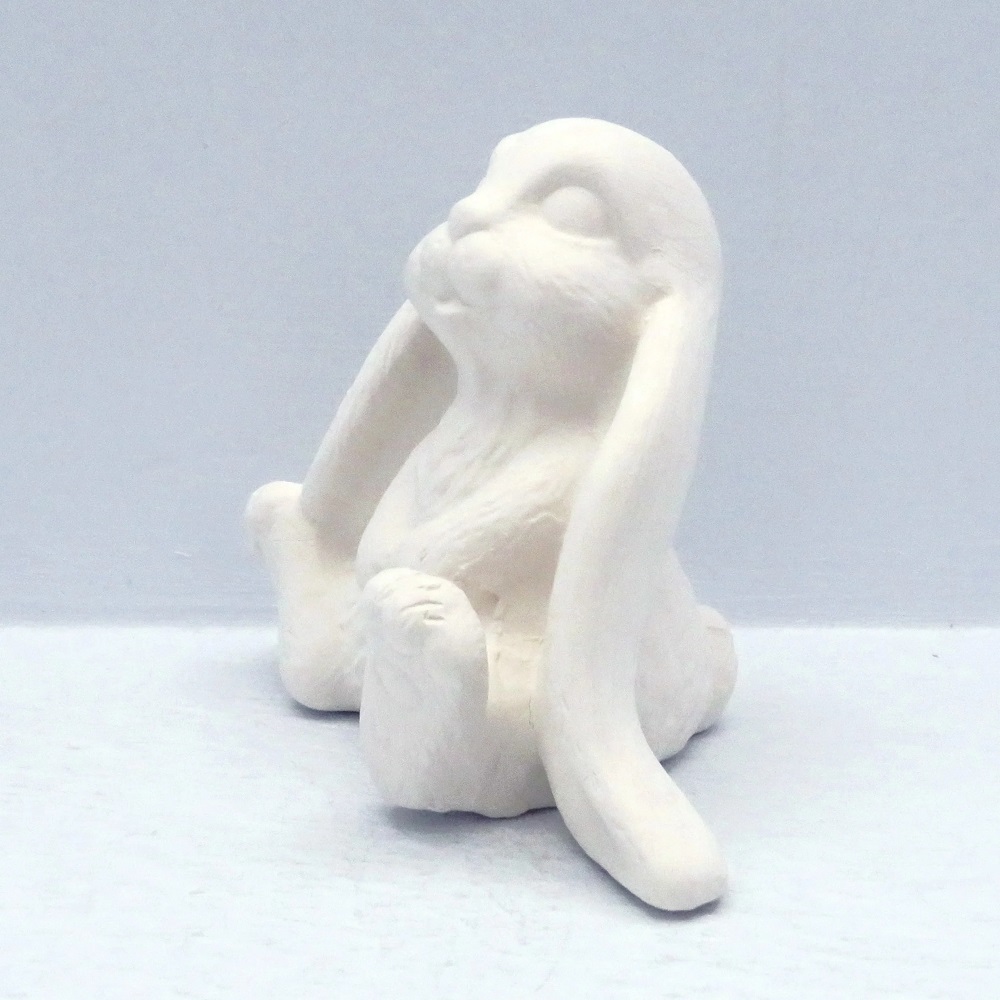
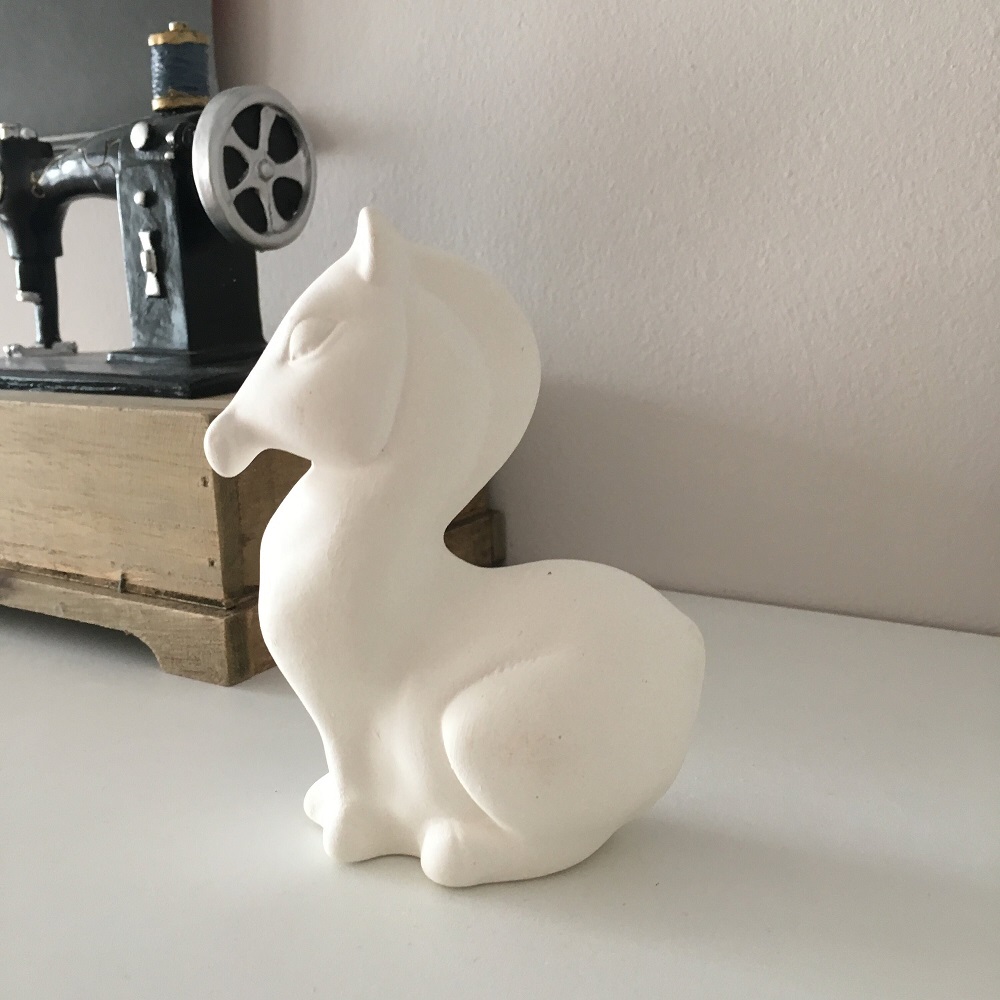
First, you’ll select your ceramic piece, typically known as ‘bisque’. Bisques are unglazed, white ceramic pieces ready for painting. They come in various shapes and sizes, perfect for any project.
Next is choosing the right supplies. You will need paints specifically formulated for ceramics, brushes, palettes, and water containers. Ensuring you have the correct tools will assist in achieving the best results.
Before you begin painting, it is important to clean your bisque thoroughly. Any dust or grease can prevent the paint from adhering properly. Gently washing with soap and water, then drying completely, is usually sufficient.
It’s also essential to learn about the types of ceramic paints available. The most commonly used are underglazes, glazes, and acrylics. Each has its characteristics and usage, which we will discuss in the next section.
Moreover, understanding the firing process is a part of the basics. Most ceramic paints require kiln firing to set the colors and make the piece durable. Some may also use acrylic paints that don’t need to be fired, but these won’t be as resilient.
To sum up, the basics involve selecting your bisque, gathering supplies, cleaning your piece, understanding paints, and knowing about the firing process. With these foundations, you’re set to explore the world of paintable ceramics more creatively and confidently.

Preparing Your Ceramics for Painting
Once you have your bisque, it’s time to get it ready for painting. Preparing your ceramics properly is a key step that can make a big difference in your final artwork. Here are the essential steps to prep your ceramics for a paint job:
- Clean the Ceramic Surface: Start by wiping down your bisque with a damp cloth to remove any dust, dirt, or grease. Make sure it’s completely dry before you start painting.
- Sand Smooth Any Rough Edges: If you find rough spots or imperfections, use a fine-grit sandpaper to smooth them out gently. Avoid over-sanding, as this could damage the piece.
- Apply a Base Coat (optional): For some painting techniques, applying a base coat of paint can help provide a uniform background. If using underglazes or glazes, this step might not be necessary.
- Plan Your Design: Sketch your design on paper first or use a pencil to lightly draw directly on your bisque. This gives you a roadmap to follow once you start painting.
- Choose the Right Brushes: Different brushes create different effects. Have a variety at hand and know what each one does – detailing, broad strokes, or texturing.
- Set Up Your Workspace: Ensure you have a clean, well-lit area to work in. Keep water containers, palettes, and towels within reach for easy access during painting.
By following these preparatory steps, your paintable ceramics will be ready to transform into vibrant works of art. Remember, taking the time to properly prepare your piece can greatly enhance the quality of your finished product.
Types of Paints and Their Uses
When diving into the world of paintable ceramics, it becomes crucial to understand the different types of paints and their purposes. The right choice of paint can immensely impact the vibrancy, texture, and durability of your artwork. Here are three main types of paints widely used in ceramic painting:
- Underglazes: These are vibrant, colorful paints applied to bisque before glazing. They offer excellent coverage and are best for detailed work. Once fired, they bond with the glaze, ensuring long-lasting color. They’re typically brushed on, and multiple layers can deepen the intensity of the color.
- Glazes: Glazes are essentially a glass-like coating that goes over underglazes or directly on the bisque. They add a shiny, protective finish and are available in glossy, matte, and satin finishes. Firing in a kiln sets the glaze, making the piece food-safe and durable.
- Acrylics: Acrylic paints are an alternative for those without access to a kiln. They’re easy to use and come in a wide array of colors. They air-dry and are excellent for decorative pieces that won’t be handled frequently, as they’re less durable than fired paints.
Choosing the right type of paint will depend on your project requirement, access to a kiln, and the desired final effect. Underglazes and glazes are the go-to for functional pieces like mugs and plates, while acrylics may suit decorative items like figurines. Keep these differences in mind as you select your paints, and you’ll be on your way to creating stunning paintable ceramics that showcase your artistic touch.

Step-by-Step Guide to Painting Ceramics
Painting ceramics is a fun and rewarding hobby. Here’s a step-by-step guide to help you create your masterpiece.
- Select Your Piece: Choose a bisque that fits your project. Consider the size and detail you want.
- Gather Your Supplies: Assemble paints, brushes, palettes, and water containers. Use supplies designed for ceramics.
- Outline Your Design: With a pencil, lightly sketch your design on the bisque. Or, refer to a paper sketch.
- Apply Underglaze: Start with underglaze for detailed work if needed. Use thin layers for even coverage.
- Add Layers: Build color intensity with multiple thin underglaze layers. Let each layer dry before adding another.
- Smooth Out: Check for drips or uneven spots. Smooth them out with a clean, damp brush if necessary.
- Let Dry: Allow your painted bisque to dry completely. This step is crucial before firing.
- Glaze Your Piece: Once the underglaze is dry, apply a coat of glaze for a shiny finish. Use the right type for your design.
- Fire Your Ceramic: Place your piece in a kiln. Follow the specific firing schedule for your glazes and bisque.
- Cool Down: After firing, let your ceramic cool gradually. Avoid sudden temperature changes, as this can cause cracking.
This guide should provide a clear roadmap to painting your paintable ceramics. With these steps, your artwork will come to life with personal style and flair.
Techniques and Tips for Advanced Ceramic Painting
Beyond the basics, advanced ceramic painting can elevate your craft. Here are techniques and tips that can help:
- Layering Underglazes: To achieve depth in your colors, apply several thin underglaze coats, letting each dry before applying the next.
- Sgraffito: This involves scratching through a layer of underglaze to show the bisque underneath, creating unique textures and designs.
- Silk Screening: Transfer intricate designs onto your ceramics using silk screens and underglazes.
- Bubble Glazing: For a bubbly effect, mix glaze with soap and blow bubbles onto the bisque’s surface.
- Wax Resist: Use wax to block out areas on your bisque you don’t want to be glazed, creating contrasting matte and glossy areas.
- Using Stencils: Stencils can help add precise patterns or shapes to your project.
- Thickening Agents: Use a thickening medium with your glaze to give it a three-dimensional texture.
Remember, practice makes perfect. Don’t hesitate to experiment with these techniques to find what works best for your paintable ceramics projects.

Sealing and Protecting Your Ceramic Artwork
Once you finish painting your ceramics, sealing and protecting them is crucial. This ensures the longevity of your artwork. Here’s how you can keep your creations looking great over time:
- Let Your Ceramics Cure: Before sealing, make sure your painted piece is entirely cured. For acrylic painted ceramics, wait at least 24 hours. Underglazed pieces need to cool after kiln firing.
- Apply a Sealant: Use a sealant designed for ceramics to protect your paint from moisture, fading, and scratches. Sealants can be spray-on or brush-on types. Follow the application instructions on the product.
- Use a Food-Safe Sealant for Functional Ware: If you are sealing ceramics like plates or cups, choose a food-safe sealant. This is important for items you’ll use for eating or drinking.
- Check for Even Coverage: When applying the sealant, make sure to cover all painted areas. An even coat prevents moisture from seeping through any missed spots.
- Allow Proper Drying Time: Sealants require adequate drying time. Refer to the product label for specific drying times and conditions.
- Handle with Care: Even after sealing, handle your ceramics gently. Avoid abrasive cleaners which can scratch or damage the sealant layer.
By following these steps, you can help preserve your paintable ceramics artwork. A well-sealed and protected piece stands the test of time, keeping your art vibrant and cherished for years to come.
Common Mistakes to Avoid in Ceramic Painting
Ceramic painting is an exciting hobby, but beginners often make mistakes. Recognizing these errors early can save your project. Here are common mishaps to steer clear of when painting ceramics:
- Skipping the Cleaning Step: Always clean your bisque. Dust or grease will prevent proper paint adhesion.
- Applying Thick Paint Layers: Build color with thin layers. Thick layers may crack or peel.
- Ignoring the Firing Process: Ceramics need kiln firing for durability. Skipping this can result in fragile work.
- Using the Wrong Paints: Choose correct paints for the piece’s purpose. Underglazes and glazes work for functional items, acrylics for decorative ones.
- Overlooking Work Space Setup: Ensure your painting area is well-lit and organized. An orderly space aids the painting process.
- Rushing the Drying: Allow your paint to dry completely before firing. Rushing may ruin your hard work.
- Neglecting the Sealant: Always seal your finished work. Not doing so can lead to damage over time.
By avoiding these common errors, your paintable ceramics will have a better chance of turning out as beautiful and enduring art pieces. Keep practicing, and remember that every mistake is a learning opportunity.
Inspiration and Ideas for Your Next Project
Finding inspiration for your paintable ceramics projects can be both exciting and a bit daunting. To help spark your creativity, here are some ideas to get you started:
- Nature-Themed Pieces: Look to the great outdoors for inspiration. Paint leaves, flowers, or landscapes onto your ceramics.
- Holiday Decor: Create seasonal items like Christmas ornaments or Halloween decorations that can add festive flair to your home.
- Personalized Gifts: Customize mugs, plates, or vases with names or special messages for a unique present.
- Replicate a Masterpiece: Try your hand at painting a famous artwork onto a ceramic plate or tile.
- Pattern Play: Experiment with geometric designs or abstract patterns for a modern touch.
- Animal Motifs: Bring wildlife into your art with painted images of your favorite animals.
- Cultural Designs: Explore different cultures and incorporate their traditional patterns and symbols into your work.
- Functional Art: Create a set of coasters, a serving tray, or a utensil holder that is as practical as it is artistic.
When brainstorming ideas, remember to think about the final use of your piece. Use the right paints and sealing methods to match the piece’s function. For example, choose food-safe glazes for dinnerware and thick, durable acrylics for decorative tiles. Let your interests and passions guide your choices, and don’t be afraid to try something new. Each ceramic project is a chance to express yourself and develop your artistic skills. Keep exploring different techniques and styles, and most importantly, enjoy the process of creating!