The Basics of Underglaze Ceramics
Underglaze ceramics involve a unique method of decoration. Potters apply underglazes, which are colored slips, to pottery before a final glaze is added. This method allows artists to create intricate designs that are sealed beneath the transparent final glaze. The underglaze adheres to the surface and, after firing, reveals vivid colors and sharp lines.
To start with underglaze ceramics, you need the right tools and materials. These typically include underglaze paints, brushes, a palette, and bisque-fired pottery. Underglazes come in a variety of forms, such as liquid, powder, and pencils. It’s essential to choose high-quality underglazes since they impact the final look after firing.
Practicing underglaze application is crucial for mastering the technique. You can experiment with different brush strokes, layering methods, and blending techniques for diverse effects. It’s important to learn how these applications react to the high temperatures in the kiln.
Safety is also a key consideration. Always work in a well-ventilated area and wear protective gear when necessary. Underglazes can contain substances that may be harmful if inhaled or ingested.
To summarize, underglaze ceramics require understanding the materials, practicing application techniques, and ensuring safety. Proper know-how paves the way to creating stunning pottery that stands out.
Selecting the Right Materials for Underglazing
Choosing the right materials is key when creating underglaze ceramics. Start by selecting high-quality underglazes that promise vibrant colors and long-lasting finishes. Poor quality materials can lead to faded colors and unclear designs after firing. Underglazes come in various forms including liquid bottles, powdered mixes, and pencil or crayon-like applications. Each form has its distinct advantages, so you need to consider the type of work you will be doing.
When it comes to brushes, opt for those that hold a fine point. This ensures sharp lines and detailed work. A palette knife is handy for mixing colors, while sponges can help create soft textures or backgrounds. Don’t forget a palette for color mixing, and make sure your bisque ware is clean and free from dust before applying underglaze.
For those who prefer ready-made options, there are pre-mixed underglazes available. These come in a variety of colors and are good for achieving consistent results. However, custom mixing powders can offer a broader range of shades and personalization. Remember, no matter which materials you choose, always test them first. This way, you’ll understand how they react during the firing process and prevent unwanted surprises.
Lastly, consider the compatibility of underglazes with the final clear glaze. They must blend well to prevent peeling or flaking. With the right materials in hand, you’re prepared to move to the next steps of underglaze ceramics: application and technique refinement.
Step-by-Step Guide to Applying Underglaze
Applying underglaze to your pottery can seem daunting, but with the right steps, you can produce vibrant and detailed works of art. Let’s break down the process into manageable steps.
Step 1: Prepare Your Workspace. Create a clean, well-lit area. Gather all materials like brushes, underglazes, and bisque ware.
Step 2: Clean Your Pottery. Ensure your bisque ware is dust-free. Wipe it with a damp sponge for a clean surface.
Step 3: Mix Your Underglaze. If using powdered underglaze, blend with water to the right consistency. Stir well to avoid lumps.
Step 4: Test Color Application. Always test your underglaze on a similar piece of bisque ware to check color intensity and finish after firing.
Step 5: Apply Base Coat. Use a soft brush to apply an even base layer. Let it dry before adding more layers.
Step 6: Add Designs and Details. With finer brushes, work in the intricate details. Keep a steady hand for crisp lines.
Step 7: Layer for Depth. Apply additional layers for more intense colors. Allow each layer to dry thoroughly.
Step 8: Touch-Up. Inspect for missed spots or smudges. Use a damp brush to clean up any errors.
Step 9: Let It Dry Completely. Before the final glaze, the underglaze must be bone dry. This avoids smearing or bleeding.
These steps, performed with patience and attention to detail, can elevate the quality of your underglaze ceramics. Remember, practice makes perfect, and each piece is an opportunity to refine your technique.
Techniques to Enhance Your Underglaze Designs
Enhancing your underglaze ceramics involves creativity and skill. Here are techniques to make your designs pop:
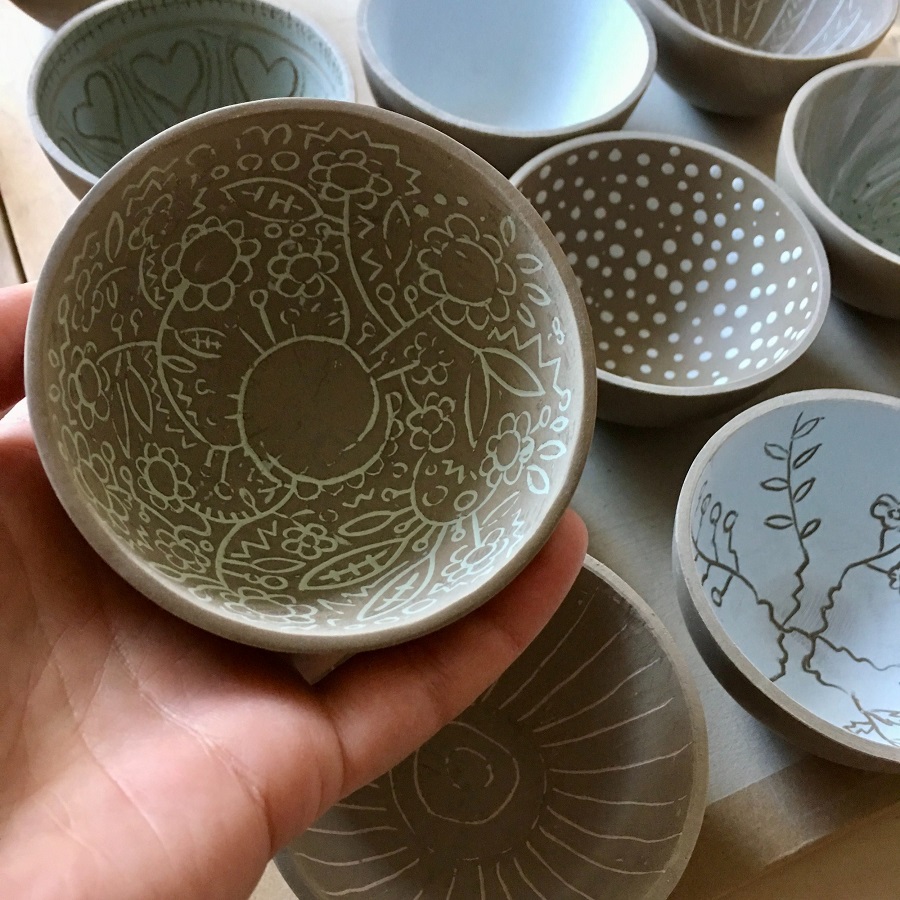
Try Sgraffito: This involves scratching through a layer of underglaze to reveal the clay beneath. It creates a striking contrast.
Use Wax Resist: Apply a wax medium on areas you wish to keep free of underglaze. It repels the underglaze, creating unique patterns.
Stenciling for Precision: Place a stencil on your pottery. Apply underglaze over it for sharp and precise designs.
Splattering Technique: Dip a brush in underglaze and flick it onto your pottery. It gives a random, speckled effect.
Inlay Color: Fill carved areas with underglaze. Wipe excess off the surface. The inlayed color stays in the grooves.
Layer Different Colors: Build up layers of different underglaze colors. It adds depth and richness to your artwork.
These techniques can give your work an advanced look. They can also make the process of creating underglaze ceramics more enjoyable. With each technique, remember to let layers dry and test fire your designs. This ensures your final piece is both beautiful and durable.
The Firing Process: Tips for Underglaze Ceramics
The firing process is crucial in underglaze ceramics. It turns a painted piece into a finished artwork. Here’s how to get it right:
Set the Right Kiln Temperature. Each underglaze has an optimal firing range. Check the product label for guidance. A too high or too low temperature can alter colors or bonding.
Use a Kiln Wash or Shelf Paper. Protect your kiln shelves. Apply kiln wash or lay shelf paper to prevent the pottery from sticking.
Place Pottery Carefully. Arrange your pieces with enough space between them. This improves air flow and heat distribution.
Fire at a Slow Rate. Increase the kiln’s temperature gradually. This reduces the risk of cracks or warping in your pottery.
Hold at Top Temperature. Once the peak temperature is reached, hold it there. This ensures even maturity of the glazes and underglazes.
Cool Down Slowly. Allow the kiln to cool at its own pace. Opening it too soon can lead to thermal shock and damage.
Monitor the Kiln. Use a pyrometer to check the temperature. Some digital kilns come with built-in programs and monitoring.
By following these tips, your underglaze ceramics will come out of the kiln vibrant and intact. Attention to detail makes all the difference. For best results, keep a firing log. Record temperatures, hold times, and any issues. This helps you learn and perfect the process over time.
Common Mistakes and How to Avoid Them
When diving into the world of underglaze ceramics, it’s easy to make mistakes that can affect your final piece. Being aware of common pitfalls and knowing how to steer clear from them can save you time and frustration. Let’s identify these mistakes and learn how to avoid them:
Applying Underglaze Too Thickly: This can cause cracking and peeling during firing. To avoid this, apply thin, even coats and allow each to dry thoroughly before applying the next.
Neglecting to Test Fire: Colors can change dramatically in the kiln. Always test fire a sample to see the final result before applying it to your main piece.
Impatience with Drying: Not allowing underglaze to dry completely before applying subsequent layers or clear glazing can lead to smudging. Be patient and let each layer dry fully.
Overworking the Underglaze: Working an area too much can cause the underglazes to mix and muddy. Apply with confidence and leave each stroke to dry before reassessing.
Using Dirty Brushes or Water: Contaminants can spoil your colors. Clean your brushes between colors, and use fresh water to ensure clarity.
Ignoring Manufacturer’s Instructions: Different underglazes may have specific firing temperatures or application techniques. Read and follow the instructions for best results.
By paying attention to these common issues and applying the advice given, you’ll enhance your skill set and improve the quality of your underglaze ceramics. Each mistake is a learning opportunity, guiding you toward becoming an underglaze expert.
Finishing Touches: Sealing and Protecting Your Work
The final step in underglaze ceramics is sealing and protecting your masterpiece. It ensures long-lasting beauty and durability. Here’s a straightforward approach to finishing your work:
Seal with a Clear Glaze: After your underglaze has dried and been fired, it’s time for a clear glaze. This seals your design under a protective layer. Choose a glaze compatible with your underglaze.
Apply Evenly: Use a brush or dip the pottery into the glaze. Ensure an even coat all over. This prevents drips or uneven finishes.
Remove Excess Glaze: Wipe off any excess from the bottom. This keeps the piece from sticking to the kiln shelf.
Final Firing: Fire the piece again following the glaze manufacturer’s instructions. This step vitrifies the glaze, making your pottery glossy and strong.
Inspection After Firing: Check your piece for any imperfections after firing. If you spot imperfections, sometimes a second glaze and fire can fix the problem.
By following these simple steps, your underglaze ceramics is not just vibrant, but also functional and resistant. Remember, the right seal can make or break the final look of your pottery. So, pay attention to the sealing process as much as to the earlier steps of underglaze ceramics. Once done, your artwork is ready to be used or displayed, withstanding the test of time.
Inspirational Ideas for Underglaze Pottery Projects
Exploring the world of underglaze ceramics opens a myriad of possibilities for creativity. Here are some project ideas that can inspire your next creation:
Create a Set of Coasters: With underglaze ceramics, you can design a set of unique coasters. Choose a theme and let your imagination run wild with patterns and colors.
Personalized Mugs: Gift someone a personalized mug. Paint their name or a special pattern with underglazes. It’s both personal and practical.
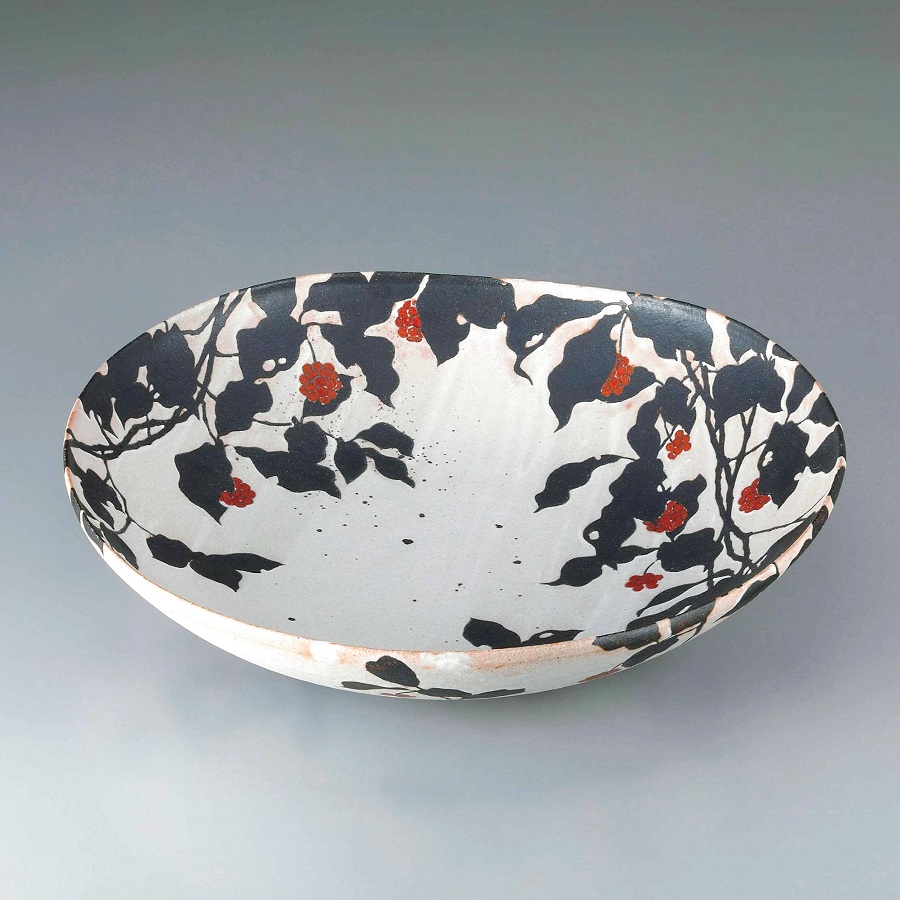
Decorative Plates: Make a statement in your home with a decorative plate. Use underglazes to draw intricate designs or landscapes.
Plant Pots with Flair: Give your greenery a colorful home. Decorate plant pots with vibrant underglaze colors and patterns.
Wall Hangings: Create ceramic wall hangings that double as art. Experiment with shapes and textures for a unique touch.
Jewelry Pieces: Underglaze ceramics isn’t just for homeware. Craft small pendants or earrings with delicate underglaze designs.
Seasonal Ornaments: Celebrate the holidays with hand-painted ceramic ornaments. Underglaze allows for detailed and festive designs.
Functional Art: Combine beauty with utility. Design serving platters, spoon rests, or trivets that elevate the dining experience.
These project ideas can help spark your artistic journey in underglaze ceramics. Remember to plan, test, and execute with care for best results. Each piece you create not only showcases your skills but also adds a personal touch to everyday objects. Happy crafting!