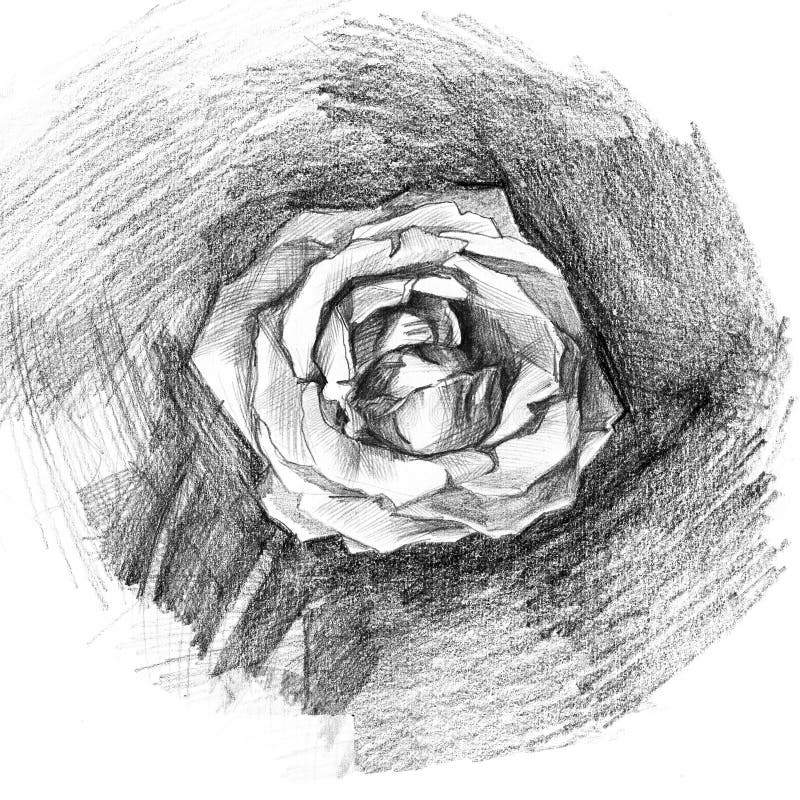
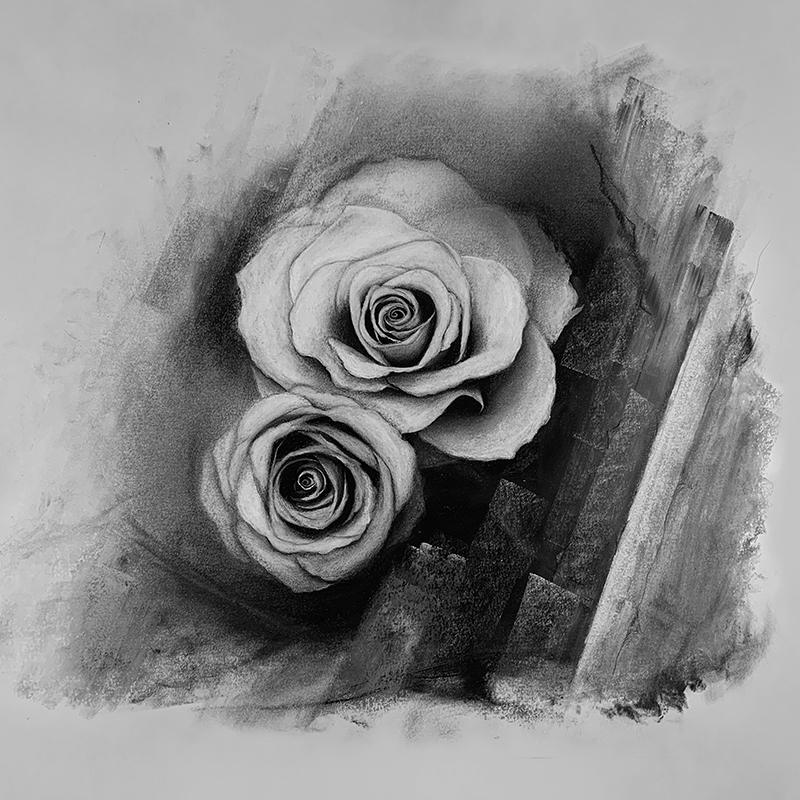
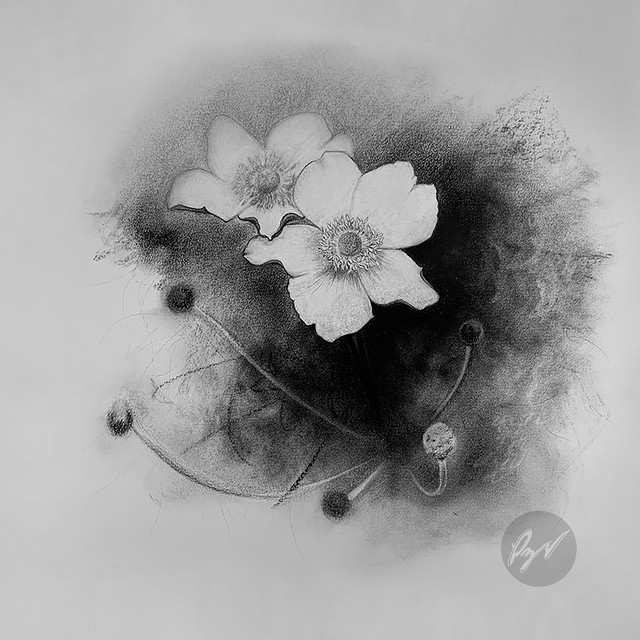
Drawing is both an art form and a means of personal expression. Among the various subjects that artists choose to depict, flowers are a perennial favorite. Roses, with their intricate petals and rich symbolism, are particularly captivating. Charcoal as a medium offers unique qualities that can bring the beauty of roses to life on paper. This article provides a step-by-step guide to creating stunning charcoal rose drawing, from gathering materials to finishing touches.
Gathering Materials for Charcoal Drawing
Essential Tools for Charcoal Drawing
To begin your charcoal rose drawing journey, it is vital to gather the right materials. The primary tool, of course, is charcoal itself. There are different types of charcoal to consider:
- Vine Charcoal: This type is soft and easy to blend, making it great for sketching and adding light tones.
- Compressed Charcoal: Denser and darker than vine charcoal, it is perfect for achieving rich, dark areas in your drawing.
- Charcoal Pencils: These offer precision for detailing and are especially useful for intricate parts of the rose.
In addition to charcoal, you will need high-quality drawing paper. Look for paper designed for charcoal or pastel use, as it has a texture that grips the medium better.
Additional Tools and Accessories
Apart from charcoal and paper, several other tools can enhance your drawing experience. A few key accessories include:
- Erasers: A kneaded eraser is useful for lifting highlights and softening harsh lines, while a vinyl eraser can help remove marks without smudging.
- Blending Stumps: These are perfect for smoothing and blending charcoal to create soft transitions in your drawing.
- Fixative Spray: This will help preserve your finished artwork and prevent smudging.
Having all these materials ready before you start will make the process smoother and more enjoyable.

Sketching the Basic Shapes
Starting with a Light Sketch
Before delving into details, it is crucial to start with a light sketch of your rose. Using vine charcoal, create simple shapes to define the basic structure of the flower. Begin by drawing an oval or circular shape for the center of the rose. This will serve as a foundation for the petals.
Next, sketch the outer petals around this center shape. Roses typically have layers of overlapping petals. Focus on capturing the flow and movement of these petals rather than getting caught up in details at this stage. The goal is to create an outline that will guide the rest of your drawing.
Establishing Proportions
While sketching, pay attention to the proportions of the rose. Observe reference images closely to maintain accuracy. Take note of how petals overlap and the direction they face. Visualizing the rose in three dimensions will help you create depth and realism in your drawing.
Keep your lines light and fluid so that they can be easily adjusted later. As you refine your sketch, don’t hesitate to erase and redraw parts that may not feel right. This flexibility is essential in the early stages of your drawing.
Adding Depth and Structure with Charcoal
Creating the First Layer of Charcoal
Once your basic outline is in place, it’s time to start adding depth with charcoal. Use compressed charcoal to define the darker areas of the petals. Begin by focusing on the inner parts of the rose, where shadows naturally occur. The darkness of the charcoal will contrast against the lighter outer areas you have drawn earlier.
As you work, consider the light source in your drawing. Determine where the light falls on the rose. Areas that are lit will remain lighter, while shadows will deepen the overall effect. Use a blending stump or your finger to gently smudge the darker areas, creating smooth transitions between light and dark.
Developing Texture and Detail
As you gain confidence with the darker tones, it’s time to develop texture in the petals. Roses have a distinct texture characterized by soft curves and delicate lines. Use your blending stump for smooth areas and charcoal pencils for finer details.
When detailing the petals, remember to vary your pressure. Applying lighter pressure will produce softer lines, while heavier pressure will create darker, more defined marks. You can also add subtle veins to the petals by drawing thin lines that follow the natural curve. This detail will enhance the realistic look of your rose.

Refining the Drawing
Enhancing Light and Shadow
With the basic structure and texture of the rose established, shift your focus to enhancing the light and shadow elements. Observe your reference closely to identify the areas where highlights can be added. Use a kneaded eraser to lift charcoal from these areas, creating a sense of brightness and dimension.
For the shadowed areas, revisit your charcoal pencils or compressed charcoal. Deepen the shadows to achieve a three-dimensional effect. The contrast between light and dark is critical for creating a stunning representation of the rose.
Focusing on Fine Details
At this stage, the rose will start to come together, but it’s important to add final touches for enhanced realism. Pay attention to small details, such as the delicate edges of petals and the natural folds that occur. Charcoal pencils can be particularly useful here, allowing for precision in your work.
Don’t neglect the spaces between the petals, where shading and detail can enhance depth. Applying gentle shading in these areas will create a more lifelike appearance. Step back occasionally to assess your drawing from a distance. This practice can help highlight areas that may need further refinement.
Background and Context
Choosing a Background
Deciding whether to keep a background in your charcoal rose drawing is essential. A background can provide context and emphasize the beauty of the rose itself. Some artists prefer a simple gradient or soft shading to enhance the subject, while others may choose a more detailed environment.
If you opt for a background, use light charcoal or even white pastel to create a gentle wash or soft texture around the rose. This technique ensures that the background complements rather than competes with the main subject.
Blending Background Elements
When blending the background, maintain the focus on the rose. Use a blending stump to softly merge the background colors and add depth. The goal is to create an atmosphere that enhances the rose without drawing attention away from it.
Consider the mood you want to portray. A dark background can make the rose appear more vibrant, while a light background can evoke a sense of delicacy. Choose elements that resonate with your artistic vision.

Finishing Touches
Final Adjustments and Details
With your drawing nearing completion, take a moment to assess the entire piece. Step back and look for areas that may need additional adjustments. It might be necessary to amplify certain shadows or highlights. Fine-tuning these elements will elevate the overall impact of your artwork.
Add any final details that may enhance realism. This can include softening edges, adding more texture to the petals, or even incorporating small imperfections that can contribute character to your rose. Remember that beauty often lies in imperfection.
Applying Fixative
Once you are satisfied with your charcoal rose drawing, it’s important to protect your artwork. Spray your drawing lightly with fixative to prevent smudging and preserve your work. Follow the instructions on the can and ensure you work in a well-ventilated area. Some artists prefer to use workable fixative, which allows for further adjustments after application.
Allow the fixative to dry completely before framing or displaying your drawing. Protecting your artwork will ensure that your hard work remains intact for years to come.
Developing Your Artistic Skills
Continuous Practice and Experimentation
Creating stunning charcoal rose drawing is a skill that improves with practice. Try drawing roses from different angles, with varying shapes and petal types. Experimentation is key to developing your unique style and understanding the medium.
Consider joining a local art class or online community where you can share your progress and seek feedback. Constructive criticism from peers can provide new insights and help you grow as an artist.
Finding Inspiration
Look for inspiration in various places. Study the works of famous artists, explore nature, or browse through photography books. Observing how others depict roses and how they use charcoal can spark ideas for your own creations.
Document your artistic journey, noting successes and challenges, as this can motivate you to continue improving your skills. With time, dedication, and practice, you can create breathtaking charcoal drawings that capture the beauty of roses and other subjects.
Bringing Roses to Life
In conclusion, mastering the technique of creating stunning charcoal rose drawing requires a combination of skills, patience, and passion. From gathering your materials and sketching the basic shapes to adding depth and refining details, each step in the process contributes to the final masterpiece.
Embrace the opportunities for learning and growth in your artistic journey. With practice, you can transform a blank canvas into a breathtaking representation of nature’s beauty. Charcoal offers a unique texture and depth, allowing for a rich and emotive portrayal of roses that resonates with viewers. Enjoy the process and keep exploring the world of art!