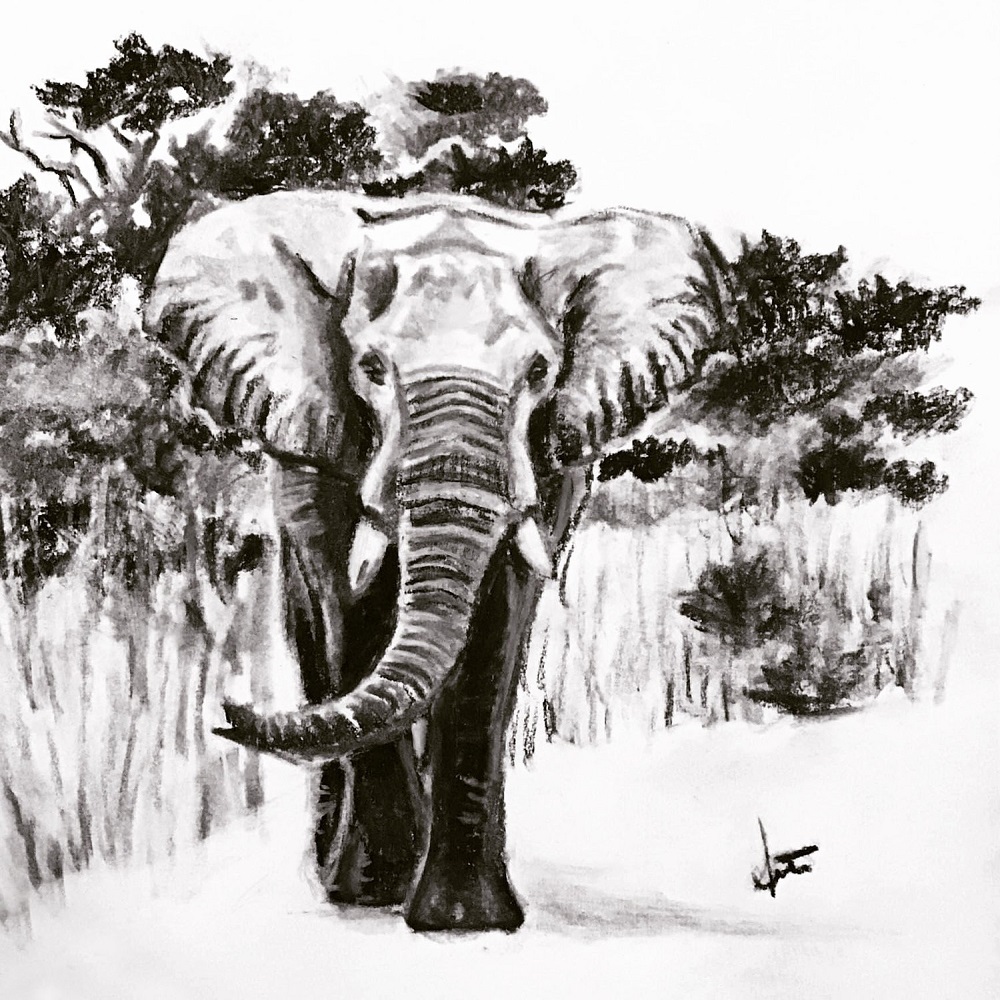
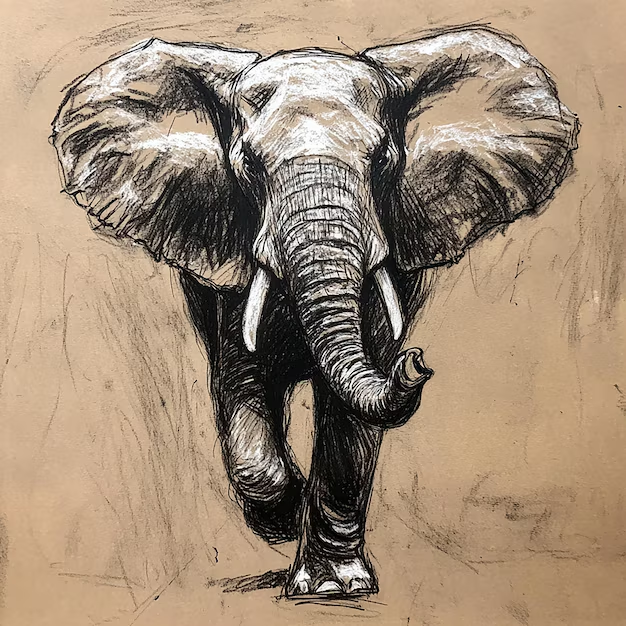
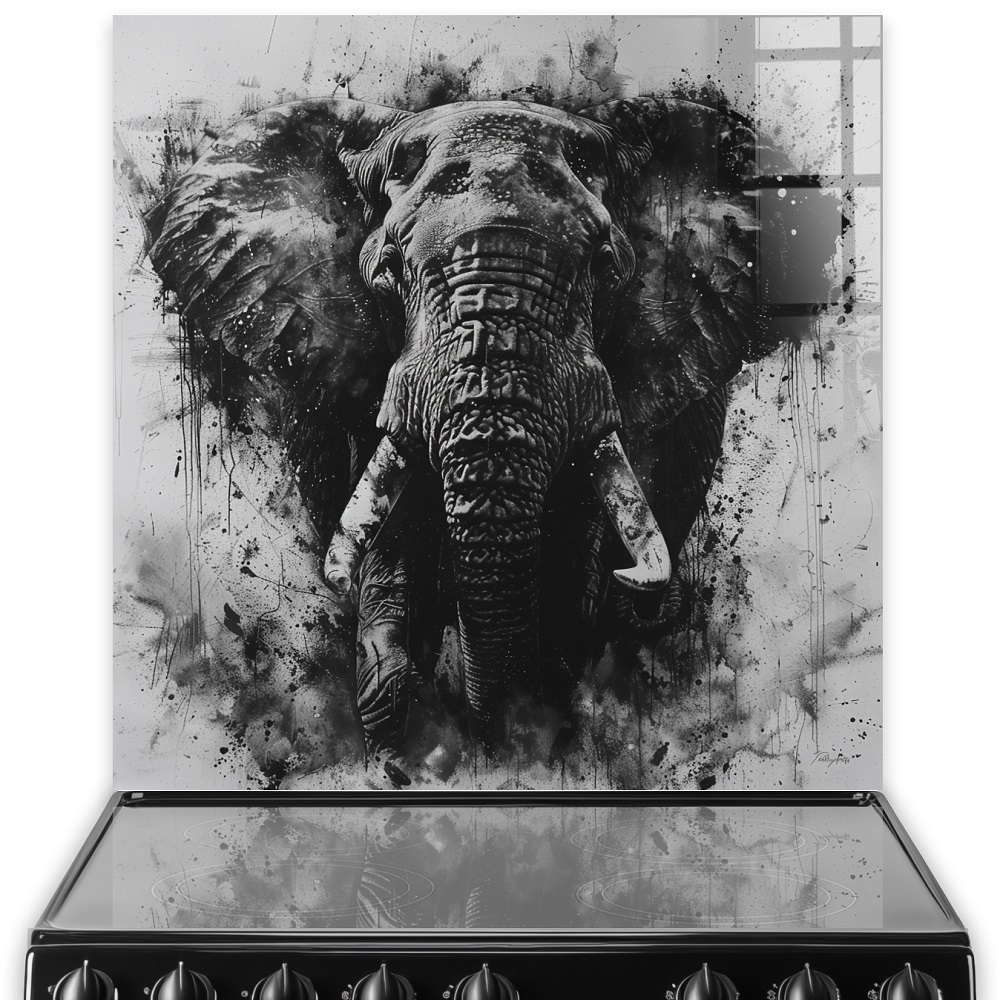
Creating stunning elephant charcoal drawing combines technical skill with a deep appreciation for the subject matter. Elephants are magnificent creatures, known for their strength and grace. Using charcoal as a medium allows artists to convey their beauty and complexity. This article will guide you through various techniques to help create striking elephant charcoal drawing while enhancing your artistic abilities.
Understanding Charcoal as a Medium
Charcoal is a unique drawing medium known for its versatile qualities. It comes in various forms, each with distinct characteristics that can influence the drawing process.
Types of Charcoal
- Vine Charcoal: Made from burnt willow branches, vine charcoal is soft and easily erased. It allows for gentle lines and is excellent for sketches and initial outlines.
- Compressed Charcoal: This type is denser and darker. It produces bold lines that create depth and intensity, making it suitable for developing darker areas in the drawing.
- Charcoal Pencils: These provide precision and control. They are ideal for adding fine details and offer a combination of both vine and compressed charcoal properties.
Understanding these different types of charcoal enables you to choose the best one for your drawing techniques. As you practice, you will discover how to manipulate each type to achieve desired effects.
Benefits of Using Charcoal
Charcoal offers rich, deep blacks and a broad range of tonal variations. Unlike some other mediums, it allows for both bold strokes and subtle gradations. This flexibility makes it perfect for capturing the intricate textures of an elephant’s skin, the play of light and shadow, and the overall form of these stunning animals.

Gathering Reference Materials
A successful drawing begins with good reference materials. Obtaining high-quality images of elephant charcoal drawing can significantly improve your results.
Finding Quality References
Search for high-resolution photographs of elephants from diverse angles. Pay attention to different features like the texture of their skin, the size and shape of their ears, and the details of their trunks. The more you understand the elephant’s anatomy, the better your drawing will be.
Consider visiting a local zoo or wildlife sanctuary. Observing elephants up close allows you to capture their movements and interactions. Take plenty of photographs and notes during your visit. Sketch small thumbnails to explore potential compositions and angles that appeal to you.
Importance of Study Sketches
Create quick sketches based on your references. These study sketches help you analyze proportions and shapes before committing to a larger drawing. Keep these sketches loose to capture the essence of an elephant without getting bogged down in details. This phase helps you understand how to translate your observations into charcoal.
Sketching the Basic Shapes
Once you have gathered your materials, begin the actual drawing process with light and loose sketches. This initial phase is critical for laying the groundwork.
Establishing Proportions
Use vine charcoal to draw the basic shapes that form the elephant’s body. Focus on the overall proportions of the head, body, trunk, and legs. Elephants have unique shapes, so getting these proportions right is essential. Don’t worry about details at this stage—concentrate on capturing the silhouette and main forms.
To ensure accuracy, consider sighting techniques. Hold your pencil at arm’s length and use it as a measuring tool. This method helps you compare the sizes and relationships of different parts of the elephant’s body.
Refining the Sketch
As you become more comfortable with the shapes, refine them progressively. Adjust lines as needed but maintain a light touch to allow for easy erasing. This sketching phase sets the foundation for the rest of your drawing.

Building Layering and Texture
After establishing the basic shapes, it’s time to add weight and texture to your drawing. This step brings the elephant to life and adds depth to your artwork.
Adding Depth with Compressed Charcoal
Switch to compressed charcoal to darken areas that need weight and shadow. Focus on regions where the light is obstructed, such as under the trunk, between the legs, and behind the ears. Use a range of pressure to create variety in your strokes, achieving both dark tones and subtle gradients.
Creating Texture
Texture is vital for realistically rendering an elephant’s skin. Experiment with different mark-making techniques to mimic the roughness and wrinkles that characterize an elephant. Use the side of the charcoal stick for broader strokes, creating an initial layer of texture. For finer details, switch back to your charcoal pencil.
To achieve a more textured look, you can also utilize techniques such as cross-hatching and stippling. These methods involve layering lines in various directions to build up tonal values and create depth.
Blending Techniques
Blending with a tortillon (blending stump) or your finger can soften edges and create smoother transitions. However, be careful not to over-blend, as leaving some texture visible enhances the realism of your drawing. You want to evoke the roughness of elephant skin while maintaining the soft shadows that give depth.
Adding Contrast and Fine Details
With the basic tones and textures established, it’s time to focus on contrast and details. These elements are crucial for making your drawing pop.
Identifying the Light Source
Evaluate the light sources in your composition. Determine where the light hits the elephant and where shadows fall. Enhancing this contrast can add drama and three-dimensionality to your drawing. Use white charcoal or an eraser to lift out highlights in areas where light reflects off the skin.
Fine Details
Now turn your attention to the fine details. Use charcoal pencils to add intricate features such as the eyes, eyelashes, and tusks. The eyes play a significant role in bringing emotion and life to your drawing. Ensure they are well-defined and expressive.
Highlight the textures by emphasizing the wrinkles and creases in the skin. Be delicate yet deliberate as you add these details, as they contribute greatly to the realism of your artwork.

Final Touches and Presentation
Once you complete your drawing, take a step back to evaluate the overall composition. This final assessment helps you identify areas that may need adjustment and refinement.
Checking for Consistency
Look for consistency in your shading and details. Make sure the light source is evident throughout the drawing. Adjust any areas that feel flat or lack attention.
Fixing and Presenting Your Art
After making necessary adjustments, consider preserving your drawing. Use a spray fixative to prevent smudging and maintain its integrity.
Presentation is also crucial. Framing your artwork can significantly enhance its visual impact. Choose a frame that complements the drawing and adds to its aesthetic appeal. Consider including a mat to separate the artwork from the glass, as this will prevent any potential damage from contacting the surface.
Importance of Display
Once your artwork is framed, find a suitable place to display it. Whether on a wall, in an exhibition, or part of a portfolio, showcasing your work is essential for sharing your passion with others.
Conclusion
Creating stunning elephant charcoal drawing is an enriching experience. By understanding how to use charcoal effectively, gathering quality reference materials, and applying essential techniques like sketching, layering, and adding details, you can achieve impressive results. With practice, you’ll refine your ability to capture the beauty and majesty of elephants. Remember, art is a journey, and each drawing is an opportunity for growth and exploration. Keep refining your skills, and let your passion for drawing guide you on this artistic adventure.