Introduction to Acrylic Paint for Wall Art
Acrylic paint offers versatility and durability for wall art. Many people wonder, ‘Can you use acrylic paint on walls?’ The answer is yes. Acrylic is a flexible option for both beginners and professional artists. It works on different types of walls including plaster and brick. This guide will cover choosing the right acrylic paint, preparing your walls, and applying the paint effectively. We will also look at maintenance tips. This ensures your wall art remains vibrant and lasts a long time. Join us as we explore the vibrant world of acrylic wall painting.
Choosing the Right Acrylic Paint for Your Walls
Choosing the right acrylic paint is crucial for your wall art project. The type, color, and finish of the paint can greatly impact the final look and longevity of your mural. Here are key points to consider:
Types of Acrylic Paint
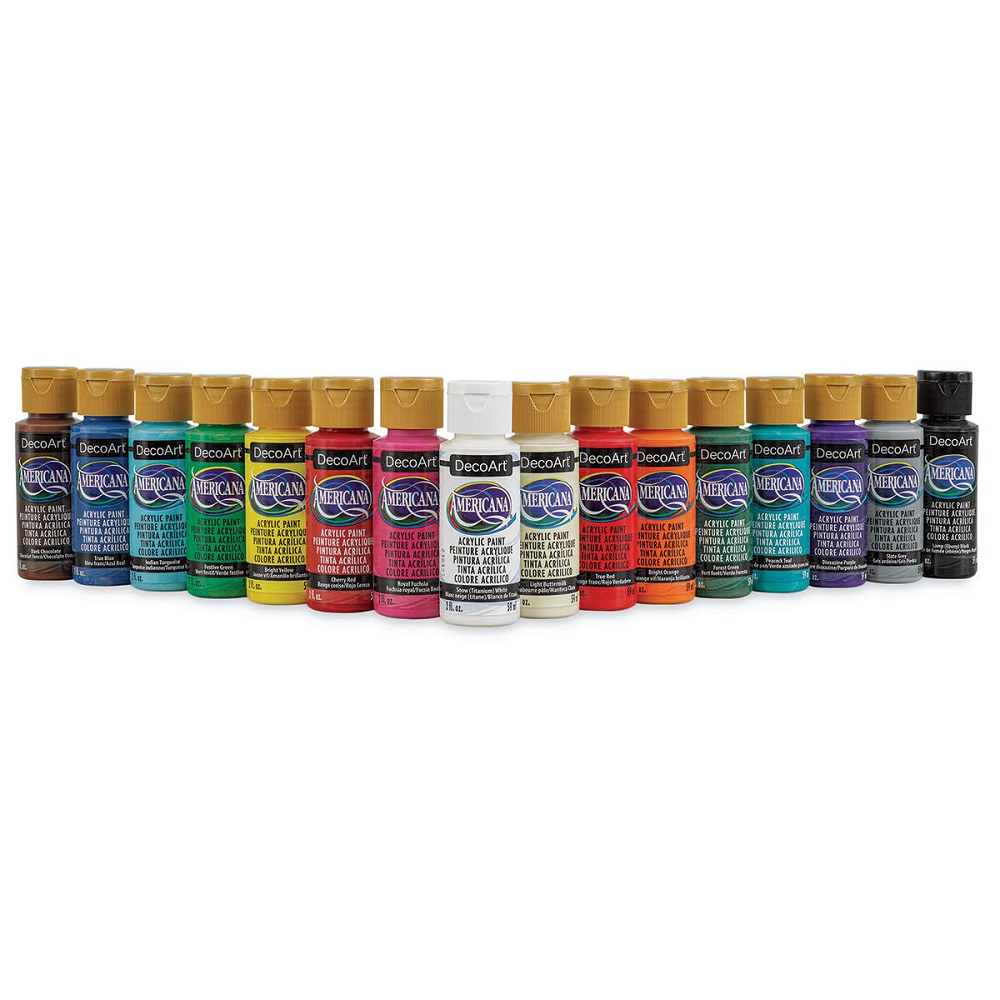
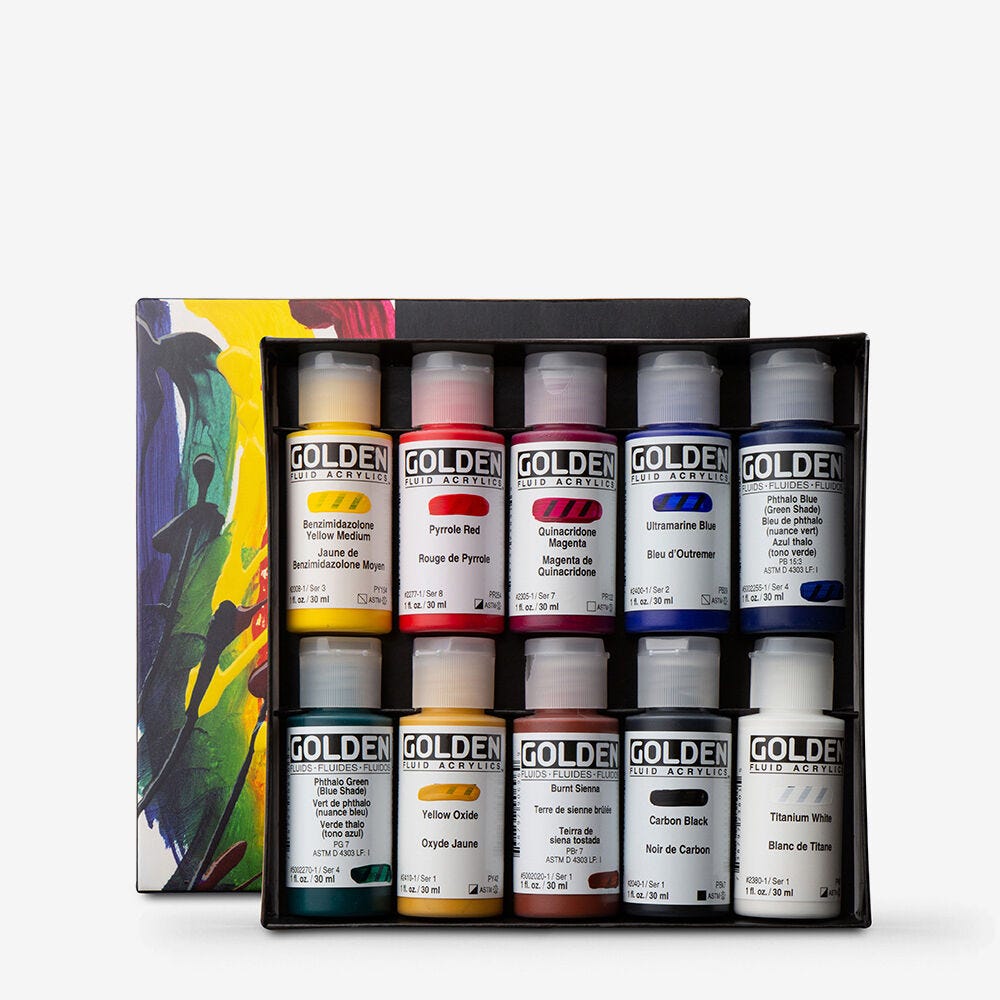
There are many kinds of acrylic paint, but the best for walls tend to be high-quality, heavy-bodied varieties. They offer vibrancy and a thick consistency that is ideal for wall surfaces. Brands like Golden and Liquitex are popular choices among professionals. It is important to choose acrylics that are durable and can handle various environmental factors when applied to walls.
Deciding on Color Selection
Color selection is essential in setting the mood of a room. Acrylic paints come in a vast range of hues, so you have the freedom to create any look you desire. Consider how different colors influence emotions and select a palette that reflects the atmosphere you want to invoke in the space.
Understanding Paint Finishes
Finish is another factor to consider when choosing your acrylic paint. Options include matte, satin, and gloss. Matte provides a non-reflective surface, satin gives slight sheen, and gloss offers high shine. Think about the effect you wish to achieve and how different finishes might interact with the lighting in your room.
Proper paint selection is vital to wall art success. Taking the time to pick the right type, color, and finish can elevate your space and ensure your artwork endures over time.

Wall Preparation Before Painting
Proper wall preparation is crucial for a successful acrylic painting project. Here’s how to prepare your walls for painting:
Cleaning the Surface
Before applying any paint, ensure the wall is clean. Use warm water mixed with a mild detergent to wash the walls. This removes dirt, dust, and grime, ensuring the paint adheres well.
Priming for Better Adhesion
Priming your walls can significantly enhance the paint’s adherence and durability. Apply a quality latex primer specifically suited for acrylic paint. This creates a smooth, even surface for painting.
Taping Off Non-Painting Areas
Use painter’s tape to cover any areas you don’t want to paint, such as window frames and door edges. This protects these areas from accidental strokes and ensures clean, sharp lines in your painted walls.
Essential Tools and Materials for Acrylic Painting
To ensure a successful acrylic painting project on walls, choosing the right tools and materials is key. Here’s a breakdown of essential items you will need:
Selecting Brushes and Tools
Choosing the right brushes can make a significant difference in the outcome of your painting. Here are some tips:
- Opt for synthetic brushes which are durable and work well with acrylics.
- Variety is important: include flat, round, and filbert brushes to handle different tasks.
- Consider the size of the brush for the scale of your work; larger brushes cover more area.
Preparing Your Brushes and Paints
Before you start, prepare your brushes and paints to ensure smooth application:
- Dampen brushes slightly before picking up paint. This helps the paint adhere better.
- Stir your paint well. Ensure it is free of lumps.
- Have a palette or a mixing tray ready to mix colors as needed.
These tools and preparations will contribute greatly to the quality and ease of your painting process.

Step-by-Step Guide to Painting Your Walls with Acrylic
Applying the Base Coat
Start by applying a smooth base coat of acrylic paint. Choose a color that forms a good background for additional layers. Using a large brush, evenly cover the entire wall. This base coat ensures better color performance in succeeding layers.
Layering and Blending Colors
After the base coat dries, begin layering additional colors. Use different brushes to apply and blend these colors. Experiment with overlapping hues to achieve depth and richness in your mural. Blending while the paint is wet can create seamless transitions between colors.
Adding Textures and Details
To add texture, use tools like palette knives or sponges. Press them into the wet paint to create various effects. For intricate details, switch to smaller brushes. This stage is about enhancing visual interest and bringing your creative vision to life on the walls.
Techniques for Protecting Your Acrylic Wall Art
To ensure your wall art’s longevity, it’s vital to protect it effectively. Applying sealants can safeguard your work from damage and keep it vibrant for years.
Sealants and Protective Finishes
After your wall art is complete, applying a sealant is a crucial step. It helps protect against dust, light, and general wear. When choosing a sealant, pick one that’s compatible with acrylic paint. For example, an acrylic varnish can provide a clear protective layer. Apply it evenly with a brush, and allow it to dry thoroughly. You can choose from matte, satin, or glossy finishes based on the desired sheen.
Adhesion Test for Quality Assurance
Before sealing your artwork, conduct an adhesion test. This test checks how well the paint has bonded to the wall. To do this, apply a small patch of paint to the wall, let it dry, and then press and remove tape from the area. If the paint remains intact, it’s ready for the sealant. If the paint comes off, additional surface preparation may be needed.

Tips for Maintaining and Cleaning Your Painted Walls
Maintaining your acrylic painted walls keeps them vibrant. Here’s how to care for them:
Routine Cleaning Recommendations
Clean your wall art gently. Use a soft, damp cloth and avoid strong cleaners. Do this regularly to prevent dust buildup. Don’t rub too hard to protect the paint.
Dealing with Wear and Repairs
Touch up your walls as needed. Match the original paint color and finish. Use a small brush for precision. If a large area is damaged, consider a professional retouch.
Keep your wall art looking fresh. Address any wear or damage quickly. Enjoy your bright, colorful walls for years.
Conclusion and Next Steps for Aspiring Muralists
In conclusion, using acrylic paint on walls facilitates a captivating transformation of any space. Whether it’s your home or workplace, the versatility and vibrancy of acrylic paint can personalize and enhance your surroundings. Here are the next steps to leverage what you’ve learned and continue your journey in acrylic mural painting:
- Practice is key. Start with small projects to improve your skills.
- Explore further: Study different mural techniques online or in workshops.
- Plan your artwork: Before you start painting, sketch your ideas and plan the color palette.
- Create variety: Use different types of brushes and techniques to introduce texture and depth.
- Stay informed: Keep learning about new paints and tools that enter the market to enhance your artistic arsenal.
By maintaining the passion for creativity and keeping up with ongoing learning, you can turn walls into masterpieces that not only add color but also embody emotion and story. The journey is as colorful as the murals you create, so embrace every stroke of your brush with confidence and curiosity.