The History of Oil Pastels
While painting with oil pastels are a more recent addition to artists’ palettes, their impact on art has been significant. In the early 1900s, oil pastels emerged, originally crafted for use by children in Japan. Despite common beliefs, Pablo Picasso did not invent them, but he did play a pivotal role in their development.
The Development and Evolution of the Medium
Picasso teamed up with the French manufacturer Sennelier in the 1940s. Together, they fine-tuned oil pastels, producing a grade fit for serious artists. This innovation opened doors for art creation worldwide. Since then, oil pastels have grown in popularity due to their intense color and ease of use.
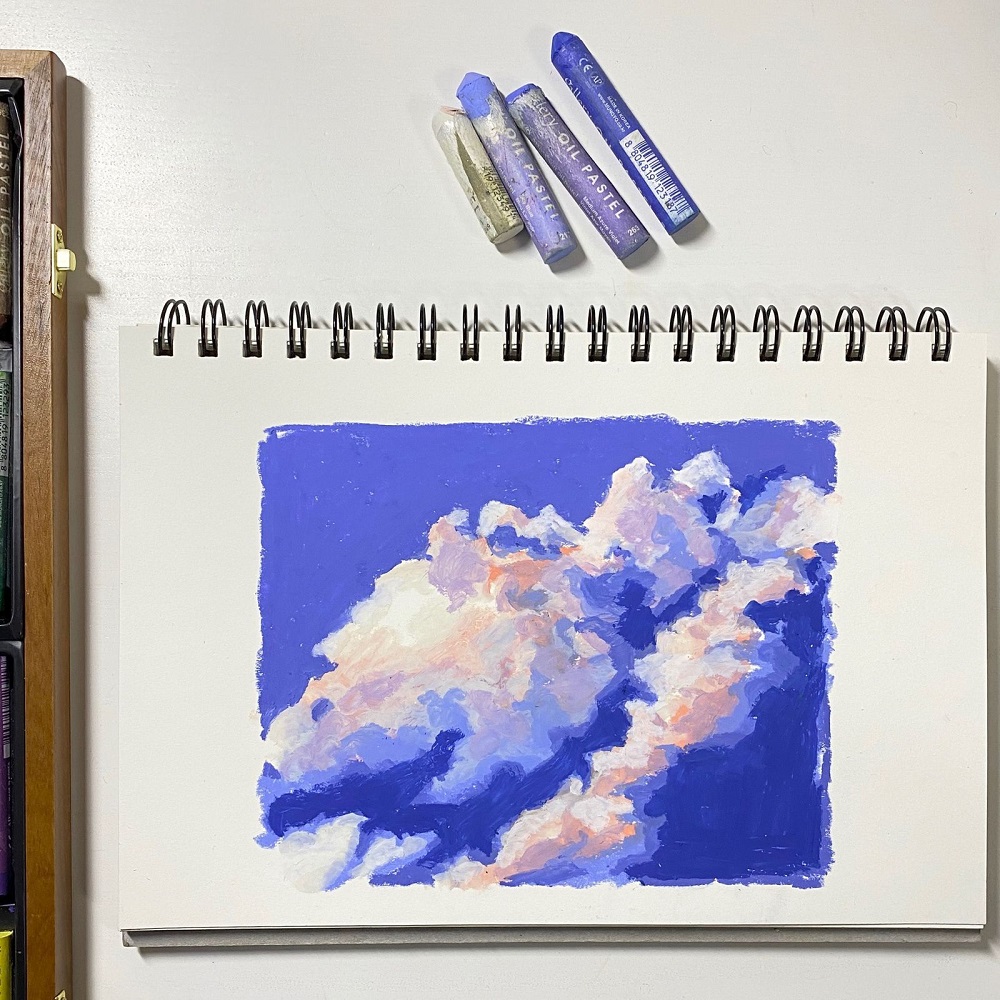
Their portable nature makes them favorites for outdoor sketches, while the challenges they present lend richness to the artistic process. Artists have learned to select, blend, and layer these pastels for stunning results. From bold underpaintings to intricate final pieces, oil pastels continue to evolve as a versatile medium for all levels of creators.
Fundamental Characteristics of Oil Pastels
Oil pastels are unique in their composition. Artists value them for their vivid colors and smooth texture. A blend of wax, non-drying oil, and color pigments gives them their creamy consistency. This composition allows for immediate application without preparation.
Understanding the Composition and Texture
Knowing how oil pastels are made helps in mastering their use. The non-drying oil, like linseed, binds the pigment and wax together. This combination creates sticks that are soft yet stable enough to hold their form. The texture is thicker than soft pastels but not as fluid as oil paints. The creamy texture makes them ideal for blending and layering. They also work well on various paper types, including canvas and textured paper.
The texture can pose challenges, such as accidental smudging. However, techniques like layering colors can solve these. The vibrant colors of oil pastels stand out on neutral-toned paper. For artists new to this medium, starting with basic blending and layering techniques is recommended. As you practice, you will learn how to control the texture and composition.
In summary, oil pastels offer an accessible medium for artists. Their composition leads to a flexible texture, ideal for both simple and complex techniques. With practice, the handling of these characteristics becomes second nature. The result is artwork that is rich in color and texture.
Preparing to Paint with Oil Pastels
Preparing to paint with oil pastels starts with gathering the right supplies. The materials you choose can greatly impact your painting experience and the final outcome of your artwork.
Selecting the Right Paper and Materials
When diving into a painting with oil pastels, selecting the right paper is crucial. You want a surface that can hold layers without tearing or bleeding through.
- Choose heavyweight paper that resists buckling. Think along the lines of canvas paper or textured paper that can grip the pastels.
- Opt for toned paper to make your colors pop. Neutral shades like gray or tan are ideal, as they allow both light and dark tones to stand out.
- Consider paper texture. Rough surfaces can add interesting effects, while smooth ones offer a different feel.
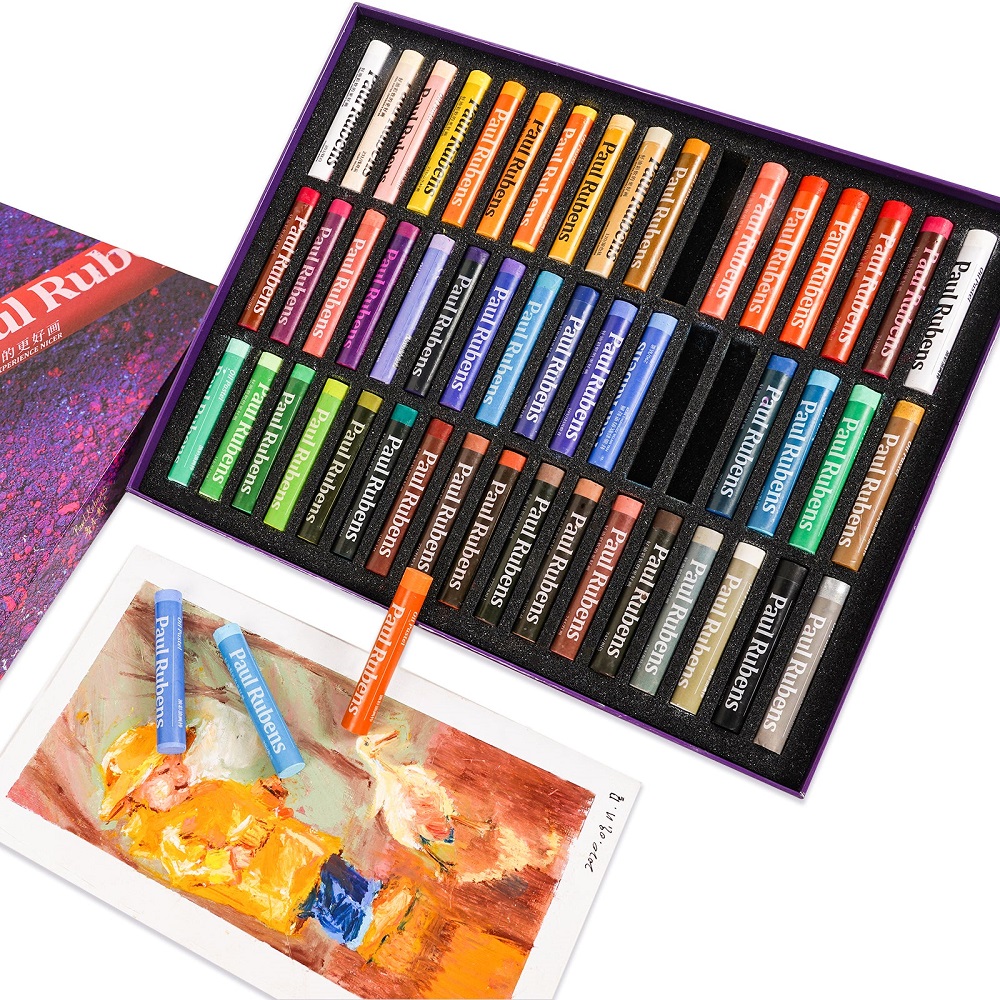
Aside from paper, the quality of oil pastels also matters. Look for brands like Sennelier for artist-grade options. However, for those just starting out, brands like Faber-Castell provide good quality at a more affordable price point. Remember, higher-quality pastels have more pigment and less wax, resulting in richer colors and better blending capabilities.
Here are a few more essentials to gather:
- Canola or baby oil for blending colors into a paint-like consistency.
- Hog hair brushes or blending stumps to spread and smooth your pastels.
- Fixative spray to preserve your finished work and prevent smudging.
- Rags or paper towels for cleaning and wiping off excess oil.
Taking the time to gather and prepare your materials sets the stage for a successful oil pastel painting session.
Basic Techniques for Oil Pastel Painting
Engaging with oil pastels requires a grasp of fundamental techniques. These methods lay the groundwork for vibrant and textured artworks. Artists often employ blending, layering, and texturing to achieve the desired effect. Below, we discuss these essential techniques in detail.
Blending, Layering, and Texturing Methods
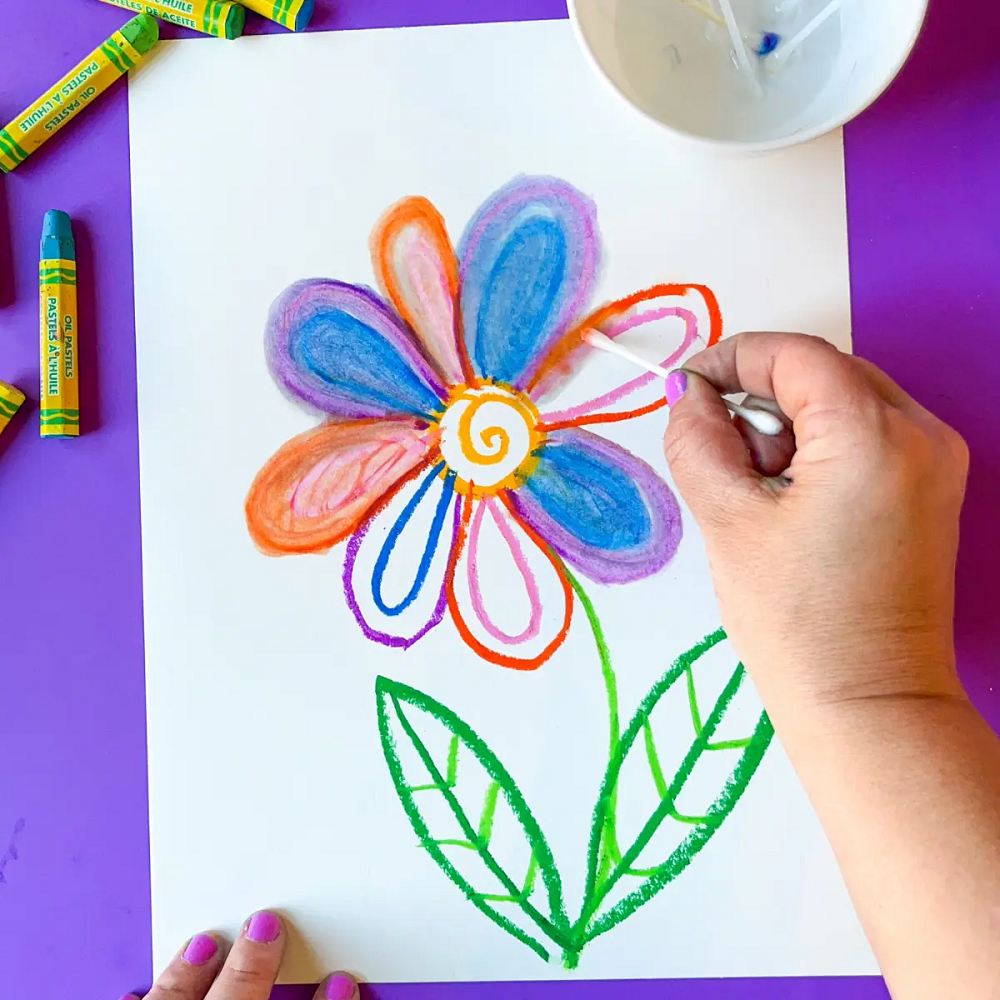
Blending with oil pastels can produce seamless color transitions. Start with lighter tones and gradually incorporate darker shades. You can blend using your fingers, but make sure they’re clean to avoid smudges. Alternatively, use a blending stump or foam for a more controlled approach.
Layering is a technique that increases depth and richness in your painting. To layer effectively, apply a light color base and slowly build darker colors on top. Remember, once a dark pastel is applied, lighter colors will not cover it. Plan your layers accordingly.
To add texture to your painting, experiment with different strokes. Scumbling, or making small, circular motions, can create a rough texture. The ‘sgraffito’ method involves scratching off layers to reveal colors underneath. Try using a palette knife or the back of a brush for this.
Mastering these basic methods sets a strong foundation for painting with oil pastels. As you practice, you’ll develop a better feel for the medium’s possibilities.
Advanced Oil Pastel Techniques
As you become more comfortable with oil pastels, you’ll want to explore advanced techniques. These methods can help bring dimension and depth to your artwork, making it more lifelike and dynamic.
Tips for Creating Dimension and Depth
Creating depth with oil pastels involves understanding light and shadow. Here are some tips for achieving this effect:
- Use contrast. Place light colors next to dark ones to make elements stand out.
- Layer colors. Build up layers from light to dark to create volume.
- Blend smoothly. Use a brush or foam to blend edges for a realistic transition.
To create dimension:
- Mix shades. Combine close colors to form gradients that give a 3D effect.
- Employ texture. Vary your strokes to simulate different textures.
- Highlight details. Use a pointed tool to add bright spots on your subject.
Remember, practicing these advanced oil pastel techniques will enhance your painting skills over time. With each new piece, you’ll discover more ways to convey depth and form.
Common Challenges and Solutions
Working with oil pastels can be both rewarding and challenging. Understanding common issues and how to address them can elevate your art to new heights.
Avoiding and Fixing Common Mistakes
Artists often face a few hurdles when painting with oil pastels. Here’s how you can avoid and fix some of the most common mistakes:
- Messy Application. Oil pastels can smudge easily. To prevent this, keep your workspace clean. Place a barrier, like scrap paper, under your hand while drawing.
- Muddy Colors. Layering too many colors can result in a muddy look. Stick to a limited color palette. Use a piece of scrap paper to clean the pastel’s tip before applying a new color.
- Difficulty Blending. If you struggle with blending, try using less pressure. For smooth transitions, apply a blending tool like a stump or foam instead of fingers.
- Uneven Textures. Change your technique to create different textures. For rough areas, try scumbling. For finer details, consider adding layers or using sgraffito.
- Overworking the Paper. Pressing too hard can damage the paper. Use light strokes and build up the color gradually.
- Wax Bloom. Sometimes, a white layer forms over the pastel. This is wax bloom. To fix, gently wipe the surface with a clean, dry cloth.
Remember, practice makes perfect. As you paint more with oil pastels, these solutions will become second nature. With each session, you’ll grow in confidence and skill.
Preserving Oil Pastel Artworks
Creating art with oil pastels is gratifying, but preserving it is crucial for longevity. To keep your artworks bright and smudge-free over time, follow these tips.
Using Fixatives and Proper Storage Methods
A fixative spray can protect your oil pastel painting from dust and smears. After finishing your artwork, let it dry for a while. Then, spray a light coat of fixative over the surface. Ensure you do this in a well-ventilated area.
Store your oil pastel paintings in a cool, dry place. Avoid direct sunlight, as it may fade the colors. For the best protection, place the painting under glass or in a frame with a mat. This keeps the oil pastel from touching the glass.
For unframed artwork, use acid-free paper to cover the surface. Then, store flat to prevent bending or rolling, which could crack the pastel surface. If you need to roll the artwork, do so loosely and keep it inside a sturdy tube.
Keep your paintings away from moisture. Damp conditions can affect the oil and wax in the pastels. It may even cause mold.
Remember, taking good care of your oil pastel artworks will keep them looking vibrant for years to come.
Recommended Oil Pastel Brands and Tools
When painting with oil pastels, choosing the right brands and tools is crucial. This choice affects the color intensity, blending ability, and overall ease of use. Let’s discuss some top recommendations for quality oil pastels and essential accessories to help you achieve optimal results.
Choosing Quality Pastels and Accessories for Optimal Results
For vibrant colors and smooth application, Sennelier is a respected brand. They offer high pigment oil pastels that many artists love. Another recommended brand is Faber-Castell. Their pastels provide good quality for beginners at a friendly price point.
Canola oil or baby oil is a must-have. They blend colors into a creamy paint-like consistency. Use hog hair brushes or blending stumps for smooth transitions. A fixative spray is essential for preserving your artwork. Rags or paper towels help keep your workspace clean.
Heavyweight, textured, or toned papers work well with oil pastels. They capture the color and allow for easy layering. Strathmore provides various suitable papers.
For detailed work, use palette knives or the back end of a brush. This helps to create texture and reveal underlying layers. Charcoal can add expressiveness to your drawings.
Finally, spray fixatives and mineral spirits like Zest It are useful. They protect your drawing and aid in blending. With these brands and tools, you’re set for successful oil pastel painting. Practice the techniques, avoid common mistakes, and store your works properly for long-lasting art.