Introduction to Oil Pastels
Discovering the world of oil pastels is an exciting journey for any artist, beginner or expert. These colorful tools offer creative freedom and a myriad of techniques to explore. Delve into their composition and learn how to wield these versatile sticks to create vivid artwork.
The Basics of Oil Pastels
Oil pastels consist of pigments, non-drying oil, and a wax binder, yielding a soft texture that’s perfect for blending. Unlike other art mediums, oil pastels don’t require a heavy hand. Instead, they glide on surfaces with ease, letting their colors shine with minor effort. Their flexibility lets you work on different formats, whether you’re drawing or blending with a touch of turpentine for a painterly effect. Spend time with oil pastels; experiment and become acquainted with their unique qualities.
Choosing the Right Oil Pastels for Beginners
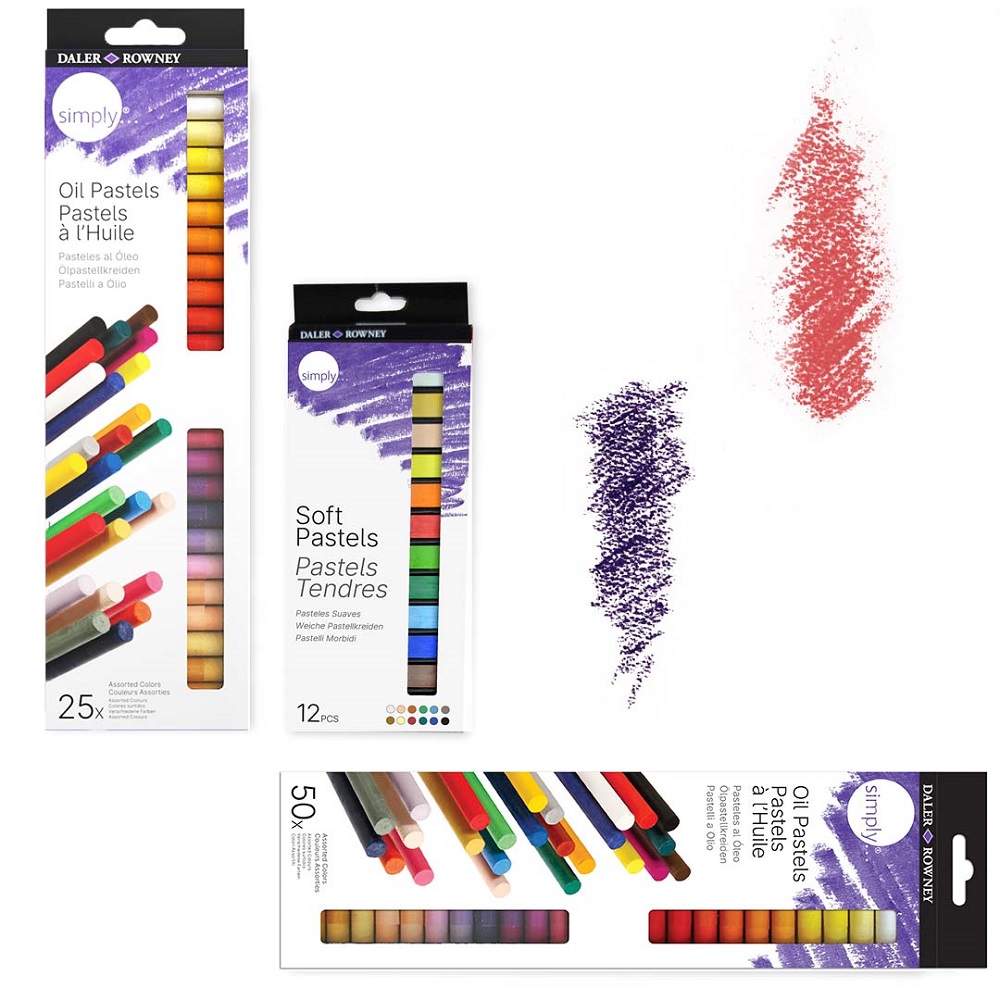
Selecting the right oil pastels is crucial for starting out. Look for sets designed for students and aspiring artists, as they offer a balance between quality and ease of use. Faber-Castell, for example, offers sets with a variety of colors that are great for those just dipping their toes into oil pastel art. Opt for pastels that provide vivid colors, good opacity, and smooth application. Remember to choose pastels that are lightfast and acid-free to ensure the longevity of your creations. Embarking on your artistic journey with the right oil pastels will set a foundation for enjoyable and successful art projects.

Preparing Your Workspace
Creating a conducive environment for your oil pastel endeavors is a must. This section will guide you through the essential materials and tools you need and how to set up a workspace that comfortably allows you to bring your artistic visions to life.
Essential Materials and Tools
To start with oil pastels, gather the basic supplies:
- Oil pastels: Choose a starter set with a variety of colors.
- Paper: Preferably heavy-weight and textured, like oil pastel paper.
- Erasers: For correcting mistakes or creating highlights.
- Paper towels or cloths: These are handy for wiping off excess pastel or cleaning fingers.
- Fixative spray: To protect your finished artwork.
- Blending tools: Fingers work, but try blending stumps or tortillons for finer control.
Quality materials make a difference, so invest in good oil pastels and paper suited for them.
Setting Up Your Space for Oil Pastel Art
To set up your workspace, follow these tips:
- Choose a well-lit area: Natural light is best for seeing true colors.
- Have a flat and stable work surface: This makes applying and blending pastels easier.
- Keep supplies within reach: Organize so you can grab what you need without breaking focus.
- Protect the area: Use a drop cloth or newspaper to avoid stains on your workspace.
- Ventilation: Good airflow is important, especially if you use solvents for blending.
Remember, easy access to tools and a comfortable setting will enhance your oil pastel use experience and support your artistic development.
Understanding Oil Pastel Techniques
Navigating through the techniques of oil pastels can enhance your artwork significantly. Tailoring your approach with various methods unlocks new possibilities for creativity and expression.
Blending and Layering
Blending is a key skill in using oil pastels. Soften the edges between colors by gently rubbing them together. Use your fingers, cloths, or blending stumps to merge hues seamlessly. For a dynamic effect, layer colors on top of each other. Start with a lighter shade and add darker tones on top. Blending and layering together define shapes and add depth to your art.
Remember to clean your tools often to avoid muddy colors. Practice on scrap paper before applying to your main work to feel comfortable with the pressure needed.
Sgraffito and Encaustic Techniques
Sgraffito is a scratching technique that reveals layers underneath. Lay down a vibrant color, cover it with a darker shade, and then scratch off the top layer to expose the color below. This method brings a unique texture and look to your work.
Encaustic techniques involve heat to melt the pastels. Apply oil pastels to a heated surface like an encaustic iron and then transfer the melted color onto your canvas. It creates smooth, blending effects with intense colors.
Experiment with these techniques to discover your preferred style. Find your rhythm in blending and layering, or challenge yourself with sgraffito and encaustic work. Whatever you choose, enjoy the process and watch your oil pastel skills grow.

Selecting Surfaces for Oil Pastels
Choosing the right surface can make a big difference in oil pastel art. Different materials affect how oil pastels lay down color, blend, and look once completed.
Pros and Cons of Different Surfaces
Oil pastels are versatile and can be used on various surfaces. Each has its advantages and challenges:
- Paper: It’s the most common choice for oil pastel work. It is affordable and comes in various textures. The downside is that it can tear if not handled carefully.
- Canvas: This provides a textured surface and is durable. However, it can be more expensive and may need prior priming.
- Wood: Wood panels offer a firm surface and unique texture. But they require sealing and can be heavy.
- Glass: Offers a smooth surface for vibrant artwork. Yet, it is challenging to work with and requires specific priming.
- Board: Art boards come prepared for pastels. They are sturdy, but less portable and costlier than paper.
The choice of surface depends on your project’s needs, your budget, and your personal preference.
Why Paper Type Matters
Paper is a popular choice for oil pastel artists. Its type influences the final piece’s outcome:
- Weight: Heavier papers withstand more layers and blending without tearing.
- Texture: Rough paper grabs more pastels, allowing for richer color. Smooth paper is better for fine details.
- Color: Using tinted paper can add a unique mood to your artwork.
For those starting with oil pastels, it’s recommended to use oil pastel paper. It’s designed to grip the pastels for optimal color application and blending. Practice on different papers to see which you like best. Remember, the right paper not only showcases your skill but also protects your artwork over time.
First Projects to Try with Oil Pastels
Discovering oil pastels starts with simple, fun projects. These ideas help beginners feel comfortable and see quick progress.
Simple Drawing Ideas for Beginners
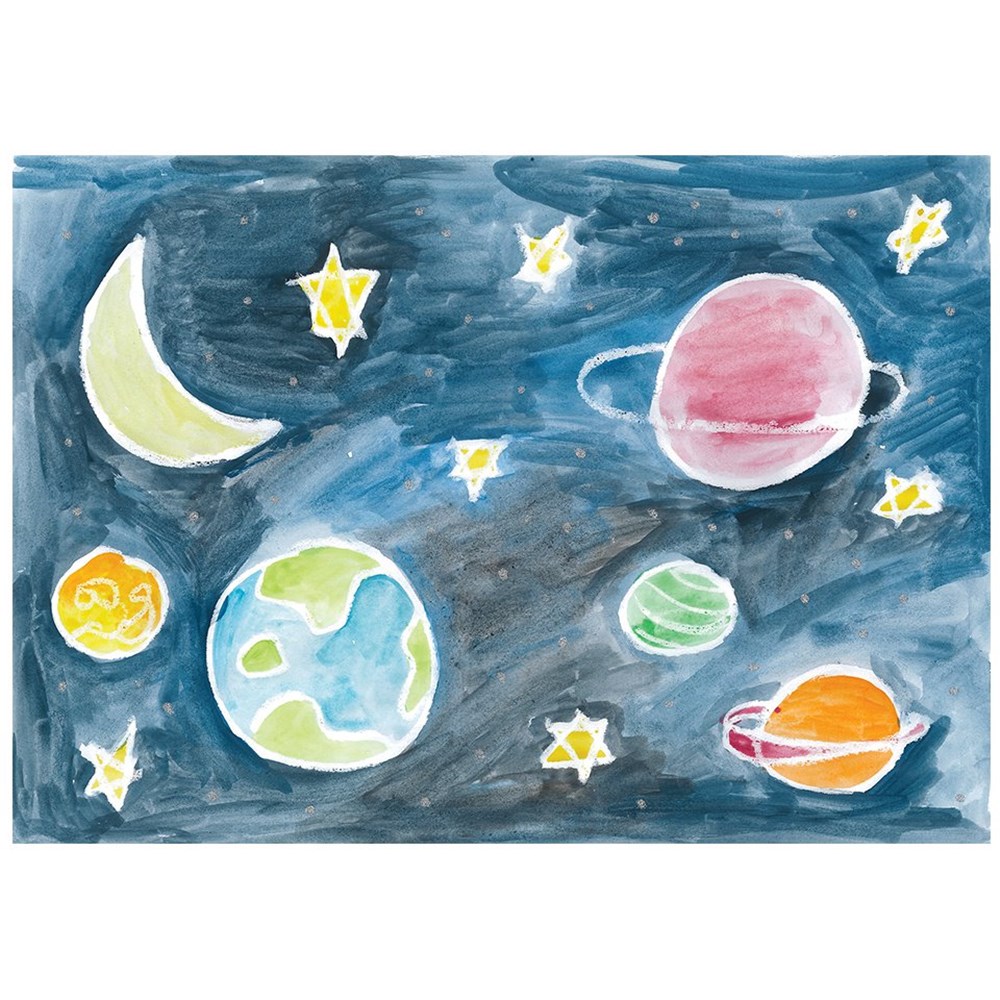
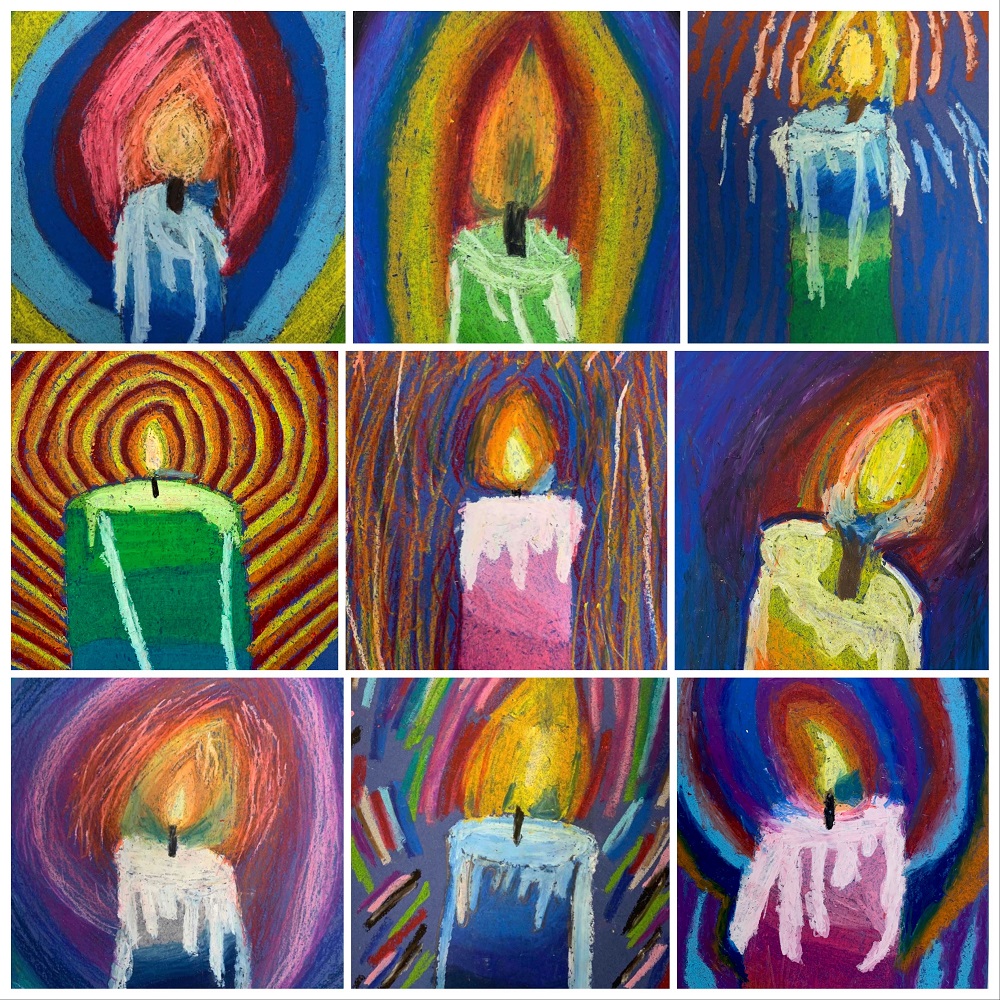
As a beginner, start with easy subjects. Try drawing simple shapes like circles or squares. Practice blending colors within these shapes. Draw everyday objects like fruits, a mug, or a candle. These have simple lines and are easier to sketch. Use photos or actual items as references for your art. Nature provides great inspiration too. Draw a leaf, a feather, or a seashell. Take your time and enjoy each stroke of color you apply.
Remember, the goal is not perfection but to get familiar with how oil pastels work. As you draw, notice how they feel on the paper and how the colors mix when blended.
Experimenting with Colors and Textures
Exploring colors and textures is exciting in oil pastel art. Use your oil pastels to create color gradients. See how colors change when you blend them together. Try different strokes like hatching, cross-hatching, and stippling. See what textures you can make with these techniques. Play with layering colors over one another to make new shades.
Create a textured look by placing a piece of textured material, like lace, under your paper. Rub the oil pastel on the paper to reveal the pattern. This technique adds an interesting dimension to your artwork.
The more you experiment, the more you learn. Each discovery will boost your confidence and skills in using oil pastels.

Blending and Application Tips
Mastering blending and application techniques can elevate the use of oil pastels and bring your artwork to life.
How to Blend Oil Pastels
Blending oil pastels is essential for creating smooth transitions and rich textures in your artwork. To start blending, lay down the oil pastel color you want to use. Then, apply a second color next to it. With gentle pressure, rub the two colors towards each other until they start to mix. You can use your finger, a cloth, or a blending stump for more precise control. Blending can soften edges, combine colors for new shades, and add depth to your drawings. Remember to clean your fingers or tools regularly to keep colors pure and vibrant.
Tools for Texturizing Your Artwork
Texturing adds visual interest and dimension to oil pastel art. Different tools can create various effects:
- Tortillons or Stumps: Use these for detailed work and finer textures.
- Palette Knives: Great for a more painterly approach, they can spread pastels in thick layers.
- Spatula: This tool can scrape away pastels or create sgraffito effects.
- Toothpicks or Pins: Use these to etch fine lines or patterns into your pastel layers.
- Tissue Paper: Crumple and use it to dab on the pastel for a mottled texture.
Choose the right tool based on the texturing effect you desire. Combine these with your blending skills for stunning, multi-dimensional art pieces. Practice different strokes and pressures to see the range of textures you can achieve.
Protecting and Preserving Your Art
Achieving a masterpiece is only half the battle; the other is ensuring it withstands the test of time.
Using Fixatives on Oil Pastel Art
Fixatives play a major role in protecting oil pastel artwork. Start by choosing the right kind for your project. Workable fixatives allow you to continue after they dry. Final fixatives seal your piece permanently. When using, spray in a well-ventilated area. Hold the can about a foot away, and use even strokes. Apply it thinly to avoid discoloring or saturating the art. Also, wait for the pastels to set before applying to prevent smudging.
Best Practices for Longevity
Longevity in art requires care from the start. Begin with acid-free paper to prevent yellowing. Store art away from direct sunlight as UV rays can fade colors. Keep oil pastel artwork behind glass if possible; this shields it from dust and moisture. If storing multiple pieces, separate them with glassine paper to prevent damage. Lastly, maintain a stable temperature and humidity where you display or store the artwork.
Following these protective steps will help your oil pastel creations look fresh and vivid for years to come.
Resources and Further Learning
To take your oil pastel skills further, explore additional resources and learning opportunities.
Recommended Books and Online Tutorials
A wealth of knowledge awaits in books and online tutorials. Look for titles focused on oil pastel techniques. They offer step-by-step guidance and tips. Online, hunt for tutorials that cover basics to advanced skills. Video tutorials are especially helpful. They show live blending and texturing methods.
A few keywords to search for might include ‘oil pastels how to use,’ ‘oil pastel blending techniques,’ and ‘art projects with oil pastels.’ Always practice what you learn. This helps you understand and remember new methods.
Joining Artist Communities for Support and Inspiration
Artist communities can be a goldmine for learning and inspiration. Join online forums and social media groups dedicated to oil pastels. Here, you can share your work, get feedback, and see others’ creations.
Local art clubs or classes offer face-to-face support and learning. They could also provide you with space to show your art. Connecting with fellow artists can spark new ideas and motivate you to keep creating.
These resources and communities help you grow as an artist. Use them to their full potential and enjoy every step of your artistic journey with oil pastels.