Charcoal drawing is a beloved medium in the art world, known for its rich, expressive qualities and versatility. When it comes to drawing animals, few are as captivating as giraffes, with their elongated necks and unique patterns. Capturing the intricate details and textures of a giraffe on paper can seem daunting, but with the right techniques, you’ll create stunning, realistic artwork. This article explores essential tips and methods for using giraffe charcoal drawing, enabling you to bring this magnificent creature to life.
Understanding Giraffe Anatomy
Observing Proportions and Features
Before you reach for your charcoal, take time to study giraffe anatomy. Understanding their proportions is crucial for creating a realistic representation. Giraffes have notably long necks, long legs, and distinctive ossicones (horn-like structures) on their heads. Spend time observing images of giraffes or even visiting a zoo if possible. Take note of their unique skeletal structure, which affects how they move and stand. An accurate understanding of anatomy forms the foundation of a successful drawing.
Sketching Basic Shapes
Begin your drawing by lightly sketching basic shapes to outline the giraffe’s form. Utilize simple geometric shapes such as rectangles and ovals to map out the head, neck, body, and legs. This approach allows you to easily position the giraffe on the paper and makes adjusting proportions simpler, especially if you need to erase and reposition parts of the drawing. Focus on getting the general shape right before diving into finer details.
Choosing the Right Charcoal Tools
Different Types of Charcoal
Selecting the right charcoal tools can make a significant difference in your drawing experience. There are various types of charcoal available, including compressed charcoal, vine charcoal, and charcoal pencils. Compressed charcoal produces dark, intense lines but may be challenging to control, while vine charcoal offers a softer, more flexible approach. Charcoal pencils give you precision, ideal for fine details like the giraffe’s unique spot patterns. Experiment with these different types to find what works best for you.
Essential Accessories
In addition to charcoal, consider having various accessories on hand. A blending stump, or tortillon, aids in smoothing out lines and creating softer transitions. An eraser, especially a kneaded one, helps you lift off charcoal for highlights or corrections. Additionally, high-quality drawing paper designed for charcoal will support the medium and add texture to your work. Investing in these tools enhances your overall drawing experience.
Building Texture with Charcoal
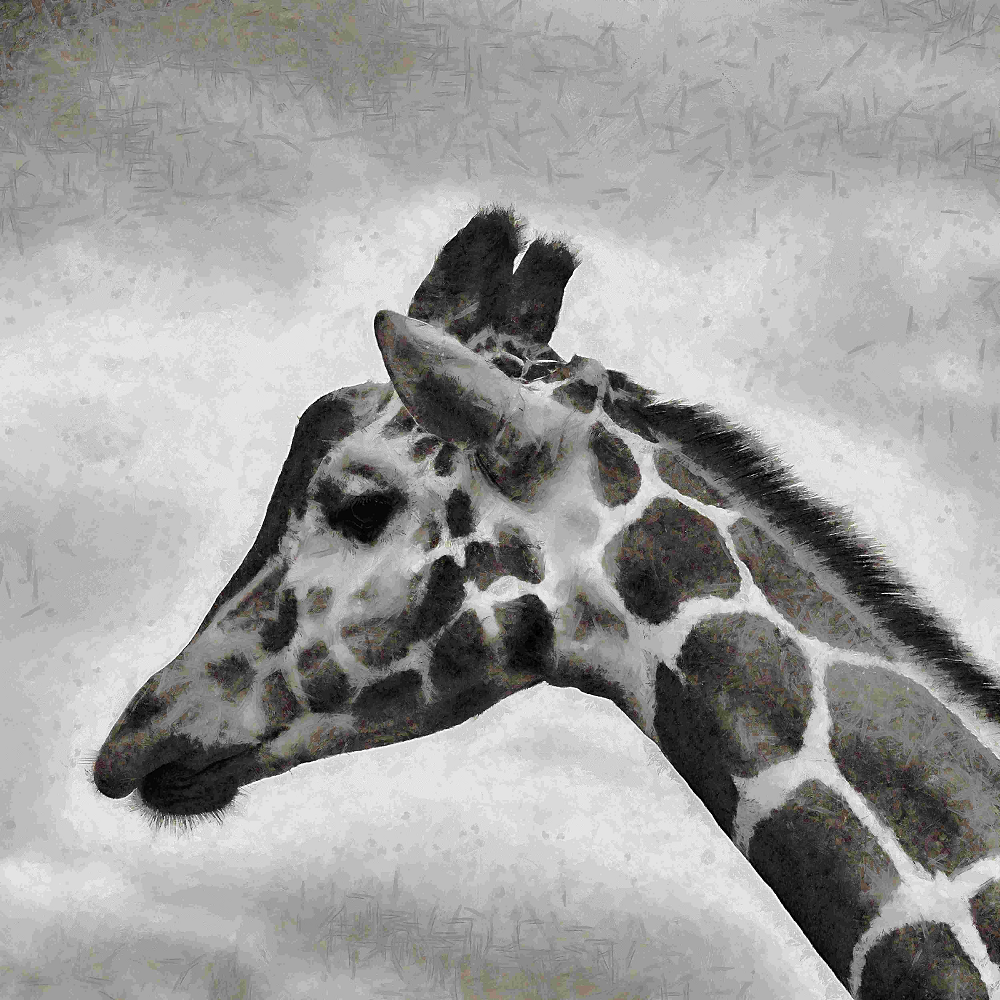
Creating Fur and Patterns
Giraffes have a distinct coat made up of patches and unique textures. To mimic their fur effectively, use a combination of layering techniques. Start with a base layer of light charcoal to create a uniform tone. Gradually build up darker tones while paying attention to the direction of the fur. This layering helps add depth and dimension, making your drawing appear more lifelike.
Utilizing Blending Techniques
Blending is essential for achieving smooth transitions and realistic textures. Use your fingers, a blending stump, or a cloth to soften harsh lines and blend tones together. Be mindful of which areas require blending—smoother transitions may be needed on the body while the face may benefit from sharper lines to define features. Consider the play of light and shadow on the giraffe’s body, accentuating the textures and creating a three-dimensional feel.
Focusing on Light and Shadow
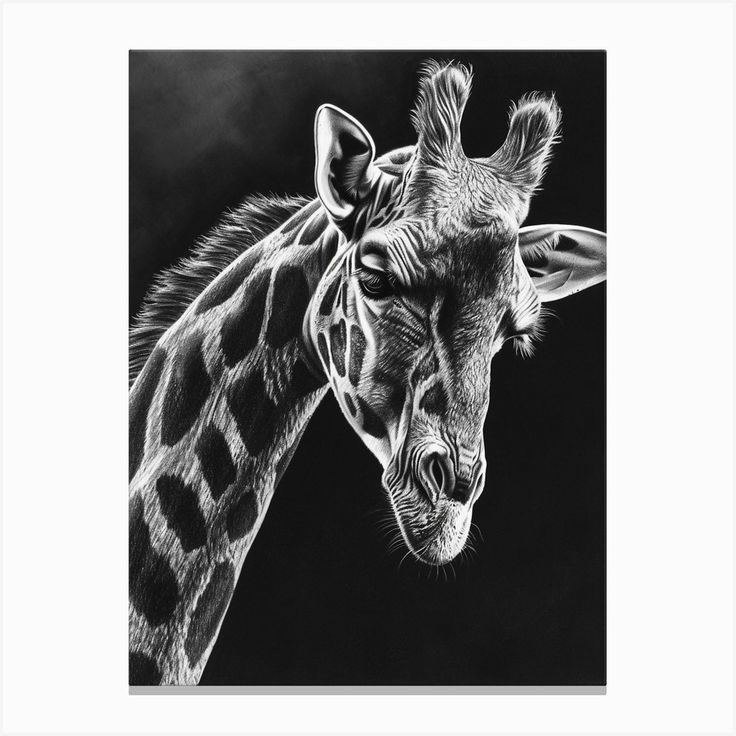
Understanding Chiaroscuro
Chiaroscuro is a technique that employs strong contrasts between light and dark to create depth. This method is particularly effective in bringing out the giraffe’s features and providing a sense of volume. Observe how light interacts with the surfaces of a giraffe’s body. Identify which areas catch the light and which fall into shadow. Use this understanding to emphasize these contrasts in your drawing.
Creating Depth with Layers
To enhance the three-dimensional look of your giraffe, build up layers of charcoal in shadowed areas. Start with lighter shades and progressively add darker tones, blending as you go. This layering technique creates rich depths, giving your art dimension. Focus on areas such as the underbelly, beneath the neck, and behind the legs, where shadows naturally occur. This method elevates the realism of your work.
Capturing Giraffe Expressions
Observing Facial Features
The expression of a giraffe can convey a range of emotions and personalities. Pay close attention to the facial features that contribute to their character, such as the eyes, ears, and mouth. Giraffes have large, expressive eyes that reflect their gentle demeanor. Spend time practicing drawing their eyes, focusing on the shape and placement. Capturing these subtle nuances will enhance the realism of your art.
Adding Detail with Precision
Utilize a charcoal pencil for fine details like the giraffe’s lashes or the texture of the mouth. These delicate elements can add personality to your drawing, making it more engaging. Take your time to ensure that the proportions of the face are accurate, enhancing the overall likeness. Showcasing these details helps your audience connect with the animal and appreciate your artistic skill.
Ensuring Correct Perspective
Establishing a Viewpoint
Perspective plays a crucial role in making your giraffe drawing realistic. Identify your viewpoint—will you be drawing the giraffe from a low angle, making it appear more towering, or from a higher perspective? This choice affects how you position the features and how proportions appear. Once you decide on the viewpoint, adjust your initial sketches accordingly to maintain accuracy.
Employing Linear Perspective
Utilize techniques such as linear perspective to ensure the giraffe’s proportions remain consistent based on your chosen viewpoint. For example, when drawing a giraffe from below, emphasize its long neck and legs while subtly diminishing features that are farther away. These techniques add realism through proper depth and distance, turning your drawing into a compelling piece of art.
Final Touches and Presentation
Refining Your Drawing
Once you are satisfied with the overall composition of your giraffe charcoal drawing, step back and evaluate your work. Look for areas that may need additional shading or details. This final refining stage allows you to make adjustments before the piece is considered complete. Add highlights to areas that catch light and deepen shadows for added dimension. Pay special attention to edges and contours, ensuring they are well-defined but not overly sharp.
Presenting Your Artwork
Presentation matters, especially when showcasing your work. Consider framing your drawing behind glass to protect it from smudges and damage, enhancing its longevity. Select a frame that complements the artwork. Additionally, think about adding a signature to your piece to personalize it. This step not only validates your work but also offers a sense of accomplishment and pride in your artistic journey.
Exploring Creative Styles
Experimenting with Different Techniques
Once you’re comfortable with realistic interpretations of giraffes, consider exploring your creative side by experimenting with different artistic styles. Charcoal is a versatile medium that allows for a range of expressive techniques. Try mixing realism with abstract elements or focus on capturing the essence of a giraffe rather than aiming for an exact likeness. For example, you might play with bold, exaggerated lines and shapes to convey movement and energy.
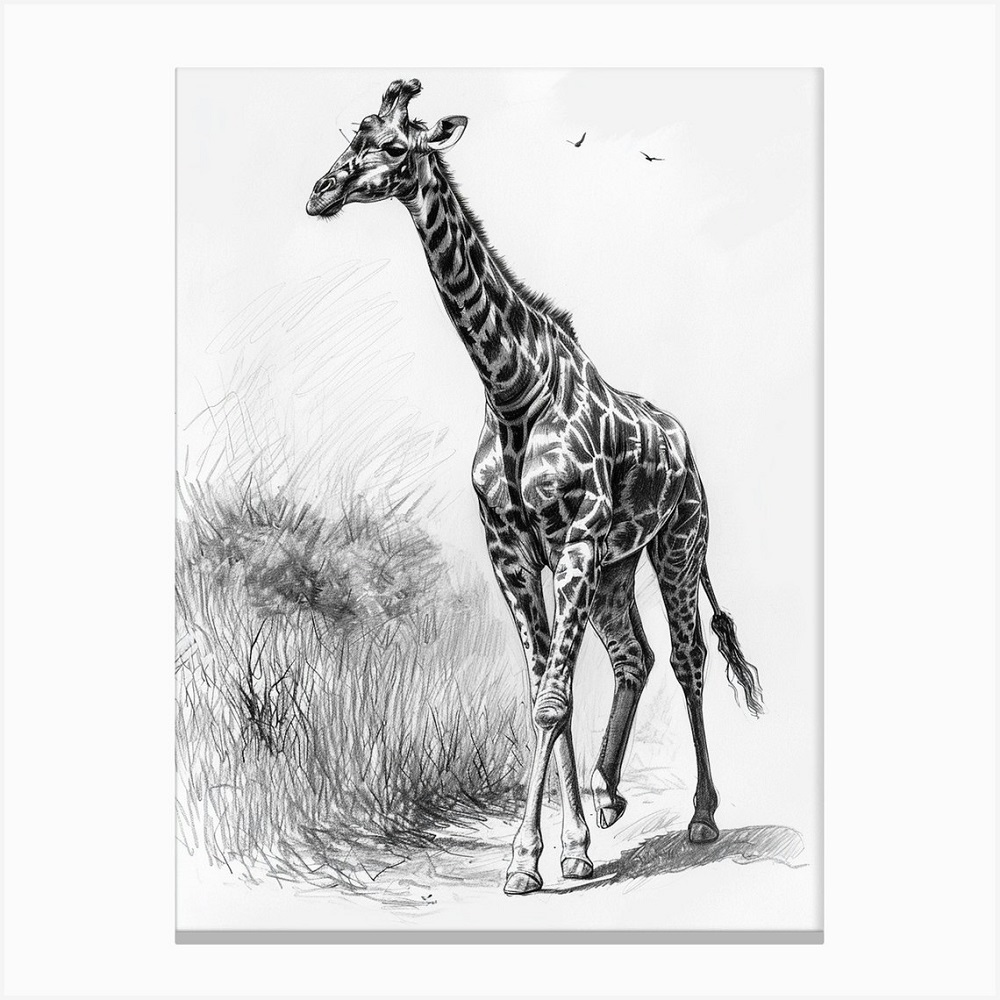
Incorporating Backgrounds and Context
Another way to elevate your giraffe charcoal drawing is to add backgrounds that enhance the story of your artwork. Think about including elements of a savanna landscape, such as acacia trees or a setting sun, adding depth and context to your piece. This not only draws viewers into the scene but also allows you to practice incorporating different textures and perspectives. Emphasizing the environment can provide contrast and highlight the giraffe’s unique features even more vividly. Don’t hesitate to let your imagination guide you as you develop a personal and unique artistic voice.
Conclusion
Creating a realistic giraffe charcoal drawing using charcoal is an achievable goal with the right techniques and tools. By understanding the anatomy, employing effective charcoal techniques, focusing on light and shadow, and refining your artwork, you can capture the essence of this magnificent creature. Remember that practice is key; the more you draw, the more adept you will become. As you develop your skills, embrace the process and enjoy the journey of bringing beautiful art to life. Whether for personal enjoyment or to share with others, your giraffe charcoal drawings can inspire appreciation for these extraordinary animals and showcase your artistic talent.