Charcoal eraser drawing techniques open up a world of artistic possibilities. Many artists have embraced this medium for its versatility, allowing for rich textures and striking contrasts. Using an eraser in conjunction with charcoal can transform your artwork, helping to bring forth highlights and definitions that might otherwise be lost. Whether you’re a beginner looking to refine your skills or an experienced artist eager to explore new methods, mastering charcoal eraser techniques can elevate your drawings. This guide offers practical tips to help you make the most of this unique drawing approach.
Understanding Charcoal and Its Properties
Types of Charcoal
To make the most of your charcoal eraser drawing, familiarize yourself with the different types available. Vine charcoal is lighter and easier to erase, making it ideal for initial sketches and underdrawings. Compressed charcoal, on the other hand, produces deep, dark lines and is excellent for detailed work. Knowing the characteristics of each type will give you confidence in choosing the right materials for your projects. Experiment with both types to see how they interact with your eraser techniques, helping you find your preferred style.
The Importance of Quality Materials
Investing in high-quality charcoal and erasers can significantly impact your drawing experience. Opt for artist-grade charcoal sticks and kneaded erasers, as they provide a more refined finish. Higher-quality materials allow for greater control over line quality and texture. Additionally, using a decent drawing paper with sufficient tooth will accommodate the charcoal’s texture and allow for easier erasing. Quality materials can elevate your artwork and offer a canvas that responds well to your techniques.

The Role of Erasers in Charcoal Drawing
Types of Erasers
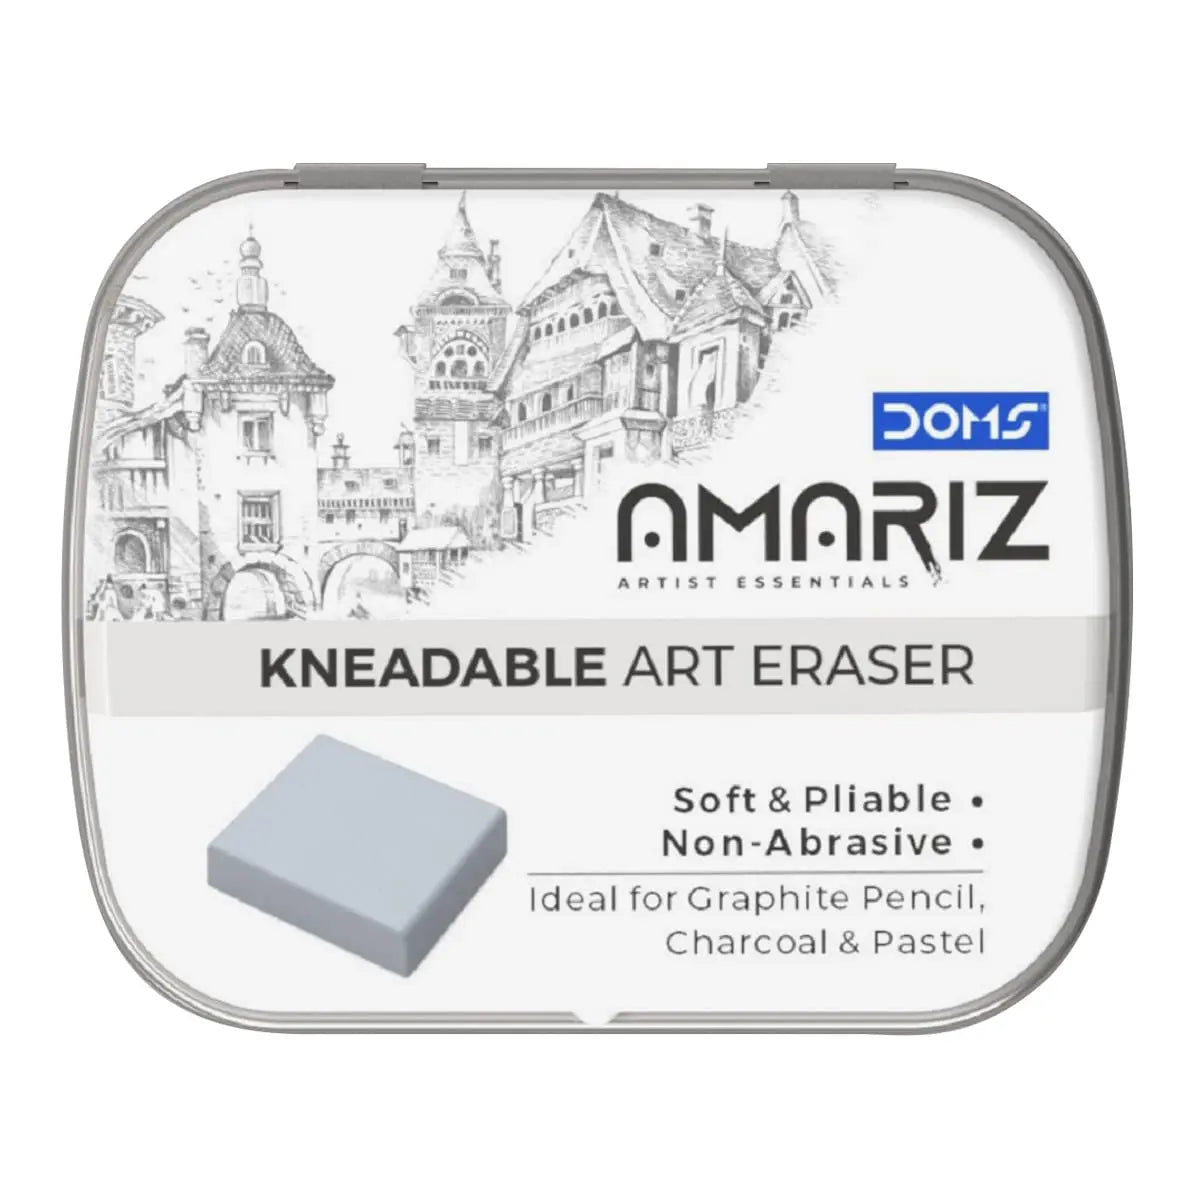
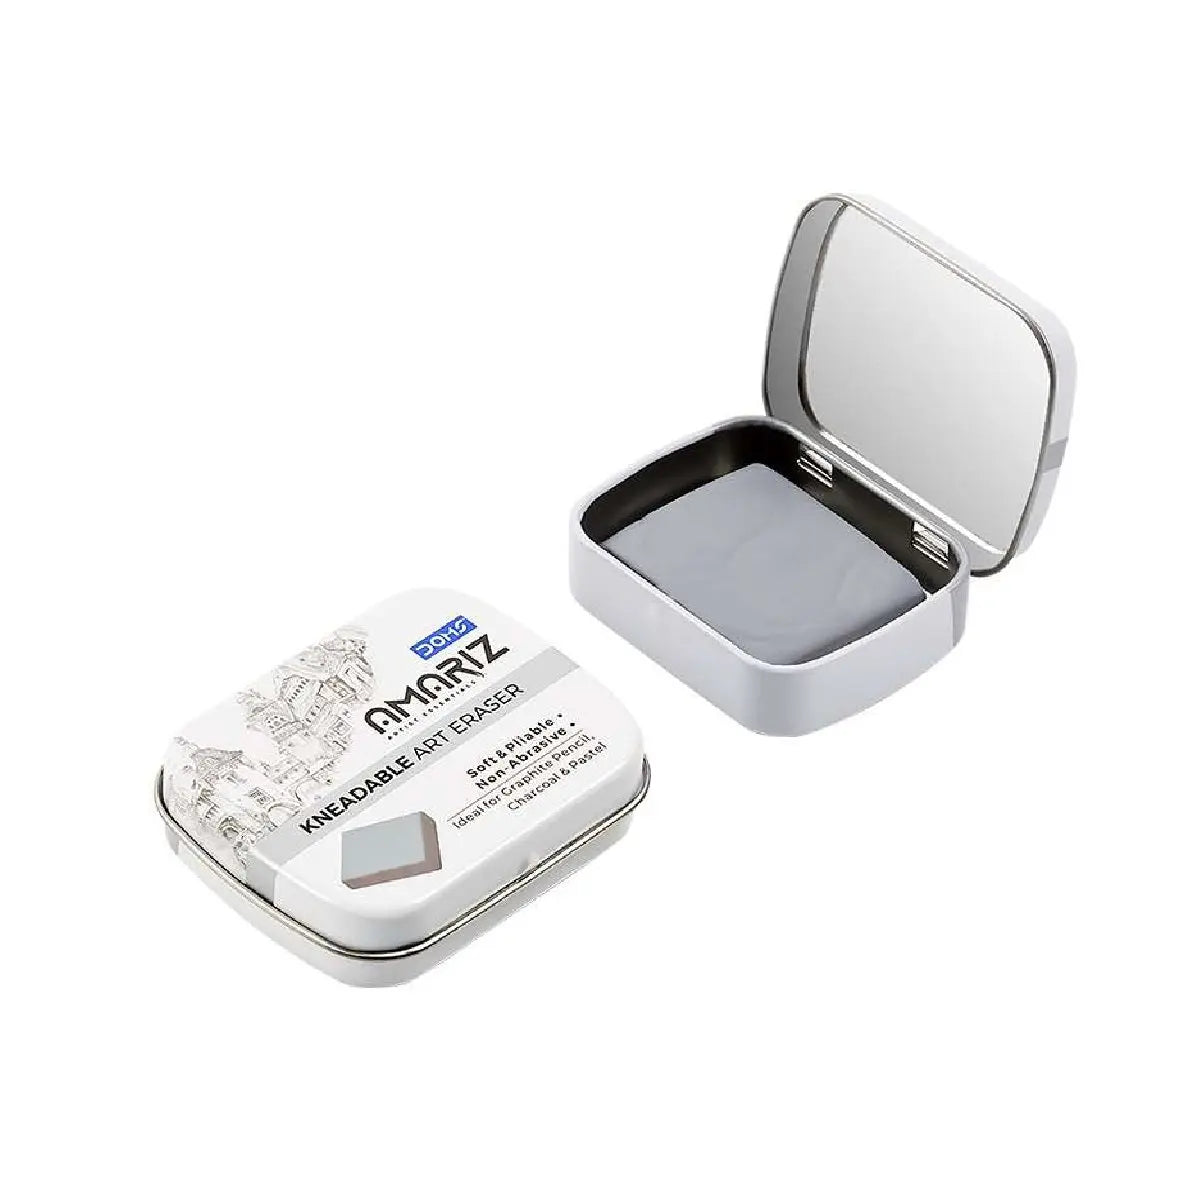
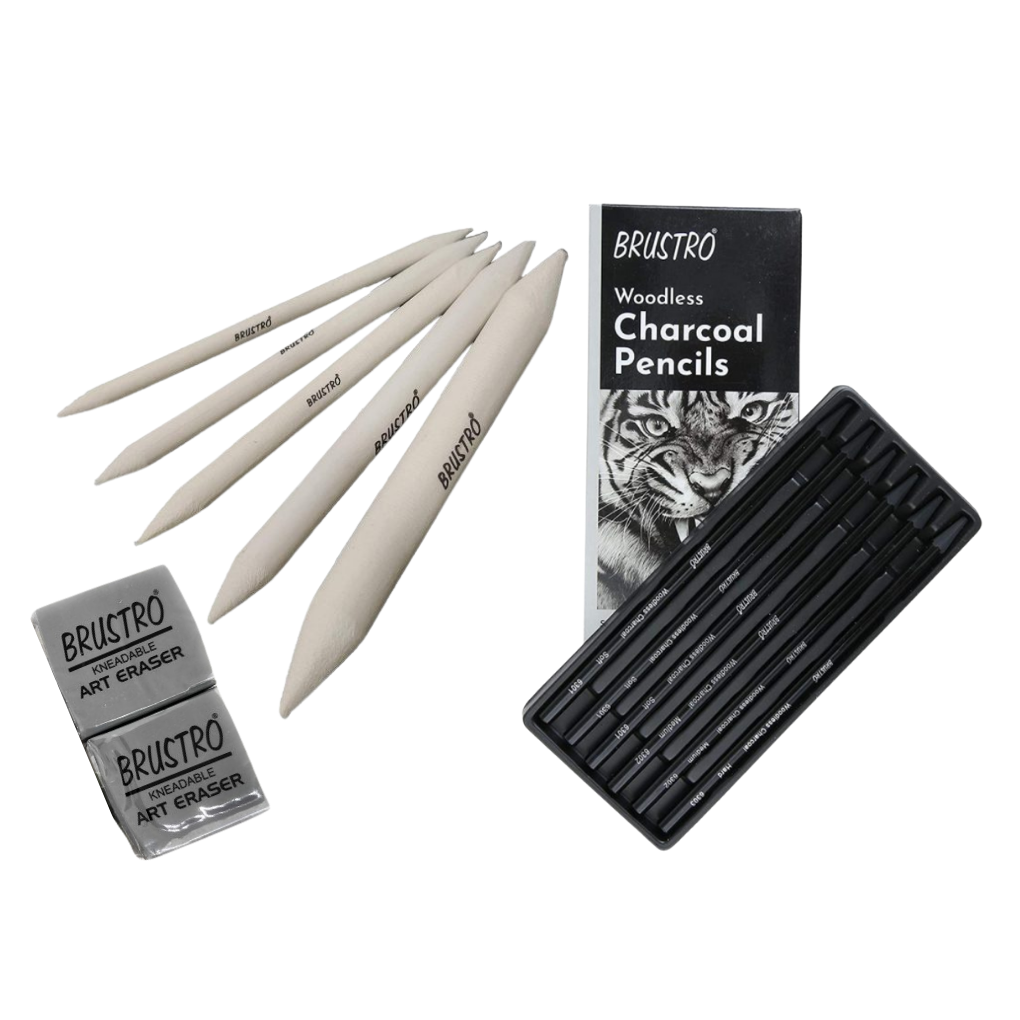
Understanding the various types of erasers is essential in mastering charcoal eraser drawing techniques. Kneaded erasers, which can be shaped and molded, are great for lifting charcoal selectively without damaging the paper. Vinyl and plastic erasers offer a firmer texture and can create sharper highlights or fine details. Each type of eraser serves a unique purpose in your artistry. Experiment with these erasers to see how they respond to different pressures and techniques, refining your skills as you go.
Enhancing Contrast and Highlights
Using an eraser in conjunction with charcoal drawing allows you to create stunning contrasts. By lifting charcoal from specific areas, you can achieve highlights that define your subject matter. This technique is especially useful in portrait work, where capturing the light on skin can make a dramatic difference. Think of the eraser as an additional drawing tool rather than just an implement for corrections; its use can significantly enhance the depth and dimension of your artwork.
Techniques for Using an Eraser Effectively
Lifting Techniques
When using an eraser to lift charcoal, applying gentle pressure is key. Rather than scrubbing or rubbing aggressively, gently dab or roll the eraser across the charcoal. This method allows for controlled lifting, producing subtle highlights without completely removing the underlying charcoal. Practice this technique on scrap paper to get a feel for how much pressure is required for various results. Experiment with the angle and pressure to see how these factors influence your outcomes.
Creating Textures
Your eraser can also add texture to your drawings. By using the edge of a kneaded eraser, you can create various patterns, such as fur or hair, that enhance realism. Conversely, a sharper vinyl eraser can produce more defined, intricate textures. To develop this skill, try replicating different textures, such as the roughness of tree bark or the smoothness of skin. The more you practice, the better you’ll get at refining these techniques to suit your artistic style.

Combining Charcoal and Eraser Techniques
Layering for Depth
One of the most effective ways to use charcoal and an eraser is through layering. Start with a light layer of charcoal, establishing the basic forms and shadows. Then, use the eraser to lift sections of the charcoal, creating highlights. Following this, add another layer of charcoal to enhance shadows and depth. This method not only gives your artwork dimension but also allows for a dynamic interplay between light and dark. By continually layering and erasing, you’ll create a richer, more nuanced piece.
Using the Eraser for Refinement
Don’t underestimate the power of the eraser for refining your artwork. After establishing your primary shapes and values, use the eraser to sharpen lines and clean edges. This technique can help define particular elements, leading to a more polished final product. Take time to practice this refinement process, ensuring you don’t overwork your piece. Finding that balance will help your artwork feel both lively and intentional.
Practice and Experimentation
Setting Up Practice Sessions
Regular practice is crucial to mastering charcoal eraser drawing techniques. Set aside time each week to focus specifically on using charcoal and an eraser together. Choose different subjects—still life, landscapes, or portraits—to challenge yourself and to understand how different forms respond to your tools. Document your progress by keeping a sketchbook, showcasing various techniques and completed drawings. This practice will not only improve your skill set but also build your confidence as an artist.
Embracing Mistakes
Art is a journey and mistakes often lead to the best learning experiences. Instead of viewing errors as setbacks, embrace them as chances to experiment with charcoal and eraser techniques. By trying new approaches and making adjustments, you’ll discover unique styles that might lead to exciting breakthroughs in your work. This openness to the process will enhance your artistic growth, encouraging you to push boundaries and explore creatively.

Finding Inspiration
Learning from Other Artists
Inspiration can come from many sources. Explore the works of established artists who effectively use charcoal and eraser techniques. Look at their compositions, how they manipulate light and shadow, and their unique use of erasers. Studying other artists can provide you with new ideas and techniques to incorporate into your work. Try to recreate some of their works as a form of practice, while developing your unique style.
Engaging with Art Communities
Joining art communities, whether online or in person, can offer a wealth of inspiration and support. Share your drawings, seek feedback, and observe how others utilize charcoal and erasers effectively. Participating in critiques and discussions can broaden your perspective and refine your techniques. Finding a supportive network of fellow artists provides encouragement and motivation to continue honing your skills.
Final Thoughts and Tips for Success
Maintaining a Positive Mindset
Approaching charcoal eraser drawing with a positive mindset can significantly influence your outcomes. Understand that mastery takes time, and every artist has their own pace of learning. Maintain patience with yourself as you explore new techniques and develop your style. Celebrate small victories along the way, and always remember that art is about expression and enjoyment.
Building a Personalized Technique
Ultimately, mastering charcoal eraser drawing techniques is about finding what works best for you. Mix traditional techniques with innovative approaches to establish your unique voice as an artist. With continued practice, experimentation, and a focus on both craft and creativity, you’ll find yourself growing in your artistic abilities and becoming more confident in your work.
In summary, charcoal eraser techniques offer a dynamic way to enhance your drawing skills. By understanding the properties of charcoal, experimenting with various eraser types, and practicing regularly, you’ll develop a toolkit suited for any artistic endeavor. Embrace the journey of exploration as you master charcoal eraser drawing techniques, and let your creativity flourish. Happy drawing!