Introduction to Soft Pastels
Soft pastels are vivid, versatile art materials. They blend easily, offering a unique spectrum of color effects. Drawing pastels empower artists with simple yet profound techniques.
Benefits of Using Soft Pastels for Drawing
Soft pastels shine for their quick application and bright, blendable colors. Artists favor them for their minimal binder content, which ensures intense pigments and a tactile experience. Plus, mistakes are easily corrected, inviting creativity and exploration.
Choosing the Right Pastel Format
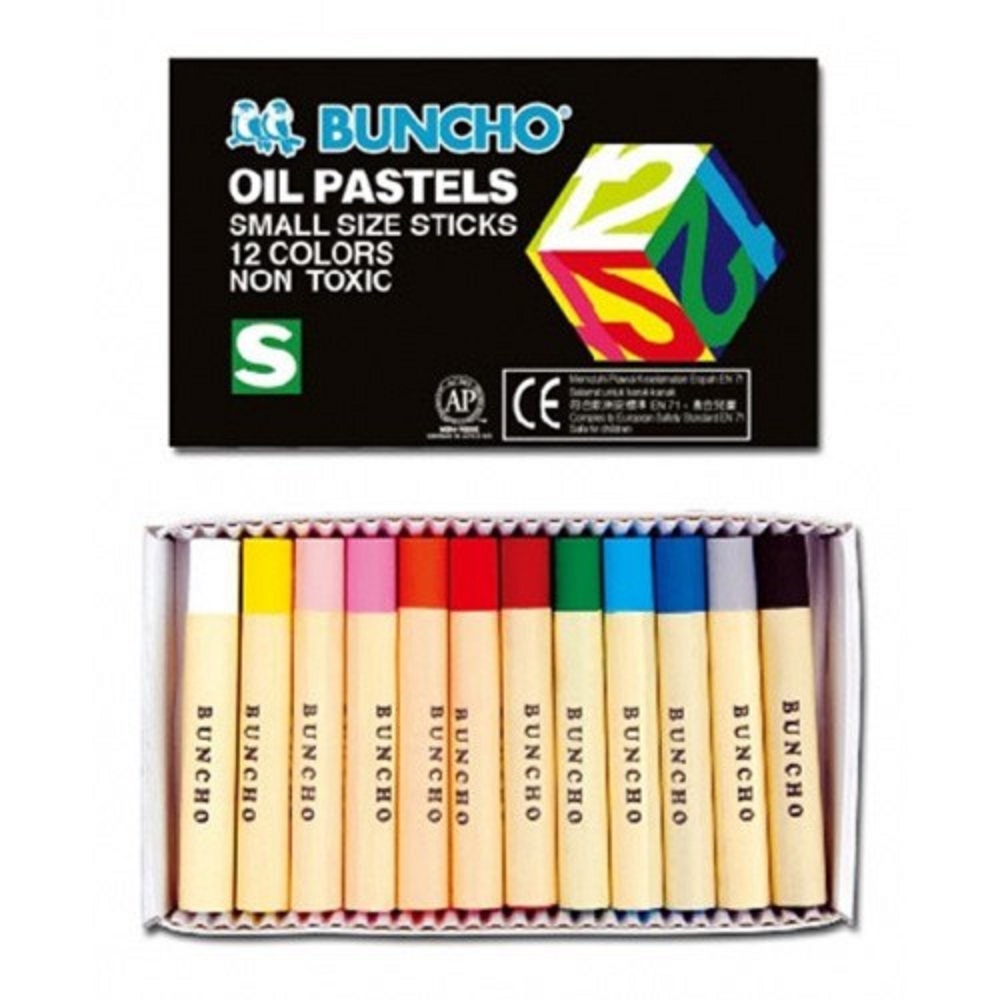
Pastels come in various shapes—square, round, and rectangular. The stick’s edges and flat sides enable diverse styles, from fine lines to expansive color blocks. Square pastels are ideal for detail work, while round ones ease into natural, fluid strokes. Rectangular drawing pastels offer the best of both, making them a top choice for versatility.
Selecting the Ideal Paper
Choosing the right type of paper is key for soft pastel artwork. The paper’s texture and quality affect how the pastels behave and adhere to the surface. For those just starting with drawing pastels, selecting a suitable paper can make a significant difference in the outcome of their art.
Understanding Paper Textures and Qualities
Textured papers are best for soft pastels, as they hold the pigment well. Rough or “toothy” surfaces allow pastels to grip and leave a rich layer of color. Fine-grained or smooth papers may not provide enough friction, resulting in faint colors or poor adhesion. Artists should look for papers labeled as “pastel papers” or those with a surface akin to sandpaper. These papers are specifically designed to handle the powdery nature of soft pastels.
Ensure your chosen paper is acid-free. Acidic papers can yellow over time, altering the colors and quality of your artwork. It’s better to invest in quality paper to preserve your artwork for years to come.
Experimenting with Different Substrates
Once comfortable with traditional pastel papers, artists can explore different substrates. Watercolor paper, canvas, pasteboard, and even wood can provide unique textures and effects. Watercolor paper is absorbent and good for soft pastel techniques that use water. Canvas offers a woven texture that can create interesting marks. Pasteboard and wood provide firm support for more vigorous application of pastel.
Experiment with various colored papers. Bright pastels pop on dark papers, while light papers soften the look. Artists can also use color papers to influence the mood of their pastel artwork.
Each substrate offers a new opportunity for creativity, with the draw of soft pastels lying in their adaptability. Try different materials to discover how they can enhance your pastel art.
Basic Drawing Techniques with Soft Pastels
Soft pastels offer a dynamic range for artists. Key techniques can bring a drawing to life.
Lines, Areas, and Pressure Variations
To start, use the edges of a rectangular pastel for fine lines. For thick marks, use the broad side. Press lightly for a soft touch or harder for deep color. This simple change in pressure changes the look of your work.
Hatching to Add Style and Texture
Hatching adds depth and texture with lines. Use the pastel tip to make small marks. Layer these to see vibrant mixes emerge. It’s a subtle touch that makes a big impact on your artwork.
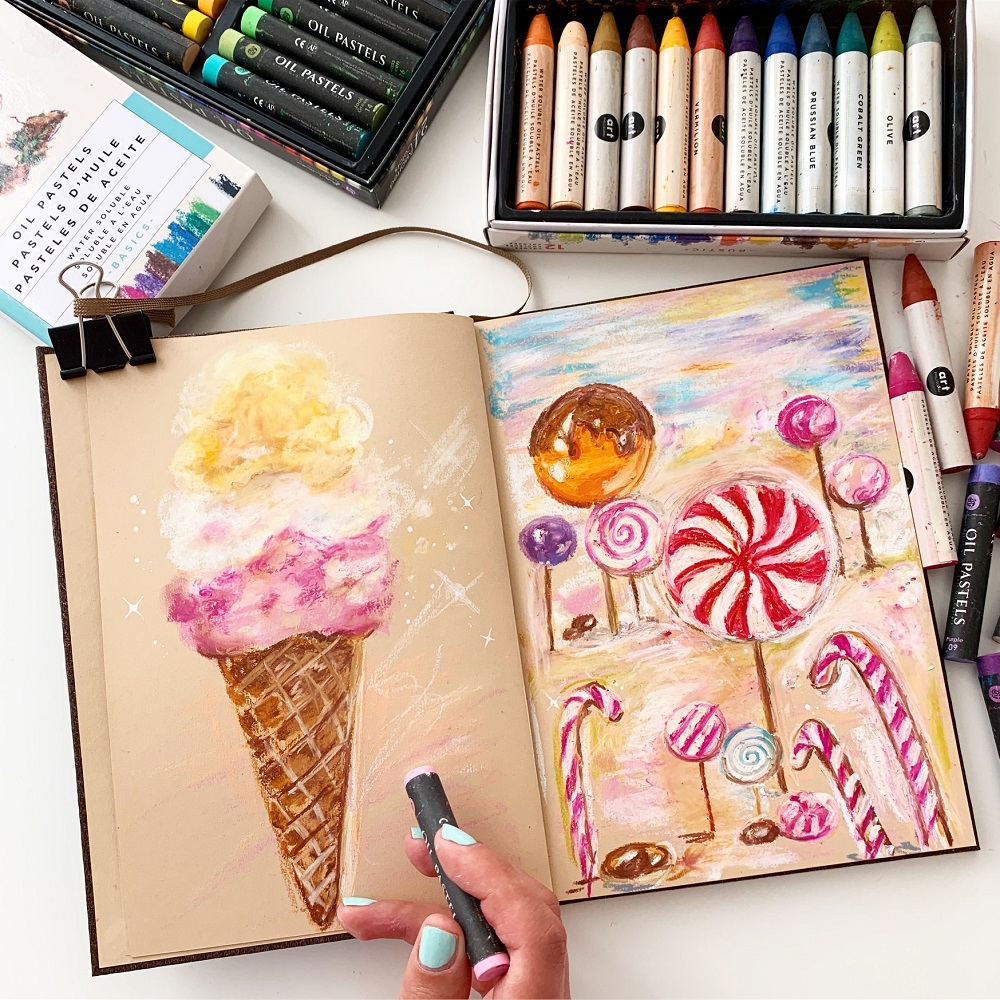
Blending Techniques for Smooth Gradients
Smooth gradients are the hallmark of soft pastel art, giving it a distinctive, painterly look. Proper blending techniques can help you achieve these desirable effects with ease.
Blending Colors: Tools and Methods
When blending drawing pastels, your tools matter. Fingers are great for direct, hands-on blending, ideal for larger areas. For finer control, use a blending stump or a tissue. Blending stumps let you mix colors with precision, without getting your fingers dirty. Tissues, on the other hand, offer a softer touch for subtle transitions.
Start by lightly applying one color, then add an adjacent color. Gently overlap them and blend at the meeting point. For a smooth gradient, blend colors that are close on the color wheel. Try blending a light blue into a dark blue for a sky effect.
Remember to clean your tool between blends to keep colors pure. Use a different part of your finger or tissue, or rub the stump on scrap paper.
Layering Colors for Depth and Intensity
Layering is another key blending technique for drawing pastels. Lay down a light base color first, then build up deeper shades on top. This technique adds richness and vibrancy to your artwork.
Apply the base color, then use a darker tone to outline where you want more intensity. Blend the darker pastel gently into the lighter one, maintaining the base’s presence. This way you create depth without overpowering the underlying hue.
To deepen shadows or strengthen highlights, apply more layers. Press harder for a more saturated look, or softly for a delicate touch. With each layer, your work gains complexity and contrast. Every stroke adds personality to your piece.
Incorporating these techniques into your soft pastel projects will help you master the creation of ethereal and captivating art. Practice these methods to perfect the control of your gradients, and watch your pastel drawings come to life with depth and dimension.
Creating High-Contrast Effects
High-contrast effects in drawing pastels can bring out the vibrant nature of the pigments. These effects highlight the depth of colors, making your artwork pop.
Using Dark and Light Papers
Choosing the right background paper is crucial for high-contrast artworks. Dark papers make light pastels stand out, providing a striking effect. Conversely, using pastels on light paper results in a subtle and soft appearance. By experimenting with dark and light papers, you can manipulate the contrast to your liking and add drama to your pieces.
Artists often use colored papers as a mid-tone. This lets you work ‘from the middle’, adding both shadows and highlights. The paper’s color peeks through, contributing to the overall tone of your artwork.
Remember, the color of the paper influences the mood of your drawing. Dark papers bring a sense of mystery and depth, while light papers feel airy and delicate.
The Magic of Color Opposites
To intensify contrast, use color opposites, also known as complementary colors. Place them side by side to make each other stand out. For example, orange appears more vibrant next to blue. This technique is effective in capturing the viewer’s attention and creating a visual impact.
Applying a color’s opposite will also neutralize it, which can be useful in toning down parts of your pastel drawing. Mixing blue atop an orange area can mute the brightness and vice versa, creating an array of grays and browns.
Utilizing the magic of color opposites is a dynamic way to bring energy and vitality to your drawing pastels artwork. Play with these contrasting pairs to make your compositions leap off the page.
Fixative Application Tips
Soft pastels have a powdery texture that can easily smudge. Fixatives seal the pastel, reduce smudging, and prolong the artwork’s life.
Protecting Your Artwork with Fixative
Use a fixative spray to preserve your pastel drawings. It keeps the colors from fading or smudging. Spray evenly from a 30 cm distance. Let it dry completely. This layer protects your drawing from dust and touch.
Intermediate Fixing for Creative Flexibility
Intermediate fixing is spraying between pastel layers. It seals the bottom layer but lets you add more on top. This method provides a way to correct mistakes. It also adds depth to your artwork by layering colors.
Innovative Soft Pastel Techniques
Exploring new ways to use drawing pastels keeps your artwork fresh and exciting. Beyond the basic skills, there are innovative techniques that can add depth and intrigue to your creations.
Negative Space Drawing
Negative space drawing is a method where you focus on the area around the subject rather than the subject itself. Instead of coloring the main object, you fill the background with pastels. This makes the blank space take the shape of the subject, giving a unique effect. It works best on darker papers, as the contrast is striking. Experiment with different shapes and watch your subject emerge from the negative space.
Water Effects with Pastels
Did you know you can use water with your drawing pastels? This technique can create a watercolor look. Start with a layer of soft pastel, then brush lightly with water. The pastels blend and soften, creating fluid effects. It’s a great trick for backgrounds and skies. Let the water do the blending for soft gradients and gentle hues. Always use water sparingly, and paper that can handle dampness.
Mixing Mediums and Final Touches
To make your pastel drawings more dynamic, consider mixing mediums.
Combining Pastels with Other Art Materials
Complement soft pastels by adding other art materials. Ink pens define edges and add detail. Colored pencils work for subtle shading and fine lines. Experiment with paint for a mixed-media effect. Layering different materials can bring out textures and highlights in your work.
Refining and Detailing Your Pastel Artwork
Focus on details after your main layers are complete. Use a sharp edge of a pastel for fine lines. Add small strokes of color to bring out details. Use an eraser to create highlights or correct mistakes. Take a step back often to see the whole picture. This helps you spot areas that need more work. End with a fixative spray to seal your artwork. This keeps it safe and vibrant for longer.