Introduction to Oil Pastels
Oil pastels are vibrant and versatile. Artists love them for their rich colors.
Brief History and Development
Oil pastels first appeared in the 20th century. They are not Picasso’s invention, despite common myths. Originally, they were made for children in Japan. Yet famous artists like Picasso later improved them. Now, oil pastels are a major medium for artists worldwide.
Characteristics and Unique Qualities
Oil pastels stand out for their creamy texture and intense hues. They don’t need water, unlike other art materials. They are also easy to blend. This makes them great for layering colors. But, you must handle them carefully to avoid smudging.
Essential Tools and Materials
Choosing the Right Oil Pastels
Choosing the right oil pastels is key. Look for sets with a variety of shades. Soft, creamy pastels blend better than harder types. For quality, brands like Sennelier are top-notch but pricier. You can start with smaller, budget-friendly sets. Avoid cheap pastels; they often lack pigment and don’t layer well.
Selecting the Best Paper and Surfaces
Your choice of paper can make a big difference. Some papers are rough; others are smooth. Rough textures are good for layering, while smooth surfaces work well for fine details. Weight matters too – heavier papers hold more layers. Toned papers can make your colors pop. Always test different types to find your favorite.
Accessories for Oil Pastel Drawing
Accessories can help you create amazing art. Paper towels are a must for cleaning pastels. Blending stumps help to smooth and blend colors. A fixative spray will set your work and stop smudging. Gloves can keep your hands clean. And, remember, a palette knife is great for scratching in details.

Basic Oil Pastel Techniques
Oil pastels offer unique ways to create art. Here’s how to start.
Layering and Blending Colors
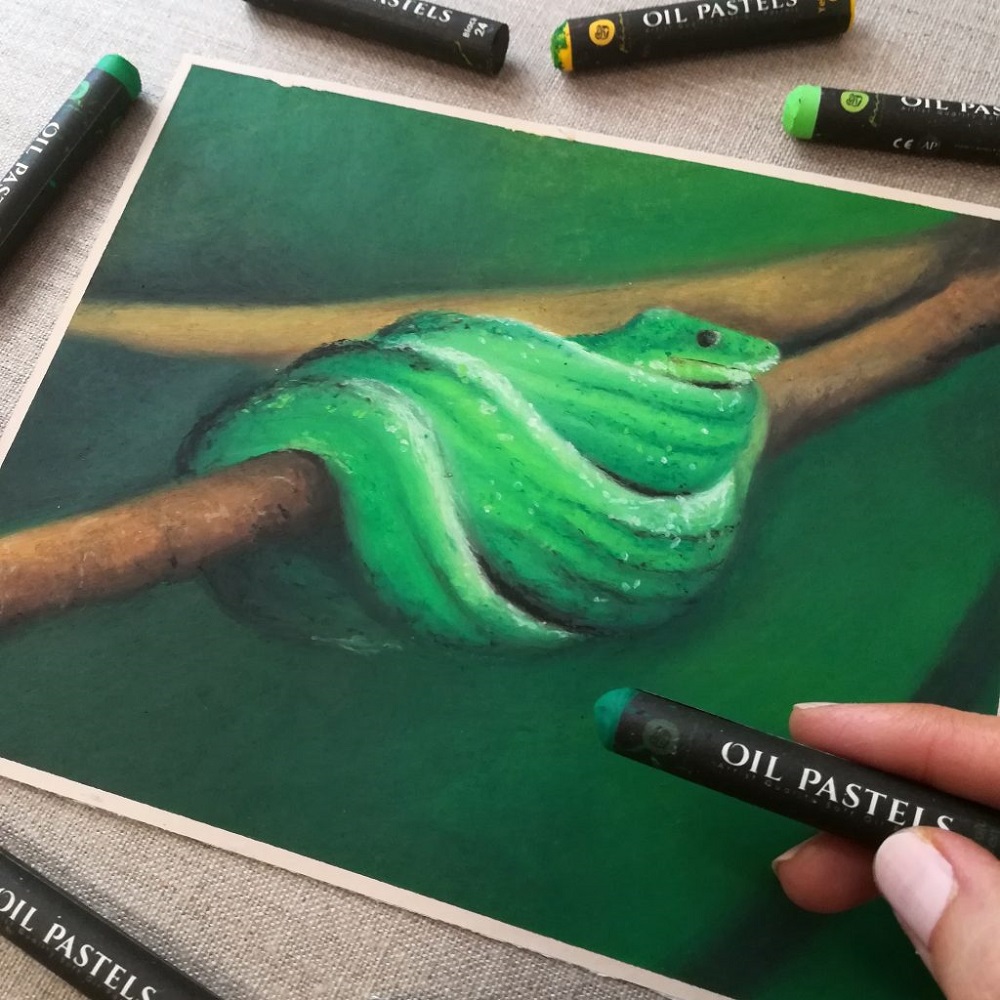
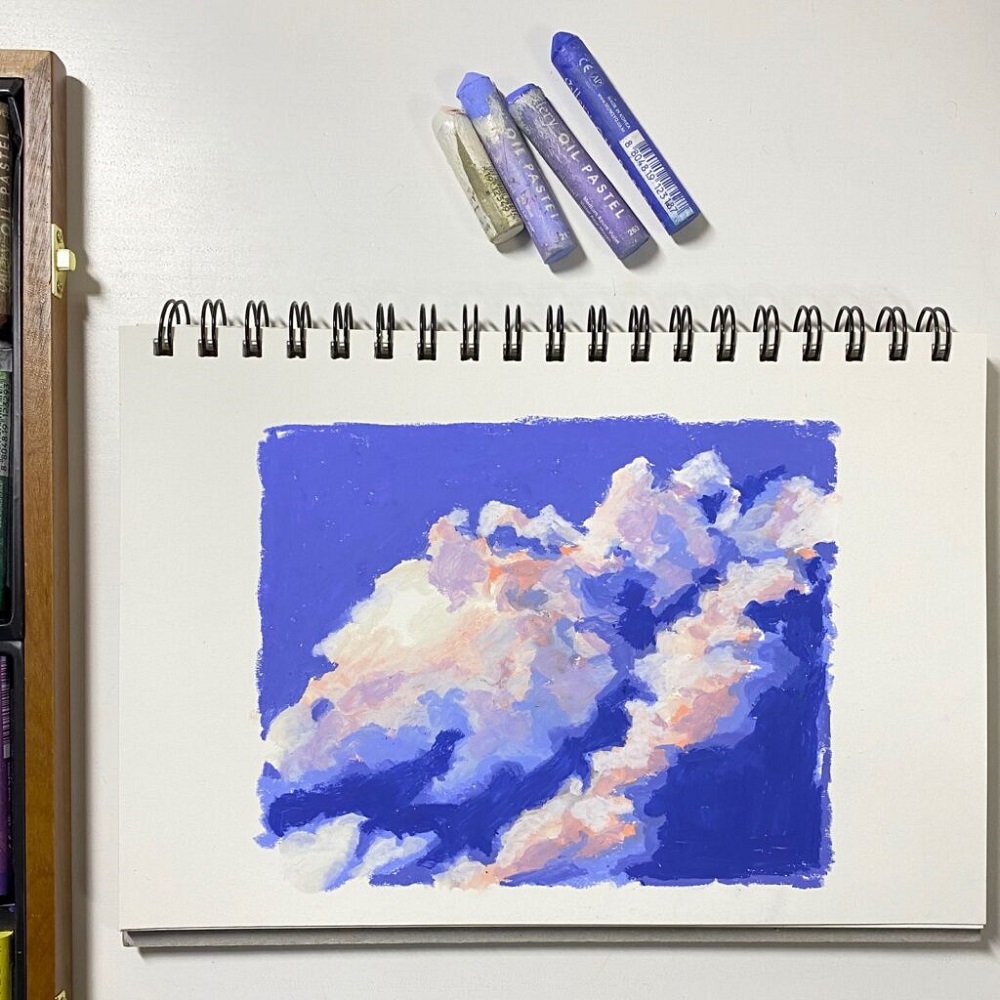
Layering is key with oil pastels. Begin with lighter shades, then add darker ones. Use a paper towel or your finger to blend these layers. This mixes colors and gives smooth transitions.
Creating Textures with Oil Pastels
Textures make your art stand out. Apply oil pastels with different pressures. Use tools like palette knives for lines and scratches. This creates exciting effects.
The Sgraffito Technique
Sgraffito adds fine details. Layer colors, then scratch the top to reveal the bottom. Use a pointed object for this technique. It brings life to your drawing.
Tips for Beginners
Embarking on your journey with oil pastels requires a blend of patience, technique, and practical tips to guide your creative process. Let’s delve into some foundational advice that will set you up for success.
Understanding Color Selection
Color choice is fundamental in oil pastel art. Start with a basic palette and learn how different colors interact. Layer warm and cool tones for depth. Remember, with oil pastels, you work from light to dark colors. Test on scrap paper before applying to your main piece.
The Importance of a Clean Working Space
Keep your space tidy to prevent unwanted smudges. Wipe your pastels regularly. Use a separate sheet to rest your hand while drawing. This helps avoid transferring oils from your skin onto the artwork.
How to Fix Mistakes
Mistakes can happen, but they’re fixable. Use a kneadable eraser to lift unwanted pastel. You can also layer a light pastel over a darker mistake to hide it. Oil pastels blend easily, so gently rework the area until you’re satisfied.

Step-by-Step Tutorials
To master oil pastel techniques, follow step-by-step tutorials. These can simplify the learning process. They guide you from basic methods to more advanced practices.
Starting with Simple Subjects
Begin your oil pastel adventure with simple subjects. Start with basic shapes, like circles and squares. Then, move on to everyday objects, such as fruits or a coffee mug. These subjects let you practice layering and blending without complexity. Focus on how to apply oil pastels and blend colors. Use light pressure to start, then build up to more layers. Keep your hands clean to avoid smudging.
Progressing to More Complex Pieces
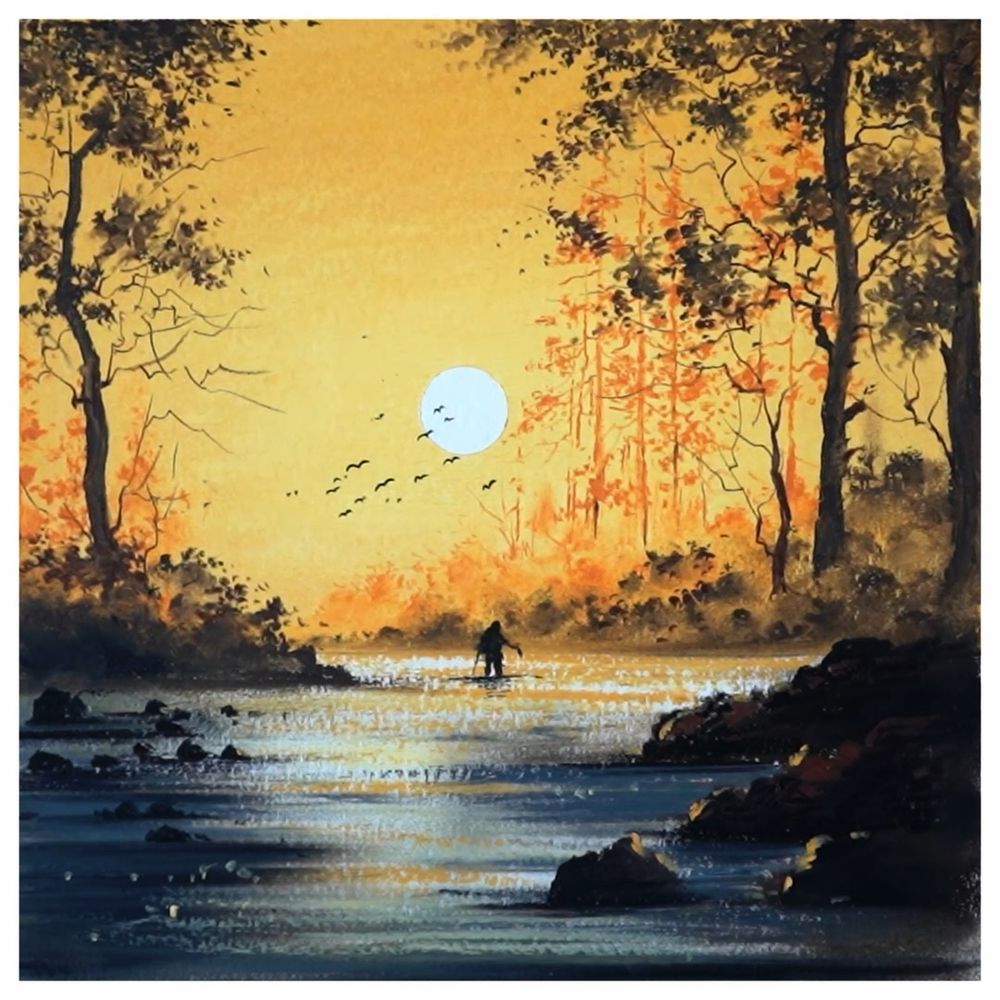
As you improve, challenge yourself with complex subjects. Try landscapes, portraits, or abstract art. These will test your skills in color selection and texture creation. Complex pieces also help you learn to control oil pastels better. You’ll discover how to use fine marks for details. Gradually, you’ll build depth and realism in your pieces. Remember to take your time. Work in stages and don’t rush. Each layer needs care and attention to achieve the desired effect. Practice will make your results shine.
Intermediate Techniques to Master
Once you are comfortable with the basics of oil pastel drawing, it’s time to up the game. Intermediate techniques involve greater manipulation of the medium to unlock new creative possibilities. Understanding how to manipulate oil pastels using wet and dry methods will add depth and richness to your work. And don’t shy away from experimenting. Trying new things can lead to breakthroughs in your art.
Exploring Wet and Dry Methods
Wet and dry techniques can transform the texture and look of your oil pastel drawings. Each method has its own set of challenges and advantages.
- Dry Method: Start with this method using just the pastels and paper. Layer colors, blend, and create texture without any liquids. It’s clean and simple.
- Wet Method: This involves adding a liquid, such as mineral spirits, to the pastels. It can give a paint-like effect. But be careful, it gets messy!
With these tools, you can push the boundaries of traditional oil pastel artwork. Try both to see what suits your style.
Experimenting with Mixing Mediums
Don’t hesitate to mix mediums. Here are some ideas to get you started:
- Mixing With Other Pastels: Combine oil pastels with soft pastels or pencils for new textures.
- Using Oil Mediums: Add linseed oil or a solvent for a smoother blend. It can look like an oil painting.
- Adding Textures: Mix oil pastels with sand or sawdust for gritty effects.
Always test on scrap before your final drawing. Remember, the more you play, the more you learn. Hold on to what works and modify what doesn’t. Your unique style will emerge as you experiment.

Caring for Your Oil Pastel Artwork
Creating art with oil pastels is rewarding, but preserving your work for the future is important too. Here’s how to care for your oil pastel drawings.
Preserving Your Drawings with Fixative
To prevent smudging and fading, use a fixative. Spray lightly over your finished piece. This seals the colors and keeps your artwork looking fresh. Do this in a well-ventilated area and let it dry.
Remember, always test the fixative on a small piece first. Different brands may affect the pastels differently. Choose a fixative made for oil pastels for best results.
Cleaning and Maintenance of Pastels
Clean pastels keep your colors true. After use, wipe each stick with a paper towel. This removes color transfer and keeps them ready for your next creation. Store your pastels in a box with dividers. This protects them and organizes your colors.
Worn-down pastels still have life. You can mold them into new shapes for different effects. Recycling pastels can also save you money. Just remember to keep your hands clean to prevent smudging your work.
Conclusion
As we wrap up our comprehensive guide on oil pastels for beginners, we hope you feel inspired and ready to embark on your artistic journey with confidence and excitement.
Encouragement and Final Thoughts for New Artists
Entering the world of oil pastels can seem daunting, but the creative rewards are immense. Start with simple steps and trust the learning process. Use vibrant oil pastels to express yourself freely and with boldness. Remember, every artist has a unique voice, and oil pastels are a fantastic medium to find yours.
Embrace the challenges, as they are opportunities to grow. Practice regularly and don’t shy away from experimenting. Your style will develop with time. Celebrate every success, no matter how small, and learn from any setbacks. Use the tips and techniques in this guide, and before long, you will see your skills flourish.
Lastly, join communities or follow online tutorials for additional support. And above all, enjoy every moment of your artistic exploration with oil pastels. Happy creating!