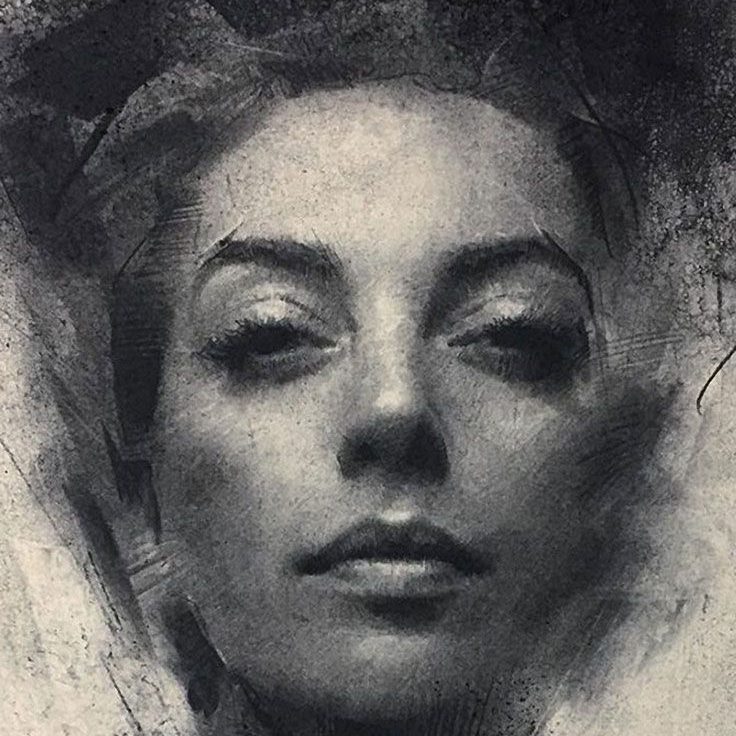
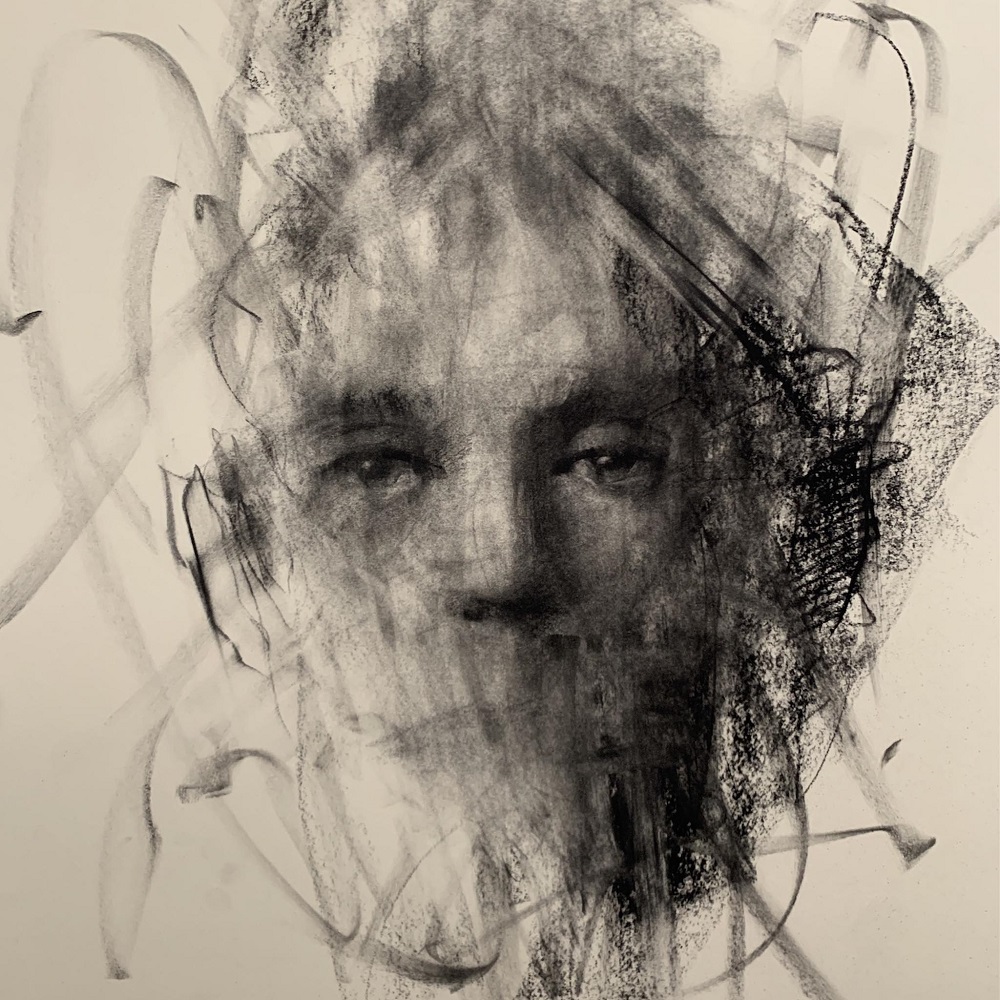
Charcoal is a versatile and expressive medium that has been treasured by artists for centuries. Its rich, bold lines and deep contrasts enable the creation of dramatic and emotive portraits. If you’re looking to explore the art of easy charcoal face drawing, this guide will provide you with easy tips to help you create captivating and lifelike portraits. Whether you are a beginner or looking to refine your skills, these actionable insights will set you on the path to creating beautiful expressive portraits.
Understanding Charcoal as a Medium
Types of Charcoal
Before diving into drawing techniques, it’s essential to familiarize yourself with the different types of charcoal. There are mainly three types used in drawing: vine charcoal, compressed charcoal, and charcoal pencils. Vine charcoal is made from burnt willow or grapevine branches. It is soft, easy to erase, and excellent for sketching because it’s less permanent. Compressed charcoal, made from charcoal powder mixed with a binder, produces deeper, darker lines and is better for fine details. Lastly, charcoal pencils offer more precision and control, making them ideal for detailing and refined work.
Understanding the properties of each type allows you to choose the one that best suits your unique drawing style. You’ll find yourself more comfortable experimenting with them to determine their qualities, which can affect the outcome of your portraits.
Working with Charcoal
Charcoal can be challenging initially but offers unparalleled flexibility due to its ability to create both soft and hard edges. It can be smudged for softer transitions in skin tones or sharpened for crisp lines and detail. When using charcoal, you can apply it with different tools, including your fingers, blending stumps, and brushes. This hands-on interaction significantly contributes to achieving a range of textures and effects, making each portrait distinctly your own.

Preparing Your Workspace
Setting Up Your Drawing Area
Creating a comfortable and organized workspace is essential for producing expressive charcoal portraits. Choose a well-lit area, preferably with natural light, to observe the subtleties of shadows and forms on the face. Additionally, ensure that you have a stable surface to draw on, such as a drawing board or easel. A slanted surface can help keep the paper in view while minimizing strain on your neck and back.
Setting up a designated area not only increases your productivity but also fosters an environment conducive to creativity. You may want to surround yourself with inspiration—images of portraits or artworks that resonate with you—creating an atmosphere that encourages artistic flow.
Materials Preparedness
Having your materials prepared beforehand enables a smoother workflow. Gather your charcoal choices, paper, erasers, and blending tools. High-quality sketch paper or charcoal paper with a bit of texture will hold the charcoal better and prevent it from smudging uncontrollably. Experiment with different weights and textures before settling on a preference that aligns with your drawing style. Additionally, keep a damp cloth nearby to wipe your hands, as charcoal can leave definite marks on surfaces.
Starting with Basic Shapes
The Importance of Shapes in Portraits
When easy charcoal face drawing, it’s beneficial to start by breaking down the overall structure into basic shapes. Faces can be initially simplified into ovals, circles, and rectangles, enabling you to lay the foundation for your portrait. For example, the oval shape represents the head, while circles can represent the eyes and the base of the nose. This method allows you to focus on proportions and locations without getting caught up in intricate details too soon.
Drawing Guidelines
To guide your proportions, lightly sketch reference lines and shapes. For example, draw a vertical line down the center of the easy charcoal face drawing to ensure balance, and horizontal lines to establish the position of the eyes, nose, and mouth. This technique promotes symmetry and provides a blueprint for refining your features. Remember that drawing guidelines should be done lightly, as they will ideally disappear beneath the subsequent layers of charcoal.

Capturing Facial Features
Emphasizing Structure and Shadows
Once you’ve established the basic shapes, begin detailing the facial features. Pay particular attention to structure and angles, as the face is made up of planes that reflect light differently. Start with the eyes, which are often considered the windows to the soul. Observe the shape, size, and position in relation to other features, and create a dark outline to define them.
When rendering shadows, consider the light source and apply darker charcoal to indicate depth. The areas under the chin, around the nose, and next to the eyes should all receive attention and shading to create dimension. Utilize blending tools or your fingers to achieve smooth transitions.
Layering Techniques
Layering is key when working with charcoal. Start with light strokes to fill in details, gradually building up the darkness and intensity of your drawing. This method enables you to adjust proportions and tweak features more easily as your drawing evolves. Use lighter layers to establish the base tones before moving onto deeper darks and intricate details, which will make your portrait more expressive.
Experiment with different pressures to achieve variable darks and lights, allowing for a dynamic range of tones and emotions. Remember to step back periodically to assess your work as a whole, making adjustments as needed to maintain proportion and character.
Enhancing the Portrait with Texture
The Role of Texture
Texture adds depth and life to your portrait, making it more engaging and realistic. The skin is not entirely smooth; it has variations that can be indicated through your charcoal work. Use a lighter hand for the areas where light hits the face, allowing the paper’s texture to show through, and apply heavier strokes and blending in shadowed areas.
Incorporating texture can be as simple as using short, sharp strokes to represent hair or varying pressure while depicting wrinkles and fine lines. A detailed approach in applying texture can elevate the expressiveness of your portrait, captivating viewers with its realism.
Techniques to Create Texture
Experiment with various techniques to apply texture effectively. Scrumbling, for instance, involves making small circular strokes to create a soft but varied surface, particularly useful for skin tones. Stippling, or applying small dots, can also add a unique texture to areas like lips or cheeks.
Utilizing blending stumps or tortillons (tight rolls of paper), one can also smooth out harsh lines while still preserving the texture beneath. When exploring texture, don’t hesitate to combine different techniques for a unique effect, which allows for a more lively and expressive finish to your portrait.

Finalizing Your Drawing
Review and Refinement
After you have worked through the main elements of your portrait, it’s time to review and refine. Look at your drawing from a distance to assess whether the proportions and tonal balance appear harmonious. This broader perspective can reveal areas needing adjustment that you might miss up close.
Make necessary changes, paying attention to balance between light and shadow, and refining any features that may appear less defined. If necessary, you can go back into the background to help the portrait stand out better. A well-defined subject against a neutral background adds depth and keeps the viewer’s focus on the face.
Fixative Application
Once satisfied with your work, consider using a fixative to protect your drawing. This spray helps to preserve charcoal art from smudging or fading, especially if you plan to display your work or transport it. Ensure to use the fixative in a well-ventilated area and follow the instructions on the can for the best results. A light dusting is usually sufficient; you can always build up additional layers if necessary.
Continuous Learning and Practice
Embrace Mistakes
Each portrait you create is an opportunity to learn and refine your technique. Don’t be disappointed by imperfections or mistakes. Instead, use them as learning experiences to understand how you can adjust your approach next time. Every artist faces hurdles; embracing challenges sets the foundation for mastery.
Encouragement to Experiment
One of the most enjoyable aspects of drawing is the ability to experiment. Try different styles, subjects, and mediums. Practice drawing from photos or live models, and participate in workshops or online tutorials to gather new ideas and perspectives. Experimentation is a path toward honing your style, making your artwork uniquely yours.
Exploring various influences and creating diverse works will allow you to grow as an artist and enrich your techniques and skills.
Conclusion
Creating expressive portraits with easy charcoal face drawing from a deep well of artistic techniques, materials, and personal expression. By understanding the medium and applying the tips outlined above, you can craft stunning, emotive portraits that captivate your audience.
Charcoal offers vast potential for depth, contrast, and texture, empowering you to express the essence of your subject. Don’t hesitate to embrace the journey, allowing practice and exploration to inform your artistic growth. As you continue honing your skills, you may find that your portraits tell stories and evoke feelings, marking your progress as an artist amazed by the world of easy charcoal face drawing. Happy drawing!