Introduction to Oil Pastels
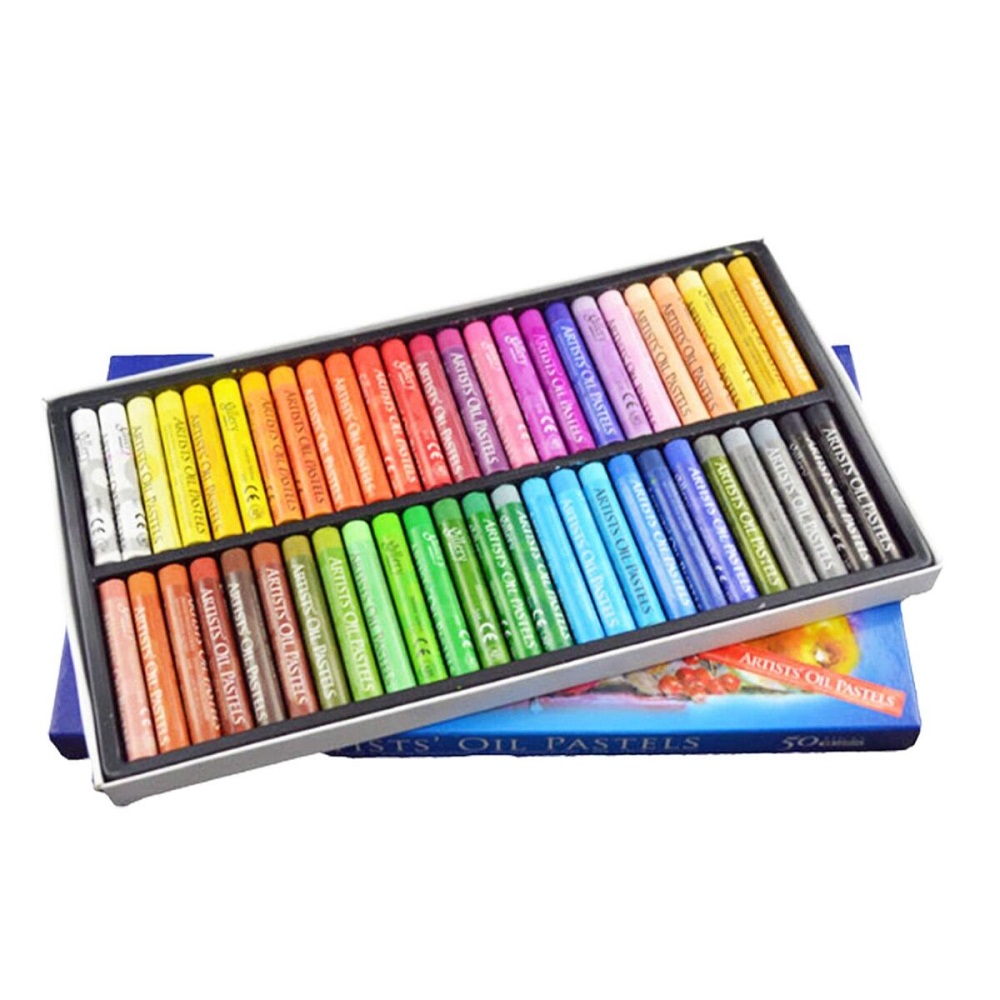
Oil pastels burst onto the art scene as a versatile and vibrant medium. Developed for children in Japan in the early 20th century, they quickly gained fame among artists worldwide. These pastels pair the boldness of paints with the ease of drawing. They combine pigment with wax and oil, creating a unique texture and finish.
Oil pastels are adored for their bright, immediate results and portability. Perfect for artists on-the-move, they promise a fun experience with every stroke. Unlike other art mediums, oil pastels don’t require a brush or water, making them less messy and more accessible.
They might seem like child’s play, but mastering oil pastels can be tricky. Since they are softer than regular pastels, they blend differently. Artists must learn to layer colors and work with the medium’s thickness. But worry not! With practice and knowledge of a few techniques, both beginners and pros can create beautiful art.
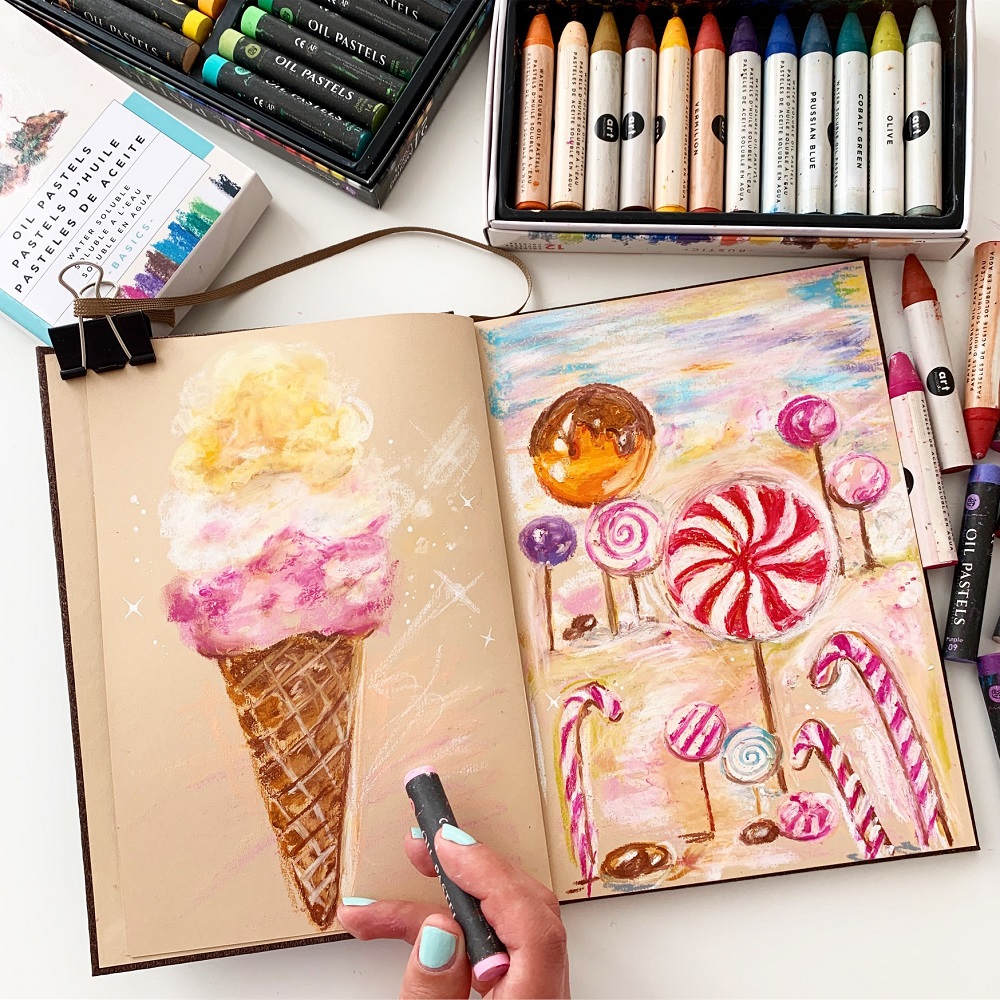
Use oil pastels to sketch outdoors, make bold artworks, or layer them under oil paintings. They open up endless possibilities. Embrace their immediacy, and find joy in their simplicity. As we explore oil pastels, remember: their youthful spirit is what makes them so extraordinary.
Essential Oil Pastel Techniques for Artists
Oil pastels offer exciting techniques for artists. These techniques can enhance your artwork’s beauty. We’ll explore some essential methods to help you use oil pastels effectively.
Heavy Pressure Blending
Apply strong pressure to blend colors. This fills large areas with solid colors. It also softens edges.
Light Pressure Blending
Use gentle touches for subtle mixing. It helps to show underlying textures. Use this for soft color shifts.
Color Mixing
Mix colors directly on your surface. Create new shades and smooth transitions. Better control comes from practice.
Stippling
Dab the pastels to form textures. This is great for rough surfaces like sand or foliage.
Scumbling
Scribble colors loosely over layers. This adds texture and softens colors. It’s perfect for creating mist.
Sgraffito
Layer colors, then scratch to reveal underneath hues. Good for patterns and textures.
Oil Mixing
Blend with oils to make pastels creamier. It helps in smooth blending and glazing effects.
Mastering these techniques takes practice. Beginners should start with simpler methods like heavy pressure blending and stippling. Over time, try more advanced styles like sgraffito and oil mixing. These methods will add depth and texture to your work.
Explore different surfaces, too. Oil pastels work on paper, canvas, and more. Each surface interacts uniquely with the pastels. Blending, scumbling, and layering might vary across them.
Get creative and see which techniques suit your style. With oil pastels, there’s always room to experiment and grow your skills.
Blending Methods for Oil Pastels
Blending is a key skill in mastering oil pastels. This skill can bring your art to life. You can blend oil pastels in several ways. Each method gives a different texture and look to your work.
Heavy Pressure Blending
You press hard to mix colors right on the surface. Your color transitions will look bold and painterly. This is also good for large, solid color areas.
Light Pressure Blending
Apply pastels softly for gentle blending. This method shows the paper’s texture. It’s ideal for subtle color shifts.
Pastel to Pastel
Layer one color over another. Then, merge them by rubbing. Use light touches to keep the paper from tearing.
Fingers and Tools
Fingers can smear colors together. Or use a blending stump or foam. Be careful to avoid oily smudges.
Solvent Blending
Add mineral spirits or turpentine. Then, spread colors with a brush. This method creates a soft, watercolor-like effect.
Choose the right blending method for your artwork. Heavy and light pressure blending are great for starters. As you gain skill, try solvent blending for more intricate effects. Experiment with different tools and pressures. Over time, you will discover the best blends for your style. Remember, practice makes perfect!
The Role of Color in Oil Pastel Artwork
Color plays a crucial role in oil pastel art. It can set a mood, create depth, and evoke emotions. When using oil pastels, choosing the right colors is vital to the success of your piece.
Selecting Your Palette
Start by picking a limited palette. Think about the feeling you want to express. Warm colors like reds and yellows can give a sense of warmth and energy. Cool colors like blues and greens can create calmness. Test colors on scrap paper before applying them to your final piece.
Understanding Color Relationships
Learn about color theory. Know how colors interact with each other. Complementary colors, when used together, can make each other pop. Analogous colors can create harmony.
Creating Contrast and Harmony
Use contrast to draw attention to areas. Put light colors next to dark ones to highlight features. Or use similar colors together for a subdued, harmonious look. Remember, balance is key.
Building Up Color
Layer colors to build richness. Start with lighter tones and gradually add darker ones. This can create a sense of depth and volume.
Mixing Colors
Blend colors on your artwork or a palette. This can create new, unique shades. Experiment with mixing to find the perfect tone for your piece.
The right use of color can bring your oil pastel artwork to life. Stay aware of color choices as you work. They can make or break your artwork. Let colors interact naturally, and have fun with them. With practice, your understanding of color in oil pastels will grow.
Layering Techniques in Oil Pastel Drawing
Layering is key to adding depth in oil pastel art. Start with light base shades. Gradually layer darker colors on top for depth. Use lighter tones to build richness and complexity.
Here are layering methods for you to try:
Building a Solid Foundation
Choose your lightest color for the first layer. Cover the entire area softly. This sets the tone for subsequent layers.
Adding Mid-tones
Apply mid-tone colors next. Press slightly harder to mix with the base. This begins to add shape and form.
Deepening Shadows
Introduce darker shades last. Use them to define and contrast. This technique brings out the artwork’s textures.
Blending for Smoothness
Use fingers or tools to blend between layers. Be gentle to avoid tearing paper. This creates a smooth transition between colors.
Creating Textures
Layer colors without blending for texture. Apply colors in different directions. This makes the surface more dynamic.
Fixing Between Layers
If needed, use a fixative spray. It prevents smudging of lower layers. Apply more colors after drying.
Balancing Color Intensity
Balance light and dark. Don’t overpower with dark shades. Harmonize colors for a natural look.
Layer oil pastels carefully. Too many layers can lead to muddiness. Build up colors gradually for best results.
Surfaces and Textures: Choosing the Right Medium
Choosing the right medium is crucial in oil pastel art. The surface affects how oil pastels behave. Different textures can change the outcome of your artwork dramatically. Let’s look at common options and their effects on oil pastels.
Paper
Paper is the most accessible and frequently used medium for oil pastels. Heavy-weight paper is best, as it can handle the pressure of application. Papers with a good ‘tooth’ or texture will hold the pastels better and allow for subtle layering. Toned paper can provide an immediate mid-range background, which can enhance both your lights and darks.
Canvas
Canvas offers a sturdy surface, with a texture that can show through your pastels. It’s great for adding depth. Canvas boards are preferable to stretched canvas as they provide a firmer backing, which makes blending easier.
Wood
Wood panels provide a unique texture that can add a rustic feel to your artwork. They need to be sealed first. The hard surface of wood allows for fine, sharp details when using oil pastels.
Metal
For a modern look, try metal sheets. They must be primed for pastels to adhere properly. Metal can give a sleek, smooth finish that’s hard to replicate on other surfaces.
Fabric
Using fabric like denim can offer interesting textures. It absorbs the oil differently than paper or wood. Fabric needs to be stretched and gessoed before use to prevent oil from seeping through.
Each medium brings its own challenges. Experiment with different surfaces to find the one that works best for your style. Remember, the ‘right’ medium is the one that aligns with your artistic vision and feels good to work with.
Advanced Oil Pastel Methods for Expert Artists
As artists progress, exploring advanced oil pastel techniques is key for growth. This showcases intricate details and innovative styles. Master artists blend expert skills with creativity to push boundaries. Let’s delve into methods that transform oil pastel art.
Layering and Glazing
Layer thin colors on your work for subtle effects. Glaze over these layers to adjust the tone without hiding details.
Precision Masking
Use tapes or fluids to block areas. Work freely around these edges for clean, sharp lines when removed.
Mixed Media Combinations
Mix other mediums with oil pastels. Create unique textures and visual interest by adding elements like ink or acrylic.
Watercolor-like Effects with Solvents
Thin oil pastels with a solvent. Apply them like watercolor for fluid, translucent layers.
Sgraffito for Detailing
Layer pastels thickly, then scratch for highlights or textures. Use tools like knives or styluses to reveal colors beneath.
Direct and Indirect Painting
Alternate between adding pastels directly and layering them with a paintbrush. This varies texture and blending in your piece.
Use these advanced techniques to experiment in your art. Combine them to find new ways to express in oil pastels. These methods elevate the medium beyond traditional expectations, offering a fresh perspective on your creative journey.
Common Challenges and Solutions in Oil Pastel Use
Working with oil pastels comes with unique challenges, but with each problem, there’s a solution. Below are common issues artists face and how to overcome them.
Keeping Colors Vibrant
Over-mixing may dull your colors. To fix this, apply fresh layers of color on top. Use minimal blending to maintain vibrancy. Keeping pastels clean is also key; wipe them after use.
Controlling the Mess
Oil pastels can get messy. Use scrap paper under your hand to avoid smudging. Keep paper towels close to clean tools and fingers.
Preventing Over Layering
Too many layers can create muddiness. Start with light colors. Add darks slowly. This helps prevent a heavy, overworked look.
Achieving Fine Detail
For details, it can be tough. Sharpen a small piece of pastel with a knife. Use it for precise lines. Another option is to layer, then etch details with a pointed tool.
Managing Pastel Breakage
Oil pastels can break under pressure. Use a lighter touch or support the pastel’s end. If they do break, piece them together or use as is for different effects.
Fixing Colors That Won’t Mix
Some oil pastels resist blending. Use a solvent like mineral spirits. Or, switch to higher-quality pastels with better mixing capabilities.
Addressing Fading Artwork
Sunlight can fade pigments. Display art away from direct light. Use a UV-protective fixative to help preserve colors over time.
Overcoming Canvas Elasticity
Canvas can be too stretchy for oil pastels. Try canvas boards or prime your canvas well to add stiffness. This provides a better platform for your pastel work.
Smudging Fine Lines
To keep lines crisp, work from the background to the foreground. Mask areas if needed. Use fixative sprays to set sections before continuing.
With these solutions in hand, you can tackle the challenges of oil pastel use. Remember, experimentation and persistence will lead to success.
Final Thoughts: Tips for Oil Pastel Mastery
As you reach the end of this guide on oil pastels, remember that mastery comes with practice. Here are some final tips to refine your oil pastel skills:
Embrace Experimentation
Always try new techniques and mediums. Each attempt teaches you more about oil pastels.
Be Patient
Good art takes time. Work slowly to build layers and detail.
Maintain Your Tools
Keep your pastels clean. This prevents color contamination and ensures vibrant work.
Learn from Mistakes
Every mistake is a chance to grow. Don’t be discouraged; use it to improve.
Stay Inspired
Look at other artists’ work or nature around you for fresh ideas.
Use Quality Materials
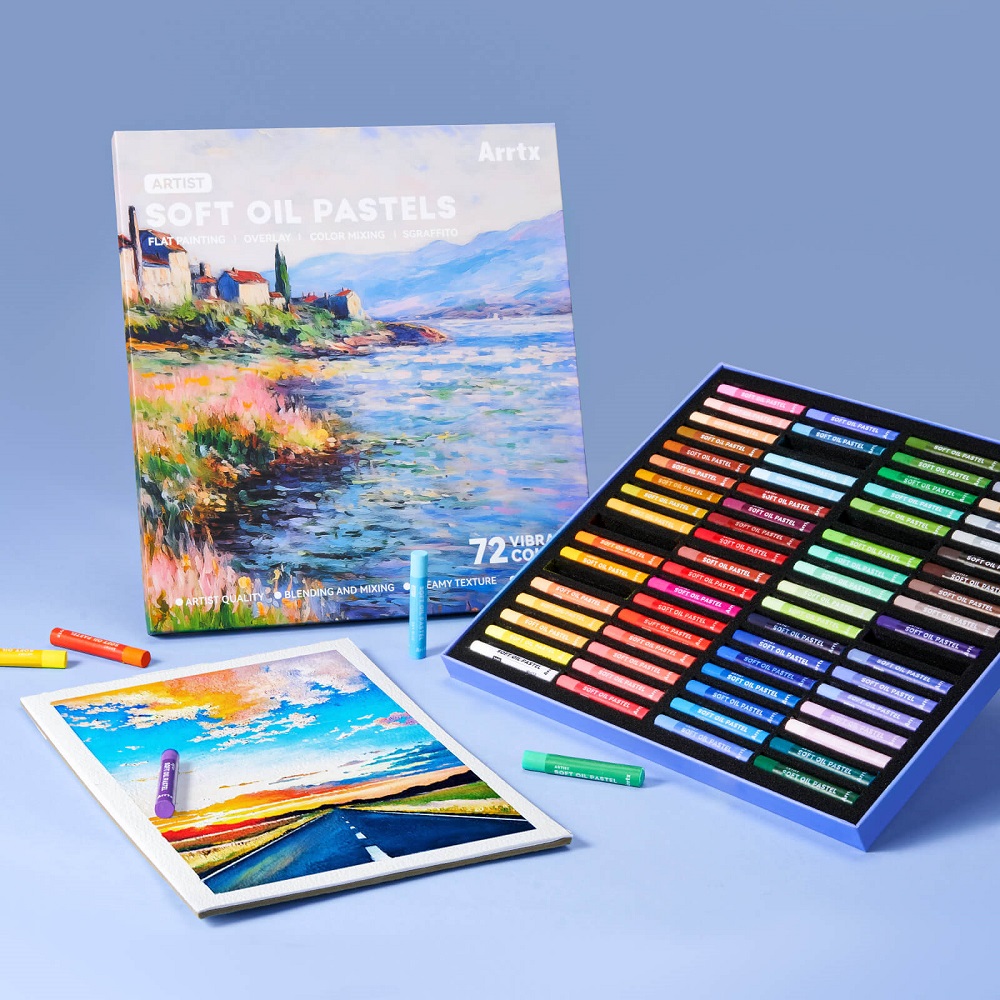
Invest in good pastels and paper. It makes a difference in your art’s look and feel.
Develop a Personal Style
The more you draw, the more your unique style will emerge.
Get feedback and learn from others. It’s a valuable part of learning.
These simple but effective strategies will enhance your proficiency and enjoyment in using oil pastels. Keep these tips in mind, grab your oil pastels, and start creating with confidence and creativity.