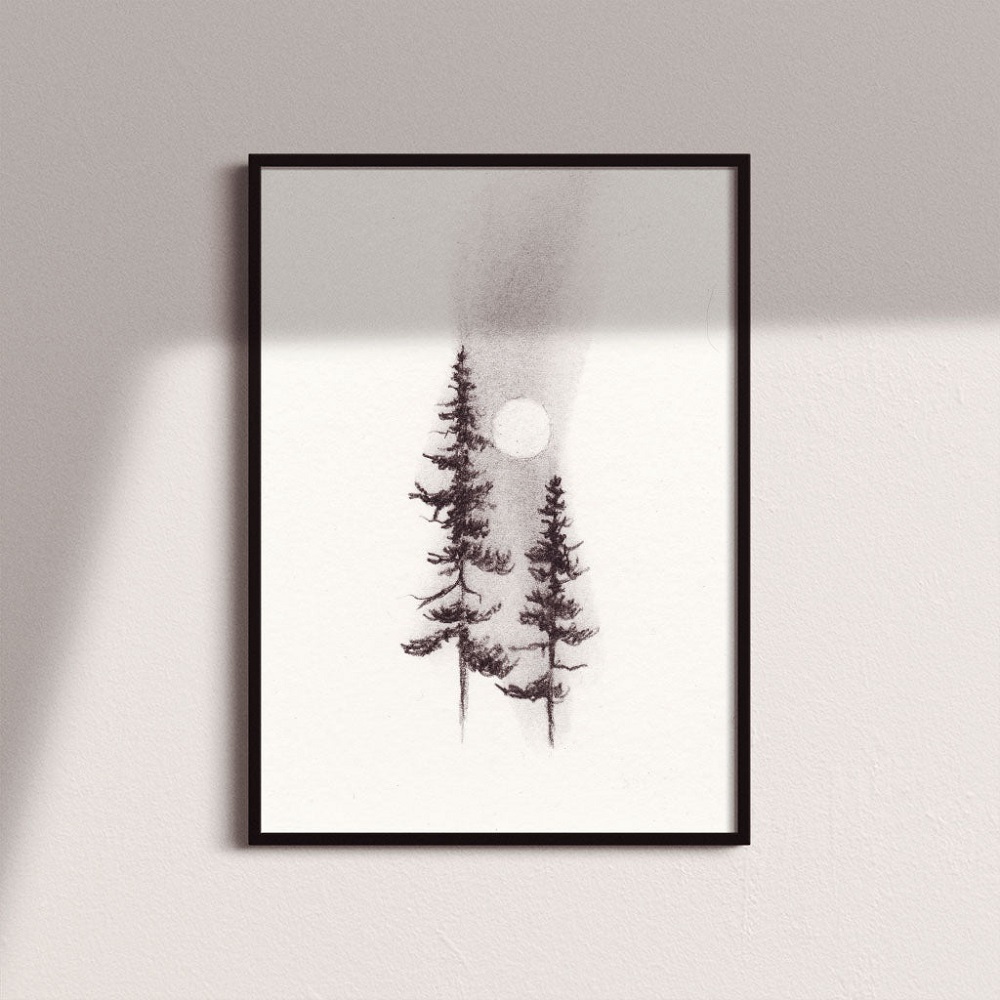
Drawing is a beautiful way to express creativity, and using charcoal offers a unique texture and depth to your art. The pine tree, with its distinct shape and earthy beauty, makes for an excellent subject for beginners. Charcoal is forgiving, allowing you to make mistakes and correct them easily. This article will provide helpful tips and tricks for starting your charcoal pine tree drawing journey. By following these guidelines, you’ll be better prepared to create stunning artwork while exploring your artistic abilities.
Understanding Charcoal
Types of Charcoal
Before diving into drawing, it’s essential to understand the tools you will use. Charcoal comes in several forms: compressed, vine, and willow. Compressed charcoal is dense and dark, making it great for bold lines. It works well for making deep, rich blacks that can define the more dramatic sections of your drawing. Vine charcoal is softer and easier to erase, ideal for sketching and blending. This type is particularly useful when beginning your work, as you can create light lines that you can easily modify. Willow charcoal offers a more delicate touch, perfect for light shading and creating soft, subtle textures. Be sure to experiment with different types of charcoal to find the best fit for your style.
Choosing the Right Paper
Using the right paper enhances your drawing experience. Charcoal paper usually has a bit of texture, which helps grip the charcoal and prevents smudging. This texture allows the charcoal to adhere better, providing a more dynamic range of marks. However, you can also use sketch paper or watercolor paper. The choice of paper can also impact the final look of your drawing—heavier papers will hold up better to erasing and blending. For beginners, it’s often best to start with a heavier paper that can withstand erasing and can capture the softer strokes of charcoal effectively. Don’t hesitate to try out different types of paper to see which one captures your charcoal marks in a way that resonates with you.
Sketching the Outline
Basic Shapes
When drawing a pine tree, start with basic shapes. Draw a triangle for the tree’s outline, which usually consists of three or four layers of branches. This will serve as the skeleton of your drawing. Start from the top and work your way down, making the base wider to represent the lower branches. Keep your lines light, as they will be adjusted later; you can even use a light pencil if preferred to avoid heavy charcoal lines in the initial phase. This foundational shape provides a roadmap for where your branches and needles will go, helping to ensure that your proportions are accurate from the start.
Adding Details
After sketching the outline, begin adding details. Focus on the tree trunk and branches initially. Pine trees have a textured bark with deep grooves. Use shorter strokes to create this texture, varying the direction of your lines to mimic the natural flow of bark. For the branches, keep them angled to mimic how they naturally grow. They should extend outward, tapering towards the tips. This will give your drawing a more realistic appearance and convey the tree’s character. Pay attention to how branches overlap and connect; acknowledging these nuances can make your drawing look more three-dimensional. This layering adds depth and complexity, making your tree feel more alive.
Shading Techniques
Light and Shadow
Understanding light and shadow is crucial in creating depth in your drawing. Determine where your light source is coming from—this will affect how you shade the tree. The side facing the light should be lighter, while the opposite side will be darker. Use compressed charcoal for the darker areas and blend with your fingers or a blending stump to smooth the transitions. Experimenting with the amount of pressure you apply allows you to create different shades, producing a more dynamic representation of light filtering through the branches.
Layering
Layering is a key technique when shading. Start with light layers of charcoal and gradually add darker shades. This method allows you to maintain control over the darkness of your drawing and create a more natural look. Make gentle strokes and progressively build up the darkness in the shaded areas. Remember, less is often more; you can always add more charcoal, but removing it can be challenging. If you make a mistake, don’t worry—just use an eraser to lighten areas where necessary. Practicing with different layering techniques will significantly improve your ability to render depth.
Texture and Detail Work
Creating Texture
To achieve the texture of pine needles, use short, quick strokes with your charcoal. You can vary the pressure to create a dynamic effect. This randomness mimics the natural appearance of a pine tree, where not every needle aligns perfectly. Additionally, you can also use an eraser to pull out highlights, mimicking the light reflections on the needles; this adds a lifelike quality to the drawing. Additionally, consider varying your stroke lengths to portray different regions of needles—short strokes can suggest distance while longer strokes can signify those closer in the foreground.
Focusing on the Trunk
Don’t forget to pay attention to the trunk. Use a combination of vertical and horizontal lines to emphasize the bark’s texture. Adding subtle shading can enhance the three-dimensional aspect of the trunk. Take your time with this detail to make it lifelike and visually appealing. You can also add knots and irregularities, which are common in real pine trunks. These details contribute to the organic feel of the drawing. Look at reference photos of pine trees for inspiration, and try to replicate unique aspects of their texture and structure.
Final Touches
Evaluating Your Drawing
As you near the completion of your pine tree drawing, step back and evaluate your work. Look for areas that may need more depth or highlights. Check if the transitions between light and shadow are smooth and cohesive. Adding fine details such as the tips of the pine needles or additional texture in the bark can elevate your drawing. Taking a break and returning with fresh eyes can help you spot details that need refinement. It’s also helpful to compare your drawing with reference images to see if you’ve captured the character you intended.
Fixatives and Preservation
After finalizing your drawing, consider using a fixative spray to protect your artwork. This helps prevent smudging and preserves the intensity of your charcoal. Spray it lightly from a distance to avoid saturating the paper; too much fixative can cause the charcoal to darken and lose detail. Always work in a well-ventilated area when using fixatives to ensure your safety. Even keeping your drawing framed behind glass can offer an additional layer of protection. This step not only preserves your artwork but also allows you to admire your progress over time.
Practice and Exploration
Continuous Practice
Mastering charcoal pine tree drawing takes time and practice. Don’t be afraid to make mistakes; every artist goes through that phase. Each drawing is an opportunity to learn and improve your skills. Set aside regular time for practice, even if it’s just doodling trees or experimenting with different styles. Consistency is key to building your confidence and refining your technique. Start small and progressively tackle more complex subjects as you become more comfortable with your tools.
Exploring Different Styles
Once you feel comfortable with Charcoal pine tree drawing, consider exploring other subjects. Try experimenting with different angles, styles, and backgrounds. You can incorporate elements like landscapes, clouds, or even seasonal effects, enhancing your pine tree drawing with context. Creating a series of pine trees can help you develop your technique while maintaining a consistent theme. You might also try combining charcoal with other mediums, such as watercolor or pastels, to expand your artistic repertoire. This experimentation can lead to new discoveries and inspire your creativity.
Conclusion
Charcoal pine tree drawing is a rewarding experience that allows you to explore your creativity. By understanding your materials, honing your skills in sketching and shading, and focusing on detail, you can create stunning artwork. Remember to practice regularly and don’t hesitate to explore different subjects and styles. Each drawing increases your skills and knowledge, moving you closer to your artistic goals. With time and dedication, you’ll improve and find joy in your artistic journey. Grab your charcoal and start your drawing today, and let the beauty of nature inspire your creativit