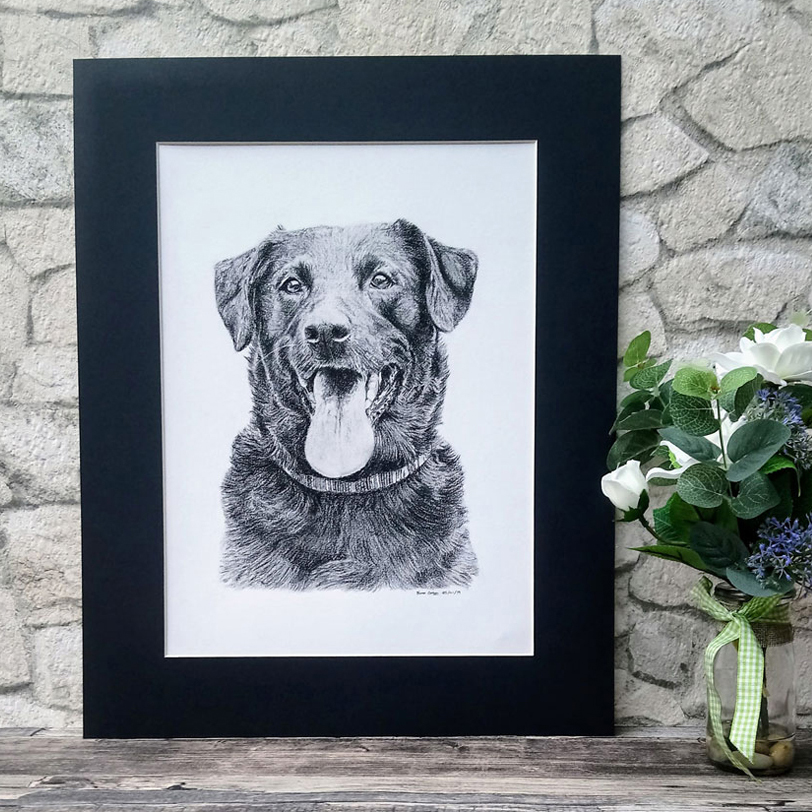
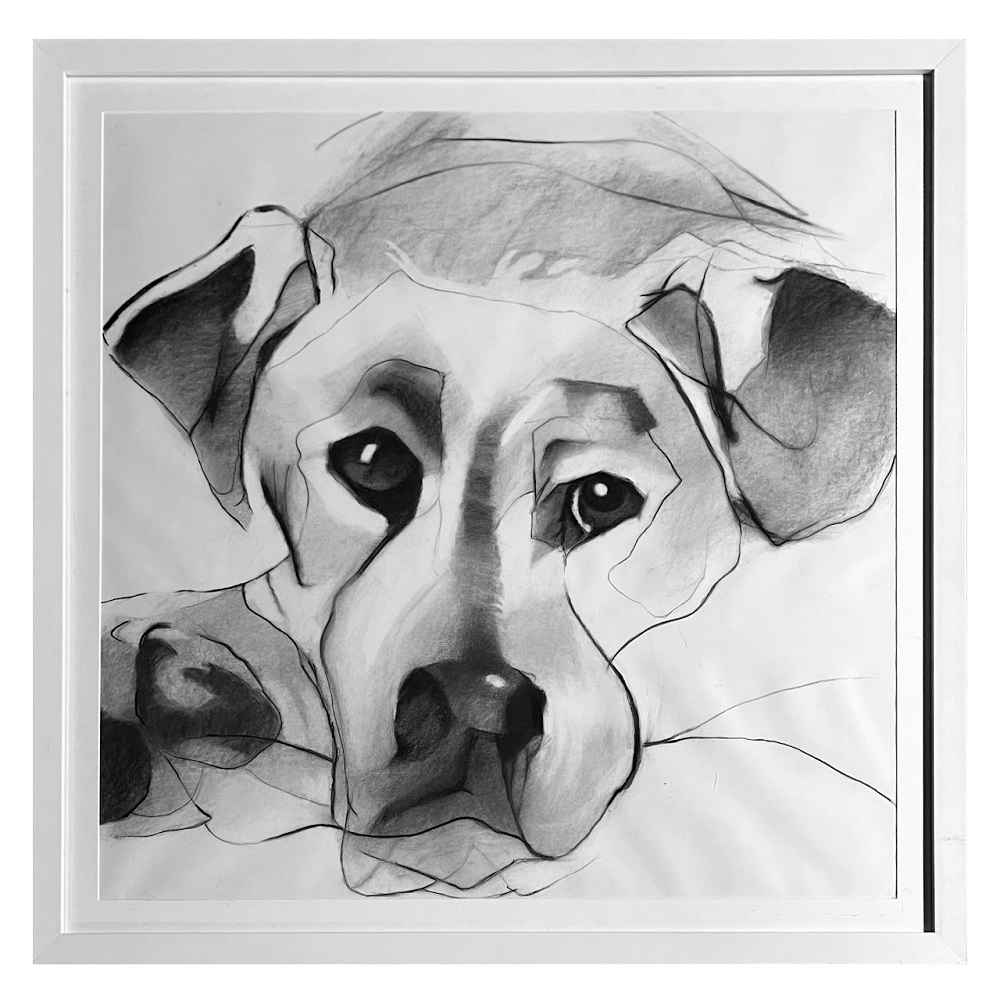
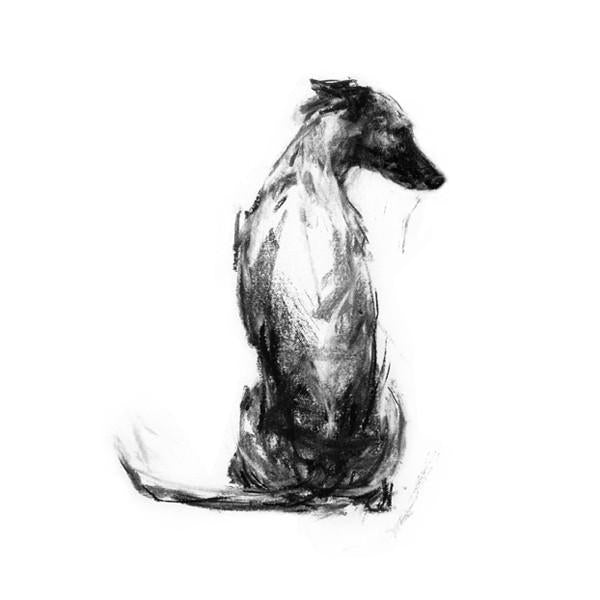
Charcoal drawing captures the beauty and personality of dogs, making it an enjoyable and rewarding artistic endeavor. This medium offers rich textures, deep contrasts, and a unique ability to convey emotion—ideal for illustrating our furry companions. Whether you are a beginner or a seasoned artist, transforming a simple sketch into a masterful charcoal drawing dog will take practice, observation, and patience. In this article, we will explore practical tips that guide you through creating stunning charcoal drawing dog, from the very first sketch to the final masterpiece.
Gathering Materials
Essential Tools for Charcoal Drawing
Before starting your charcoal drawing dog journey, gather essential materials that will support your artistic process. First, choose high-quality sketch pads or drawing paper. Look for paper that has a slight texture, allowing the charcoal to adhere better and providing depth to your strokes. You will need a variety of charcoal types, including vine charcoal for soft lines and compressed charcoal for darker areas. Additionally, a kneaded eraser is crucial for correcting mistakes, lifting highlights, or softening lines. A blending stump or tortillon can help in achieving smooth transitions of tone and texture.
Optional Materials
Aside from these basic tools, consider extending your toolkit with optional materials to enhance your creative options. Soft pastels can add bursts of color for certain breeds, while a fixative spray will preserve your work and keep it free from smudges. Charcoal pencils are another excellent addition, especially when you need fine details and precision. Having a wide range of materials at hand will enrich your drawing experience. Experimenting with these tools can lead to unique effects, allowing your personality to shine through in your artwork.
Starting with a Strong Reference
Choosing the Right Reference Photo
A strong reference photo serves as the backbone of a successful charcoal drawing dog. Opt for high-resolution images that clearly showcase the dog’s features, expressions, and textures. Front-facing photos usually provide more insight into the dog’s personality, while side profiles can accentuate its silhouette. Good lighting is key; soft, natural light highlights the dog’s form and unique fur patterns without harsh shadows or glare. Spend time selecting an image that resonates with you emotionally; this will guide your artistic vision throughout the drawing process.
Analyzing the Reference
Once you have your reference photo, take the time to analyze it thoroughly. Look for shapes, proportions, and angles that stand out. Notice the colors in the fur, the structure of the face, and how light interacts with the dog’s features. Break down the picture into simple shapes, if it helps—circles for the head, rectangles for the body, and so on. This initial analysis will simplify the drawing process and help you maintain proportionality. By focusing on the underlying structure, you’ll find it easier to translate what you see onto paper.
Creating the Initial Sketch
Blocking in Shapes
Begin your drawing by blocking in the basic shapes to form the foundation. Use light, loose lines to outline the dog’s head, body, legs, and tail. Focus primarily on the proportions rather than getting caught up in details at this stage. It’s essential to establish a good foundation that reflects the dog’s pose accurately. Make sure to keep the lines light enough so you can easily erase and make adjustments. Remember, every great artwork starts with a well-structured sketch.
Refining the Sketch
Once you have the basic shapes down, gradually refine your sketch. Begin adding more specific details, like the eyes, nose, ears, and mouth. Pay particular attention to the unique characteristics of the breed; capturing these details early on will ease the process later. This stage may require several adjustments and erasures, and that’s perfectly normal. The goal is to create a balanced and proportionate drawing. Focus on how the features relate to each other in terms of size and position, ensuring the likeness of the dog is maintained.
Developing the Values
Establishing Light and Dark Areas
With your refined sketch as a guide, now it’s time to develop the values that will add depth and dimension to your drawing. Identify the light and dark areas in your reference photo. Begin by filling in the darker sections first, as this will provide a solid base. Compressed charcoal is effective for creating strong shadows and deep contrasts. Layer the charcoal gently, adding more as needed. This gradual building will help avoid overexposure or harsh lines. Focus on areas like the underside of the belly and behind the ears, as these naturally catch less light.
Creating Depth with Blending
To achieve a three-dimensional look, blending the charcoal will help create depth and smooth transitions across the drawing. You can use a blending stump or your fingers to blend the charcoal into softer tones, but be cautious not to over-blend—preserving some texture is essential, particularly for fur dynamics. While blending, keep in mind the direction of the fur and the characteristics of the dog’s coat. Use lighter strokes for areas that catch the light, ensuring that you create a balanced contrast between highlights and shadows.
Adding Details and Textures
Capturing Fur Textures
Next, focus on the fur textures, as they are key to bringing your drawing to life. Different techniques can effectively represent the varied textures found in a dog’s coat. For instance, use short, quick strokes to depict bristly, short hair, while longer, sweeping motions can emulate the feel of longer fur. Experiment with varying pressure to create consistency in the fur’s appearance. Pay attention to how the light interacts with the fur, keeping it dynamic. This careful representation adds richness to your drawing and elevates your overall artwork.
Detailing the Facial Features
The face of the dog is crucial in capturing its essence and personality. Spend extra time detailing the eyes, nose, and mouth. The eyes, often referred to as the “window to the soul,” should reflect the dog’s personality—bright, lively eyes can convey joy, while gentle or somber expressions may show calmness or understanding. Use lighter strokes to create highlights on the eyes and a darker pencil or charcoal for depth in the pupils. Don’t overlook features like whiskers or the texture around the mouth; these subtle details add realism and life to your drawing.
Final Touches
Adding Highlights and Shadows
As you approach the final stages, focus on adding the last highlights and shadows. Use your kneaded eraser to lift charcoal in specific areas to create vivid highlights, particularly around the fur and the eyes. Darkening shadows can also enhance the three-dimensional effect and make your drawing pop. Keep an eye on the reference photo and continuously contrast light and dark areas for balance. At this stage, don’t hesitate to make bold adjustments; this is where your drawing can truly transform into a masterpiece.
Evaluating Your Work
Taking a step back to evaluate your drawing is essential. This allows you to see the piece from a distance and assess the overall balance and proportions. If something feels off, don’t hesitate to adjust accordingly. Gathering feedback from others can be helpful; sometimes, a fresh perspective can highlight aspects you may not see yourself. Look for areas that might need more contrast or additional texture. Refining these areas will elevate your artwork before completion.
Preserving Your Artwork
Fixative Application
Once satisfied with your charcoal drawing dog, it is crucial to preserve it properly to prevent smudging and degradation. Use a fixative spray specifically designed for charcoal artwork. Ensure you spray lightly and evenly across the surface, holding the can about 12 inches away from the drawing. Applying fixative will help prevent the charcoal from smudging or smearing in the future. Allow the drawing to dry completely before handling it further, ensuring its longevity.
Framing and Displaying
Consider framing your completed drawing, as this protects it further and enhances its presentation. Choose a frame that complements the artwork without overwhelming it. A simple frame can accentuate the beauty of your drawing and make it stand out when displayed. Position the frame in a well-lit area, allowing natural light to showcase your work while ensuring it is not exposed to direct sunlight for extended periods. Celebrating your finished artwork not only highlights your effort but also motivates you to tackle more projects in the future.
Conclusion
Charcoal drawing is a fulfilling way to capture the unique beauty of dogs on paper. By following these tips and techniques, from gathering materials to applying final touches, you can create impressive dog portraits that resonate with warmth and personality. Remember that practice is vital; the more you explore this art form, the more skilled you’ll become. Embrace each step of the drawing process, cherishing the journey from sketch to masterpiece. With dedication and creativity, you can bring your dog drawings to life and find joy in sharing your art with others. Happy drawing!