Charcoal drawing offers a unique way to capture the beauty of trees. The medium allows for rich textures and deep contrasts, making trees come to life on paper. If you’re a beginner looking to explore this art form, this guide will help you create stunning charcoal drawing trees step by step.
Understanding Charcoal as a Medium
Types of Charcoal
Before you dive into drawing, it’s essential to understand the different types of charcoal available. Compressed charcoal is typically denser and darker, making it ideal for bold lines and deep shadows. It can create a striking contrast against the paper, which makes it perfect for dramatic effects. On the other hand, willow charcoal offers a softer and more delicate stroke, providing a light touch to your artwork. It is excellent for creating lighter sketches or shading. Charcoal pencils, another useful tool, allow for greater precision, especially in intricate areas or when fine details are needed. Having a variety of charcoals on hand gives you more freedom to express your artistic vision and create the desired effects in your work.
Tools You’ll Need
In addition to charcoal, gather your essential tools for drawing:
- Paper: Quality drawing paper will make a significant difference in your artwork. For charcoal, choose smooth or textured paper based on the effect you aim to achieve. Textured paper captures more charcoal and provides depth, while smooth paper allows for cleaner lines.
- Erasers: Both kneaded and regular erasers are crucial. A kneaded eraser can be shaped and molded to lift charcoal delicately, effectively creating highlights or adjusting mistakes, while a traditional eraser offers quick corrections.
- Blending tools: Stumps or tortillons are perfect for blending and softening the edges of your strokes. They help create smooth transitions between light and dark areas, crucial for representing the details of bark and foliage.
- Fixative: Once you finish your drawing, a good fixative will help preserve it, preventing unwanted smudges and ensuring longevity. This step is critical, especially if you plan to display or transport your artwork.
Having these materials ready will enhance your confidence and workflow, allowing you to focus on the creative process without interruptions.
Step 1: Choose Your Reference
Selecting a Tree
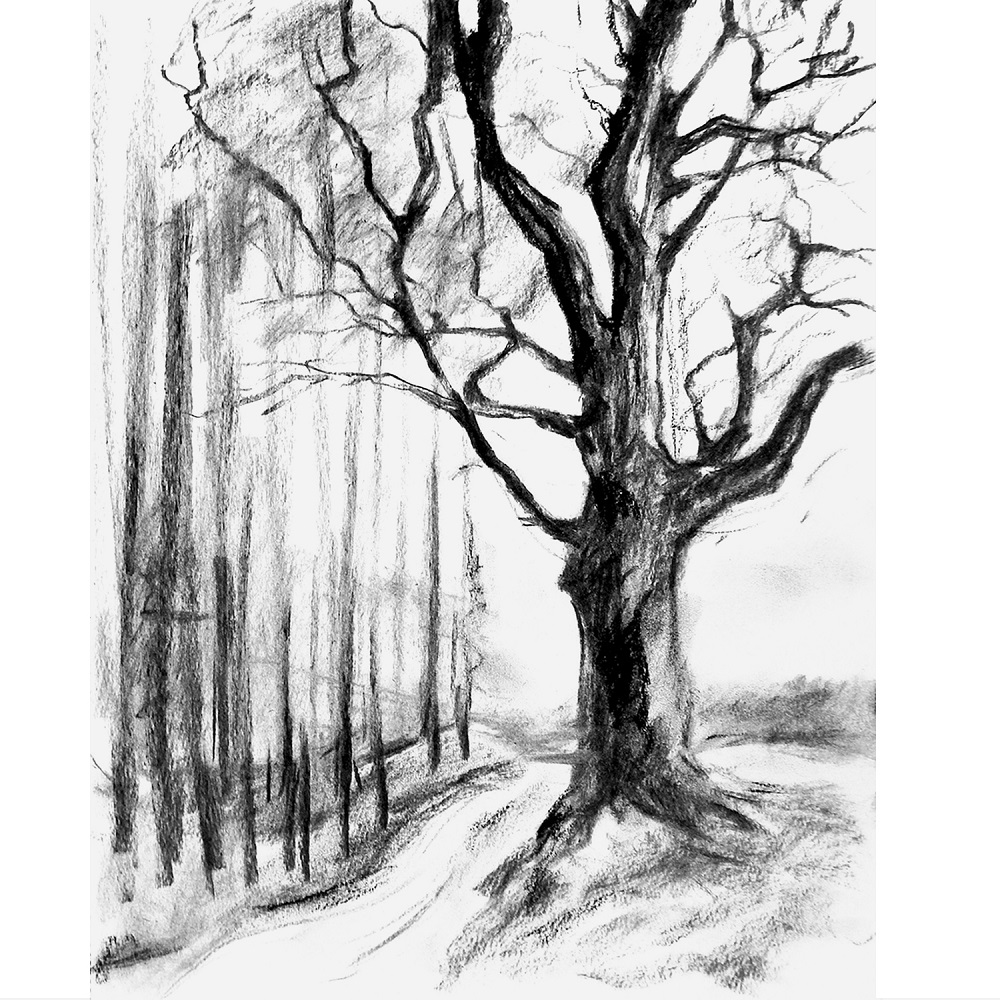
Picking the right tree to draw is crucial for your project. Aim for a tree that resonates with you, whether it’s a majestic oak, a slender birch, or a sprawling maple. You can draw inspiration from photographs, books, or even the lush trees in your local park. Consider taking your own photographs to capture the specific angles and light conditions that interest you.
Analyze the Structure
Once you select a subject, take your time to observe its features closely. The tree’s overall shape, thickness of the trunk, and branching patterns are vital components to note. Does the tree stand tall with straight branches, or does it have a more whimsical, crooked shape? Understanding these elements will help you replicate them accurately in your drawing. You might find it helpful to sketch a few rough outlines on separate paper to practice the proportions and flow of the tree before starting your final piece.
Step 2: Lightly Outline the Tree
Create a Basic Shape
Using a light touch, start with a soft willow charcoal pencil to sketch the basic outline of your tree. Don’t press too hard; keep your lines light and airy to allow for corrections. Focus on the trunk and the central branches rather than details. This is like building a strong foundation for a house; without a solid base, you’ll struggle with the rest of your drawing.
Define Key Features
As your outline takes shape, begin defining key features, focusing on the trunk’s wider sections and forked branches. You want to capture the essence of the tree’s silhouette. It’s helpful to visualize the flow and growth patterns of the limbs, perhaps even imagining how they respond to the wind. If necessary, make adjustments along the way. Remember that this is just an initial sketch; perfection is not the goal yet.
Step 3: Add Details to the Trunk
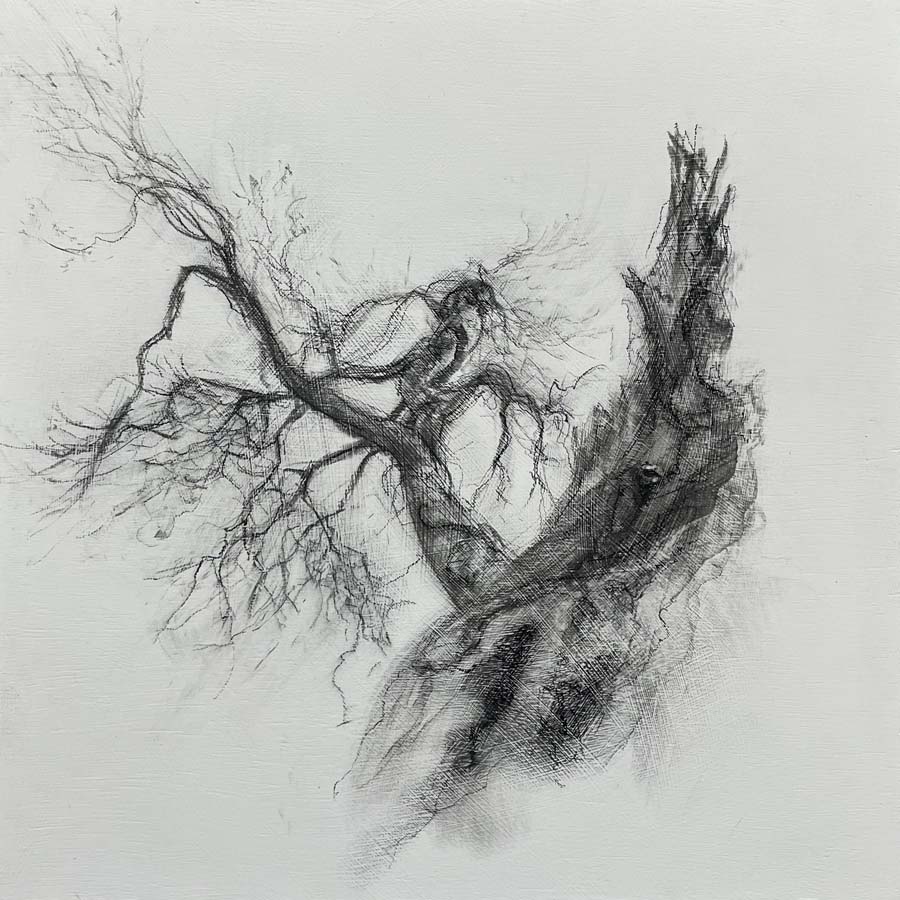
Texture and Patterns
Once you’re satisfied with the basic shape, shift your focus to the trunk’s texture. This part of the drawing is where you’ll add personality to your work. Use compressed charcoal to provide depth. Create dark areas with vertical lines and rough patterns that emulate the bark’s surface. Depending on your reference, this texture may vary from smooth to deeply furrowed. Vary your pressure as you draw to capture these differences effectively.
Highlights and Shadows
Highlighting and shadowing are vital for achieving realism. Identify areas where the light strikes the trunk directly and where shadows fall. Carefully use your kneaded eraser to lift color from areas that should catch the light. This interplay between light and dark will not only enhance the realism of your drawing but also add a dynamic quality. Continue adjusting these contrasts as needed. The goal here is to make the trunk appear three-dimensional and visually engaging.
Step 4: Develop the Branches
Initial Shapes
With the trunk established, it’s time to move to the branches. Lightly sketch the initial shapes, following the natural outflow from the trunk. Observe how branches taper and twist as they extend outward. Keep your hand relaxed to recreate the organic movement found in nature. This is a chance to unleash your creativity; feel free to interpret the branches in a way that resonates with you.
Adding Detail and Depth
Apply the same texture approach to the branches as you did with the trunk. Introduce darker tones and highlights, capturing the unique character of each branch. Observe how light filters through the foliage and interacts with the branches—this will influence how you handle shadows as well. Blending is particularly effective on the branches, creating smoother transitions and making the connections to the trunk feel natural. Take your time, and don’t rush through this stage; the right details will elevate your drawing significantly.
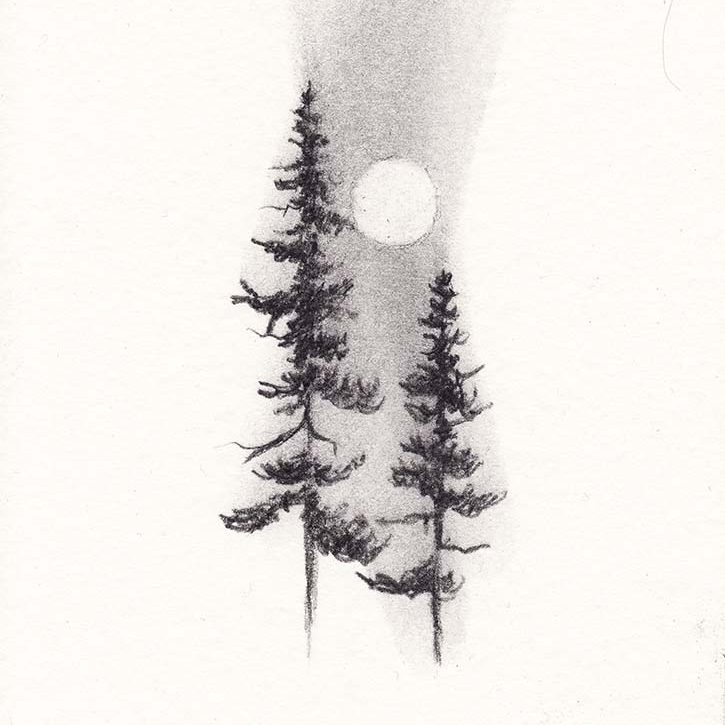
Step 5: Render the Foliage
Shape the Leaves
Now, shift your attention to the leaves. Begin by sketching the overall shapes and clusters around the branches. Use quick, flowing lines to create a sense of movement, representing how the leaves grow in bunches or clusters. Allow some space between the clusters to illustrate light passing through, keeping in mind the variety and density of your subject’s foliage.
Adding Depth to Foliage
After establishing shapes, fill in the leaves with lighter charcoal. Focus on layers, as leaves often overlap. Add depth by applying more charcoal in areas shielded from light, creating richness in texture. Experiment with blending; fingers or blending stumps can help soften edges and create the illusion of volume. This stage is where you will see your drawing come alive with depth and realism, so give it your full attention.
Step 6: Final Touches and Refinements
Review Your Work
With the majority of your drawing completed, it’s time for a critical assessment. Step back to view your artwork from a distance and let fresh eyes guide you. Notice areas that may need more definition or balance. Perhaps certain shadows appear too light, or highlights lack impact. This moment of reflection is essential in creating a polished end product.
Blend and Soften
Once you’ve identified areas needing refinement, grab your blending tools. Blend out harsh lines thoughtfully. Remember, the aim is to create that organic flow found in nature. Subtle adjustments here will result in a more cohesive appearance throughout your piece. Don’t hesitate to make any last-minute adjustments to ensure each section of your tree seamlessly ties together.
Step 7: Preserve Your Artwork
Use Fixative
Once you are satisfied with your finished piece, it’s essential to protect it through the use of fixative spray. Place your artwork flat to avoid any unwanted drips or marks. Hold the spray can at a distance of about 12 inches to evenly coat your charcoal drawing trees. This ultra-fine layer will prevent smudging while preserving your techniques and textures.
Showcase Your Work
Finally, think about showcasing your drawing. A good frame not only protects your artwork but also elevates its presentation. When choosing a frame, consider the style and colors that complement your piece. You can hang it on your wall, gift it, or even enter it in art shows. Sharing your work can provide motivation and encourages you to continue developing your skills in charcoal drawing.
Conclusion
Creating a charcoal drawing trees can be a rewarding and fun experience. By following this step-by-step guide, beginners can develop their skills and understanding of this expressive medium. Remember to take your time, observe closely, and enjoy the creative process. Each stroke adds to your artistic journey, and practice is essential for honing your abilities as a charcoal artist. Embrace the learning experience, and let your artistic passion flourish in your charcoal drawing trees adventures!