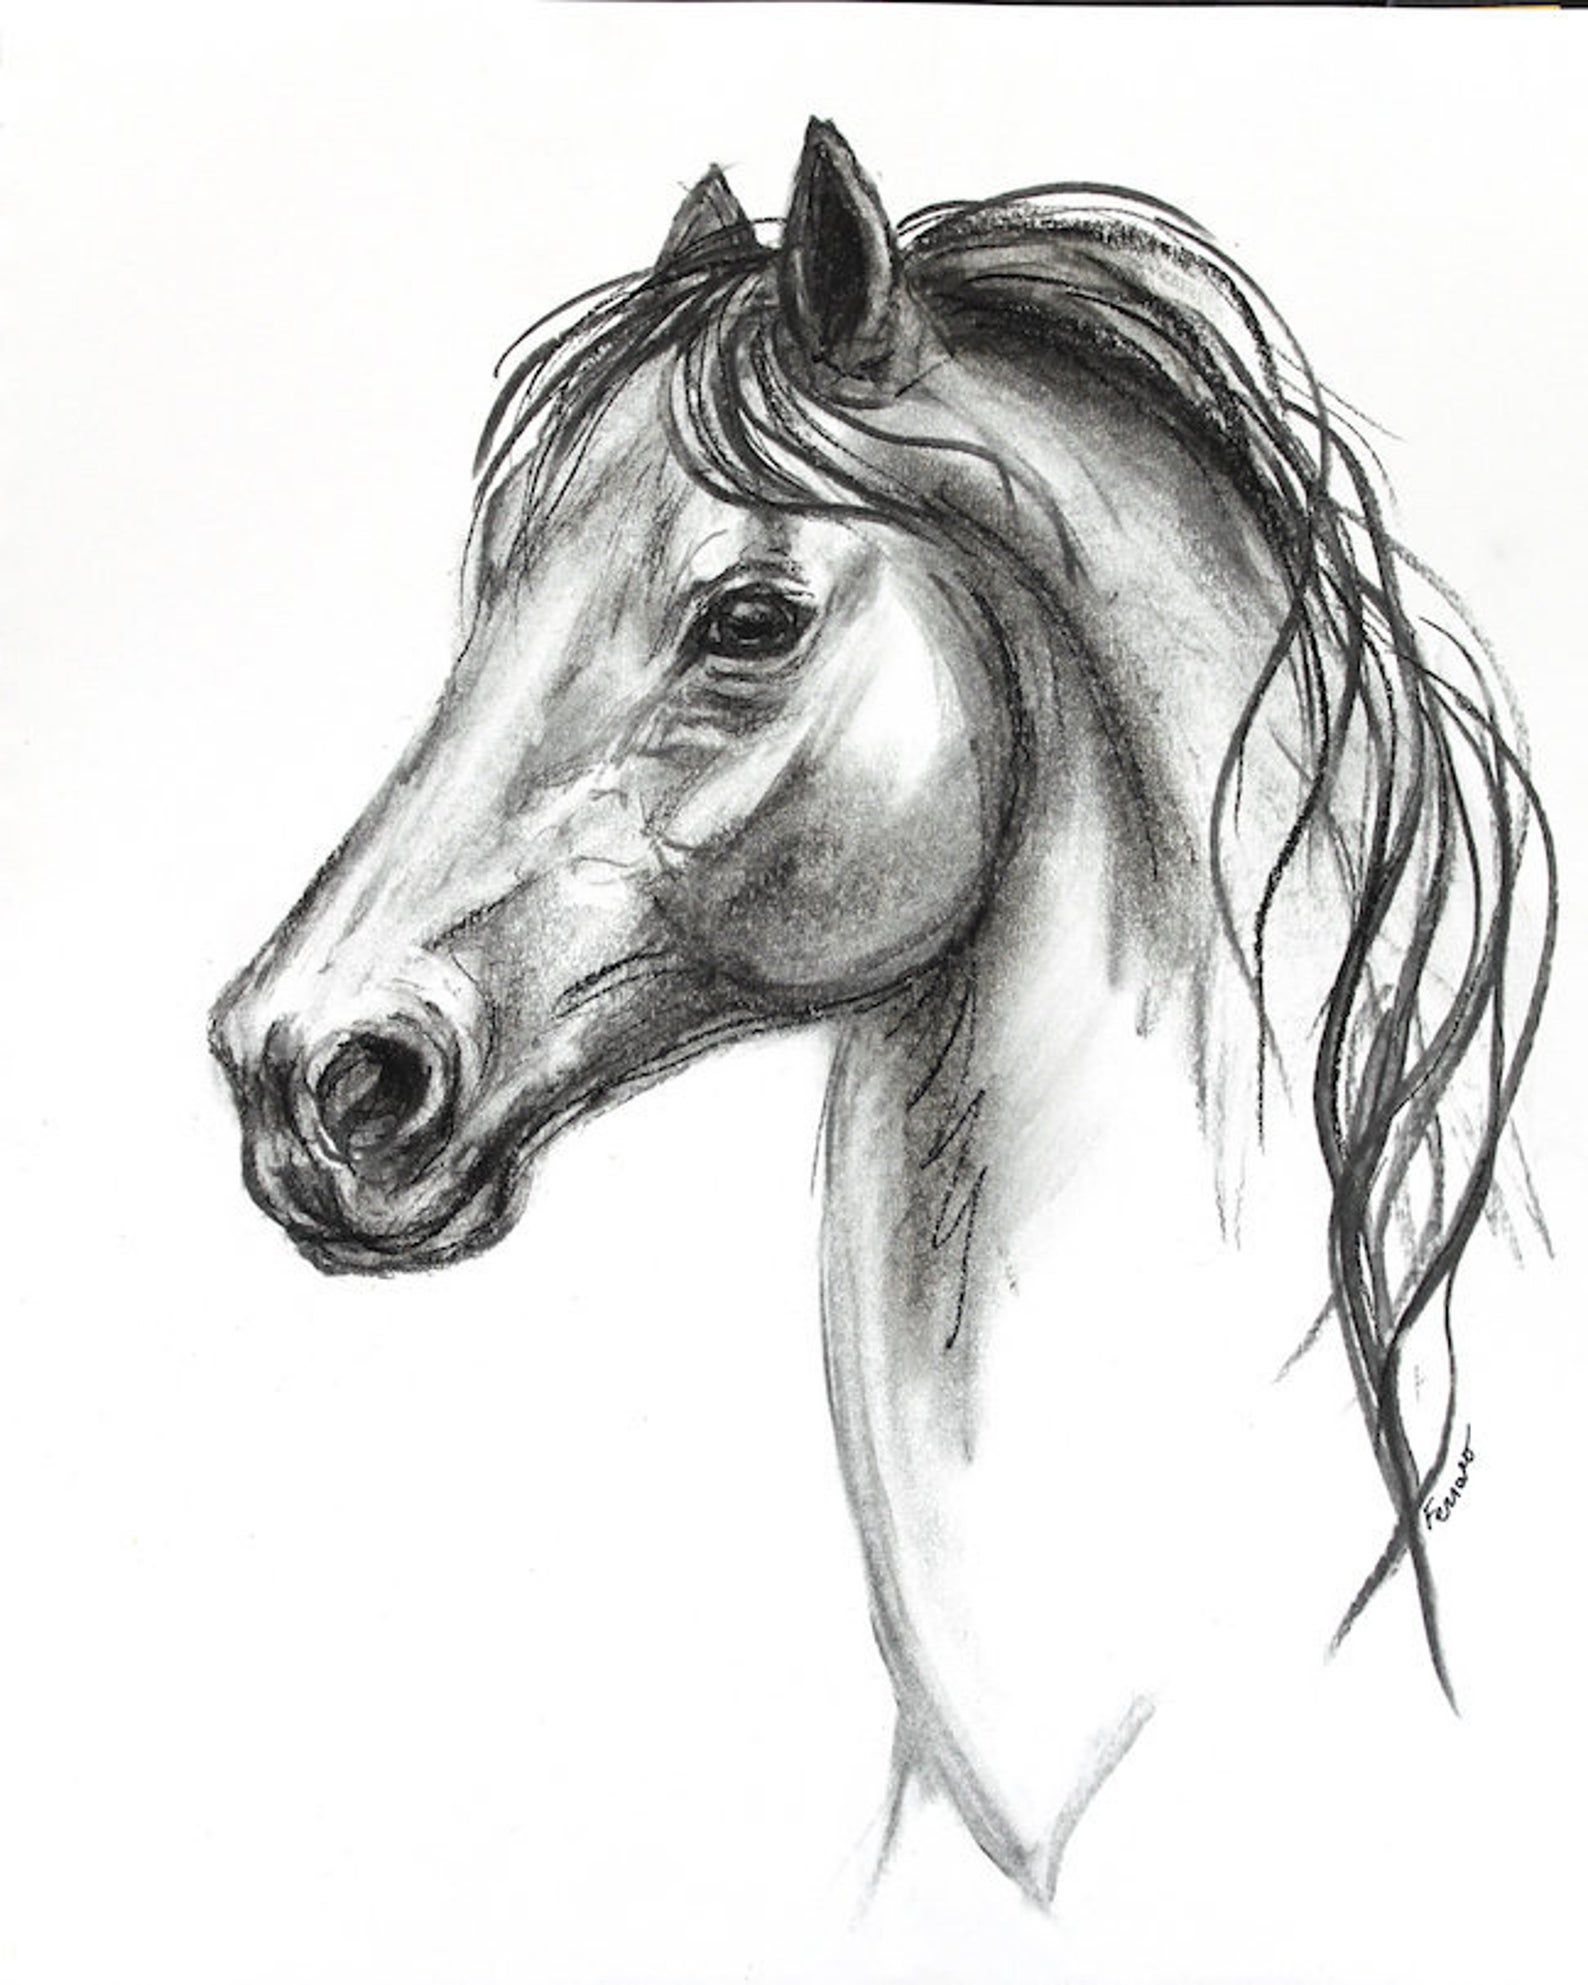
Charcoal drawing allows for rich, deep blacks and a wide range of tones that can bring subjects like horses to dramatic life. This medium is unrivaled for capturing the noble contours and refined power that horses embody. Mastering horse charcoal drawing demands practice and an understanding of both your subject and materials. Armed with precise techniques and tips, let’s delve into how you can enhance your charcoal horse drawings and evoke the fluid grace of these majestic creatures.
Understanding Charcoal Basics
Creating compelling charcoal drawings begins with selecting the right materials. Each type of charcoal and tool has specific properties that can help in rendering different aspects of your subject.
Choosing the Right Type of Charcoal
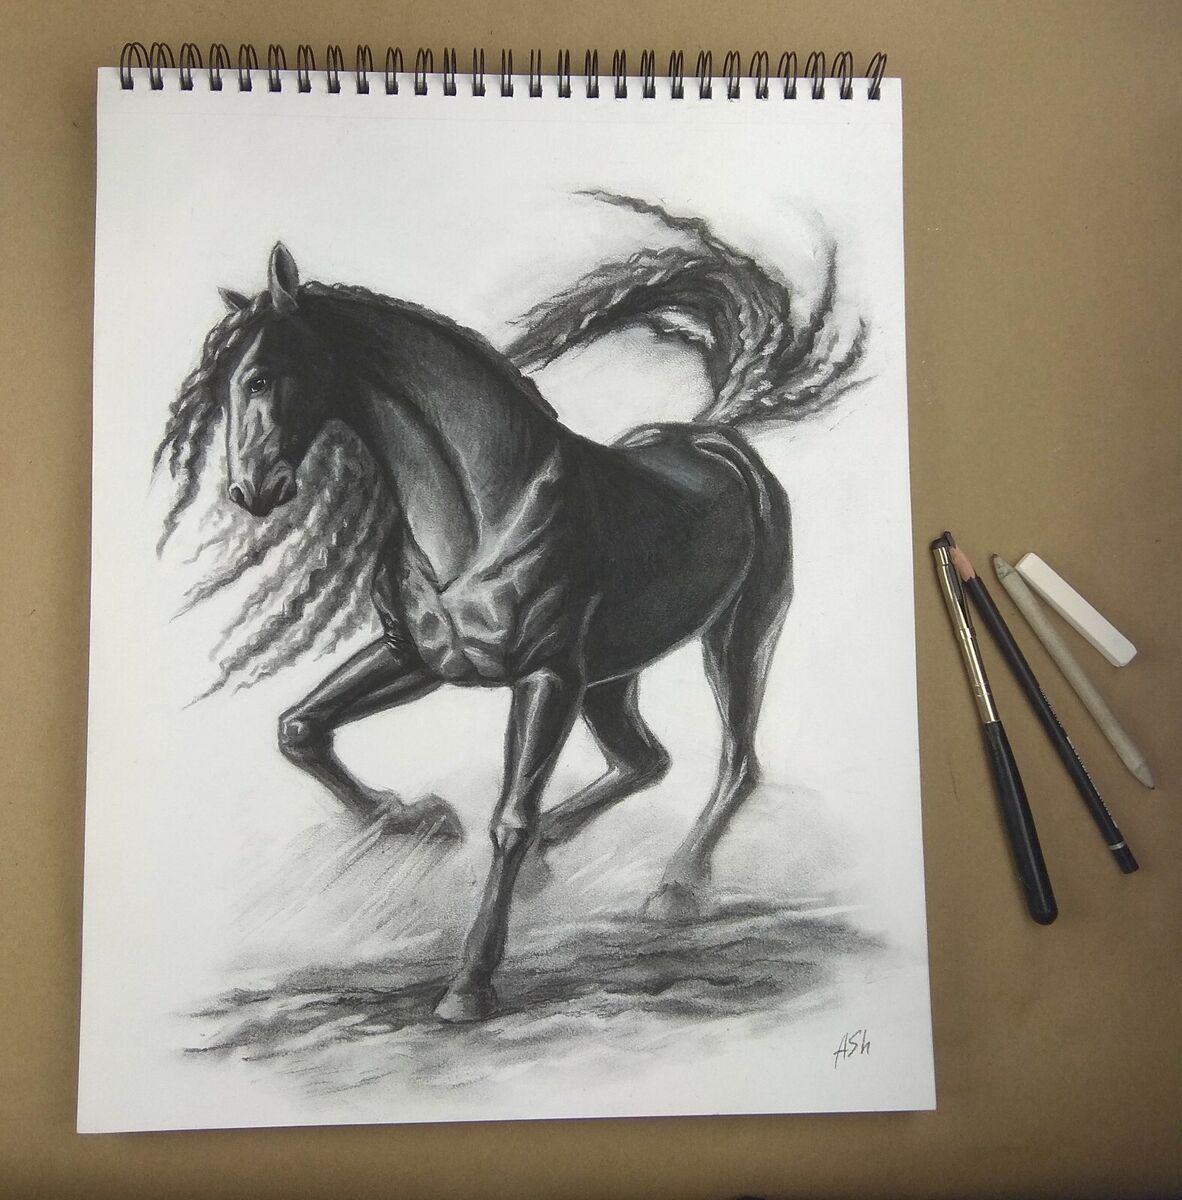
Vine charcoal is excellent for loose, quick sketches and for laying in the initial proportions and composition due to its erasability. Compressed charcoal, which is denser and darker than vine, offers the depth and richness required for deeper shadows and is instrumental in asserting the drawing’s key lines and values. For finer details and precision work, charcoal pencils come into play, helping to delineate the more delicate features like the horse’s eyes and muzzle.
Preparing the Paper and Additional Tools
When it comes to paper, texture is key. Opt for a coarse, textured paper that can hold the charcoal particles well. Also, arrange for a set of blending tools that can include paper stumps, tortillons, or even cotton swabs. They are essential for softening edges and blending tones smoothly. For erasing and highlighting, kneaded erasers are priceless as they can be molded to erase small areas without disturbing the surrounding tones. A fixative spray will become important once the piece is complete — it will secure the charcoal in place and reduce the risk of smearing.
Setting the Stage
The planning stage of your charcoal drawing is crucial for capturing the movement and character of the horse. This is where you decide on your drawing’s roadmap.
Structuring Your Composition
Consider the position and posture of your horse. Is it in motion or at rest? Think about the message or emotion you want to convey with your drawing. Sketch your idea lightly, plotting the horse on your page carefully to balance the composition. Be mindful of the negative space around the horse, as this will affect the piece’s final impact.
Laying Down the Initial Sketch
Start with simple shapes to form the horse’s anatomy. Capture the essence of the horse’s pose with energetic and fluid lines, focusing more on overall form and movement rather than detail. This is not the stage for meticulous work – it’s more about getting the primary shapes, angles, and lines of action correct. Establish the proportions between the different parts of the horse’s body, as getting a realistic representation depends on accurate ratios.
Building Form and Depth
Shading breathes life into your horse, transforming flat shapes into a dynamic, three-dimensional form.
Layering and Blending
Shading begins with blocking in the broad shadows and mid-tones, defining the muscular structure and form of the horse. Use the side of a compressed charcoal stick for a soft, wide stroke that can be easily blended. Employ circular or cross-hatching strokes to build up these values gradually, creating a sense of volume. Blending tools will smooth out these areas, merging the tones effectively to showcase the curvature of the animal’s build.
Developing Contrast and Texture
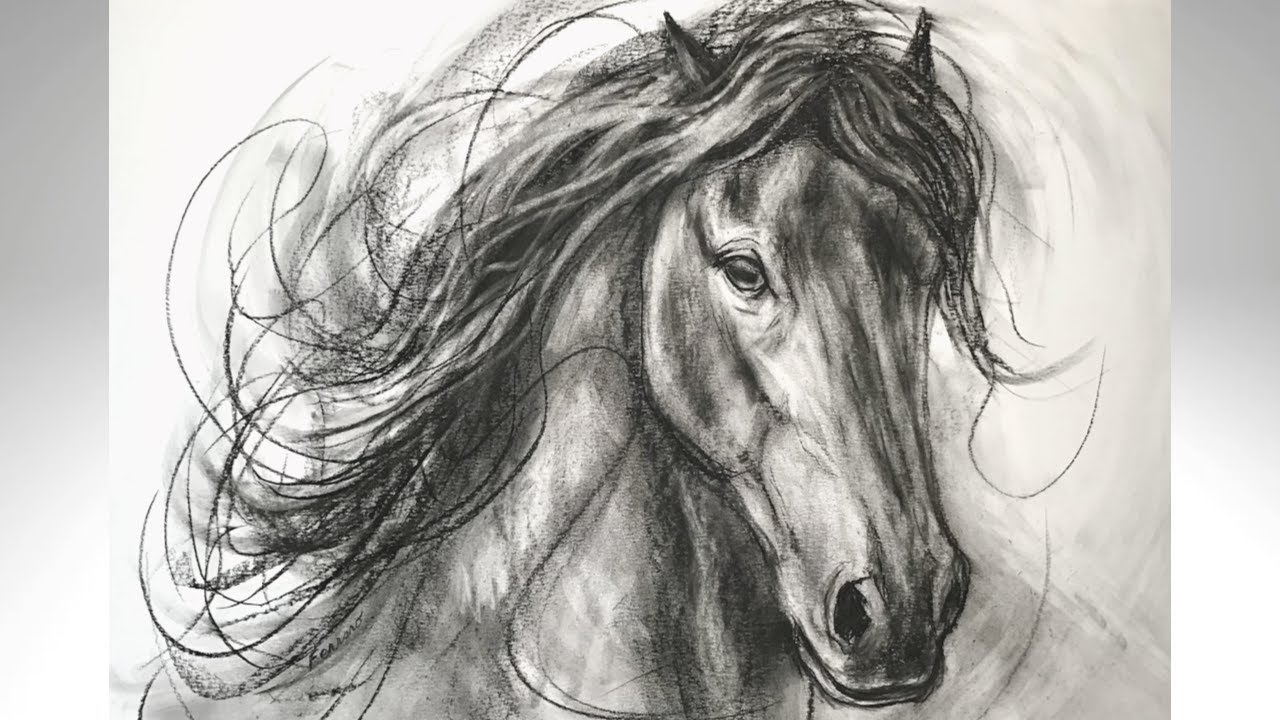
Pay attention to the intensity and direction of light falling on the horse to create stark contrasts. These contrasts are vital for conveying the depth and three-dimensionality of your drawing. Use an eraser to “draw” the lighter areas and highlights. Also, work up the different textures found in the horse’s mane, tail, and coat. Here, a sharp charcoal pencil can add the finer lines and delicate textures that replicate the smooth fur and hair.
Finalizing the Artwork
You’re now ready to give your drawing the finishing touches that can make all the difference between a good and a great artwork.
Adding the Details
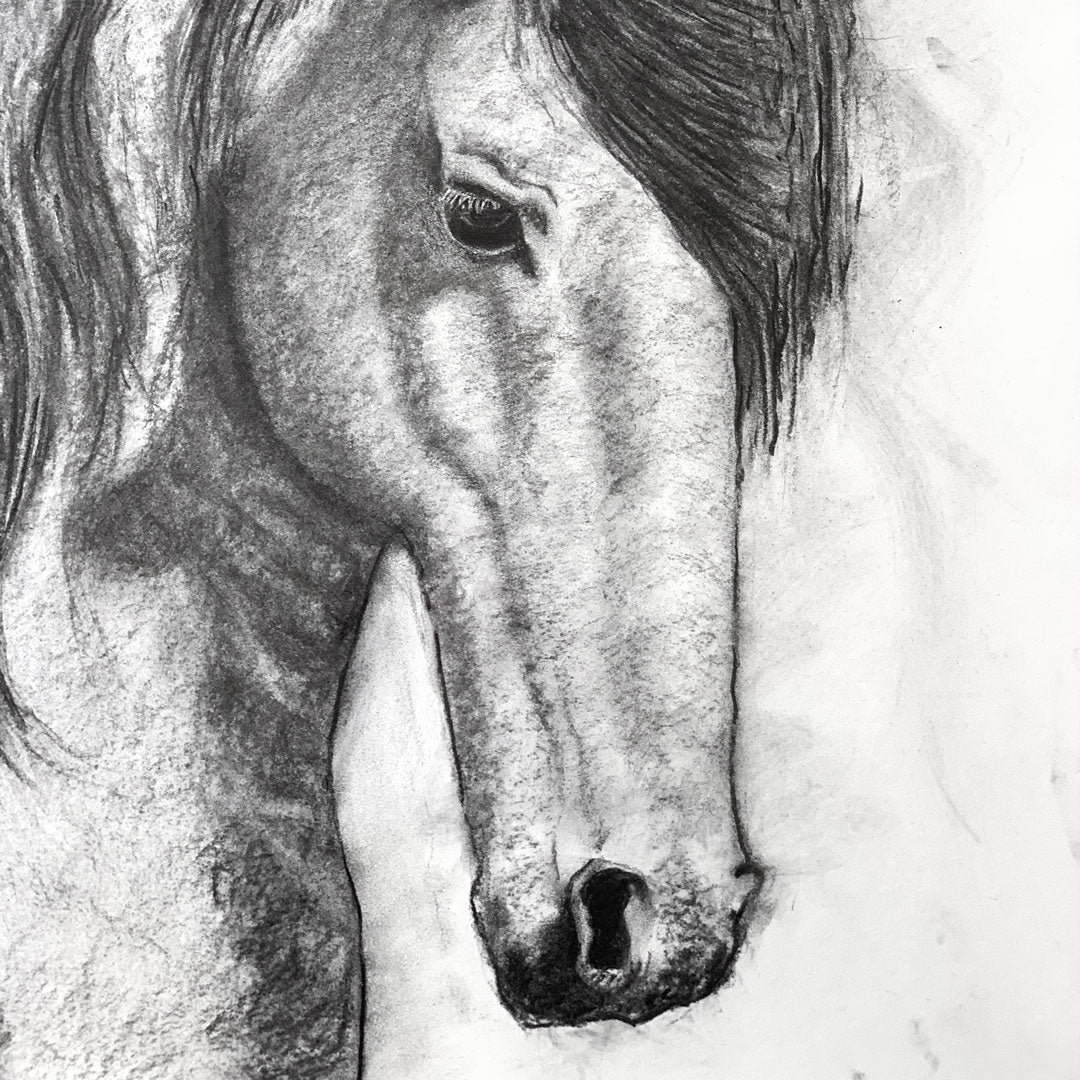
With the form and values in place, turn your attention to refining and perfecting the details. It’s vital to get the eyes and expression right to capture the personality of your subject. Diligently work the delicate lines and shadows that give life and sparkle to the horse’s eyes, being careful not to overdo it. Adjust the highlights and shadows as necessary to convey the horse’s muscular definition and the sheen of its coat.
Protecting the Drawing
Once satisfied, it’s time to protect your hard work. Use a workable fixative spray, which allows for additional drawing layers, if you anticipate making future changes. For the final fixing, use a permanent fixative. Spray evenly across the surface from a distance, usually around 30 centimeters, to prevent the charcoal from dusting or smearing.
Enhancing Expression
The true test of a horse charcoal drawing lies in its ability to transmit the horse’s character and spirit through the paper. Mastery in this art form involves more than just replicating anatomy and shading techniques.
Observing and Portraying Emotion
Study horses in real life or through photographs to understand their expressions and nuances. Observe the way their ears tilt to convey alertness or relaxation, and how their eyes and nostrils express curiosity or excitement. Transfer these observations onto your charcoal drawing, keeping in mind that subtlety is key. Tiny adjustments in the curve of a mouth or the angle of an ear can significantly shift the portrayed emotion.
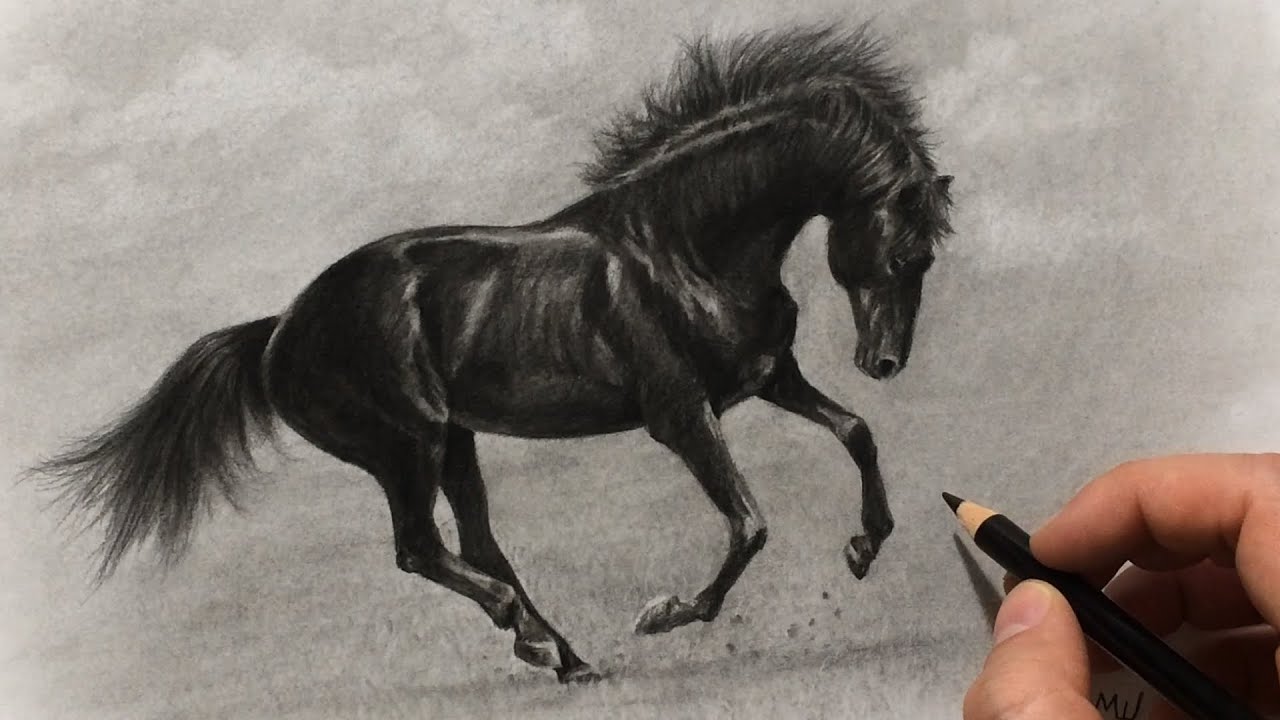
Capturing Movement and Posture
A horse’s dynamism is defined by its posture and movement. A galloping horse captured mid-stride with muscles tensed and mane flowing can express freedom and power. A standing horse with a bowed head can convey a serene and gentle temperament. These body languages speak volumes in your drawing, so practice capturing various poses and movements to accurately convey the horse’s vitality or calmness.
Embracing the Learning Curve
As is true with any art form, becoming proficient at horse charcoal drawings is a journey filled with learning opportunities. Embrace every piece as a step toward greater mastery.
Continuous Practice
The key to improvement lies in consistent practice. Draw regularly, experimenting with different techniques, lighting conditions, and horse positions. Try reworking the same subject multiple times, noting each time what you could do better. Collect feedback from others and be open to critique. Over time, muscle memory will develop, and your skills will naturally refine.
Patience and Perseverance
Learning to depict horses with charcoal can be challenging and might test your patience. Remember that steady progress will yield results, so it’s important to persevere. Allow yourself to make mistakes and learn from them. This resilience will pay off in the long run, as your drawings become more sophisticated and true-to-life.