Airbrushing with acrylic paints is an illustrious technique for creating smooth, blended effects on a wide range of surfaces. It’s favored in countless creative fields—from model making and mural art to automotive painting and fabric design. Mastering the airbrush technique requires not only steady hands and artistic vision but also an understanding of how acrylic paints behave on different materials. This comprehensive guide will walk you through essential techniques to ensure success with airbrushing acrylics on various surfaces.
Preparing Your Paint for Airbrushing
Thinning Acrylic Paints for Use
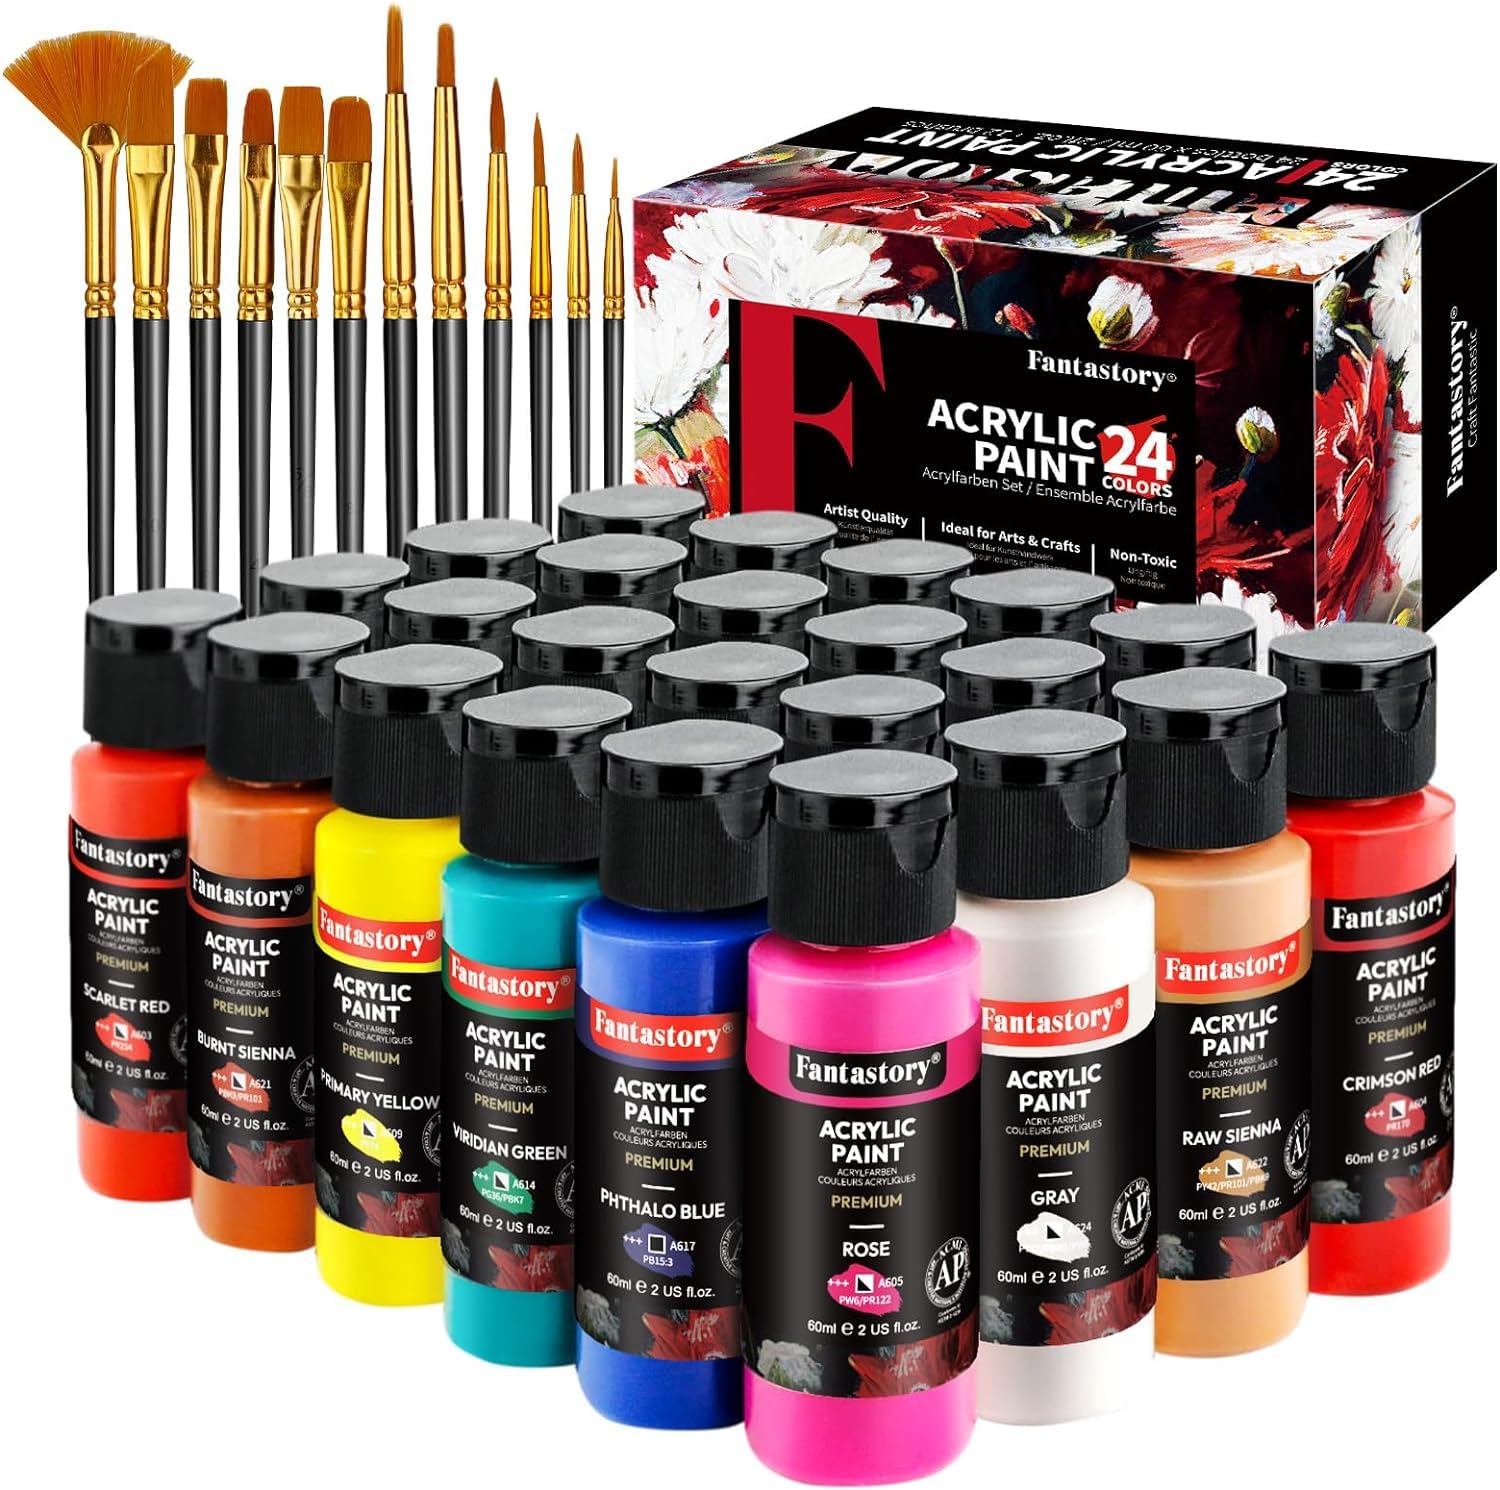
Airbrushing requires a thinner paint consistency than what’s used with a brush. To achieve this, mix acrylic paint with a suitable thinner, such as water, acrylic medium, or a specialized airbrush thinner. The goal is to reach a milk-like consistency that flows smoothly through the airbrush without clogging.
Testing Before Application
Always test your thinned paint on a scrap piece of the same material you plan to work on. This test run allows you to check the flow and opacity and to adjust the mixture if necessary. Verify the paint dries correctly and adheres well, ensuring you’re ready to proceed with confidence.
Techniques for Various Surfaces
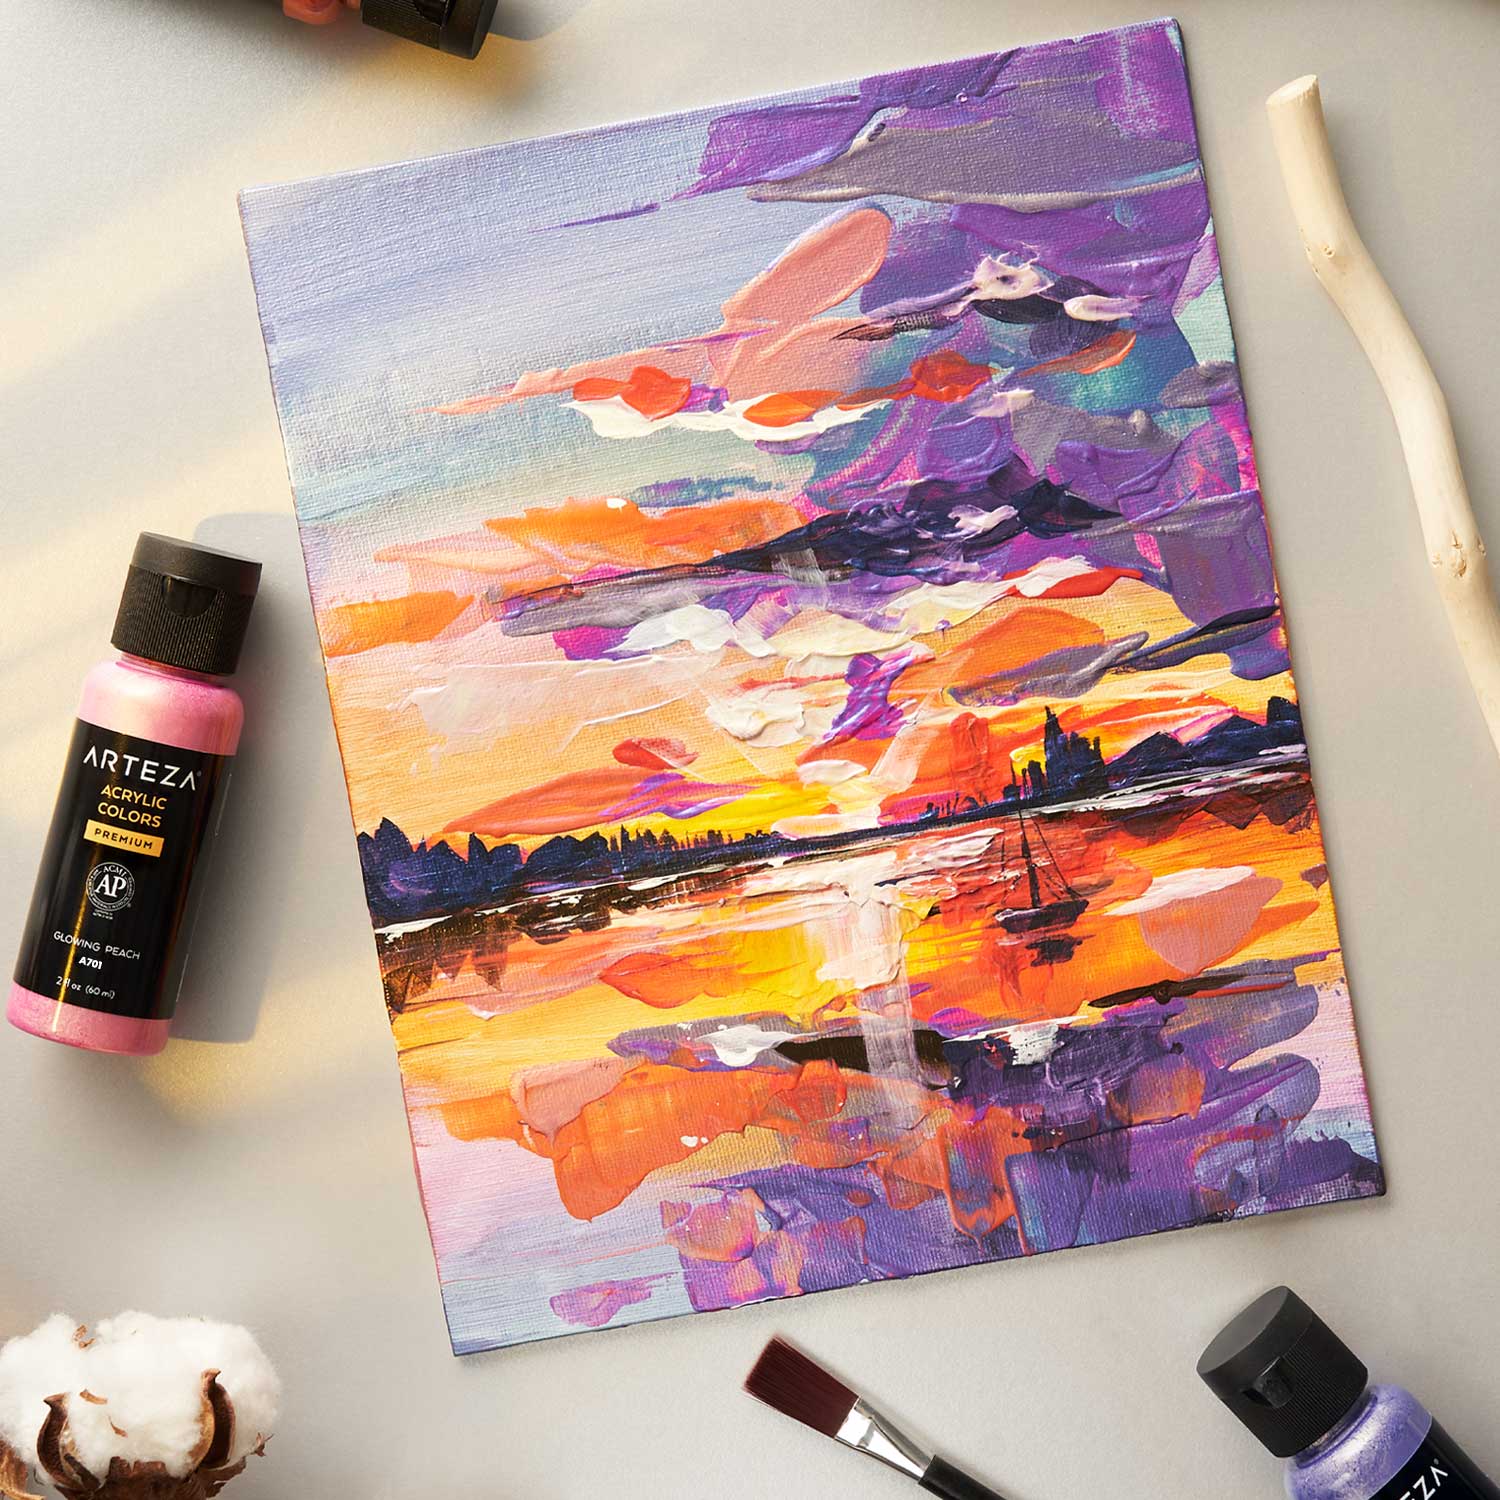
Achieving Consistency on Canvas
When airbrushing on canvas, start by applying a base coat or primer to create a smooth, even surface. Use a steady hand to apply layers, working from light to dark colors. Between layers, give the paint time to dry, preventing unwanted blending or a muddy appearance.
Adapting to Metal Surfaces
Airbrushing on metal requires a different approach. Begin with a thorough cleaning of the metal surface to remove grease or debris. You might need an etching primer to ensure adequate paint adhesion. For a flawless finish, apply several thin layers, allowing each to dry before adding the next.
Mastering Airbrush Control for Precision
Utilizing Distance and Pressure
One of the keys to successful airbrushing is controlling the distance and air pressure. Holding the airbrush closer to the surface results in finer details, while a farther distance covers larger areas with a gradient effect. Adjusting the air pressure can alter the spray pattern—higher pressure for broader coverage and lower pressure for delicate work.
Working with Stencils and Masks
For sharp edges or intricate designs, employ stencils or masking techniques. Use a masking tape or liquid frisket to cover areas you want to protect from overspray. When using stencils, secure them flat against the surface to prevent underspray and bleed-through. Always remove masking materials gently to retain crisp lines.
Finishing Touches: Proper Sealing and Care
Applying a Protective Varnish
Once your acrylic airbrush work is complete, protect it with a suitable varnish. This sealing layer helps preserve the colors and adds durability, especially on surfaces that may encounter wear and tear. Choose either a matte or gloss finish based on the desired aesthetic effect.
Cleaning and Maintenance of Equipment
To ensure your airbrush remains in good working order, clean it thoroughly after each use. Disassemble the nozzle and needle according to the manufacturer’s instructions, and use proper cleaning solutions to remove any residual paint. Regular maintenance extends the life of your airbrush and guarantees reliable performance.
Optimizing Acrylic Paint Consistency for Airbrushing
Finding the Right Ratio for Dilution
Achieving the best viscosity for acrylic paints is crucial when airbrushing. A common ratio to start with is one part paint to two parts thinner, but this can vary based on the brand of paint and desired opacity. Experiment with small amounts to find the perfect ratio for your project, ensuring the paint atomizes correctly.
Straining to Prevent Clogs
Once thinned, pass your paint through a fine mesh filter or strainer to catch any clumps or debris. This little step can save a lot of frustration by preventing clogs in your airbrush’s nozzle, which can disrupt the smooth application and alter the final finish.
Adjusting Technique Based on Surface Texture
Smooth Surfaces: Keeping Paint Even
When dealing with smooth surfaces like glass or polished metal, maintain a consistent hand speed and spray distance to avoid runs or splotches. The slick surface can cause paint to pool if applied too thickly or unevenly.
Textured Surfaces: Building Up Layers
On textured surfaces, such as fabric or textured plastics, use a light touch and build up thin, even layers. This allows the paint to get into all the nooks of the textured surface, creating an even coat without oversaturating and warping the material’s natural feel.
Exploring Creative Techniques with Airbrushed Acrylics
Layering Colors for Depth
Airbrushing allows for exquisite layering and blending of colors. Work from your lightest to darkest hues to take advantage of the transparency of thinned paints. Each layer should dry completely before applying the next to keep colors clean and vibrant.
Utilizing Backmasking for Dynamic Effects
Backmasking is a technique where you paint over a surface in a solid color, mask off an area after it’s dry, and then paint a second color. After the second layer dries and you remove the mask, the original color shows through. This technique is great for creating stripes, hard lines, or geometric patterns.
Fostering Longevity in Your Airbrush Art
Selecting the Right Top Coat
Choose a clear top coat compatible with acrylic paint and the surface you’re working on. Automotive-grade clear coats are great for metals and vehicles, while acrylic varnish works well on canvas or paper. Some surfaces may require a specific type of sealer to ensure maximum longevity and durability.
Storing Airbrush Artwork Properly
After sealing your artwork, store it in a place without direct sunlight or fluctuating temperatures to prevent fading or cracking. If the piece will handle frequent touching or cleaning, you may want to consider an additional protective layer or specific care instructions to ensure it stays looking its best over time.
Airbrushing acrylics across various surfaces offers boundless creative opportunities, but it does come with a learning curve. By understanding how to prepare your paints, mastering the use of your airbrush, and applying techniques specific to different materials, you can elevate your airbrush artwork. Remember to practice control, make the most of stencils and masks for precise designs, and finish with proper sealing to ensure a professional outcome. Taking the time to clean and maintain your equipment after each use will keep your airbrushing tools ready for your next artistic venture.