Introduction to the World of Paracord Crafting
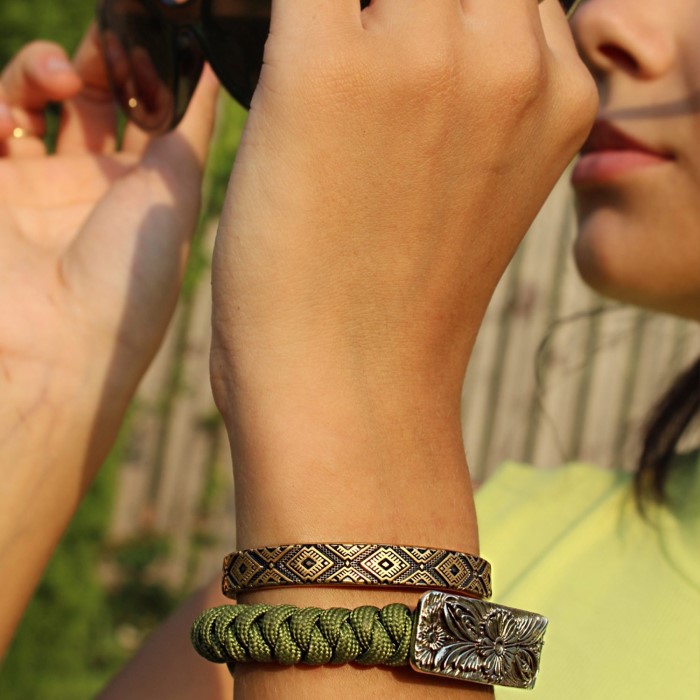
The year 2026 brings a renewed interest in practical handmade crafts. Many hobbyists are turning their attention to functional gear. A paracord bracelet stands out as a top choice for beginners. It combines style with utility in a compact form. You might wonder why this simple item remains so popular. The answer lies in its versatility and reliability. Outdoor enthusiasts value it for its survival applications. Fashion lovers appreciate the endless color combinations. This guide will walk you through everything you need to know.
We will cover the basics and advanced tips. Therefore, you can start your crafting journey with confidence. This hobby requires minimal tools to begin. However, the skills you develop are incredibly rewarding. You will learn to create something useful with your hands. Furthermore, these bracelets make excellent gifts for friends and family. The community around cord crafting is also very welcoming. You can easily find support and inspiration online. Consequently, 2026 is the perfect year to learn this skill. We will explore the history and the modern applications. You will soon understand why this craft has stood the test of time. It is not just a trend but a practical life skill. So, let us dive into the essentials of paracord bracelet crafting.
Understanding the Core Material for Survival Gear
You must understand your material before you start weaving. Not all cords are created equal. The standard for most bracelets is Type III paracord. This specific type is also known as 550 cord. It has a minimum breaking strength of 550 pounds. Hence, it is incredibly strong for its weight. The construction of this cord is unique. It features a nylon outer sheath. Inside this sheath, you will find multiple inner strands. Typically, there are seven to nine core yarns. These inner strands can be extracted for delicate tasks. For instance, you can use them for fishing line or sewing thread. This feature makes the material indispensable in survival situations.
You should always check the label before purchasing. Authentic military-spec cord will have manufacturer information printed on it. Commercial grade cord is also available. It is cheaper but may lack the same strength. Therefore, investing in quality material is crucial for a reliable paracord bracelet. Nylon is the preferred material due to its elasticity. It resists rot and mold effectively. This resistance is vital for outdoor gear exposed to elements. Furthermore, the texture of the cord affects your weaving. Softer cords are easier on the fingers. Stiffer cords hold their shape better. You will develop a preference over time. Choosing the right rope is the first step to success.
Essential Tools for a Smooth Crafting Experience
You do not need a fully equipped workshop to start. However, a few specific tools will make your life easier. First, you need a good pair of scissors. Sharp scissors ensure a clean cut. Frayed ends can be frustrating to work with. Second, a lighter is essential for sealing the ends. Nylon melts easily. This process prevents the bracelet from unraveling. Consequently, this step ensures the longevity of your project. You might also consider a paracord jig. This tool holds your buckle in place. It keeps tension on the cords while you weave.
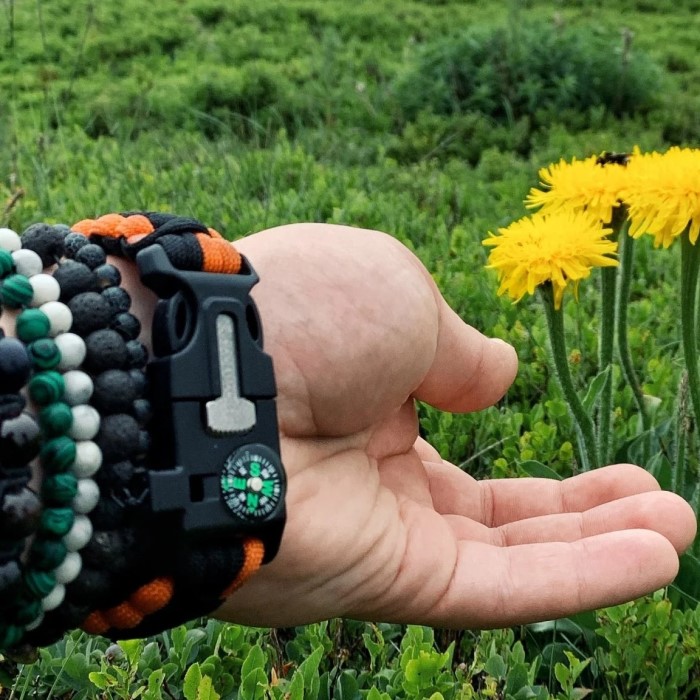
As a result, your knots stay tight and consistent. A jig is not strictly necessary for beginners. You can tape the end to a table instead. Nevertheless, a jig improves efficiency significantly. Measuring tools are also important. A simple ruler or tape measure works fine. You must measure your wrist accurately for a good fit. Additionally, a hemostat or needle-nose pliers can help. You use them to pull tight knots. This is especially useful for the final adjustments. Some crafters also use a fid or a lacing needle. This tool helps weave the loose ends back into the bracelet. It creates a clean and professional finish. Therefore, gathering these tools beforehand saves time. Your workflow becomes much smoother. You can focus on the technique rather than struggling with equipment.
Selecting the Right Weave and Pattern
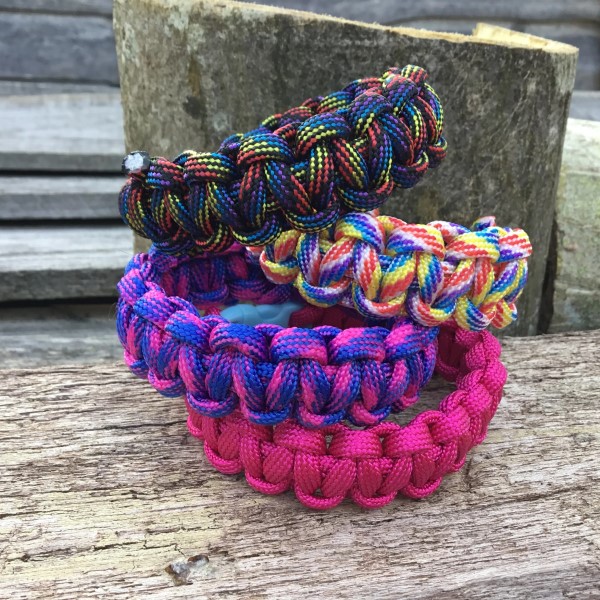
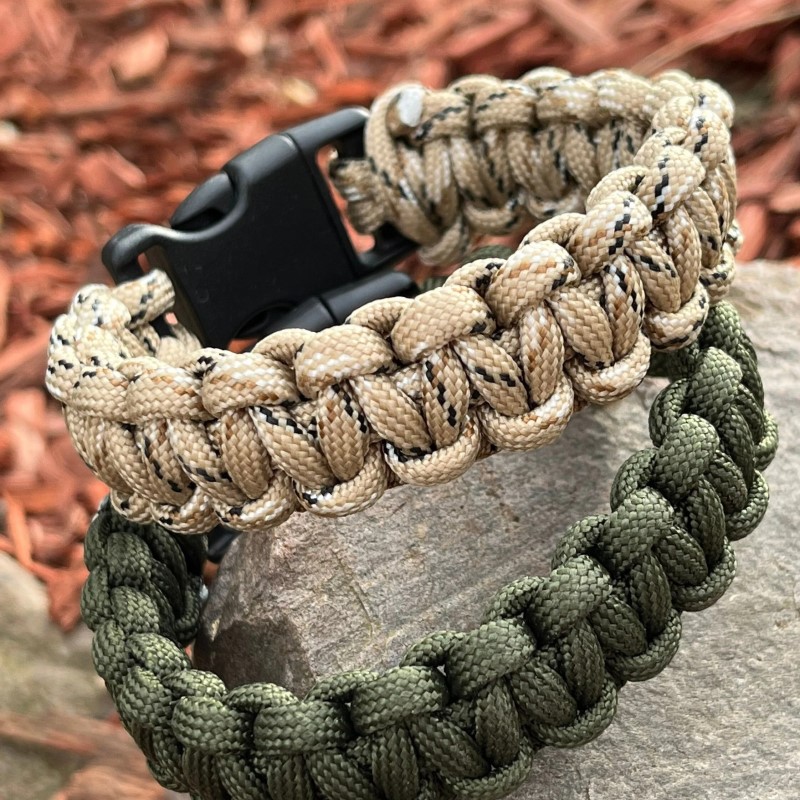
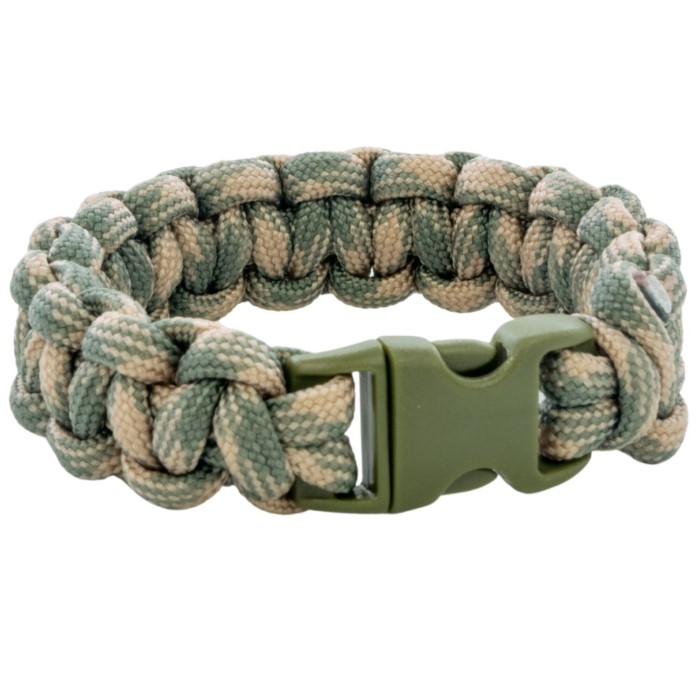
The pattern you choose defines the look and function of your bracelet. There are hundreds of weaving patterns available. For beginners, the Cobra weave is the most recommended. It is flat, durable, and looks great. Furthermore, it maximizes the amount of cord carried on your wrist. This weave creates a thick band. Alternatively, you might try the Solomon Bar pattern. It is essentially the same as the Cobra but uses two colors prominently. Another popular option is the King Cobra weave. This variation involves weaving a second layer over the first.
Consequently, it doubles the amount of cord on your wrist. This style is bulkier but offers more rope for emergencies. You should also consider the Fishtail weave. This pattern creates a sleeker and more flexible bracelet. It resembles a fish’s tail. Hence, it is very comfortable to wear daily. The choice of pattern depends on your needs. Do you want maximum cord length? Or do you prefer a stylish accessory? Each pattern has its own characteristics. Moreover, you can experiment with different color combinations. Two-color patterns require you to join two cords together. This junction is usually hidden inside the buckle. Ultimately, the pattern sets the foundation for your paracord bracelet. Try a few simple ones first. Then, you can graduate to complex designs like the Trilobite or Jagged Ladder.
Mastering the Art of Accurate Measurement
A bracelet that does not fit is useless. Therefore, accurate measurement is critical before you cut any cord. You should measure your wrist with a flexible tape measure. Wrap it snugly around your wrist bone. Do not pull it too tight. You need a bit of room for movement. However, it should not slide over your hand easily. Once you have your wrist size, you must calculate the cord length. A general rule of thumb is simple. You need about one foot of cord for every inch of wrist size. For example, a 7-inch wrist requires about 7 feet of cord. This estimate applies to the Cobra weave. More complex weaves consume more cord.
Therefore, always cut more than you think you need. You can trim the excess later. But you cannot add length back once cut. Furthermore, the buckle takes up space. You must account for the buckle size in your final length. Usually, adding one inch to your wrist measurement works well. This extra space accommodates the buckle and the knot thickness. The knots add bulk to the inside of the bracelet. If you forget this, the bracelet will be too tight. Consequently, it will feel uncomfortable. You can also use the “ruler test.” Wrap the cord around your wrist seven times. This gives a rough estimate for a standard bracelet. Precision is key to a professional result. So, take your time with the measurements.
Step-by-Step Guide to the Cobra Knot
Learning the fundamental knot is the core of this craft. The Cobra knot is the foundation for many designs. First, you attach the cord to the buckle. Fold your cord in half. Pull the loop through the slot on the female end of the buckle. Then, pass the loose ends through the loop. Pull it tight to secure the cord. This is called a cow hitch. Next, attach the other end of the buckle. Measure the length against your wrist. Now you are ready to tie. Lay the bracelet flat. Take the left strand and cross it over the center strands. The center strands are called the “core.” Then, take the right strand and go over the left strand. Next, pass the right strand under the core. Finally, pull it up through the loop on the left side.
This completes half the knot. You must repeat this process in reverse. Cross the right strand over the core. Then, take the left strand over the right one. Pass it under the core and up through the right loop. Pull both strands tight. Consequently, you have completed one full Cobra knot. Continue this pattern down the length of the bracelet. Keep the tension consistent. Inconsistent tension makes the bracelet look lumpy. Therefore, practice is essential. Your fingers will learn the rhythm quickly. This repetitive motion is quite relaxing for many people.
Finishing Touches for a Professional Look
The final steps separate amateur crafts from professional gear. You will eventually reach the end of the buckle. You might have some excess cord left over. Do not simply cut it off yet. You need to secure the last knot tightly. Use your pliers to pull the final knots extra snug. This ensures the bracelet does not come undone. Now, you must decide how to finish the ends. One method involves cutting the cords close to the last knot. Then, you melt the ends with a lighter. Press the melted nylon into the surrounding weave. This fuses the end shut. However, this can leave a rough spot. A smoother technique involves “burying the ends.”
You use a fid or needle to weave the loose ends back into the bracelet. Thread the end of the cord into the needle. Then, weave it under a few existing knots. Pull the cord through. This hides the end inside the bracelet. Do this for both loose ends. Finally, cut the excess cord close to the surface. Melt the tip slightly to seal it. This method creates a seamless look. It also feels more comfortable against the skin. Consequently, your paracord bracelet looks like it was made by an expert. Attention to detail is what makes a handmade item special. These finishing steps are worth the extra effort.
Maintenance and Care for Longevity
Your handmade gear will last a long time with proper care. Nylon is a durable synthetic material. It resists water and sunlight effectively. However, dirt and sweat can accumulate over time. Therefore, cleaning your bracelet occasionally is a good idea. You can wash it with warm water and mild soap. Use a soft brush to scrub between the weaves. This removes grime and oils. Rinse it thoroughly to remove all soap residue. Then, let it air dry completely. Do not use high heat to dry it. High heat can melt or deform the nylon fibers.
Furthermore, you should inspect your bracelet regularly. Check for fraying or loose threads. If you see significant wear, it might be time to make a new one. The nylon can degrade slightly with constant exposure to UV light. So, store your spare cord in a dark place. If you use the bracelet for survival, replace it after use. Once you unravel it, the knots will not be as tight if you re-tie it. The kinks from the old knots can weaken the rope. Consequently, it is better to use fresh cord for a new project. Proper maintenance ensures your gear is ready when you need it. A well-cared-for bracelet can last for years on your wrist. It remains a reliable tool and a stylish accessory.
Conclusion: Embrace the Crafting Journey in 2026
Crafting is a journey of learning and creativity. We have covered the essentials in this guide. You now know about materials, tools, and techniques. You can select the right weave and measure your wrist. Furthermore, you have learned to tie the Cobra knot. You also know how to finish your project professionally. The skills you acquire here go beyond just making jewelry. They prepare you for practical situations. You learn patience and attention to detail. These are valuable traits in any endeavor.
The year 2026 offers many modern distractions. Yet, working with your hands remains a grounding experience. It connects you to a community of makers. You can share your creations and learn from others. Do not be afraid to make mistakes. Every error is a learning opportunity. Your first paracord bracelet might not be perfect. But your fifth one will surely impress. So, pick up your cord and tools today. Start your adventure in paracord bracelet crafting. You will find satisfaction in creating something both beautiful and functional. This hobby is more than a pastime; it is a practical art form.
FAQ
What’s the point of a paracord bracelet?
A paracord bracelet serves two main purposes: fashion and survival. It is a stylish accessory that can be unraveled to provide several feet of strong rope in an emergency. You can use the cord for building shelters, making traps, or fixing gear.
Is making paracord bracelets hard?
No, making paracord bracelets is not hard for beginners. Most designs use simple knotting techniques like the Cobra weave. With a little practice and patience, anyone can learn to make a durable bracelet in under an hour.
How long of a paracord do you need to make a bracelet?
Generally, you need about 1 foot of paracord for every inch of wrist size for a standard Cobra weave. For example, an 8-inch wrist usually requires about 8 to 10 feet of cord. It is always safer to cut a bit more than you think you need.
How to cobra knot?
To tie a Cobra knot, you cross one strand over the center core strands. Then, you pass the other strand over the first one, behind the core, and up through the loop created by the first strand. You then tighten it and repeat the process in the opposite direction for the next knot.