The Magic of Household Combinations
Every home workshop has basic supplies. You likely have a tube of super glue. You probably also have a box of baking soda. Individually, they are very useful. However, combining them creates something extraordinary. Many people do not know this trick. It is a secret weapon for builders and hobbyists. The mixture creates an incredibly strong bond. Furthermore, it hardens almost instantly. If you have struggled with slow repairs, this is the solution. The science behind it is fascinating. It involves a simple chemical reaction. We will explore how and why it works. This guide focuses on super glue and baking soda. It will change the way you approach repairs. You will save time and money on materials. Therefore, let us dive into this useful hack. Your broken items will be fixed in no time.
The Science Behind the Reaction
To understand the trick, we must look at the chemistry. Super glue is technically called cyanoacrylate. It hardens when it meets moisture. This process is called polymerization. It turns from a liquid into a solid plastic. However, this process can sometimes be slow. It depends on the humidity in the air. Baking soda acts as a powerful accelerator. It contains sodium bicarbonate. When you mix them, a reaction occurs. The baking soda triggers the glue instantly. Consequently, the glue cures in seconds rather than minutes. The resulting bond is very hard. It is much stronger than glue alone. The baking soda also acts as a filler. It fills gaps and cracks effectively. This creates a structural repair. Therefore, the science is simple but effective. It transforms a weak adhesive into a tough resin.
Essential Materials You Need
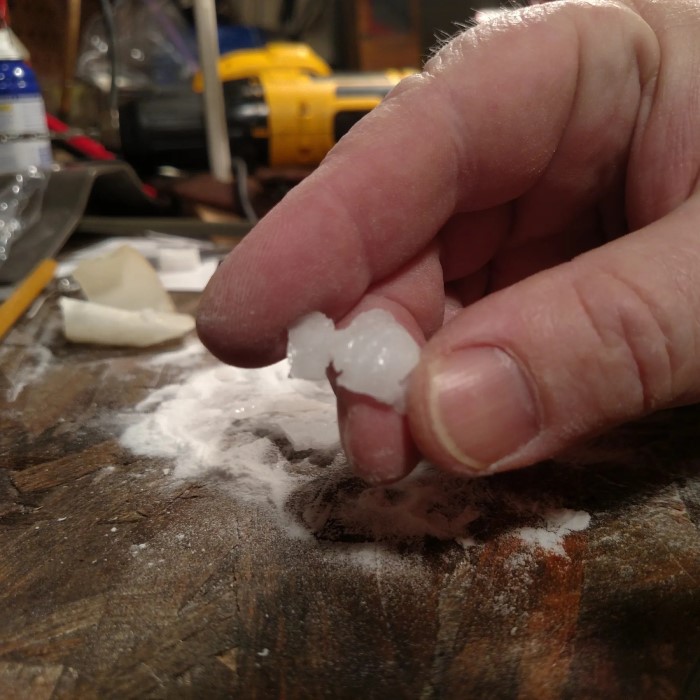
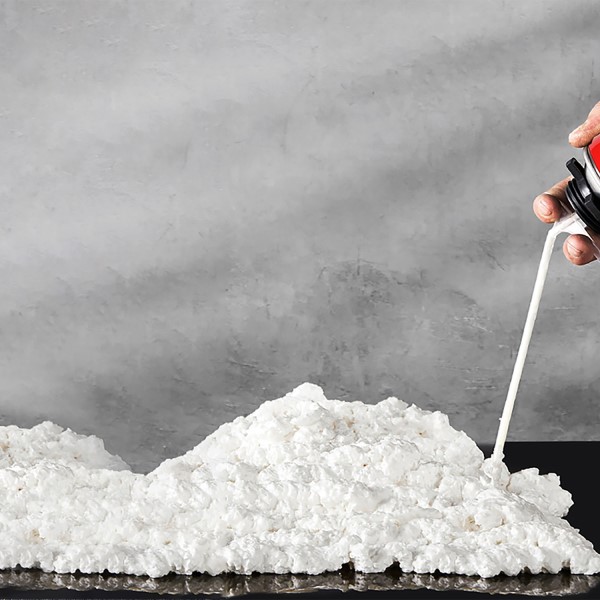
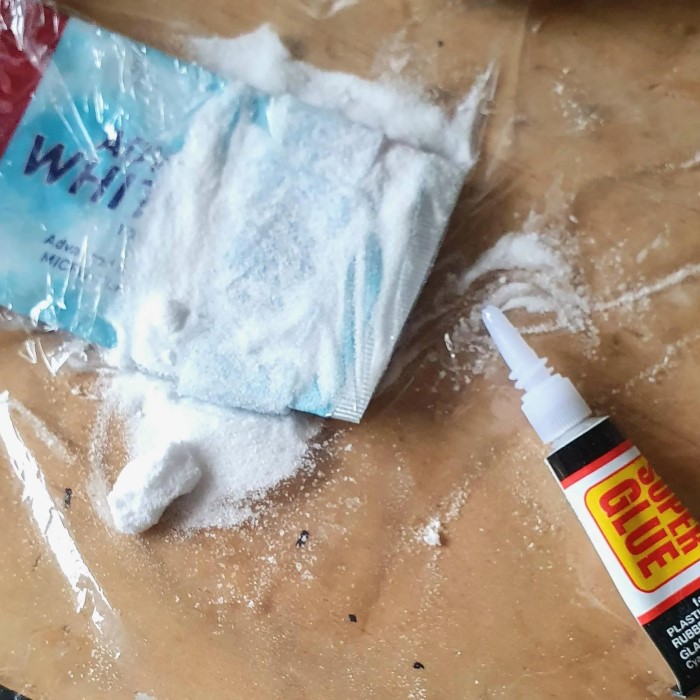
You do not need expensive tools for this. The materials are likely in your kitchen already. First, you need a quality super glue and baking soda. Any brand will generally work. However, thicker gels are often easier to control. They do not run as much as thin liquids. Second, you need standard baking soda. Any generic brand works perfectly. You do not need anything fancy. Additionally, you need a surface to work on. A piece of cardboard or wax paper is ideal.
The mixture can stick to tables. Furthermore, you need applicators. Toothpicks are great for mixing small amounts. You might also need a small spoon. This helps sprinkle the soda. Finally, have some sandpaper ready. You will need it to smooth the surface later. Safety gear is also important. Wear gloves to protect your skin. The glue bonds to skin very quickly. Eye protection is also recommended. These simple items prepare you for the job.

Step-by-Step Application Process
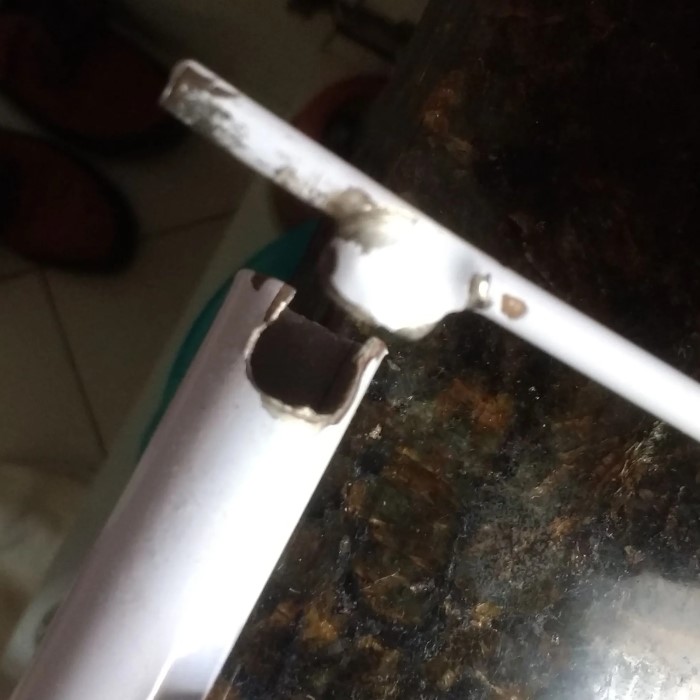
Using this mixture is straightforward. First, prepare the broken surface. Clean it thoroughly. Remove any dirt or grease. A clean surface ensures a strong bond. Next, apply the super glue and baking soda to the area. Do not be afraid to use a bit extra. Then, immediately sprinkle the baking soda over the wet glue. Cover the glue completely. You will see it harden instantly. It creates a hard shell. If the repair is deep, you can layer it. Apply glue, then soda, then more glue. This builds up the material. Consequently, you can reconstruct broken parts. Once it is hard, you can test the bond. It should be solid and rigid. You can file or sand it immediately. There is no need to wait overnight. The process is fast and efficient. It allows for quick progress on any project.
Common Mistakes to Avoid
Even simple tricks have challenges. One common mistake is using too much glue. The mixture becomes messy and sticky. It can spread to unwanted areas. Therefore, start with small amounts. You can always add more layers. Another mistake is applying the soda too late. If the glue dries before you add soda, it will not work. The reaction needs wet glue. So, work quickly and have your soda ready. Furthermore, avoid touching the mixture with bare fingers. The reaction is exothermic. This means it creates heat. It can burn your skin slightly. Always wear gloves or use tools. Also, do not use this on flexible materials. The resulting resin is very hard. If the item needs to bend, this repair will crack. Consequently, choose your projects wisely. Understanding these pitfalls ensures success. Your repairs will be clean and strong.
Ideal Projects for This Mack
This technique is perfect for many scenarios. It excels at fixing hard plastics. If a toy breaks, this mixture saves the day. It is also great for filling gaps. Sometimes, two parts do not fit perfectly. You can use the mixture as a filler. It dries hard like a plastic putty. Additionally, it works well on wood. You can repair stripped screw holes. Fill the hole with the mixture. Then, drill a new pilot hole. The new bond is stronger than the original wood. Model makers also love this trick. They use it to assemble small parts. The instant set time speeds up building. However, avoid using it on delicate electronics. The heat might damage sensitive components. It is also not suitable for flexible rubber. Use it for rigid repairs. It becomes an indispensable tool for your workshop.
Sanding and Finishing the Surface
One of the best features is workability. The hardened mixture acts like plastic. Once it cures, you can shape it. Use a file or sandpaper to smooth it. Start with a coarse grit to remove bulk. Then, switch to a finer grit. The surface becomes smooth to the touch. Consequently, you can make the repair invisible. You can even paint over it. Most paints adhere well to the sanded surface. This makes it perfect for visible repairs. For example, fixing a chip in a ceramic vase. You fill the chip, sand it smooth, and paint it. No one will know it was broken. The material drills easily too. You can tap threads into it if needed. This versatility sets it apart from standard glue. Standard glue remains sticky or rubbery. This mixture becomes a structural part of the item.
Safety Precautions to Remember
Safety is vital when working with chemicals. As mentioned, the mixture generates heat. This is an exothermic reaction. Never mix large amounts at once. A large amount can become very hot. It might even melt the container or burn you. Therefore, work in small batches. Ventilation is also important. Super glue and baking soda has strong fumes. They can irritate your eyes and nose. Always work in a well-ventilated area. Open a window or use a fan. Furthermore, keep these materials away from children. Super glue bonds skin instantly. If you get it on your skin, use acetone. Acetone nail polish remover works well. Do not try to peel it off forcefully. You might tear your skin. Soak the area gently. Eye protection is also crucial. If glue splashes in your eye, seek medical help immediately. Do not rub your eye. Treat these materials with respect.
FAQ: Common Questions Answered
Q1: Why does the mixture get hot?
The reaction between cyanoacrylate and baking soda is exothermic. This means it releases energy as heat. The baking soda speeds up the glue’s curing process. This rapid chemical change generates thermal energy.
Q2: Can I use this trick on flexible plastics?
No, you should avoid using this on flexible items. The mixture creates a very hard and rigid bond. If the material bends, the repair will likely crack or snap. It does not move with the material. For flexible plastics, you should use a specialized flexible adhesive. This trick is best for rigid repairs only.
Q3: Is the bond stronger than just super glue?
Yes, the bond is significantly stronger. The baking soda acts as a reinforcing filler. It fills gaps and adds bulk to the adhesive. This creates a structural matrix similar to fiberglass. Consequently, it resists shearing forces much better.
Q4: Can I paint over the dried mixture?
Yes, you can easily paint over the repair. Once the mixture hardens, it sands down to a smooth surface. It accepts most types of paint very well. You can use acrylics, enamels, or spray paint. It is best to prime the area first for the best finish. This allows you to hide the repair completely.
Q5: What if I accidentally glue my fingers together?
Do not panic if your fingers stick together. Do not pull them apart forcefully. This can tear your skin. Instead, use acetone or nail polish remover.
Conclusion: A Workshop Essential
In conclusion, this simple combination is a game-changer. Super glue and baking soda create a powerful tool. It solves many common repair problems. The mixture is fast, strong, and easy to use. It saves broken items from the trash can. You can fill gaps, secure screws, and rebuild parts. The materials are cheap and accessible. This hack belongs in every DIY enthusiast’s toolkit. We hope this guide helps you master the technique. Remember to work safely and in small batches. With a little practice, you will expertly repair anything. Your projects will become stronger and more durable. Try it on your next repair job. You will be amazed by the results.