The Importance of Knowing How to Sew a Button
Sewing a button is a fundamental life skill. Yet, many people overlook its value in modern times. We often rely on tailors for simple repairs. However, knowing how to sew a button saves both time and money. A loose button can fall off at the worst moment. Imagine a shirt popping open before a meeting. Or a coat losing a button in the cold. These small disasters are easily avoidable. Furthermore, this skill connects us to our belongings. It fosters a sense of independence. You take charge of your wardrobe. You do not need to wait for help. Therefore, learning this technique is empowering. It is also a step towards sustainability. Instead of discarding a shirt, you mend it. You extend the life of your favorite garments. Consequently, you contribute less to textile waste. This is good for the planet.
Moreover, the process is surprisingly meditative. It requires focus and patience. Your hands are busy. Your mind can relax. It is a quiet moment in a busy day. Many find the rhythm of the needle soothing. Thus, it is more than just a repair job. It is a craft. Anyone can learn it. You do not need prior experience. The steps are straightforward. With a bit of practice, you will become proficient. You will fix buttons for family and friends. They will appreciate your practical skill. This guide provides all the information you need. We cover the tools, the techniques, and the tips. By the end, you will know exactly how to sew a button. You will handle any button emergency with confidence. So, let us gather the necessary supplies. We will start this journey into the world of basic mending.
Essential Tools for Successful Button Repair
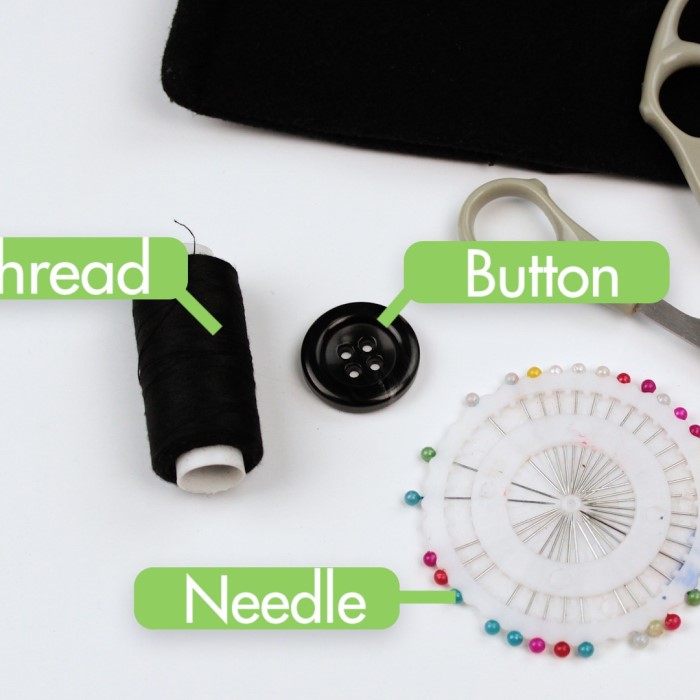
You cannot do a job well without the right tools. This rule applies to sewing, too. The most obvious tool is the needle. But not just any needle will do. You need a hand-sewing needle. There are many sizes available. A standard “sharps” needle works well for most buttons. It has a sharp point. It is of medium length. For heavy fabrics like denim, use a thicker needle. For delicate silks, use a fine needle. Additionally, choose the right thread. Polyester thread is the most durable. It has a slight stretch. This prevents breaking. Cotton thread is also an option. However, it can rot over time. Silk thread is strong and fine. It is perfect for luxury fabrics.
Furthermore, you need something to cut the thread. Embroidery scissors are ideal. They are small and sharp. They snip threads cleanly. Nail clippers can work in an emergency. But proper scissors are a worthy investment. A thimble is another vital tool. It protects your finger. You push the needle through thick fabric. This pressure can hurt. A thimble distributes the force. It makes the process painless. Do not forget the button itself. You might be re-attaching an old one.
Or perhaps you are choosing a new style. Ensure the button fits the buttonhole. Too big, and it won’t fasten. Too small, and it will slip out. Finally, a pin or a toothpick helps. We use this to create space. It ensures the button is not too tight. All these items usually fit in a small sewing kit. Having a kit ready is smart. It means you are prepared for anything. Learning how to sew a button starts with collecting these items.
Understanding Different Types of Buttons
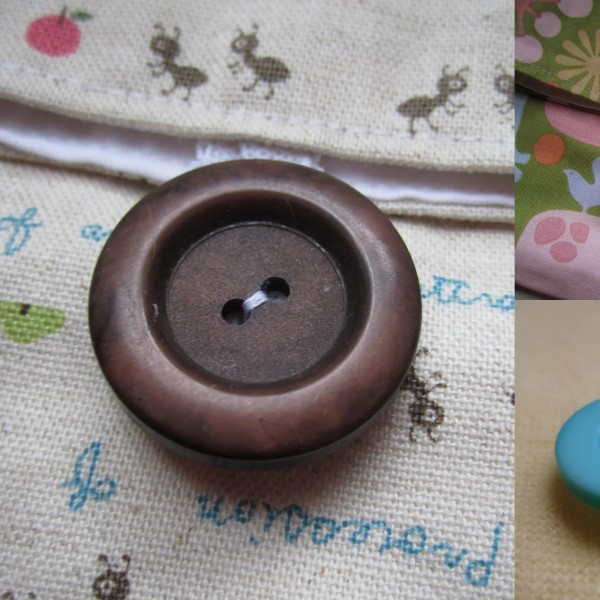
Buttons come in various shapes and styles. Each type requires a slightly different approach. The most common style is the flat button. It has two or four holes. These holes go straight through the top. You see these on shirts and blouses. They sit flush against the fabric. Then, there is the shank button. It has a loop on the back. There are no holes on the top face. The loop is called the shank. You sew through this loop. These buttons are often decorative. You find them on coats and suits. They stand away from the fabric slightly. This design accommodates thick layers.
Moreover, the number of holes matters. Two-hole buttons are simple. The thread goes back and forth. Four-hole buttons offer more security. You can create an “X” pattern. Or you can sew two parallel lines. This provides extra strength. If a thread breaks, the button might still hold. Therefore, four-hole buttons are great for heavy use. Toggle buttons are another type. Snap buttons are different. They are mechanical. They do not require needle and thread for attachment. But this article focuses on sewing. Understanding the button type is the first step. It dictates your threading path. It determines the final look. You must match the method to the button. This ensures a professional finish. As you learn how to sew a button, you will encounter these variations. Recognizing them is part of the skill.
Selecting the Correct Needle and Thread
The success of your repair depends on materials. You cannot use a thick needle on thin fabric. It will leave a large hole. It might even snag the material. Conversely, a thin needle might bend on denim. Therefore, match the needle to the fabric. Keep a pack of assorted needles. This gives you options. Look at the eye of the needle. It must be large enough for your thread. But not so large that it is hard to pull.
Thread choice is equally important. Always use high-quality thread. Cheap thread tangles easily. It also breaks under stress. Look for a thread that feels smooth. Unravel a bit to test it. If it frays immediately, put it back. Color matching is crucial for aesthetics. You want the repair to be invisible. Or, you can use a contrasting thread for a decorative touch. This is a design choice. If you cannot find an exact match, go slightly darker.
Darker thread blends into the shadows. Lighter thread stands out more. For jeans, use topstitching thread. It is thicker and stronger. It withstands the strain of movement. For buttons, it provides extra durability. Cut a piece of thread about 18 to 24 inches long. This length is manageable. Anything longer will tangle. Anything shorter requires more threading. Proper preparation of your materials simplifies the task. It makes learning how to sew a button much easier. You work with the material, not against it.
Step-by-Step Guide: How to Sew a Button with Two Holes
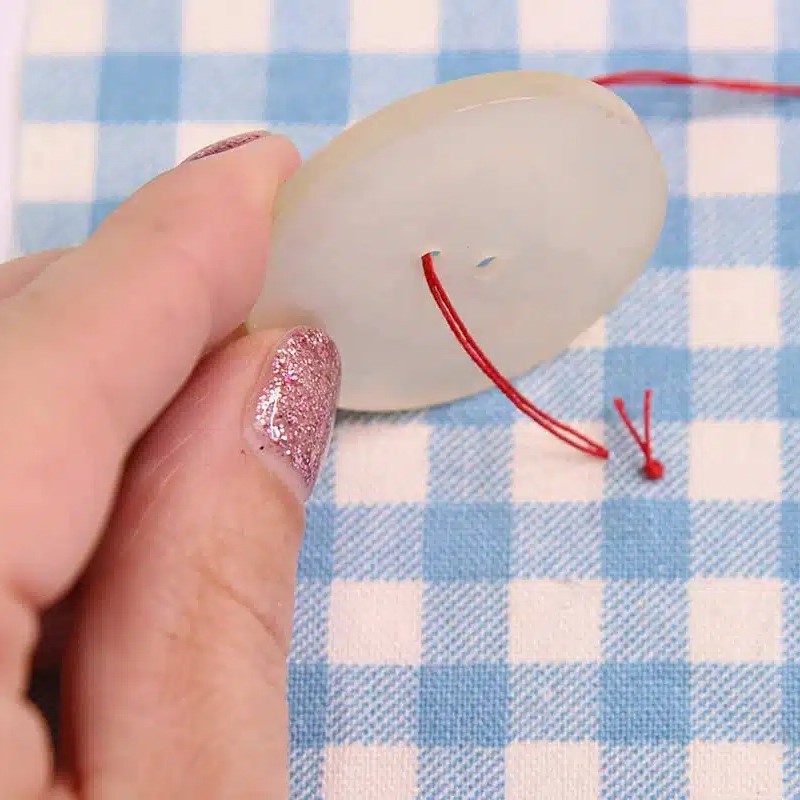
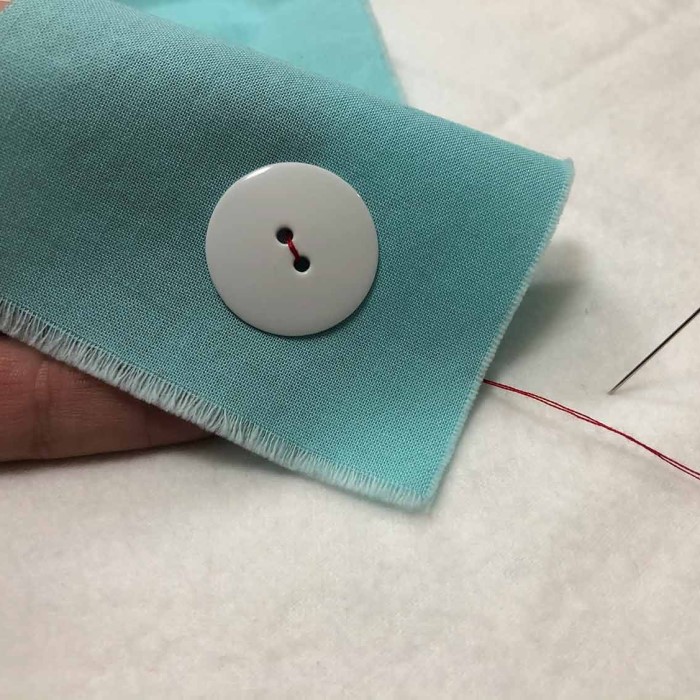
Let us start with the most basic technique. This is for a standard two-hole button. First, thread your needle. Pull the thread through the eye. Match the ends. Tie a knot at the end of the thread. A double knot is safer. It prevents the thread from pulling through the fabric. Now, locate the spot for the button. You might see old holes. Use them as a guide. Push the needle up from the back of the fabric. Pull it until the knot touches the back. Then, slide the button down the needle. The button now rests on the front.
Next, push the needle down through the second hole. Go into the fabric. Pull the thread tight. This is your first stitch. Repeat this process. Go up through the first hole. Down through the second hole. Keep your stitches neat. Do not pull too aggressively. You want the button secure. But you need a little slack. We will address the slack later. Do this about four to six times. The button should feel stable. If it wobbles, add more stitches.
Then, push the needle to the back for the final time. Do not go through a button hole. Just go into the fabric near the base. You are now ready to tie off. Wrap the thread around the stitches between the button and fabric. Do this three or four times. This creates a “thread shank.” It reinforces the attachment. Finally, pass the needle through a few threads on the back. Make a small knot. Do this twice to secure it. Cut the thread. You have successfully reattached the button. This basic method is the foundation of how to sew a button.
Mastering the Four-Hole Button Technique
Four-hole buttons are very common. They provide a sturdy attachment. The technique is similar to the two-hole method. However, there is a pattern to follow. First, thread your needle and knot the end. Bring the needle up through the fabric. Thread the button onto the needle. Look at the four holes. They form a square. You can sew two parallel lines. Or you can sew a cross. The cross pattern is very strong. It also looks distinctive.
To do the cross method, go up through hole one. Go down through the hole diagonally opposite, hole three. Pull the thread through. Then, come up through hole two. Go down through hole four. This completes the “X” shape. Repeat this sequence. Make three or four passes for each pair of holes. Ensure the stitches are even. This creates a balanced look. The button will be held firmly in place.
Alternatively, you can use the parallel method. This is when you go up hole one and down hole two. Then up hole three and down hole four. This creates two straight bars of thread. This style is often seen on shirts. It is a matter of preference. Both are strong. Just like the two-hole method, maintain a little space. Use a pin or toothpick if needed. Place it under the button as a spacer. Once the sewing is done, remove the spacer. Wrap the thread around the neck. This builds the shank. It gives the button room to breathe. It allows the thick fabric of the buttonhole to fit underneath. Mastering both patterns is key to knowing how to sew a button properly. You can choose the style that suits the garment.
Special Techniques for Shank Buttons
Shank buttons require a different approach. They do not have holes on top. They have a loop on the back. This loop is the shank. It creates space automatically. Therefore, you do not need to create a thread shank. This simplifies the process slightly. However, you must ensure the needle fits through the shank. Some shanks are small and delicate. Use a fine needle for these.
Start by threading the needle and knotting the end. Bring the needle up through the fabric. Position the button so the shank faces the fabric. Pass the needle through the shank loop. Pull the thread tight. The button should sit comfortably. Now, go back down into the fabric. Place the stitch close to the first entry point. You are essentially looping the thread through the shank. Repeat this process four to six times. Go up through the fabric. Through the shank. Back down into the fabric. Keep the stitches tight and consistent.
Because the button sits on a metal or plastic loop, it stands off the fabric. This is perfect for heavy coats. The fabric of the coat can bunch up under the buttonhole. The shank gives it room. Therefore, the button fastens smoothly. When finishing, take the needle to the back. Secure the thread with a knot. Wrap the thread around the base stitches if you like. This adds extra security. Shank buttons often hold heavy layers. So, strength is paramount. Use a double thread for extra durability. Knowing this variation expands your knowledge of how to sew a button. You can handle any button type you encounter.
Finishing Touches and Troubleshooting Common Mistakes
The final steps are just as important as the stitching. You must secure the thread properly. A loose knot will unravel. Your hard work will be lost. After your final stitch, guide the needle to the back. Do not cut the thread yet. Run the needle through the existing stitches. Go underneath the button threads on the back. Pull the thread partly through. This creates a loop. Pass the needle through this loop. Pull tight to form a knot. Repeat this once or twice. This creates a durable anchor. Then, cut the thread. Leave a tiny tail. About a quarter inch is enough.
Sometimes, mistakes happen. Maybe the button is crooked. Or the thread tangled. If the button is crooked, you must cut the thread. Remove the button and start over. It is frustrating but necessary. A crooked button never sits right. If the thread tangles, use a shorter length next time. You can also use thread conditioner. This makes the thread smooth. It prevents knots. Another common issue is a tight button. You sewed it flat against the fabric. Now the buttonhole won’t close. The fabric puckers. To fix this, you need a thread shank. Use a spacer next time. Or, wrap the thread around the stitches. This lifts the button slightly.
Also, check for sharp edges on the button. Sometimes, cheap buttons cut the thread. If this happens, use a stronger thread. Or file the button holes slightly. Attention to detail separates a novice from an expert. By anticipating these problems, you ensure success. You have now learned the comprehensive process of how to sew a button. You can troubleshoot and perfect your technique.
Frequently Asked Questions About Sewing Buttons
1. What is the strongest thread for sewing buttons?
Polyester thread is generally the strongest and most durable option for most fabrics. It has a slight give, which prevents snapping under tension. For heavy-duty items like coats or jeans, consider using buttonhole twist or topstitching thread, as these are thicker and more resistant to abrasion. Always avoid old or brittle thread, as it breaks easily.
2. How do I prevent my thread from tangling?
Tangling often happens when the thread is too long. Cut a manageable length, around 18 inches. You can also run the thread through beeswax or a thread conditioner. This stiffens the thread slightly and reduces friction. Additionally, let the needle and thread dangle freely occasionally to untwist any kinks.
3. Why does my button keep falling off?
Buttons usually fall off because the thread was not secured properly or the thread shank was missing. A tight button without a shank puts stress on the thread, causing it to saw through. Ensure you wrap the thread around the stitches to create a shank. Also, double-knot your thread at the beginning and end.
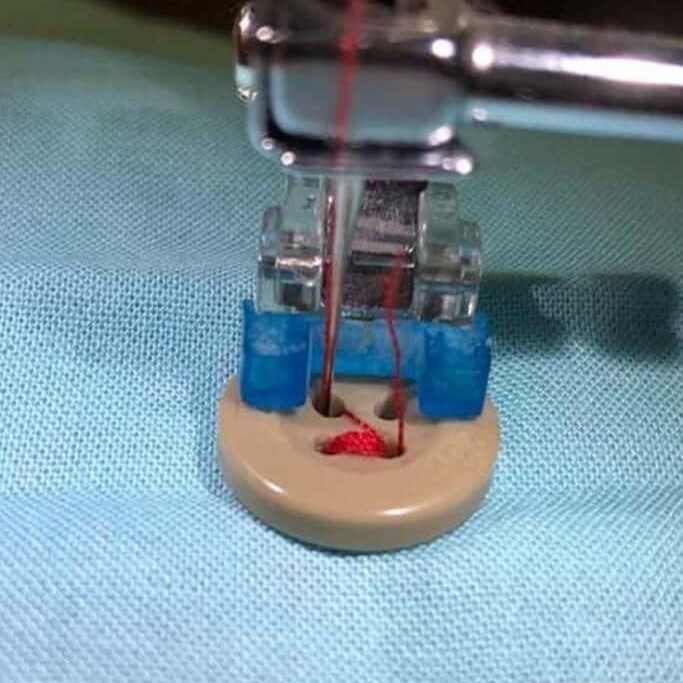
4. Can I use a sewing machine to sew on a button?
Yes, many sewing machines have a button-sewing foot and a specific stitch setting. This method is very fast. You must drop the feed dogs so the fabric doesn’t move. However, hand-sewing is often stronger and gives you more control over the tension and the formation of the thread shank, especially for complex fabrics.
Conclusion
Mastering the art of mending is a rewarding journey. It starts with a single skill. That skill is often how to sew a button. This simple act restores function to your clothes. It saves you time and money. It empowers you to care for your belongings. From flat buttons to shank buttons, each has a method. We walked through the step-by-step processes. You learned to create secure stitches. You learned to build a thread shank. These techniques ensure your buttons stay put. They also look professional.
Do not be discouraged if your first attempt is imperfect. Sewing takes practice. Try it on a scrap piece of fabric first. Get a feel for the needle and thread. Soon, it will become second nature. You will fix a loose button in minutes. You will no longer fear the dreaded pop. Instead, you will have the confidence to fix it. Keep a small sewing kit in your drawer. Or carry a tiny one when you travel. Being prepared feels good. It shows you are self-reliant. So, pick up that needle. Thread it with confidence. Practice what you have learned here. You now possess the knowledge of how to sew a button. Go forth and mend with pride. Your wardrobe will thank you for it.