Introduction: The Joy of Crafting Birthday Crowns
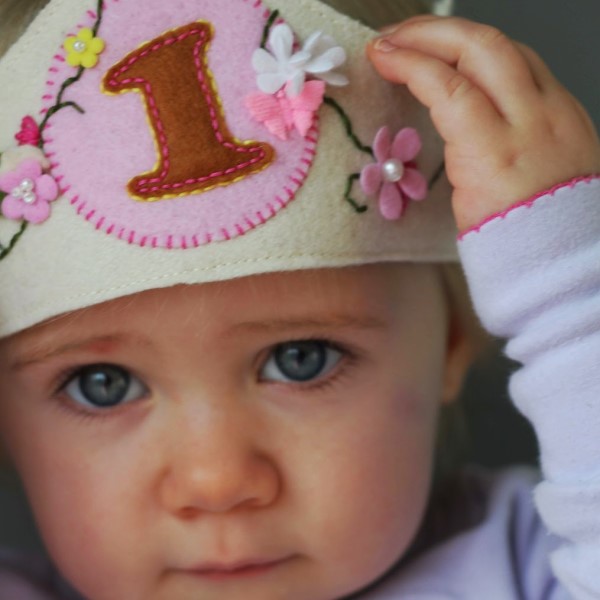
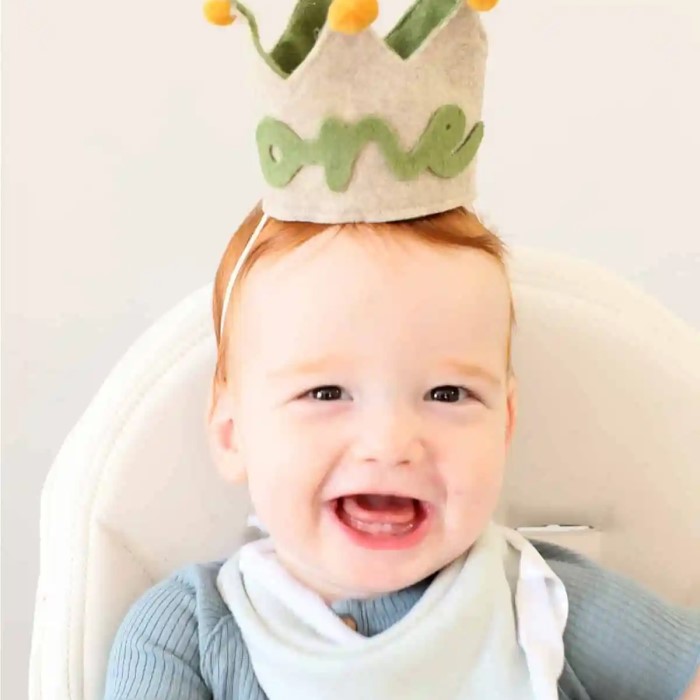
Creating a birthday crown DIY is a delightful way to add a personal touch to any birthday celebration. Whether for a child turning five or an adult celebrating a milestone, a handmade crown adds a sense of festivity and joy. These crowns can be simple or elaborate, reflecting the personality and interests of the birthday person. Furthermore, crafting birthday crowns can be a fun group activity encouraging creativity and collaboration among friends and family. In this article, we will explore various ideas, materials, and techniques for creating fabulous birthday crowns for all ages.
Why Choose a DIY Birthday Crown?
Making a birthday crown offers numerous benefits that go beyond mere decoration. Here are a few compelling reasons to consider this charming craft:
- Personalization:
A DIY crown allows you to customize colors, themes, and embellishments, making it a true reflection of the individual’s personality. You can incorporate favorite colors, motifs, or even characters that resonate with the birthday person. - Cost-Effectiveness:
Homemade crowns are budget-friendly. Instead of purchasing pre-made items, you can use materials you already have at home or purchase affordable supplies. This makes it an excellent choice for families on a budget. - Quality Family Time:
Crafting together can strengthen relationships and create shared memories. Engaging in the process of making crowns can be a delightful bonding experience for family members or friends. - Creative Expression:
Making a DIY birthday crown offers an opportunity to express creativity. Whether through choosing fabrics, colors, or decorative elements, individuals can unleash their artistic side while producing a fun and playful accessory. - Versatility:
Birthday crowns are not confined to children’s parties. Adults can enjoy them too! Adult-themed crowns can suit various celebrations, such as milestone birthdays, bridal showers, or any festive gathering.
Materials Needed for Your Birthday Crown DIY
Before you dive into the crafting process, gather the following essential materials for birthday crown diy:
- Base Material:
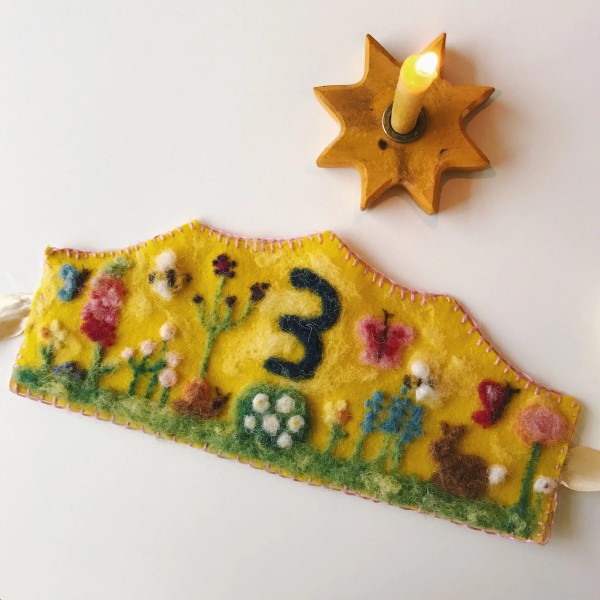
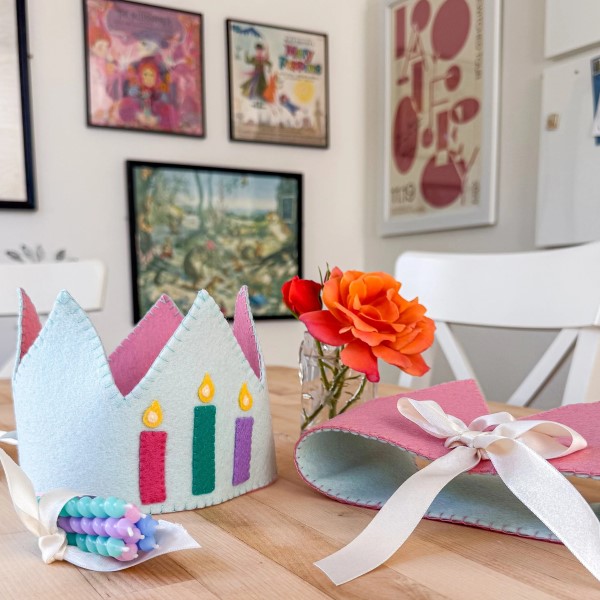
The base of your crown can be made from sturdy paper, felt, or even lightweight cardboard. Paper crowns are easy to create and can be designed for a one-time use. Felt crowns offer durability and can be reused for future celebrations. - Ribbons and Decorative Elements:
Choose a variety of ribbons, jewels, or embellishments to enhance the crown’s appearance. Ribbons can add softness and flair, while beads or sequins contribute an element of bling. - Tools Needed:
Gather materials that will make the crafting process easier. Scissors are essential for cutting, while glue sticks or a hot glue gun are necessary for attaching decorations securely. - Optional Additions:
You might also consider adding additional features such as felt shapes, flowers, or glitter for extra flair. These optional embellishments can further personalize the crown and enhance its visual appeal.
Step-by-Step Instructions for Creating a Birthday Crown
Now that you have your materials assembled, let’s go through a step-by-step guide to crafting a delightful birthday crown.
Plan Your Design
- Before cutting, sketch your design on paper. Decide on the height and shape of your crown. Common designs include simple pointy tops or rounded edges. Determine how you want your decorations to be incorporated, such as where to place embellishments or ribbons.
Cut the Base Material
- Using scissors, cut the base material into your desired shape. For a standard crown, ensure it has a length that will fit comfortably around the wearer’s head. Remember to leave enough width at the base, so the crown holds its shape once worn.
Decorate Your Crown
- Begin attaching your decorative elements. Whether you are gluing on flowers, beads, or ribbons, be sure to have fun with the design process. Experiment with textures and patterns to create an eye-catching crown that stands out.
Secure the Decorative Touches
- Use a hot glue gun or glue stick to secure all embellishments in place, ensuring they are firmly attached to prevent any detachment during wearing. For ribbons, you can tie them in bows or let them cascade down for a whimsical effect.
Allow to Dry and Fit
- Allow the crown to dry completely before trying it on. Once dry, gently adjust the crown to fit the wearer’s head and ensure comfort. If necessary, you can adjust the size by trimming excess material or adding additional ties.
Tips for Creative Birthday Crown Designs
To take your crown making to the next level, consider these additional tips:
Size and Fit
- Measuring Accurately:
To ensure your birthday crown fits comfortably, it’s crucial to measure the circumference of the wearer’s head accurately. Use a flexible measuring tape for precision. Wrap it around the widest part of the forehead and just above the ears, noting the measurement for a snug but comfortable fit. - Adjustability for Growing Kids:
When creating crowns for children, consider incorporating adjustable features. This can be achieved by adding ties to the back of the crown that can be tightened or loosened. Alternatively, using elastic bands can allow the crown to expand as the child grows, ensuring longer usability for future occasions. - Crown Height and Style:
Aside from circumference, consider the height and style of the crown. A taller crown can create a more dramatic effect, while a shorter crown might be suitable for younger children who require comfort and ease of wear. Always ensure the crown’s height does not obstruct vision or feel cumbersome.
Theme Integration
- Incorporating Party Elements:
Integrating elements related to the party theme into the crown design is a significant way to enhance the overall decor. For instance, if the party theme revolves around a princess or fairy tale, using sparkling materials and pastel colors can help convey that enchanting essence. - Color Coordination:
Select colors that align with the party’s palette. For example, elegant crowns for a sophisticated gathering can include shades of gold or silver. This choice can elevate the overall aesthetic, making the crown a standout accessory for the event. - Using Shapes and Symbols:
Consider incorporating specific shapes or symbols that reflect the party theme. For animal-themed parties, you can use animal motifs, paw prints, or ears integrated into the crown to create a fun and playful accessory.
Eco-Friendly Options
- Choosing Recycled Materials:
When making birthday crowns, consider using recycled materials like old fabrics, wrapping paper, or previous party supplies. Not only does this reduce waste, but it also allows you to minimize costs while doing your part for the environment. - Creativity with Reused Items:
Think creatively about how to repurpose materials. For example, old clothing can be transformed into vibrant fabric strips, and decorative boxes can be cut and shaped into crown bases. This practice not only adds a unique flair but also tells a story through the materials used. - Promoting Sustainability:
Using eco-friendly materials promotes sustainability and encourages mindfulness about our consumption habits. Crafting crowns from reused or recycled items can inspire others to think about their materials and choices, fostering a more environmentally conscious mindset.
Layering Textures
- Mixing Materials for Visual Appeal:
Experimenting with various textures is an excellent way to enhance the visual appeal of your crown. For instance, combining stiff felt with soft ribbons can create a dynamic look that draws attention. The contrast in textures adds depth and interest to the design. - Creating a Multi-Dimensional Effect:
Layering different materials can generate eye-catching effects. You can use fabric ruffles, decorative lace, or even paper flowers alongside sturdier materials to create a more elaborate and eye-catching crown. The combination will provide a rich and sophisticated appearance that enhances the overall aesthetic. -
Balance and Harmony:
While mixing textures, maintain balance and coherence in your design. Ensure that the overall look doesn’t become cluttered. Aim for harmony among materials, and consider the color scheme as you layer; this will help create a cohesive and polished final product.
Frequently Asked Questions (FAQs)
How to make a homemade snuffle mat?
To make a homemade snuffle mat, select a strong base, cut strips of fabric, and tie them onto the base to create hiding spots for treats.
Can you make ribbon at home?
Yes, you can make ribbon at home by cutting strips from fabric, using iron-on methods to finish the edges, or sewing fabric together.
What can I substitute for ribbon?
Alternatives to ribbon include twine, fabric scraps and paper strips, which can all provide unique textures and styles for your projects.
How to make ribbon without ribbon?
You can create ribbon-like effects using strips of fabric, yarn, or even folded paper that can be cut and shaped as needed.

Conclusion: Craft Your Own Stunning Birthday Crowns
Creating a birthday crown DIY is an enjoyable and engaging activity that allows for creativity and personalization. Whether it’s for a child’s birthday party or an adult celebration, a handcrafted crown adds charm and flair to the occasion.
With the right materials and instructions, making a birthday crown can be an easy task that provides satisfaction and joy. Embrace the opportunity to express your creativity, and don’t be afraid to experiment with different designs and decorations. As you craft your crown, remember it’s not just the final product that matters, but also the fun and memories made while creating it. Start your crafting journey today, and help make those special moments truly unforgettable!