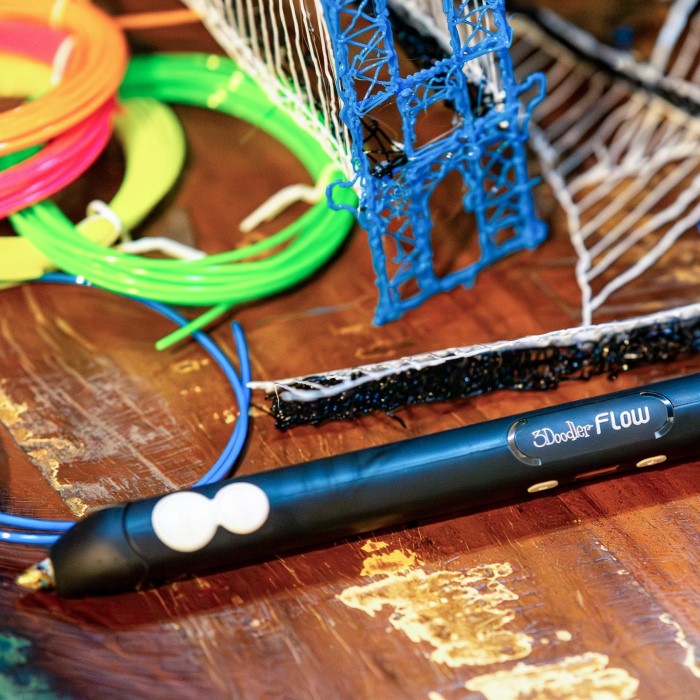
What is a 3D Pen?
A 3D pen is a small handheld device that extrudes molten plastic. It functions like a glue gun but is designed for creative purposes. Instead of ink, it uses filaments (often PLA or ABS). These filaments melt as the pen heats them and cool quickly when dispensed. This cooling makes the plastic harden, allowing users to draw or build in three dimensions. How to use a 3d pen? Using a 3D pen is similar to drawing. You guide the pen to create lines, shapes, or structures. It works on various surfaces, like paper, plastic sheets, or directly in the air. The ability to build vertically is what makes this tool unique. It’s versatile and ideal for artists, hobbyists, and designers.
A 3D pen can be used for tasks like fixing broken plastic items or creating decorations. Beginners can use it easily with some practice. Many pens have adjustable temperature and speed settings for better control. These features make them adaptable for different projects and materials.
Overall, the 3D pen transforms simple creativity into advanced art and craft. It’s a fun and innovative tool for kids and adults alike.
Key Features of a 3D Pen
Adjustable Temperature Settings
Many 3D pens allow users to adjust the temperature. This helps regulate how the filament melts. Different materials need specific temperatures for optimal use. ABS requires higher temperatures, while PLA needs lower settings.
Speed Control
Speed controls enhance precision when using a 3D pen. Beginners may prefer slower speeds for better accuracy. Experienced users often work faster to complete projects quickly. Adjustable speed is useful for both delicate and larger designs.
Nozzle Size
The nozzle size affects the level of detail achievable with a 3D pen. Smaller nozzles create fine lines, while larger ones are better for bigger structures. Choose a pen with interchangeable nozzles for maximum flexibility.
Filament Compatibility
Most 3D pens work with PLA and ABS filaments. Some support additional materials, such as flexible filaments or wood-based filaments. Select a pen compatible with your preferred material.
Ergonomic Design
An ergonomic design makes the 3D pen easier to hold and control. Lightweight pens reduce hand fatigue during long projects. Comfortable grips allow for steadier movements and better precision.
Power Supply Options
3D pens use either a plug-in power source or are rechargeable. Rechargeable pens offer more portability, while plug-in models ensure continuous use without interruptions. Pick one that fits your needs.
Safety Features
Advanced 3D pens include safety features like automatic shut-off and heat protection. These features prevent overheating and ensure safe operation for kids and adults alike.
Understanding these features helps you choose and use your 3D pen effectively. Each feature improves usability and enhances your creative experience.
Materials Needed to Use a 3D Pen
Before starting to use a 3D pen, gather these essential materials:
1. 3D Pen
This is the main tool you need. Ensure it has features like adjustable temperature and speed. Pick a pen that is compatible with the materials you plan to use.
2. Filaments
Filaments are the raw materials for creating 3D shapes. The most common filaments are PLA and ABS. PLA is beginner-friendly and eco-friendly. ABS is more durable but needs higher temperatures. Some pens also support wood or flexible filaments.
3. Power Supply or Batteries
Check if your 3D pen requires a cable or batteries. Rechargeable pens offer more portability. Plugged-in pens provide uninterrupted use.
4. Protective Surface
Use a heat-resistant mat to protect your working area. This prevents damage from the hot pen or melted plastic.
5. Stencils or Templates
Begin with stencils to practice basic shapes. You can find templates online or create your own. They guide your drawing and help improve precision.
6. Cleaning Tools
Clean the nozzle to avoid filament jams. Use a small pin or cleaning tool for this purpose. Regular maintenance ensures a smoother experience.
7. Safety Equipment
Wear finger protectors or gloves to avoid burns. Ensure proper ventilation in the workspace to avoid inhaling fumes.
8. Accessories (Optional)
Additional nozzles let you create various designs. Some pens come with stands to keep them upright.
Having the right materials helps you use your 3D pen effectively. Proper preparation enhances your creative projects and ensures safety.
Getting Started with Your 3D Pen
Starting with a 3D pen is an exciting journey into creativity. Follow these steps to ensure a smooth experience:
1. Familiarize Yourself with the Pen
Read the user manual carefully. Learn the parts of your 3D pen, including the nozzle, buttons, and power source. Understand temperature and speed settings.
2. Choose the Right Filament
Decide on the filament type based on your project. PLA is great for beginners, while ABS suits advanced tasks.
3. Prepare Your Workspace
Set up a clean, flat, and heat-resistant area. Use a working mat to protect your surface.
4. Load the Filament
Insert the filament into the pen carefully. Follow the instructions for proper loading.
5. Adjust Temperature and Speed
Set the temperature based on the filament material. Beginners can start with slower speeds.
6. Test on Scrap Material
Practice drawing simple lines on a spare piece of paper or mat. Get used to the pen flow.
7. Start with Simple Shapes
Use stencils or templates to practice basic shapes like circles or rectangles.
Getting started with a 3D pen can be easy with preparation. Take your time to practice and build confidence.
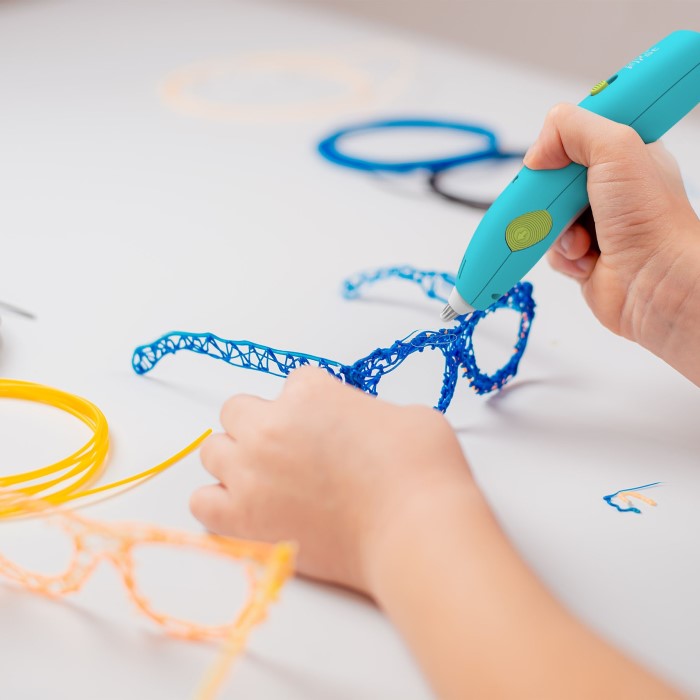
Techniques for Drawing with a 3D Pen
Learning proper techniques for using a 3D pen ensures better and smoother creations. These tips will help you improve your skills and designs:
1. Maintain a Steady Hand
Keep your hand steady while using the pen. Move smoothly to avoid uneven lines. A stable hand ensures clean and accurate shapes.
2. Start with Simple Designs
Practice with simple shapes like squares or circles. This builds confidence and control. Gradually move on to complex designs as you improve.
3. Control the Speed
Adjust the pen’s speed according to your project. Use slower speeds for fine details. Faster speeds are better for larger areas.
4. Use Templates or Stencils
Trace pre-made templates or stencils for a neat design. This is especially helpful for beginners.
5. Layering for Depth
Start building designs layer by layer. Begin with the base, then add details. This creates sturdy and well-formed structures.
6. Experiment with Angles
Practice drawing at different angles, even vertically. This unlocks unique design possibilities. Test holding the pen at slight inclines for smoother lines.
7. Manage Filament Flow
Ensure the filament flows consistently and evenly. Practice pause-and-start techniques when necessary. This helps you avoid lumps and breaks.
8. Combine Colors
Use multiple filament colors creatively. Switch colors gently without disturbing your work. Blending colors can enhance your project’s appeal.
9. Keep the Nozzle Clean
Regularly clean the nozzle to prevent blockages. This avoids interruptions and ensures smooth drawing.
10. Practice Precision
Focus on adding precise details to refine your designs. Exercise patience for intricate patterns.
Mastering these techniques enhances your skill with a 3D pen. Consistent practice leads to professional-level designs.
Troubleshooting Common Issues with a 3D Pen
How to use a 3d pen? Using a 3D pen can sometimes lead to challenges during creative projects. Understanding common problems and solutions ensures smooth usage.
Filament Not Feeding Properly
- Check if the filament is correctly loaded into the pen.
- Ensure the nozzle is clean and not clogged.
- Verify the temperature settings match the filament type.
- Use a fresh filament if the current one is damaged.
Overheating or No Heat
- Ensure the power source is connected correctly.
- Check the pen’s temperature settings for accuracy.
- Turn off the pen and let it cool if overheated.
- Seek professional support if the heating element is faulty.
Inconsistent Filament Flow
- Use high-quality filaments to ensure consistent flow.
- Inspect the nozzle for blockages and clean it regularly.
- Adjust speed settings to regulate filament extrusion.
- Avoid overloading filament to prevent jams.
Uneven Lines or Designs
- Practice steady hand movements for smooth lines.
- Adjust the speed settings for better control.
- Use templates or stencils as guides for accuracy.
- Test the pen on scrap material to refine your technique.
Filament Breaking or Jamming
- Ensure the filament matches the pen’s compatibility.
- Avoid forcing filament into the nozzle.
- Regularly clean and maintain the pen.
- Check for filament size consistency before use.
Nozzle Clogging
- Heat the pen to soften stuck filament.
- Clean the nozzle using cleaning tools or pins.
- Use the correct temperature for the filament.
- Store the pen in a safe, clean place after use.
Pen Not Moving Smoothly
- Inspect for dirt or residue on the pen’s surface.
- Adjust grip positions for more control.
- Use an ergonomic area to reduce fatigue.
- Regularly maintain all parts of the pen.
Troubleshooting improves your experience and avoids disruptions. Regular maintenance ensures longevity and smoother creations.
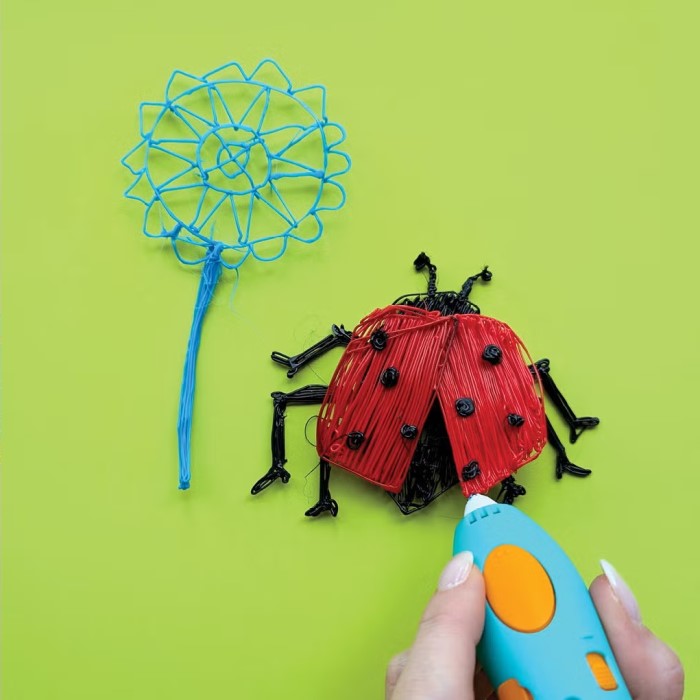
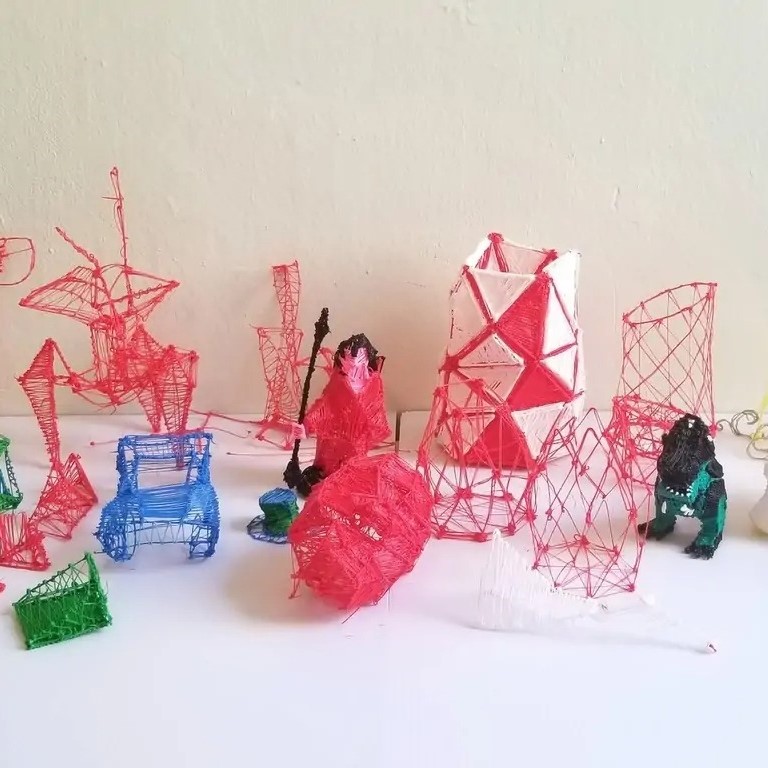
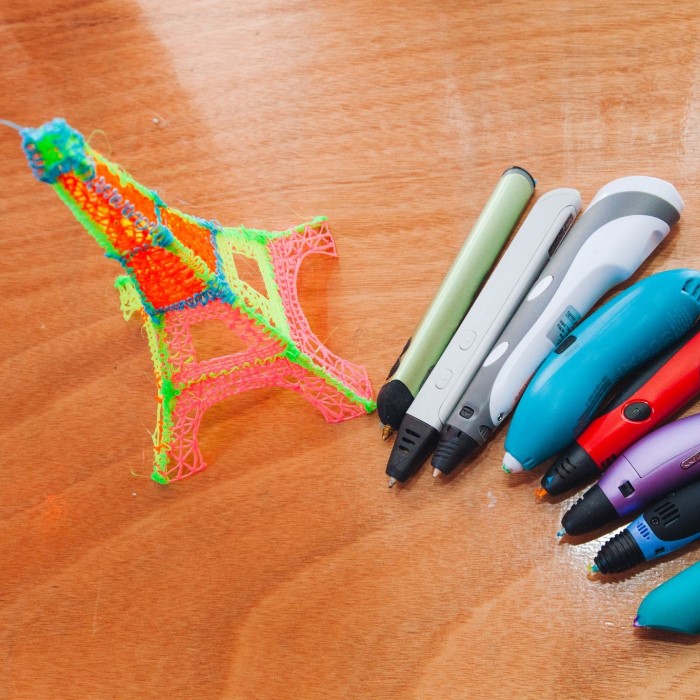
Creative Ideas and Projects with a 3D Pen
A 3D pen opens endless creative possibilities for fun and functional projects. Here are some ideas to inspire you:
1. DIY Home Decorations
Use your 3D pen to make custom decorations. Create photo frames, wall hangings, or vases. Add intricate patterns or designs for unique effects. You can also craft personalized ornaments for holidays.
2. Jewelry and Accessories
Design unique necklaces, bracelets, and earrings. Use vibrant filament colors to create standout pieces. Add small details or intricate patterns for an elegant touch.
3. Repair and Reuse
Fix broken plastic items around your home. Mend cracked containers, toys, or household tools using your 3D pen. This helps save money and reduce waste.
4. Educational Models
Craft models for educational purposes. Build 3D maps, solar systems, or biology structures. Teachers and students can use these for hands-on learning.
5. Miniature Models
Create miniature buildings, furniture, or figurines. These are perfect for dioramas, board games, or collectors.
6. Personalized Gifts
Make custom gifts for friends and family. Craft name tags, keychains, or small sculptures. The personal touch adds extra sentimental value to your creations.
7. Artistic Sculptures
Let your creativity flow by designing artistic sculptures. Experiment with shapes, angles, and filament colors. Showcase these as unique art pieces.
8. Fun Toys
Craft toys for kids, from small cars to spinning tops. Use stencils to outline shapes, then build layer by layer. This is both entertaining and rewarding.
9. Kitchen Helpers
Design practical kitchen tools like coasters, spice racks, or small containers. Be sure to use food-safe filaments for such projects.
10. Costume Accessories
Design costume props like masks, wings, or decorative elements. A 3D pen helps you make lightweight and customized accessories.
11. 3D Lettering or Signs
Create 3D letters and signs for decorations or projects. Great for parties, events, or room decor.
12. Planters and Stands
Make creative planters for small plants or stands for holding items. Add intricate designs to give them a unique touch.
These project ideas can help you get the most out of your 3D pen. Start small and gradually attempt complex creations. With practice, you can bring your unique ideas to life.
Tips and Safety Guidelines for Using a 3D Pen
Using a 3D pen safely is crucial for an enjoyable creative experience. Follow these tips and guidelines:
1. Read the Manual Carefully
Understand the instructions before using the pen. Familiarize yourself with settings and functions.
2. Choose Proper Workspace
Work on a flat, heat-resistant surface. Ensure good ventilation to avoid harmful fumes.
3. Handle with Care
Avoid touching the hot nozzle. Use protective gloves or finger protectors.
4. Monitor Temperature Settings
Always set the correct temperature for the filament. Incorrect settings may cause jams or overheating.
5. Keep Filaments Properly
Store filaments in a cool, dry place. Protect them from moisture or dust.
6. Take Breaks During Long Use
Allow the pen to cool periodically. Overuse can damage the pen or cause discomfort.
7. Stay Organized
Keep tools like stencils and cleaning pins handy. This improves efficiency and avoids workspace clutter.
8. Supervise Children Using the Pen
Ensure adults accompany kids during use. Prevent any accidents from improper handling.
9. Avoid Overloading Filament
Load filament gently into the pen. Forcing it may cause jams and damage.
10. Regularly Clean the Pen
Clear the nozzle frequently. This prevents clogs and enhances the pen’s performance.
11. Use Recommended Filaments
Opt for filaments compatible with your pen. This ensures smooth extrusion and better results.
12. Turn Off When Not in Use
Switch off the pen when idle. This saves energy and prevents overheating.
13. Practice for Better Control
Start with simple designs to build confidence. Smooth hand movements reduce errors.
Following these tips ensures safe and smooth operation. Stay cautious while enjoying your 3D pen projects.
Conclusion: Your 3D Pen Journey
Now that you have an understanding of how to use a 3D pen, it’s time to put your knowledge into practice! This innovative tool opens up endless possibilities for creating stunning art and functional items. Remember, mastery comes with practice, so don’t rush the process. Explore different designs, learn from your mistakes, and enjoy every moment of your creative journey.
By following the tips, techniques, and project suggestions provided in this guide, you’re well on your way to becoming a skilled 3D pen artist. So pick up your pen, let your imagination soar, and create stunning art that reflects your unique style!