Introduction to Drawing Realistic Candles
Drawing a candle may appear straightforward at first glance, but achieving realism in art often involves understanding and manipulating various techniques. Whether you are an aspiring artist or someone looking to enhance your skills, grasping the intricacies of candle drawing can elevate your artistry. This article serves as a comprehensive guide on how to draw a candle realistically, emphasizing the importance of incorporating colors inspired by nature. By embracing these techniques, you can create striking illustrations that truly come to life on the page.
Understanding the Shapes and Structure of Candles
The Basic Candle Shape
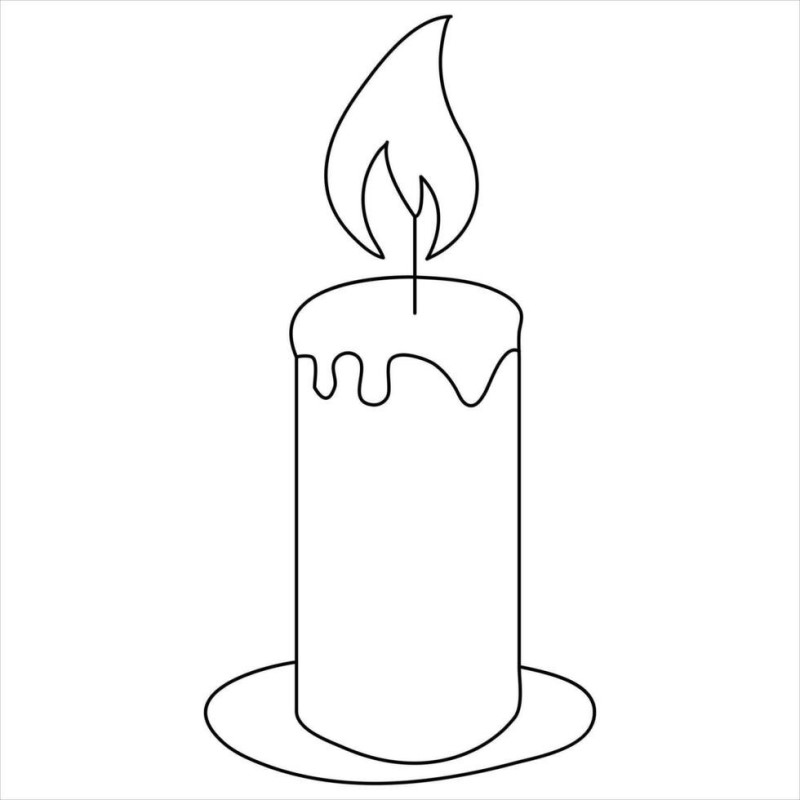
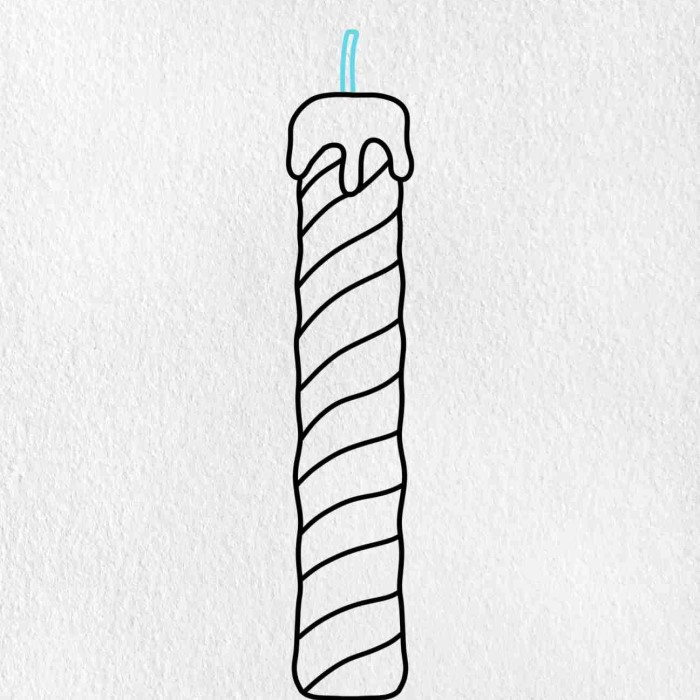
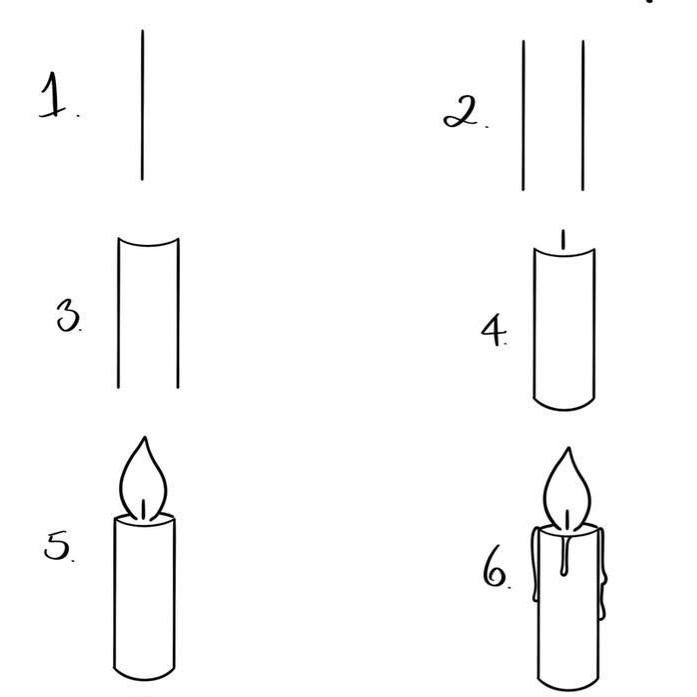
Before delving into the colors, it’s paramount to understand the physical structure of a candle. Candles are typically cylindrical and composed of wax surrounding a small wick. Start your drawing by sketching the basic shapes: begin with a straight line for the wick and a rounded shape for the wax body. This simple approach lays the foundation for your design.
Adding Dimension and Perspective
To achieve a three-dimensional effect, it’s important to consider how light interacts with the candle’s surfaces. This has a direct impact on how shadows and highlights are formed. For instance, light typically hits the sides of the candle, creating highlights, while areas not exposed to light will cast a shadow. Use shading techniques to represent these differences in light exposure, adding depth and dimension to your basic shape.
Think carefully about the positioning of your candle as well. Is it standing upright on a flat surface, or is it tilted? The perspective you choose affects not only the outline but also the overall dynamics of your drawing. Take this opportunity to incorporate various angles to make your composition more engaging and lifelike.
Choosing Colors Inspired by Nature
The Palette Selection
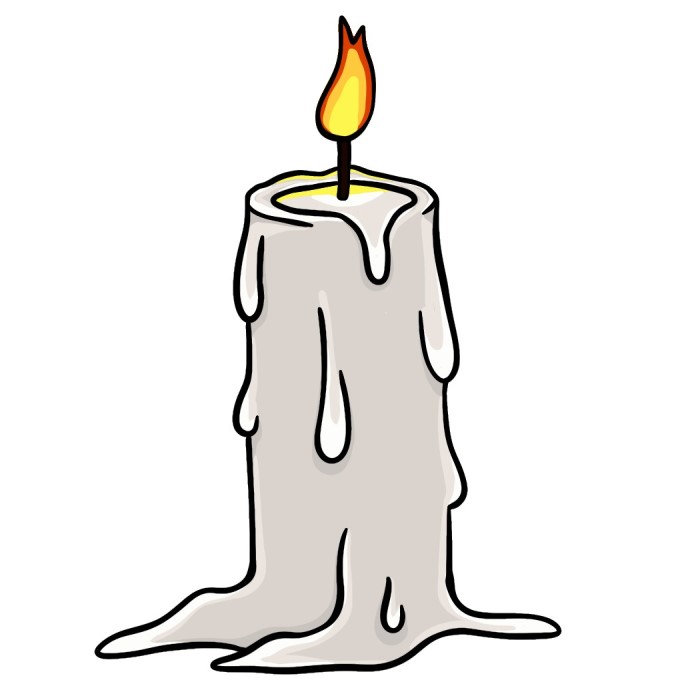
Incorporating nature’s colors is essential for creating realistic candle illustrations. When drawing a candle, observe how colors shift in natural light. A standard candle often displays hues of deep yellows, creamy whites, and subtle browns. Each aspect is influenced by light, so being attuned to your environment can significantly affect your work.
Start with a base layer of color that matches the wax type you wish to depict. For example, if drawing a beeswax candle, consider a medium yellow. From there, gradually build up depth and dimension by adding darker shades to the edges and lighter tones where the light strikes. For instance, sunlight may cast a warm glow on a white candle, creating a gentle gradient that captures its essence.
Experimenting with Color Combinations
Don’t hesitate to experiment with color combinations. Nature is diverse, so exploring various shades can enhance your understanding of color theory as an artist. Some artists find inspiration in flowers, trees, and food—these elements can add vibrancy to your palette. Utilizing colored pencils or paints, layer colors slowly and diligently to achieve a nuanced effect.
Incorporate lighter tones like soft creams or whites to simulate the reflection of light on the wax surface. This method adds realism and invites the viewer’s eye to move across the drawing gracefully.
Adding Details: The Wick and the Flame
Focus on the Wick
How to draw a candle? The wick plays a crucial role in the overall appearance of your candle. It usually has a slightly darker shade compared to the surrounding wax, creating a distinct visual element. Use a fine-tip pencil or a sharp brush to achieve detailed lines, ensuring it tapers upward toward the flame.
Capturing the Flame
When it comes to the flame, consider its shape, movement, and color. Flames are dynamic—they flicker and change as they burn. To recreate this, employ soft, upward strokes that mimic flickering motion. Use warmer hues such as yellows, oranges, and reds to capture the heat and intensity of the flame.
A white pencil or paint can be effectively used to highlight the brightest areas, simulating the heat emanating from the fire. This technique adds brightness and contrast, making your flame appear almost alive.
Bringing Things Together
Combining these elements—the wick, the flame, and the wax—requires attention to detail. Consider the glow emanating from the flame, which may cast light on the candle itself or nearby objects. This interplay of light and texture enhances the overall depth of your drawing.
Creating Melting Wax Effects
Representing Wax in Motion
One of the most visually interesting aspects of a candle is wax when it begins to melt. To portray this effect effectively, observe how melted wax drips down the sides of the candle and pools at the base. Use curved lines to illustrate the dripping motion.
Start with a lighter base color for the hardened wax and blend darker shades toward the areas where the wax has melted. This technique simulates the melting transition and offers an intriguing dynamic to your drawing. Depending on the quality of the wax you are depicting, you may want to add a glossy effect using lighter colors to reflect light, conveying the fluidity of the melting process.
Enhancing Realism through Texture
When drawing melting wax, texture experiences enhance realism. Apply varied pencil strokes or brush techniques to portray the smoothness of the melted wax and contrast it with the solidified wax surrounding it. This tactile element not only enhances visual intrigue but also invites the viewer to engage with your artwork on a sensory level.
The Importance of Shadows and Highlights
Creating Depth with Shadows
How to draw a candle? One of the most crucial factors in making a drawing feel real is the contrast between light and shadow. Shadows create depth and define the space around your subject, while highlights infuse vibrancy and energy. Positioning your light source thoughtfully will help indicate where shadows should fall.
In the case of a lit candle, shadows will typically fall behind and toward the sides, depending on the candle’s orientation. Use darker shades and more intense strokes in these areas to create the illusion of depth.
Achieving Realistic Highlights
Conversely, highlighter areas need lighter tones where the light hits directly. Using a white pencil or a bright color can emphasize this effect. The contrast between these two elements is what encapsulates realism, transforming your two-dimensional drawing into a captivating visual experience.
Finalizing Your Drawing: Tips for Improvement
The Importance of Review
Once the main components are in place, take a step back to review your work. Assess areas that may need additional detail or refinement. Perhaps shadows need to be adjusted for greater intensity, or the flame’s shape could be rounded for a more natural appearance.
Adding a Background for Context
Consider adding a background to enhance the context of your candle. A setting that resonates with the theme can enrich the overall composition. Picture your candle on a rustic wooden table, surrounded by flowers, or as part of a cozy vignette in a warmly lit room. Such elements can amplify the story behind your artwork.
Continuous Improvement
Practice is critical to improvement. Seek inspiration from other artists and cultivate observational skills by drawing from life. Experiment with different candle styles, colors, and settings, pushing boundaries to find your artistic voice and style. Eventually, these efforts will amplify your proficiency and confidence.
FAQs: Addressing Common Concerns
How to draw wax melting?
To draw wax melting, begin by defining the candle’s basic shape and structure. Observe the flowing lines and drips created when the wax melts. Use soft, winding lines to convey this fluidity. Gradually build up layers of color, noticing how they gradually shift from lighter tones at the top to darker shades at the bottom. This approach accurately depicts the melting process and the transition from solid to liquid. Focusing on highlights and shadows will further add depth to the candle.
What is the 84 rule for candles?
The 84 rule is a guideline for understanding burning parameters for candles. It states that a well-made candle can burn approximately 84 hours for every ounce of wax. This rule assists both artists and manufacturers in maintaining quality in candle design and production, ensuring consumers enjoy a lasting experience.

Conclusion: Embrace Your Creativity
Drawing a candle provides a fantastic opportunity to play with various artistic elements, from structure to color combinations. With the comprehensive techniques shared in this article, you can master how to draw a candle that appears both realistic and captivating.
Remember that artistry is a journey requiring patience and practice. Regular practice helps you explore your creativity while enhancing your skills to produce captivating artwork. By skillfully incorporating nature’s colors into your candle drawings, you celebrate the beauty of the world around you.
The skills you develop will help your candle illustrations shine brightly across diverse platforms, engaging audiences and enriching your artistic journey. Your unique perspective, revealed through this captivating art form, speaks volumes about your creativity and dedication. Enjoy the process, experiment, and allow each candle to represent a small piece of the light and warmth found in nature.