Introduction
Tamiya spray paint is a favorite among model builders and hobbyists due to its high-quality finishes and ease of use. Whether you are painting model kits, miniatures, or other projects, mastering Tamiya spray paint can elevate your work to a professional level. In this guide, we will provide you with top tips for using Tamiya spray paint like a pro in 2025. With the proper techniques and practices, you can achieve stunning results that showcase your creativity and skill.
Why Choose Tamiya Spray Paint?
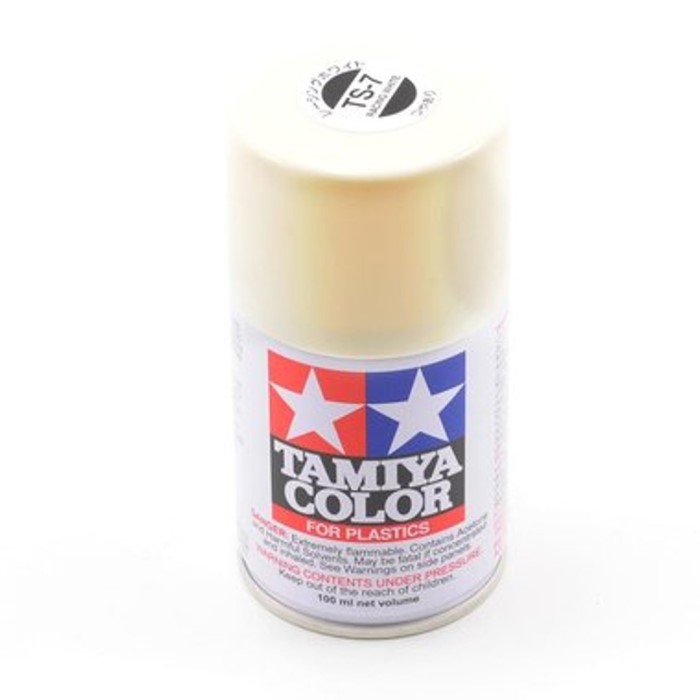
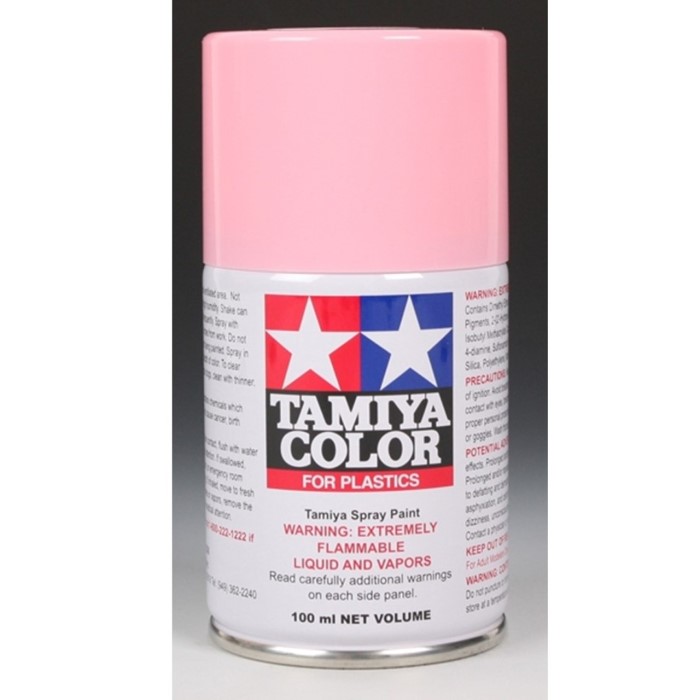
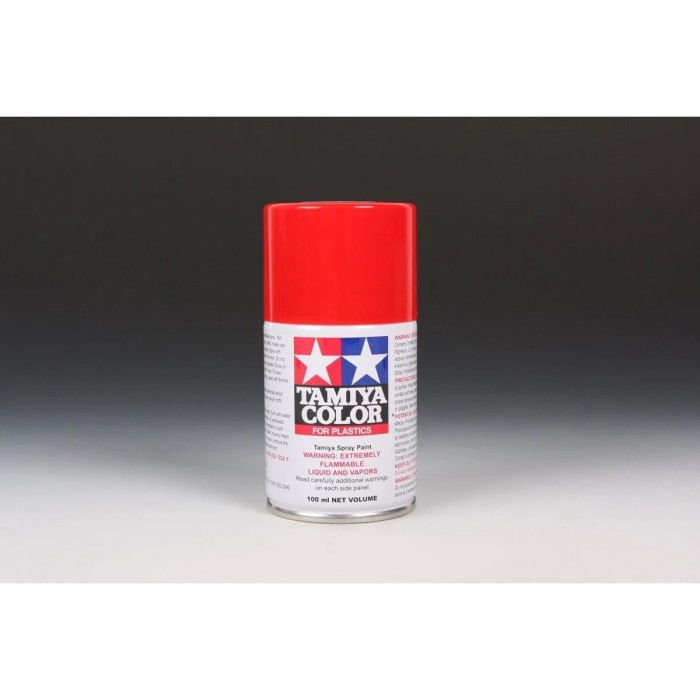
Tamiya spray paint has gained a strong reputation within the crafting community for several reasons. First, it offers excellent coverage and dries quickly, making it easy to layer and work with. It is available in a wide range of colors, giving you endless options for customization. Additionally, Tamiya paints have been formulated to adhere well to various surfaces, from plastic and metal to wood and resin, allowing for versatility in your projects.
Moreover, Tamiya spray paint provides a smooth finish that minimizes texture and brush strokes. This aspect is crucial for serious hobbyists who want their models to look as realistic as possible. Whether you’re a beginner or a seasoned pro, you can trust Tamiya spray paint to deliver quality results.
Preparing Your Workspace
Before you start using Tamiya spray paint, it’s important to prepare your workspace adequately. A well-organized and safe environment helps ensure quality results. Here are some essential preparation tips:
- Choose the Right Location: Ideally, spray painting should be done in a well-ventilated area. A garage or outdoor workspace is often best, as it minimizes overspray and fumes.
- Protect Surfaces: Lay down drop cloths or newspapers to protect your work surfaces from overspray. Tamiya spray paint can leave marks that are difficult to remove.
- Gather Essential Tools: Before you begin, gather the materials you’ll need. Key items include masking tape, gloves, and a respirator mask. These tools help you achieve clean lines and protect you during the spraying process.
- Temperature Considerations: Check the temperature and humidity levels in your workspace. Tamiya recommends a temperature between 10°C and 35°C (50°F to 95°F) for optimal spraying conditions. Avoid high humidity, which can negatively affect the finish.
Application Techniques
Using Tamiya spray paint effectively involves understanding the application techniques. Here are some tips to help you spray like a pro:
Shake the Can
- Importance of Mixing: Before you begin your spraying project, it’s crucial to ensure that the paint inside the can is properly mixed. This step prevents any separation of pigments and propellants, which can lead to inconsistent color application.
- Duration of Shaking: Vigorously shake the spray can for about two minutes. This time frame is generally sufficient to achieve a thorough mixing. Pay attention to the sound; when you hear the mixing ball inside moving freely, it’s a good indication that the paint is well mixed.
- Steps to Shake Properly: Hold the can upright and shake it side to side. This motion helps incorporate the contents evenly. Avoid tilting the can too much, as this could introduce air bubbles that may affect the spray mechanism.
- Checking for Settling: If the paint appears to have settled even after shaking, give it a few more shakes before testing. Properly mixed paint leads to a smooth, uniform application.
Test Spray
- Purpose of a Test Spray: Testing your spray on scrap material serves as a critical preliminary step. It allows you to get familiar with the can’s spray pattern and flow.
- Material Choice: Use a piece of cardboard or any scrap material that resembles the surface you intend to paint. This helps you assess how the paint adheres and looks on the target surface.
- Observing Results: After doing a test spray, observe the coverage and consistency of the paint. This practice is an opportunity to adjust your technique before applying paint to your actual project.
- Fine-Tuning Distance and Angle: The test spray will help you determine the optimal distance and angle for the can while spraying. Adjusting your technique based on this practice can lead to more successful results.
Maintain Distance
- Recommended Distance: It’s important to hold the spray can about 20-30 cm (or 8-12 inches) away from the surface being painted. This distance plays a significant role in achieving an even application.
- Benefits of Maintaining Distance: Keeping the appropriate distance helps prevent issues such as drips, runs, or uneven coverage. It enables a fine mist of paint to coat the surface uniformly, resulting in a smoother finish.
- Understanding Spray Pattern: Different cans may have different spray patterns, so maintaining the proper distance allows you to control how much paint is released onto the surface. It creates a balanced coverage that enhances the overall appearance of your work.
- Adjusting for Conditions: Depending on environmental conditions like wind or humidity, you may need to adjust your distance slightly. If you notice the paint being blown away, you might need to come closer—but always prioritize control and neatness.
Light Coats
- Applying Thin Layers: When using spray paint, it’s best to apply thin, light coats rather than one thick layer. Thick layers can lead to runs and uneven textures.
- Drying Time: Allow each coat of paint to dry for about 15-30 minutes before applying the next layer. This drying time ensures that the paint adheres properly and prevents the top coat from mixing with the wet layers beneath.
- Checking for Coverage: After each coat dries, assess the coverage. If the surface still appears uneven or translucent, you can apply additional light coats until you achieve the desired opacity and finish.
- Advantages of Light Coats: This method not only prevents drips but also improves the final finish. It minimizes the risk of peeling and enhances durability by allowing the paint to bond firmly.
Crosshatch Technique
- Understanding Crosshatch Technique: The crosshatch technique involves applying multiple coats of paint in a pattern. This method helps achieve even coverage and is especially useful for larger surfaces.
- How to Apply It: Begin by spraying in one direction over the area. Once you’ve completed that layer, wait for it to dry, then apply another layer in the opposite direction—essentially crossing the previous strokes.
- Benefits of the Technique: Spraying in multiple directions not only helps with even coverage but also increases adhesion between layers. This process creates a more durable finish, ensuring that the paint is less likely to chip or peel over time.
- Final Touches: After using the crosshatch technique, inspect your work closely. If certain areas still appear uneven, you may want to apply a light coat in those areas while continuing to follow the crosshatch pattern for consistency.
Finishing Touches: Sealing and Glossing
After your spray paint application is complete, consider adding a clear coat for further protection. A clear coat can enhance the finish and provide a glossy look, depending on the product used. Here’s what to know:
Clear Coat Options
- Variety of Finishes: Tamiya provides a range of clear coat options tailored to different aesthetic preferences. The most common finishes are gloss and matt, each offering a unique visual effect.
- Gloss Finish: A gloss clear coat adds a shiny, reflective surface to your project. This finish enhances colors and can make details pop, creating a vibrant and polished look. It is ideal for models that you want to appear sleek and eye-catching.
- Matt Finish: On the other hand, a matt clear coat provides a non-reflective surface. This option yields a more subdued appearance, which can emphasize textures and details without the distraction of shine. It’s perfect for models where a more realistic, muted look is desired.
- Choosing the Right Option: The choice between gloss and matt finishes depends on the overall theme of your project. Consider what best complements the paint colors and the intended presentation of the model. Additionally, think about the type of model you are working on, as certain subjects may suit one finish better than the other.
Application Process
- Using Spray Techniques: When applying the clear coat, it’s essential to employ the same techniques used for applying the Tamiya spray paint. This consistency ensures that the application looks cohesive and professional.
- Maintaining Distance: Keep the spray can at the recommended distance, typically around 20-30 cm (about 8-12 inches) from the surface. This distance helps ensure even coverage and minimizes the risk of runs or drips.
- Thin Layers: Apply the clear coat in thin layers, just as you would with the paint. Thin layers dry more evenly and reduce the likelihood of pooling or sagging, which can ruin the finish. Aim for multiple light coats instead of one heavy layer.
- Drying Between Coats: Allow each layer to dry completely before applying the next. This practice might take about 15-30 minutes, depending on environmental conditions. Following this step will help achieve the desired effect without trapping moisture or imperfections.
Curing Time
- Following Manufacturer Instructions: After applying the clear coat, allow it to cure according to the manufacturer’s specifications. Each product may have different curing times, so always refer to the label for guidance.
- Importance of Proper Curing: Proper curing is crucial for maximizing the durability of your paint job. During this time, the chemical bonds within the clear coat strengthen, making it more resilient against scratches, chips, and other forms of wear.
- Reducing Risk of Damage: Rushing the curing process or using the model before it has had sufficient time to cure can lead to issues. For example, touching the surface too soon can mar the finish or smudge the paint underneath. Adequate curing minimizes the risk of such problems.
- Final Touches: Once the clear coat has fully cured, you can safely handle your model. At this point, consider any additional detailing or enhancements that may further elevate your project, such as applying decals or weathering effects.
FAQs
Are Tamiya model spray paints enamel or acrylic?
Tamiya spray paints are primarily acrylic. The acrylic formula dries quickly and provides excellent adhesion on various surfaces, making it ideal for model painting.
Are Tamiya spray paints good?
Yes, Tamiya spray paints are highly regarded in the hobbyist community. Their ease of use, high-quality finishes, and broad color variety make them a favorite among model builders.
What is Tamiya spray paint made of?
Tamiya spray paints are made from a combination of acrylic resins, pigments, and solvents. This formulation ensures a smooth application and vibrant colors.
Do I need primer for Tamiya spray paint?
While Tamiya spray paint generally adheres well to surfaces, using a primer can enhance adhesion and provide better coverage, especially on glossy or difficult materials.
Conclusion
In conclusion, mastering the use of Tamiya spray paint can significantly enhance your model-building projects. By following these tips and best practices, you’ll be equipped to achieve professional-quality finishes with every paint job. Whether you’re a newcomer or a seasoned expert, the key lies in preparation, practice, and the right techniques. So gather your supplies, follow these guidelines, and let your creativity shine with Tamiya spray paint, ensuring your work stands out in 2025 and beyond!