Introduction
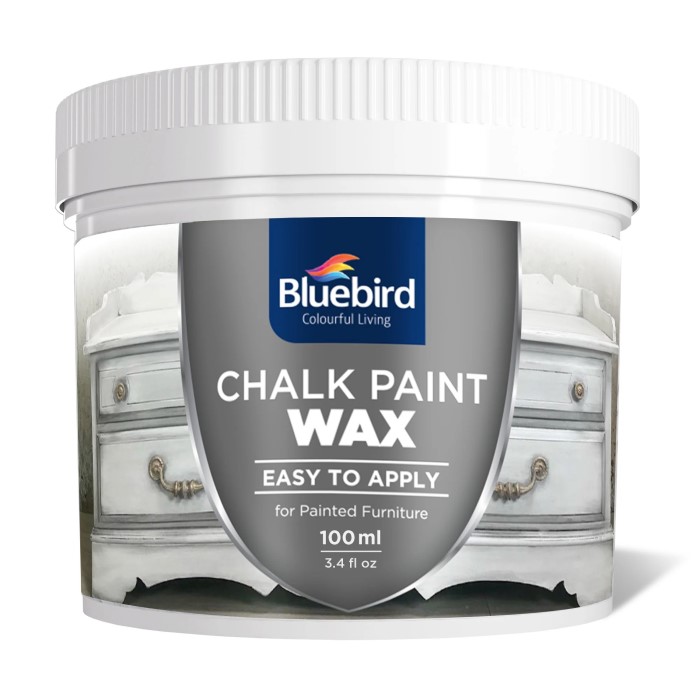
Chalk paint wax plays a significant role in the DIY community, especially for those looking to add a vintage touch to their furniture and decor. Known for its matte finish and ability to adhere to various surfaces, chalk paint is widely popular. However, when combined with chalk paint wax, it elevates the overall appearance and durability of your projects. This article explores innovative ways to use chalk paint wax effectively, ensuring outstanding results in your DIY endeavors. Whether you’re a seasoned DIYer or just starting, understanding the techniques of using chalk paint wax can greatly enhance your projects.
Why Choose Chalk Paint Wax?
There are several compelling reasons to incorporate chalk paint wax into your DIY projects. First, it offers a protective seal over the chalk paint, making surfaces more durable and resistant to wear. This is particularly important for items frequently used, like tables and chairs. Second, wax enhances the visual appeal of chalk paint. It adds a soft, polished sheen that brings out the color and texture of your painted surfaces. The contrast between the matte finish of chalk paint and the subtle gloss of wax can create an eye-catching effect.
Additionally, chalk paint wax allows you to create custom finishes. With various types of wax available, including clear, dark, and colored options, you can manipulate the final look of your projects. Utilizing these waxes effectively can produce everything from rustic charm to sophisticated elegance, catering to diverse design preferences. Last but not least, chalk wax is easy to apply and maintain, making it an excellent choice for both experienced and novice DIYers.
Innovative Techniques
Basic Wax Application
The simplest method for using chalk wax involves a basic application. After allowing your chalk paint to dry completely, use a clean, soft cloth or a wax brush to apply a thin layer of wax. Work in circular motions to ensure an even coating. This application method is efficient and straightforward, providing a solid foundation for your painted surface. It is essential not to overload the cloth with wax, as this can lead to a sticky finish.
Layering Wax for Enhanced Durability
To create a resilient finish, consider layering your chalk wax. After the first layer has dried, apply a second coat using the same circular motions. This technique provides extra protection, especially for pieces exposed to frequent handling. Allowing adequate drying time between layers ensures a more durable finish. For the best results, choose high-quality wax that is specifically formulated for chalk paint.
Creating Antique Effects with Colored Wax
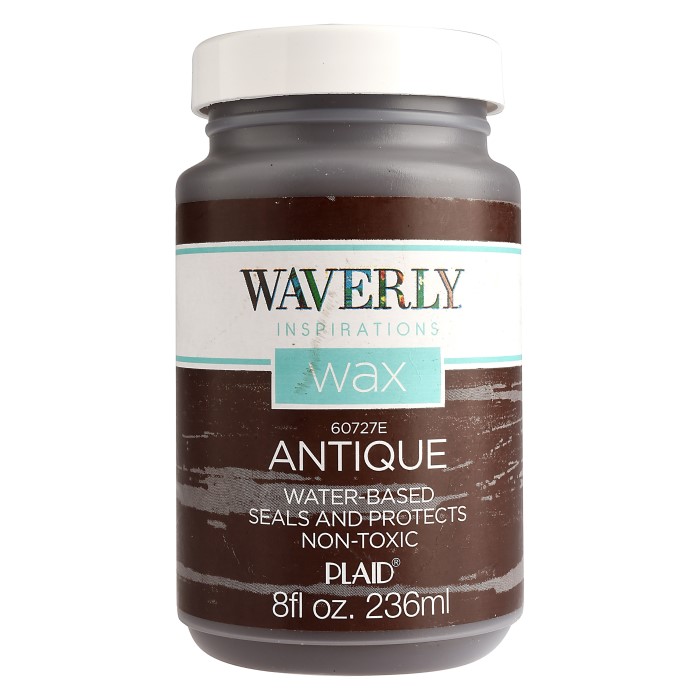
If you want to add character to your furniture, colored wax can be your best friend. By applying dark wax over light chalk paint, you can achieve an antiqued look. To do this, first, apply a layer of clear wax to protect the paint underneath. Then, use the dark wax sparingly on areas where natural wear would occur, such as corners and edges. This technique highlights your piece’s details and creates depth, making it look aged and beautifully distinctive.
Distressing Chalk Paint with Wax
Distressing techniques work well with chalk paint wax. If you plan to distress your piece, apply wax to areas you want to protect. This can be particularly effective for furniture that may experience chipping or wear. After painting and waxing, sand the edges and surfaces lightly to create a worn and vintage appearance. The protective wax ensures that painted areas remain intact even as you distress the furniture.
Achieving a Satin Finish
For those who prefer a more polished look, chalk wax can help you achieve a satin finish. Start by applying a layer of clear wax over your painted surface, allowing it to dry. Next, buff the surface with a clean, soft cloth or a buffing pad. This buffing process brings out a soft sheen while maintaining the chalky texture of the paint. The result is a beautifully finished piece that feels luxurious and sophisticated.
Using Wax for Stenciling
Chalk paint wax can also be used when stenciling designs onto painted surfaces. After applying your paint and allowing it to dry, lightly wax the areas where you plan to apply a stencil. The wax creates a barrier that protects the underlying paint. After stenciling, seal the design with another layer of wax. This process keeps your stenciled artwork from smudging or fading, ensuring longevity.
Creating Unique Textures
You can develop visually interesting textures using chalk wax. Experiment with different applicators, such as brushes, sponge brushes, or even your fingers, to apply wax in unique patterns. Mixing colors with various wax techniques can create remarkable textures, such as a distressed look or a more contemporary style. This approach allows for endless creativity in your DIY projects.
Maintaining Your Waxed Finish
Proper care of your waxed surfaces is critical for maintaining their appearance and durability. Regularly dust surfaces with a soft cloth to prevent dirt and residue buildup. As your waxed surfaces experience wear, you might need to reapply wax. Lightly buff the area before reapplying the product to ensure the new wax adheres properly to the surface. Correct maintenance habits will help keep your pieces looking fresh and vibrant.
FAQ: Common Questions
Does chalk paint need wax?
While chalk paint does not require waxing to adhere, applying wax enhances the durability and aesthetic of the finish. It protects the surface from scratches, scuffs, and stains.
Does wax stop chalk paint chipping?
Protection Against Daily Wear:
Yes, applying wax effectively helps stop paint from chipping. One of the primary benefits of using wax is that it acts as a protective barrier for the painted surface.
Creating a Durable Seal:
The wax forms a durable layer on top of the paint, which enhances its resilience. This layer prevents moisture, dirt, and grime from penetrating the paint.
Minimizing Scratches:
A waxed surface is less susceptible to scratches. When furniture or decor items experience everyday use, the chances of them getting bumped or scratched is common. The wax shield helps reduce the risk of these imperfections.
Reducing Chips and Peeling:
Without a protective layer, chalk paint can become brittle over time. Applying wax helps keep the paint flexible, which decreases the likelihood of chipping or peeling away from surfaces.
Maintaining Aesthetic Appeal:
In addition to preventing damage, wax helps maintain the appearance of your chalk paint. When properly applied, it enhances the matte finish and contributes to a beautiful, polished look.
Extending the Lifespan of Projects:
By preventing chipping, wax can extend the lifespan of your paint projects. This longevity means you won’t need to reapply paint as frequently, ultimately saving time and effort.
Recommendation for Regular Maintenance:
To ensure continued protection, it’s essential to reapply wax as needed. Regular maintenance of the wax finish can further enhance its effectiveness in preventing chipping and prolonging the life of your painted surfaces.
What happens if you put too much wax on chalk paint?
Using excessive wax can lead to a discolored or overly shiny finish. If this occurs, you may need to buff the area with a clean cloth or apply a thin layer of clear wax to even it out.
Should I sand between coats of wax on chalk paint?
- General Recommendation: Sanding between coats of wax is not typically necessary for most DIY projects involving paint. Most users find that applying wax directly over a dried layer is sufficient.
- Purpose of Wax: Wax serves as a protective coating that enhances the durability and appearance of chalk paint. When applied correctly, it adheres well without the need for sanding.
- Achieving a Smoother Finish: However, if you desire a smoother finish or a more refined look, light sanding can be beneficial. Sanding can help achieve a silky texture and improve the overall feel of the surface.
- Using Fine-Grit Sandpaper: When choosing to sand, it’s essential to use fine-grit sandpaper, typically between 220 to 320 grit. This type of sandpaper is gentle enough not to damage the underlying wax layer but effective in smoothing out imperfections.
- Enhancing Adhesion: Lightly sanding between coats of wax can also enhance the adhesion of the next layer. By creating a slightly rougher surface, you improve the bond between layers, which can result in a more durable finish.
Conclusion
In summary, chalk paint wax is an invaluable asset for anyone engaged in DIY projects. By using innovative techniques, you can create stunning finishes that enhance both the appearance and durability of your painted surfaces. From simple applications to more advanced techniques involving distressing and color manipulation, mastering chalk wax opens up a world of creative possibilities. Whether you’re looking to breathe new life into old furniture or craft eye-catching home decor, incorporating chalk paint wax into your projects can yield beautiful results. Embrace the potential of chalk paint wax and let your creativity shine in every project!