Introduction
If you’re looking to add a special touch to your craft projects, embossing powder is a fantastic tool that can transform ordinary items into beautiful works of art. This versatile powder, when heated, produces a raised texture that adds depth and richness to various surfaces, including paper and fabric. In this comprehensive guide, we will delve into the world of embossing powder, exploring its uses, techniques, and tips for achieving stunning results.
Understanding Embossing Powder
1. What Is Embossing Powder?
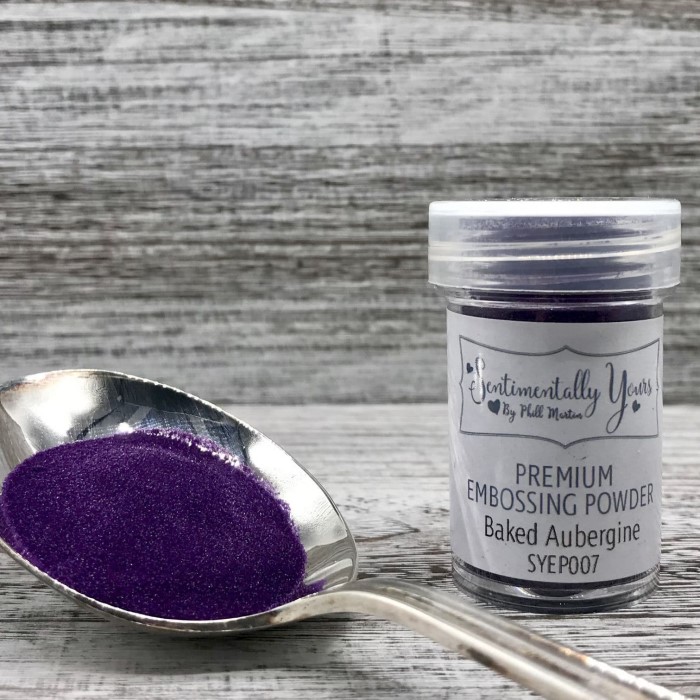
Embossing powder is a finely milled plastic powder. It is typically used in conjunction with an ink pad and heat source to create a raised design on a surface.
- Functionality: When heated, the powder melts and adheres to the surface, creating a durable, raised texture that can enhance both aesthetic appeal and tactile experience.
- Variety: Embossing powders come in various colors, finishes, and compositions, allowing for creativity and versatility in crafting.
2. Types of Embossing Powder
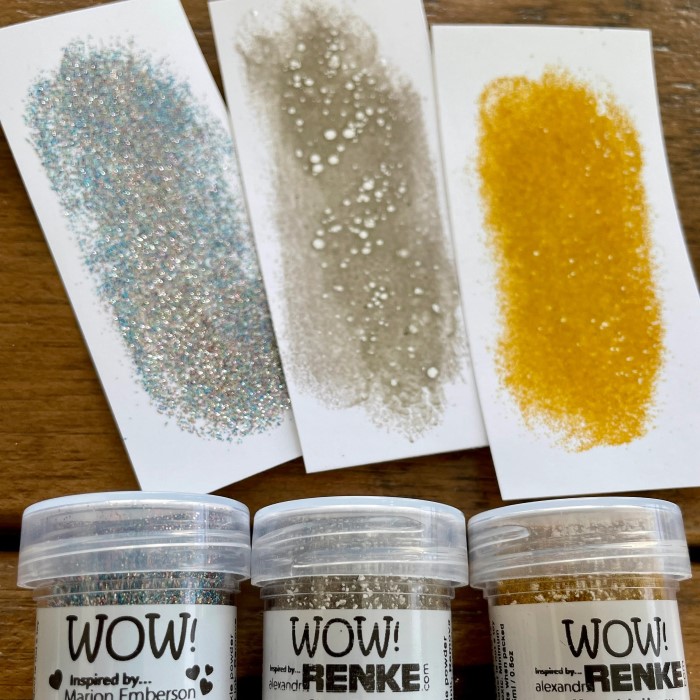
There are several types of embossing powder available, each offering unique properties and effects:
- Standard Embossing Powder: This is the most common type. It produces a smooth, glossy raised effect that is perfect for general use.
- Ultra-Fine Embossing Powder: This powder is even finer than the standard option, allowing for intricate detailing without losing clarity in small designs.
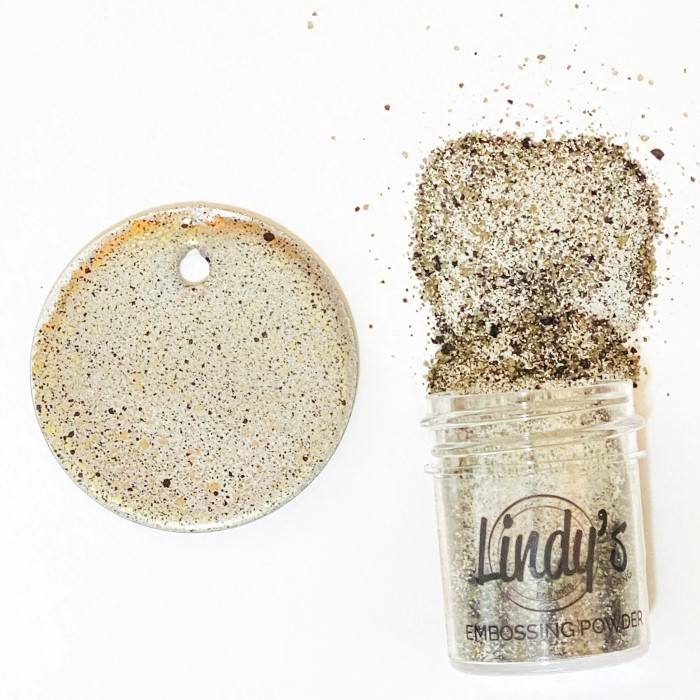
- Glitter Embossing Powder: Contains glitter particles for added sparkle and shimmer, providing a festive touch to your projects.
- Opaque and Transparent Powder: Opaque powders create a solid color, while transparent powders allow the color of the base surface to show through, providing more depth.
- Glow-in-the-Dark and Special Effects Powders: These bring a fun twist to your projects, offering unique features that can add surprise elements.
The Benefits of Using
1. Enhance the Aesthetic Quality of Your Projects
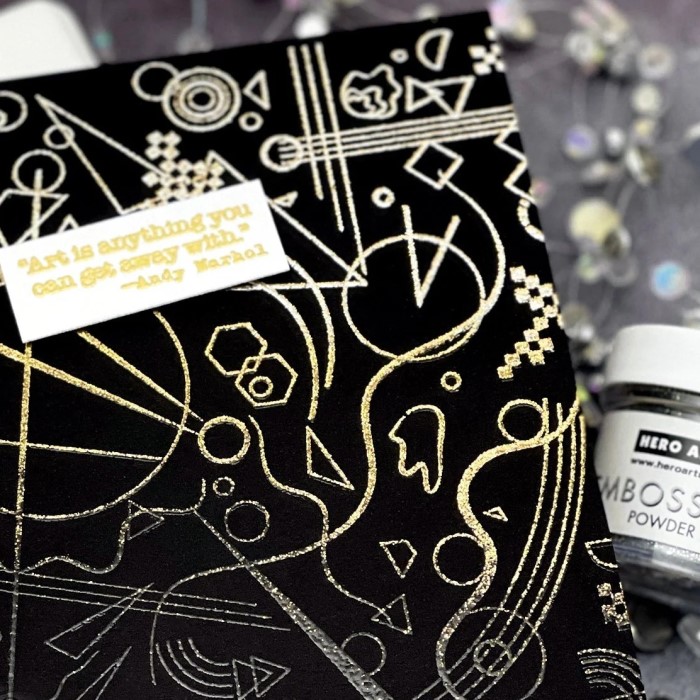
Using embossing powder can dramatically improve the visual appeal of your crafts. The raised design draws the eye and adds a three-dimensional effect.
- Layering Techniques: You can layer several colors and textures using various types of embossing powders to create striking designs.
- Versatility: Embossing can be applied to cards, scrapbook pages, tags, and even home decor items. It adds a polished look that elevates everyday projects.
2. Increase Tactility
Embossing offers a tactile quality that flat designs cannot achieve. People love to touch and feel textures, and embossed surfaces invite interaction.
- Creating Interest: The combination of visual and tactile elements engages the audience more fully, enhancing the experience of the crafted items.
- Variety of Textures: By experimenting with different powders, you can create a range of textures from smooth and glossy to rough or sparkly.
3. Durable and Long-Lasting
Once set, embossed designs are durable and resistant to wear and tear.
- Abrasion Resistance: Embossed elements won’t easily scratch off like printed designs might, making them practical for frequently handled items.
- Weather Resistance: Depending on the medium used beneath the powder, items can be made water-resistant, enhancing their longevity.
Step-by-Step Guide
1. Gather Your Materials
Preparing your workspace is essential for achieving successful results when crafting with embossing powder. You will need:
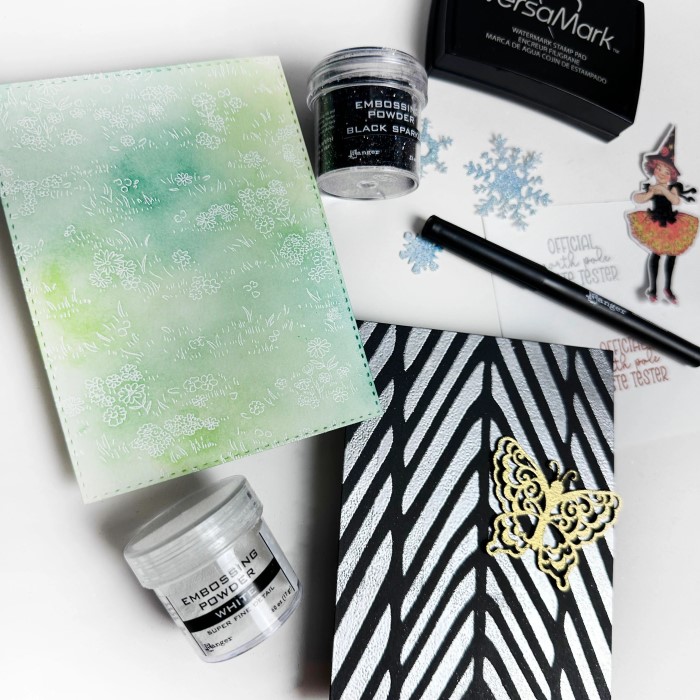
- Embossing Powder: Choose your desired color and type based on your project.
- Embossing Ink or Versamark: This ink stays wet longer and allows powders to stick properly.
- Heat Tool: A heat gun designed for embossing is crucial. Regular hairdryers won’t suffice, as they don’t get hot enough.
- Anti-Static Tool: Helps to eliminate static that causes powder to cling where you don’t want it.
2. Preparing Your Surface
Smooth out the surface you’re working on to ensure even application:
- Clean the Surface: Make sure the paper or material is free from dust and fingerprints to allow for the best powder adhesion.
- Apply Anti-Static Powder: Use an anti-static tool on your surface. This prevents the powder from sticking to unwanted areas.
3. Apply Ink
Now you’re ready to stamp or write your design using embossing ink:
- Use a Stamp or Write: Apply embossing ink evenly using your chosen stamp or pen. Ensure full coverage where you want the powder to stick.
- Don’t Delay: Work quickly, as the embossing ink can dry fast.
4. Apply Embossing Powder
Carefully add embossing powder to your design:
- Sprinkle Powder: Generously sprinkle the powder over the inked area. Ensure that the stamped image or writing is completely covered.
- Tap Off Excess: Gently tap the material to remove excess powder. This step is crucial for ensuring clean lines and preventing clumps.
5. Heat the Powder
Use a heat gun to set the embossing powder:
- Heat Evenly: Hold the heat gun about 4-6 inches above the surface and move it around to evenly apply heat. The powder will begin to melt and transform into a glossy finish.
- Watch for Changes: You’ll notice the powder changing from a matte finish to a shiny raised effect. This process typically takes only a few seconds.
6. Cool and Inspect
Let your project cool down:
Cooling Process
- Importance of Cooling: After completing the embossing process, it’s crucial to allow the embossed area to cool down properly. Cooling ensures that the embossing material sets correctly and retains its shape without becoming distorted.
- Preventing Smudging: Handling the embossed area too soon can lead to smudging or fingerprints, which may mar the overall finish. By waiting until the area is cool, you minimize the risk of damaging your work.
- Duration of Cooling: Depending on the type of material used and the ambient temperature, the cooling process may take a few minutes. Be patient and observe the area until it feels cool to the touch before proceeding to the next steps.
- Environmental Considerations: If working in a warm environment, consider using a fan or placing the work in a cooler area to expedite the cooling process, ensuring that you maintain the integrity of the embossed design.
Final Review
- Conducting a Thorough Inspection: Once the embossed area has cooled, take a moment to carefully inspect your work. Look for any imperfections or uneven areas that may require correction or enhancement.
- Ensuring an Even Finish: Pay close attention to the surface texture and overall appearance. An even, consistent embossing is essential for achieving a professional look in your project. Look for any dimples, gaps, or inconsistent pressure marks.
- Assessing Areas for Improvement: If you spot areas where the embossing powder appears sparse or uneven, identify those specific spots. It’s essential to address these imperfections to ensure the best possible outcome for your project.
- Repeating the Process: For any areas that need more powder, you can repeat the embossing process. Gently reapply the embossing powder to the affected spots, ensuring you cover them completely. Heat the area again with your embossing tool, allowing the powder to melt and create a smooth, even impression.
- Final Touches: After addressing any imperfections, give the piece a final look over to ensure that the entire embossed area matches your artistic vision. This extra step can significantly elevate the quality of your finished project.
Creative Applications
1. Card Making
Embossing powder is widely used in card making. The added texture can create stunning greeting cards, invitations, and announcements that stand out.
- Layering Methods: Combine different colors for layered designs, or use a clear embossing powder over colored ink for interesting effects.
2. Scrapbooking
In scrapbooking, embossing adds depth to pages and can highlight important elements.
- Title Embellishments: Consider embossing titles or other text elements for a polished, professional look.
- Date Stamps: Embossing dates or special quotes elevates the overall layout.
3. Home Decor
Use embossing powder to enhance various home decor items, such as frames, wall art, or handmade signs.
- Custom Art: Emboss quotes or designs on canvases for a unique wall piece.
- Decorative Frames: Personalize frames for photos with embossed designs to match your decor style.
4. Jewelry Making
For mixed-media artists and jewelry makers, embossing powder can add artistic flair.
- Charm Designs: Use embossed designs on metal charms to create unique handmade jewelry.
- Resin Art: Embedding embossed designs within resin pieces can produce eye-catching effects.
Frequently Asked Questions
What Is Embossing Powder For?
Embossing powder is primarily used to create raised designs on various surfaces when applied with special ink and heated. It adds texture and durability to craft projects, enhancing their visual appeal.
Can You Use Embossing Powder on Acrylic?
Yes, you can use embossing powder on acrylic surfaces. However, ensure that you utilize the appropriate type of adhesive or ink for optimal results and to achieve a strong bond.
Do You Need Special Ink for Embossing Powder?
Yes, you will need a special embossing ink, such as Versamark, which stays wet longer than regular ink, allowing for better adhesion of the powder. Regular inks will not provide the same results.
What Is the Difference Between Pigment Powder and Embossing Powder?
The primary difference is purpose and application. Embossing powder melts and provides a raised, glossy finish when heated, while pigment powder is typically used for coloring and adding effects without achieving a raised texture.
Conclusion
In summary, incorporating embossing powder into your crafting projects will significantly elevate your artistic endeavors. By using the techniques outlined above and exploring different applications, you can create stunning, professional-quality bookmarks, cards, art pieces, and more.
This versatile product opens doors for creativity, allowing for endless customization and innovation. So gather your materials, unleash your imagination, and start crafting with embossing powder today! With the right preparation and techniques, your projects will shine and stand out, leaving a lasting impression on everyone who sees them. Whether you’re a seasoned crafter or just starting, embossing powder is an invaluable addition to your toolkit. Happy crafting!