Introduction
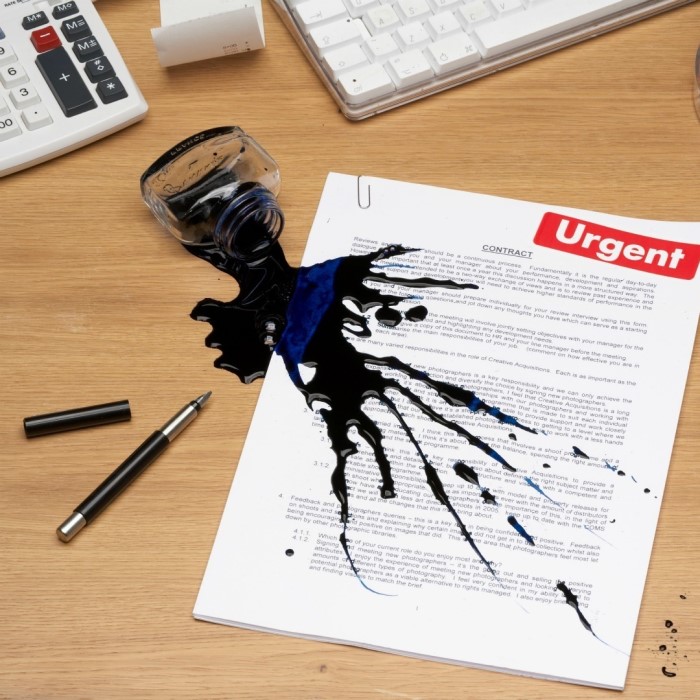
Ink stains are a common nuisance that many of us face in our daily lives. Whether they come from a leaky pen, a careless printer, or an unexpected spillage, knowing how to remove ink from paper can save your important documents, books, and crafty creations. While some may think that once ink touches paper, it’s a lost cause, numerous methods can effectively tackle this problem. From household remedies to specialized products, this article will guide you through the step-by-step process of removing ink stains, ensuring you can achieve the best possible results while preserving the integrity of the paper.

Understanding Ink Types
How to remove ink from paper? To effectively remove ink from paper, it’s crucial to first understand the types of ink and their properties, as different inks require different treatments.
1. Water-Based Inks
- Commonly Used: Water-based inks are typically found in fountain pens, washable markers, and some types of printer inks. They consist mostly of water and tend to be easier to remove.
- How They React: These inks dissolve in water, which makes removal feasible when treated promptly.
2. Oil-Based Inks
- Characteristics: Oil-based inks, often used in ballpoint pens and some markers, are more resistant to water and require different removal strategies.
- Difficult to Remove: These inks don’t dissolve easily, and they are designed for durability, making them challenging to treat effectively.
3. Permanent Inks
- Designed to Last: Permanent inks are intended for long-lasting use. They resist fading and require significant effort for removal due to their formulation.
- Resistance Factors: Permanent ink formulations are often made from dyes or pigments suspended in a resin, making them bind strongly to fibers in paper.
Essential Materials for Ink Removal
How to remove ink from paper? To remove ink stains effectively, you’ll need some basic tools and materials at your disposal.
1. Basic Tools Required
- Embossing Powder: A range of materials can help, including common household items like baking soda and detergent.
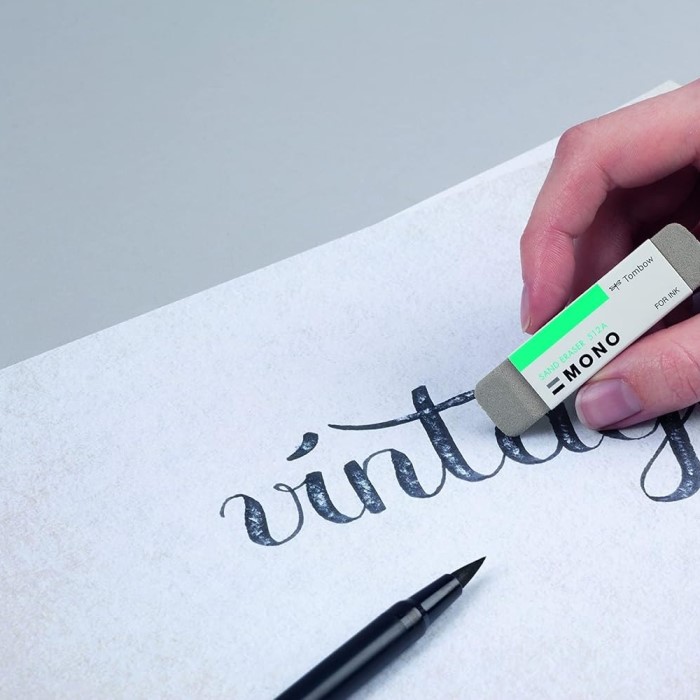
- Rubbing Alcohol: A potent solvent for many ink types, isopropyl alcohol works wonders, particularly on stubborn stains.
- White Vinegar: This staple can help with water-based inks; diluted solutions can break down many ink formulas.
2. Additional Supplies
Cotton Balls or Swabs
- Precision Application: Cotton balls and cotton swabs are vital tools for precisely applying cleaning agents to delicate areas of paper. Their soft texture ensures that they can reach intricate spots without applying excessive pressure.
- Gentle on Surfaces: Because cotton is non-abrasive, it minimizes the risk of damaging the paper. This is especially important when working with fragile or finely textured surfaces where harsh contact can lead to tearing or fraying.
- Versatility: These items can be used for various applications, including applying solvents, inks, or adhesives. Their versatility makes them essential in any crafting or restoration toolkit.
- Control and Accuracy: Cotton swabs, in particular, provide more control and accuracy compared to larger cloths or sponges. This allows for meticulous work, ensuring that cleaning agents are applied exactly where needed.
- Easy to Dispose: After use, cotton balls and swabs can be easily disposed of. This convenience contributes to a quicker clean-up process and ensures hygiene during projects.
Clean, Soft Cloth
- Blotting Ink: A clean, soft cloth is indispensable for blotting excess ink or moisture. When treating spills or smudges, a soft cloth helps absorb liquid without pushing it deeper into the paper fibers.
- Preventing Smudging: By using a clean cloth, you can avoid spreading ink further while attempting to remove it. This control is vital to preserving the integrity of the original design or text on the paper.
- Reusable and Eco-Friendly: Opting for a clean cloth over disposable materials can be a more environmentally friendly choice. With proper washing and care, these cloths can be reused multiple times, reducing waste.
- Surface Protection: Soft fabrics prevent scratching or damaging delicate surfaces. This is especially important when working with specialty papers or finished artworks, where even minor abrasions can detract from overall appearance.
- Variety of Uses: Beyond blotting, clean cloths can also be used for general cleaning, polishing finishes, or even applying certain types of cleaning agents. Their multifunctional nature makes them a staple in any crafting kit.
Paper Towels
- Quick Clean-Ups: Paper towels are handy for quick clean-ups, especially when dealing with spills or excess materials. Their absorbent nature allows for swift handling of unexpected messes during crafting projects.
- Blotting Excess Moisture: After applying treatment to a paper surface, using a paper towel can help blot excess moisture. This helps maintain the quality of the paper while preventing warping or other damage that can occur when moisture is left to sit.
- Convenience and Accessibility: Being readily available and inexpensive, paper towels are a convenient choice for crafters. They can quickly be accessed and disposed of, making them ideal for messy projects.
- Variety of Textures: Different types of paper towels offer various textures and absorbencies. Using softer, more absorbent towels can enhance cleaning effectiveness compared to rougher options.
- Single-Use Hygiene: Unlike cloth materials, paper towels are single-use, which can be beneficial for maintaining hygiene, especially when working with inks, paints, or cleaning agents. They help prevent cross-contamination with different colors or substances.
Step-by-Step Guide: Removing Ink from Paper
How to remove ink from paper? Now, let’s go through the effective step-by-step process for removing ink from paper using various methods.
1. Act Quickly
- Immediate Response: The sooner you address an ink stain, the better your chances of successfully removing it. Fresh ink is typically easier to treat than ink that has set for a while.
2. Blotting the Stain
- Use a Clean Cloth: Start by blotting the ink with a dry cloth or paper towel. Gently press down to absorb as much ink as possible without rubbing, which can spread the stain.
- Avoid Rubbing: Be careful not to rub the area, as this can damage the fibers of the paper and cause the ink to spread further.
3. Water and Soap Solution
- Creating Your Solution: For water-based inks, mix a small amount of mild dish soap with water. This gentle solution can help lift the ink.
- Dabbing the Stain: Use a cotton swab or a clean corner of your cloth, moisten it with the soapy water, and softly dab the stain. Start from the edge and work towards the center to contain any spread.
- Rinsing: After applying the solution, dampen a fresh cloth with clean water to help remove excess soap and the loosened ink. Blot gently until the area is clean.
4. Isopropyl Alcohol Technique
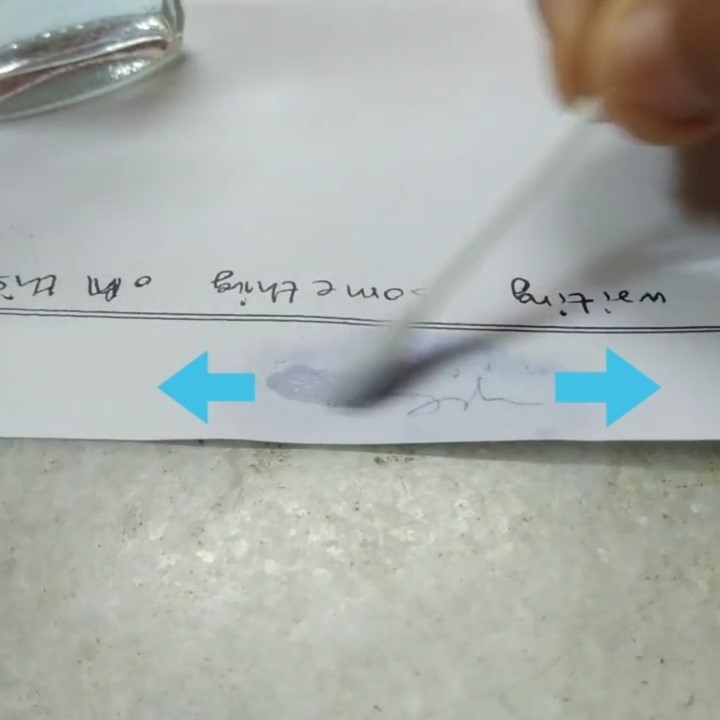
- Use of Rubbing Alcohol: If the ink is stubborn, apply isopropyl alcohol to a cotton ball or swab. Gently dab on the stained area in a similar fashion as earlier, being careful to control how much you apply.
- Blotting: After using the alcohol, extend your damage control with a clean cloth to absorb excess moisture. Repeat if necessary, until the ink visibly lightens.
5. Vinegar and Cornstarch Paste
- Homemade Paste: Combine equal parts white vinegar and cornstarch to create a paste. This homemade remedy is effective at removing water-based inks and can be applied directly to the stain.
- Applying the Paste: Spread the mixture over the ink stain carefully, ensuring complete coverage. Allow it to dry completely, then brush away the dried paste with a soft brush.
Preventing Damage During Ink Removal
While attempting to remove ink, damage to the paper can occur if one is not cautious. Here are a few tips to help protect your document.
1. Test Different Areas
- Conduct a Test: Before using any cleaning agent, test it on an inconspicuous area of the paper. This can help ensure that the cleaning method will not cause discoloration or further damage.
2. Control Moisture Levels
- Avoid Over-Saturation: Keeping ink removal tools minimally wet is critical. Too much moisture can warp the paper, leading to tears or folds.
- Drying Process: After the cleaning process, lay the paper flat to dry in a well-ventilated area away from direct sunlight, which can cause further damage.
Tips for Successful Ink Removal
Patience is Key
- Allow Time for Each Method: After applying a chosen ink removal technique, it is crucial to give it enough time to work effectively. Rushing this process can lead to inadequate results.
- Preventing Further Staining: Moving too quickly to different methods without allowing the first one to take effect may inadvertently cause the ink to become more embedded in the paper.
- Monitoring Progress: Periodically check the affected area for any changes before proceeding with another method. This will help determine if the initial approach was successful or if further action is required.
Protect Your Workspace
- Setting Up a Clean Area: Before starting the ink removal process, prepare your workspace to prevent any mess or damage. This can be achieved by using a protective mat or a clean sheet of cardboard.
- Using Old Newspapers: Lay down old newspapers to catch any drips or spills that may occur while applying cleaners or solutions. This simple step can save you a lot of cleanup time later.
- Organizing Your Tools: Keep all your cleaning materials within reach, organized neatly on your protected surface. This reduces the likelihood of accidental spills or stains on your workspace while you work.
Keep Everything Clean
- Using Clean Materials Only: Ensure that all cloths, brushes, and tools used during the ink removal process are clean. Using dirty materials can transfer existing stains or debris back onto the paper.
- Washing and Preparing Tools: If you’re reusing items like brushes or cloths, make sure to wash them thoroughly before starting your work. It’s essential to avoid cross-contamination.
- Avoiding Unnecessary Mess: Maintain a clean environment by regularly disposing of used paper towels, scraps, or swabs, preventing clutter and confusion during the ink removal process. Keeping your workspace tidy contributes to a more effective and stress-free removal experience.
FAQ: Addressing Common Ink Removal Concerns
What is the Best Chemical to Remove Ink from Paper?
- Isopropyl Alcohol: Often cited as the best option, isopropyl alcohol effectively breaks down various ink types without overly damaging the paper.
What Removes Ink Easily?
- Soapy Water Solution: A simple mixture of soap and warm water often removes water-based inks effectively, making it an easy starting point.
How Do You Remove Stamp Ink from Paper Without Damaging the Paper?
- Careful Application of Rubbing Alcohol: Use a cotton swab to apply rubbing alcohol gently, working slowly to lift the ink without excessive pressure.
Can You Remove Permanent Ink from Paper?
- Limited Success: While removing permanent ink can be extremely difficult, certain techniques, like applying rubbing alcohol, may offer partial success but risks damaging the paper.
Conclusion
In summary, learning how to remove ink from paper is a valuable skill that can save important documents and enhance your crafting projects. As we’ve explored, each ink type presents unique challenges, but with the right tools and techniques, many stains can be treated effectively. From simple household solutions to more specialized methods, taking action promptly and employing gentle techniques can lead to successful results. Always approach ink stains with patience and an understanding of the materials involved, and you’ll find that even the most stubborn ink stains can be managed with care. Embrace these strategies and restore your papers to their former glory, ensuring that ink stains don’t mark the end of your treasured documents!