Introduction
Crayon art is a captivating and versatile creative medium. It uses simple tools to produce stunning works of art. From professional artists to children, it suits all skill levels. Crayon art allows endless exploration of techniques, colors, and styles. Let’s delve into this exciting art form.
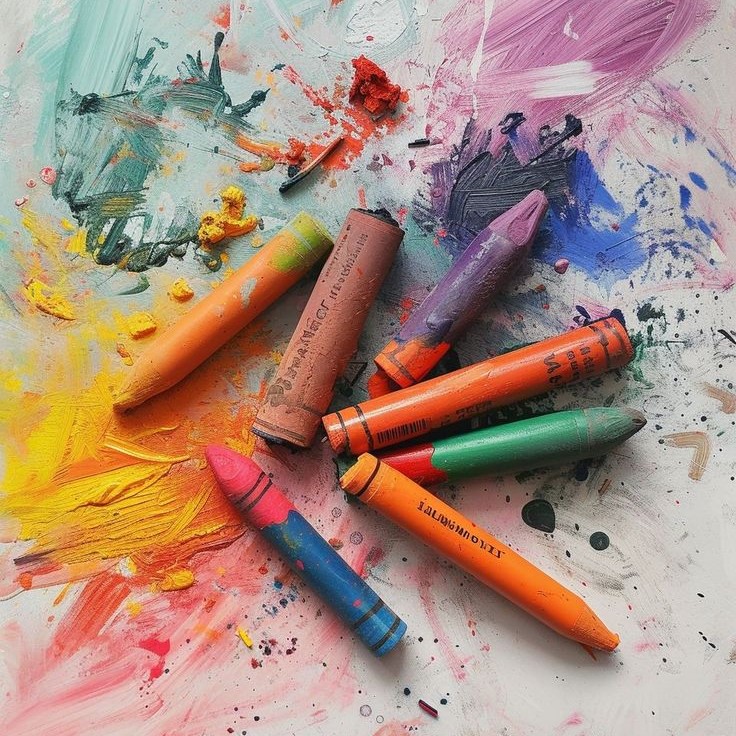
What Makes Crayon Art Unique?
Crayon art stands out for its simplicity and accessibility. Crayons are affordable and widely available. They come in vibrant colors that inspire creativity for any artist. Their waxy texture enables blending, layering, and creating unique effects. Crayons are also non-toxic and safe for all ages. Additionally, crayon art enables experimentation with different methods, such as melting or carving. This makes the art form highly adaptable to both beginners and seasoned artists. The combination of affordability, safety, and versatility makes crayon art truly exceptional.
The History and Evolution of Crayon Art
Crayons have a rich history dating back to ancient times. Early art forms used pigments mixed with wax. Modern crayons, as we know them, were introduced in the late 19th century. Companies like Crayola revolutionized crayon production with vibrant colors and durability. Over time, artists began incorporating crayons into elaborate creative works. Today, crayon art ranges from playful doodles to complex masterpieces. This evolution shows how a humble tool remains an essential artistic medium.
Essential Tools and Materials
To create stunning crayon art, selecting the right tools and materials is crucial. The proper supplies can elevate your art and help you achieve professional-looking outcomes. Below, we’ll cover the essentials you need to get started.
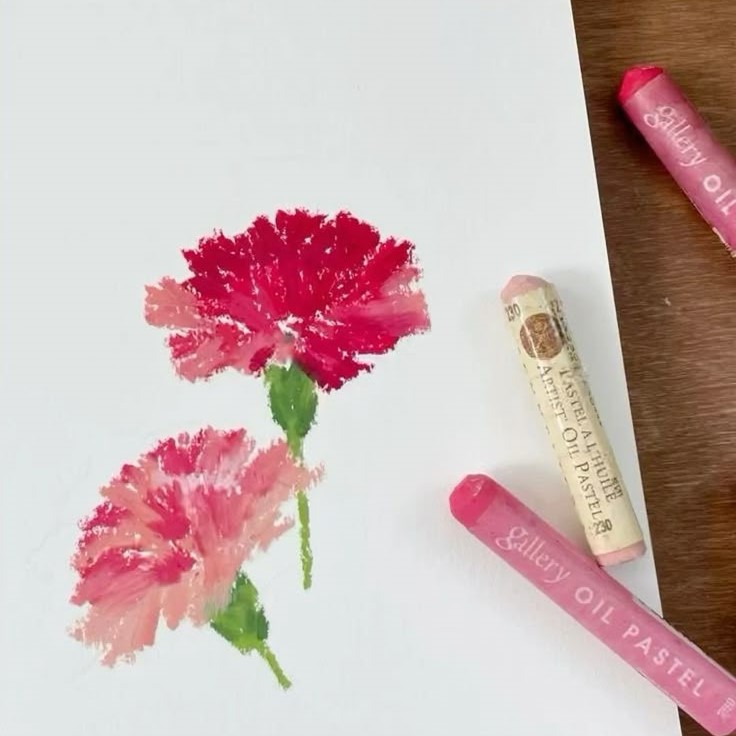
Selecting the Right Crayons
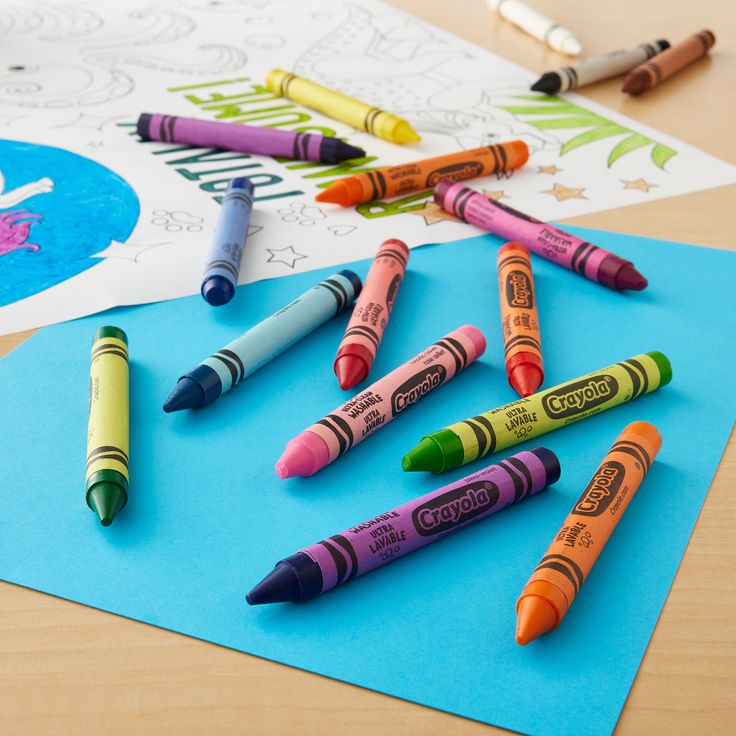
Choosing the right crayons is the cornerstone of crayon art. Different brands offer varying quality, textures, and colors, so pick crayons that suit your project goals.
- Wax-Based Crayons: These are standard for their smooth application and vibrant colors. They’re ideal for both beginners and experts.
- Oil-Based Crayons: These have a creamier texture and are perfect for blending and layering techniques.
- Water-Soluble Crayons: They enable water-based techniques and are versatile for mixed-media projects.
- Specialty Crayons: Crayons like metallic or neon add unique effects to your artwork.
When selecting, consider the color vibrancy, ease of use, and blending ability. For kids or beginners, non-toxic crayons ensure safety without compromising quality.
Additional Supplies You’ll Need
Beyond crayons, several other tools and materials can enhance your crayon art experience:
- Quality Paper or Canvas: Smooth paper works well for coloring, while textured paper enhances layering.
- Crayon Sharpeners: Maintain sharp tips for detailed work with a reliable sharpener.
- Heat Tools: Use hairdryers or heat guns for melted crayon projects.
- Scraping Tools: Blunt knives or plastic scrapers are excellent for creating textured effects.
- Stencils and Templates: Add precision to patterns and designs with these helpful tools.
- Tissue or Blending Tools: These help with smooth blending and achieving gradient effects.
Investing in high-quality materials ensures durability and improves the overall finish of your artwork. With the right supplies, you can confidently explore the limitless potential of crayon art.
Basic Crayon Art Techniques
Mastering basic techniques is essential for creating stunning crayon art. These foundational skills help artists develop confidence and creativity with crayons.
Coloring and Blending Basics
Coloring and blending bring life to crayon art. Simple steps can achieve smooth and vibrant effects.
- Even Coloring: Use consistent pressure for smooth coverage. Avoid pressing too hard to prevent damaging the paper.
- Blending Colors: Layer two or more colors and use blending tools, like tissues or fingers, for gradients.
- Gradient Effects: Start with dark tones and gradually use lighter ones for natural transitions.
- Circular Stroke Technique: Move the crayon in small circles to blend colors seamlessly.
- Overlaying Shades: Layer lighter crayons over dark ones to create depth and texture.
Practice regularly to master these methods. Perfect blending enhances the overall look of your artwork.
Layering and Texturing
Layering and texturing add complexity and dimension to crayon art. These techniques improve detail and richness.
- Layering for Depth: Build layers by applying multiple colors slowly. Begin with lighter shades, then add darker ones.
- Texturing with Tools: Use blunt knives or textured paper to create interesting patterns in your art.
- Cross-Hatching Method: Create criss-cross lines for a woven texture, especially with bold colors.
- Scraping Techniques: Carefully scrape away excess wax to reveal designs or base layers underneath.
- Embossing with Stencils: Use stencils for raised textures or intricate patterns.
Experimenting with layering and texturing opens new possibilities. Combine these techniques with coloring basics for impactful crayon art.
Advanced Techniques
Elevate your crayon art skills with advanced methods. These techniques add dynamic creativity to your projects.
Melting Crayon Art Projects
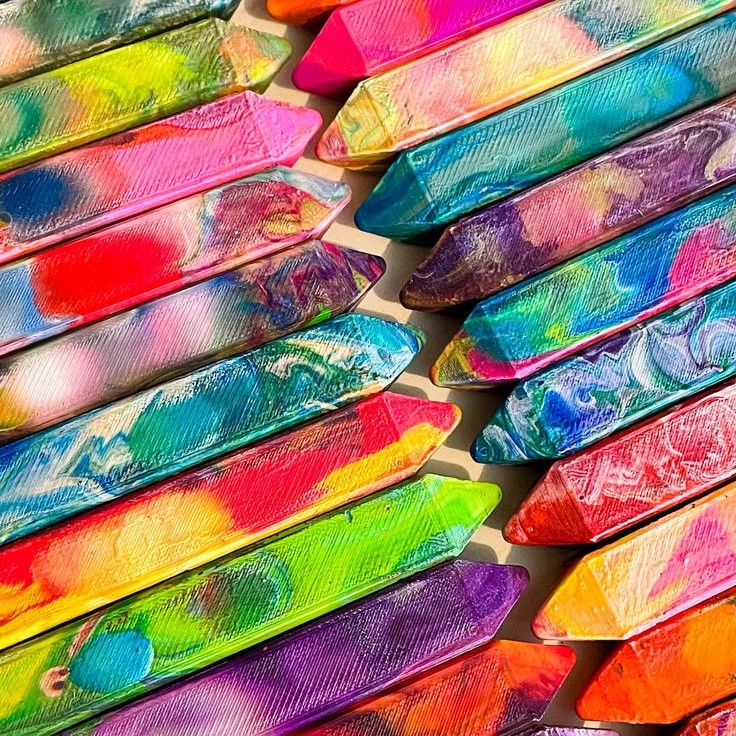
Melting crayons is a popular and versatile technique. It transforms simple crayons into fluid masterpieces.
- Choosing Colors: Select bright, contrasting crayons for striking effects. Combine shades for more depth.
- Preparing Work Area: Use a protected surface to avoid mess and damage. Keep a heat tool handy.
- Creating Drips and Patterns: Melt crayons using a hairdryer or heat gun. Tilt the canvas for color drips.
- Blending Melted Wax: Move melted wax with paintbrushes or tools to mix colors. Let cool for a solid finish.
- Shaping Designs: Arrange melted wax into flowers, swirls, or abstract shapes. Experiment with textures and forms.
Ensure safety by working in a ventilated space. Avoid overheating crayons to prevent bad fumes.
Carving and Shaping with Crayons
Carving crayons introduces new dimensions to your art. It offers precision and imaginative designs.
- Choosing Tools: Use blunt knives, sculpting tools, or craft knives for detailed carvings.
- Planning Shapes: Sketch patterns onto crayons for guidance. This helps maintain consistency.
- Adding Details: Carve intricate lines, curves, or textures into crayons. Create relief designs or embossed finishes.
- Combining Layers: Stack carved pieces to form layered 3D art. Glue crayons for secure assembly.
- Blending Carved Crayons: Combine carved crayons with melted projects for mixed-media creations.
Practice carving gently to avoid breaking crayons. Use durable crayons for better outcomes.
Advanced techniques push boundaries and spark creativity. Experimenting with these methods leads to extraordinary crayon art.
Creative Themes and Ideas
Bring creativity and individuality into your crayon art by experimenting with unique themes. Below are some inspiring ideas to try.
Abstract Designs and Patterns
Abstract crayon art allows limitless experimentation with shapes, lines, and colors.
- Geometric Shapes: Use vibrant crayons to create bold triangles, circles, and squares.
- Color Harmony: Blend complementary colors for visually pleasing patterns.
- Line Play: Draw flowing lines or sharp edges for dynamic effects.
- Freeform Art: Let your imagination shape organic forms and abstract patterns.
- Overlay Colors: Layer different shades for added depth and texture.
Focus on visuals that evoke emotion or thought.
Nature-Inspired Crayon Art
Nature offers endless inspiration for crayon art. These ideas connect art with the beauty of the outdoors.
- Leaf Patterns: Trace or draw leaves using realistic colors and textures.
- Animal Portraits: Sketch animals with detailed shading for lifelike effects.
- Landscape Scenes: Create sunsets, forests, mountains, or oceans using vibrant crayons.
- Seasonal Themes: Represent the colors of spring, summer, autumn, or winter.
- Floral Drawings: Experiment with blending techniques to depict flowers and garden scenes.
Nature scenes appeal to people of all ages. Use photography or real-life views for inspiration.
Mixed-Media Crayon Art Projects
Mix crayons with other mediums to produce eye-catching artwork. This approach expands creative possibilities.
- Crayon and Paint: Combine crayons with watercolor or acrylic for bold contrasts.
- Collage Designs: Blend crayons with textured paper, fabric, or photographs.
- Crayon and Ink: Create crayon backgrounds and overlay ink drawings for detailed effects.
- Textured Creations: Use crayons alongside pastels or charcoal for unique textures.
- Layered Art: Melt crayons on mixed-media surfaces like wood, canvas, or metal.
Mixed-media projects allow versatility and artistic freedom. Experiment across multiple materials for fascinating outcomes.
Tips and Tricks
Mastering crayon art requires patience, practice, and a few handy tips. Fine-tuning your skills ensures your artwork stands out.
How to Avoid Common Mistakes
Avoiding mistakes can save time and improve the quality of your crayon art. Here’s how:
- Prevent Smudging: Work from top to bottom to avoid rubbing your hand over the artwork.
- Use the Right Pressure: Don’t press too hard, as it can damage the paper and limit blending.
- Choose the Right Surface: Smooth surfaces help with even coloring; textured ones create unique effects.
- Plan Your Colors: Test color combinations on scrap paper before applying them to your artwork.
- Proper Tool Handling: Keep crayons sharp for detailed work. Use dull crayons only for broader strokes.
- Avoid Overheating: When working with melted crayons, monitor heat levels to prevent scorching.
- Store Crayons Correctly: Keep them in a cool, dry place to avoid breakage or melting.
By identifying and addressing these pitfalls, you can drastically improve your crayon art results.
Preserving and Displaying Your Artwork
Preserving and showcasing your crayon art ensures it remains intact and admired for years.
- Fixatives for Protection: Use a spray fixative to prevent smudging and fading on completed pieces.
- Frame Your Art: Place artwork in a frame under glass to protect it from dust and dirt.
- Use Protective Sheets: When storing, insert wax paper between pieces to avoid smudging.
- Avoid Direct Sunlight: Keep art away from strong sunlight to preserve vibrant colors.
- Matting Techniques: Add a mat for professional presentation when framing your art.
- Seal Melted Projects: Apply a clear sealant over melted crayon works to lock in the designs.
- Showcase Creatively: Hang your pieces in well-lit spaces or create a themed gallery wall.
Taking these steps prolongs the life of your artwork and allows you to share it with pride.
Inspiring Crayon Art Projects for Beginners and Experts
Explore crayon art projects that ignite creativity. These ideas cater to both beginners and seasoned artists. Each project enhances your skills while delivering visually stunning results.
Step-by-Step Tutorials for Beginners
Beginner crayon art projects focus on simplicity and fun. They help build confidence with basic techniques. Try these step-by-step ideas:
- Sunset Scene: Create a radiant sunset using bold, warm crayon shades. Blend the colors for a smooth transition.
- Animal Silhouettes: Trace animal shapes and fill them with gradients or vibrant solid colors.
- Crayon Resist Art: Draw with white crayon on paper, then paint over it with watercolor for hidden designs.
- Shape Collages: Color and cut geometric shapes, then arrange them into creative patterns.
- Floral Doodles: Sketch simple flowers and use bright crayons to fill each petal.
These projects are easy, fun, and great for experimenting with different techniques. They’re perfect for kids and beginners.
Showstopping Advanced Art Pieces
Advanced projects challenge your skills and creativity. These ideas aim for intricate details and impressive visuals:
- Melted Crayon Landscapes: Melt crayons to form vivid landscapes like forests, beaches, or cityscapes. Use heat tools for precision.
- Intricate Mandalas: Draw complex mandala designs and fill them with overlapping color gradients.
- 3D Crayon Sculptures: Carve or shape crayons into small sculptures. Stack or bond pieces for layered effects.
- Textured Abstract Art: Combine melted wax with scraping tools to create unique textures and vibrant patterns.
- Nature-Scene Collages: Blend crayons with other materials like leaves or pressed flowers for mixed-media pieces.
These projects require time and patience but produce stunning, unforgettable art. Experiment boldly to discover your signature style.
Encouraging Sustainability
Sustainability can be integrated into crayon art practices. Creative approaches help reduce waste and support eco-friendly methods. Let’s explore ways to promote sustainable crayon art.
Upcycling Old Crayons
Upcycling old crayons is a smart way to minimize waste and create unique materials.
- Gather Broken Crayons: Collect unused or broken crayons from homes, schools, or craft studios.
- Melt and Mold: Melt them in molds to create new crayons in various shapes or designs.
- Combine Colors: Mix leftover crayons to make vibrant, multicolored creations.
- Layered Crayon Art: Use scraps for layered artwork by blending uneven shapes.
- Repurpose Art Tools: Turn unused crayons into decorative candle embellishments or ornaments.
Upcycled crayons are both functional and visually interesting. This reuse process promotes a creative and sustainable lifestyle.
Eco-Friendly Crayon Art Practices
Eco-friendly practices ensure crayon art contributes less to environmental harm.
- Choose Sustainable Brands: Opt for crayons made from eco-friendly materials like soybean wax or recycled pigments.
- Use Recycled Paper: Create your art on recycled paper to reduce resource consumption.
- Avoid Disposable Supplies: Replace single-use materials with reusable tools like wooden palettes or durable stencils.
- Minimize Heat Usage: When melting crayons, use energy-efficient devices or work during daylight hours.
- Safe Cleanup: Dispose of used materials responsibly or compost biodegradable scraps.
By adopting eco-friendly habits, artists can enjoy crayon art while protecting the planet. Sustainable practices pair creativity with care for the environment.