Getting Started with Halloween Canvas Art
Halloween canvas painting is a fun and creative way to celebrate the season. Whether you are an experienced artist or a beginner, getting started with the right preparation can make the process smoother and more enjoyable. Below, we’ll cover two important steps—gathering essential supplies and selecting the ideal canvas size and shape.
Essential Supplies for Halloween Paintings
To create captivating Halloween canvas art, you’ll need the right tools and supplies. Start with acrylic paints, as they are versatile and easy to use. Choose colors like black, orange, white, and purple to match the spooky theme.
Paintbrushes are essential, so include a mix of sizes for detailed work and broader strokes. A palette for mixing colors helps achieve unique hues for your artwork. You’ll also need a cup of water for cleaning brushes and a rag or paper towels to wipe excess paint.
Other useful items include stencils for intricate designs, painter’s tape for clean edges, and a pencil for sketching outlines. If you plan to add texture, include tools like a sponge or palette knife. Having these supplies ready makes the painting process seamless.
Choosing the Right Canvas Size and Shape
The size and shape of the canvas affect how your Halloween painting will look. For intricate designs, choose smaller canvases, such as an 8×10 inch one. Larger canvases, like 16×20 inches, are great for bold and dramatic themes.
Canvas shapes like rectangular or square are common, but you can experiment with circular or oval ones for unique effects. Keep the location in mind—if you plan to hang the artwork, pick a size that fits your wall space.
Primed canvases are ideal for beginners, as they offer a smooth surface ready for painting. Stretch canvas or canvas panels also work well, depending on whether you need lightweight options or sturdy ones. Selecting the right canvas ensures your Halloween art stands out beautifully.
Popular Halloween Themes for Canvas Art
Bring your Halloween canvas painting to life with these thrilling themes. Each idea offers unique opportunities to embrace the spooky season.
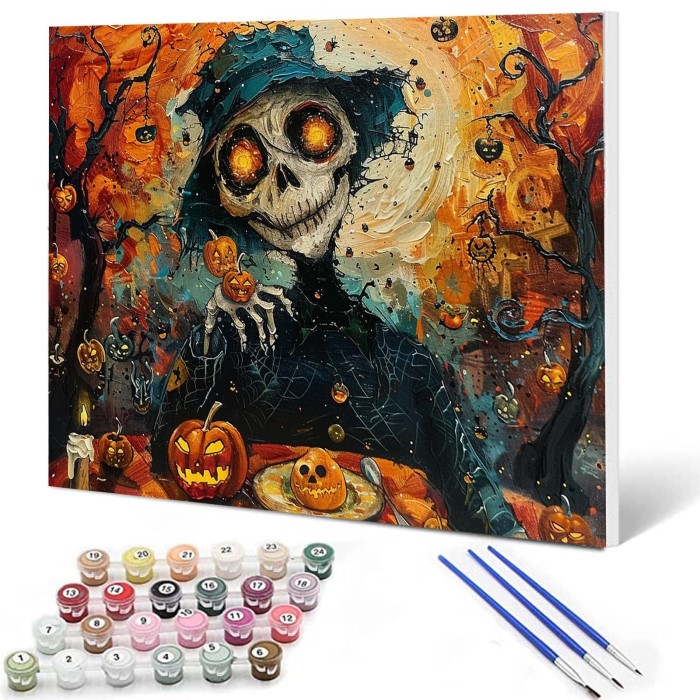
Spooky Haunted Houses and Graveyards
Haunted houses make for eerie and detailed painting subjects. Add broken windows and creaking doors for extra creepiness. Graveyards are another classic choice. Include tombstones, swirling fog, and creepy trees to enhance the scene. Use dark shades like black, gray, and green to convey mystery and dread.
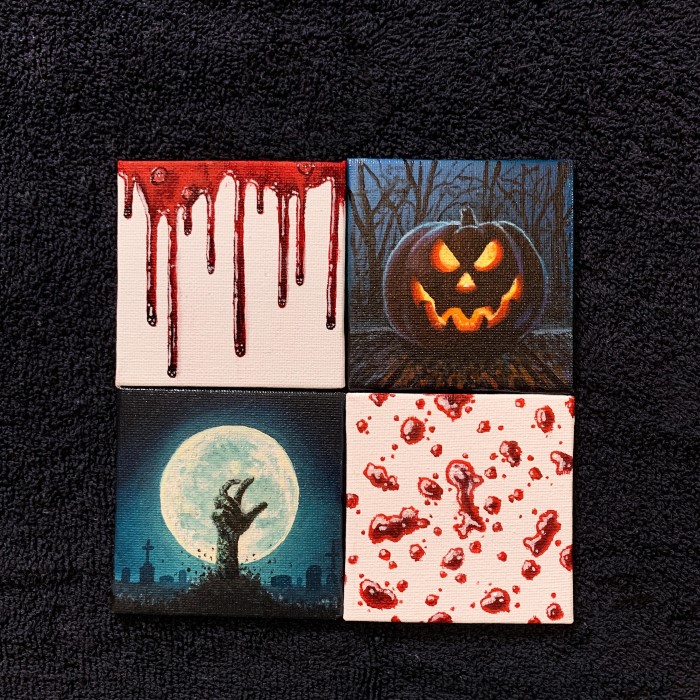
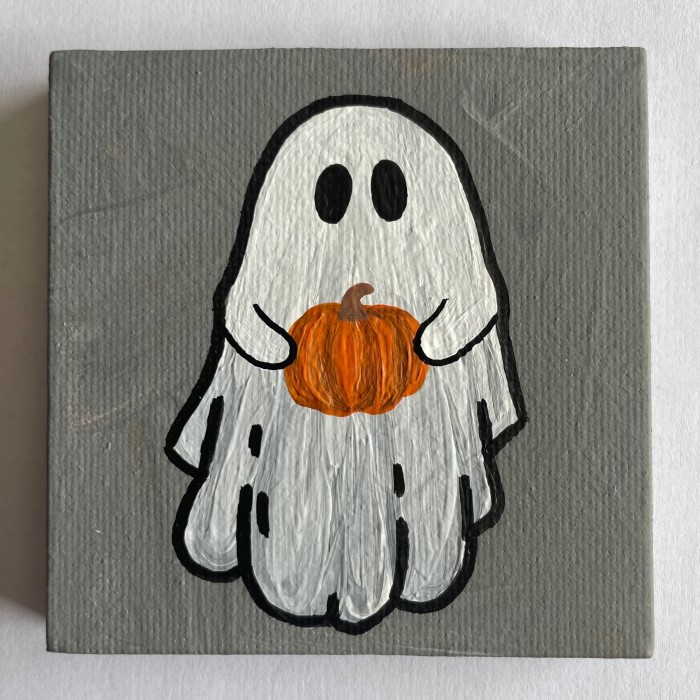
Cute and Creepy Pumpkins
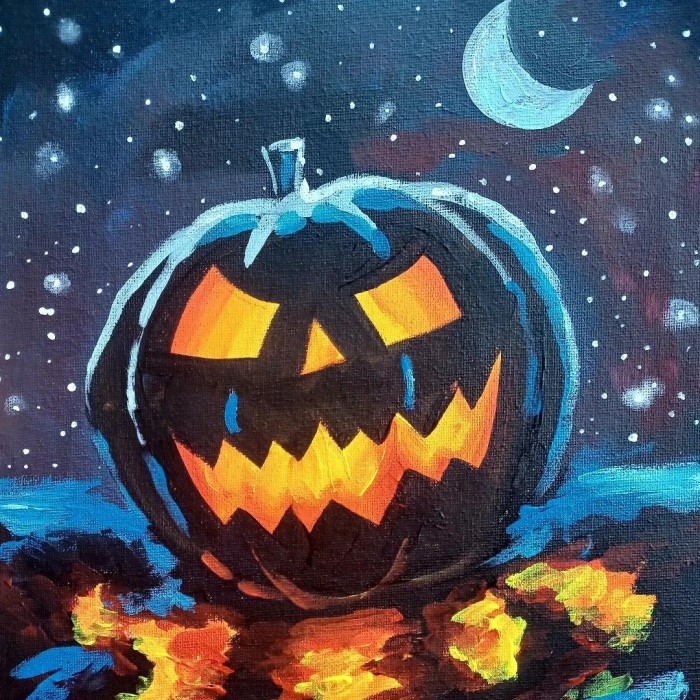
Pumpkins can be playful or spooky depending on your design. Paint cheerful jack-o’-lanterns with bright smiles, or eerie ones with sharp teeth. Include glowing candlelight to illuminate the pumpkins. Use orange, yellow, and green tones to capture the essence of Halloween.
Ghostly Silhouettes and Shadows
Silhouettes of ghosts create an intriguing focal point. Use white paint to craft floating figures against dark backgrounds. Shadows also add depth and mystery. Paint black shadow figures creeping around corners or trees. Keep the edges ghostly and blurred for added effect.
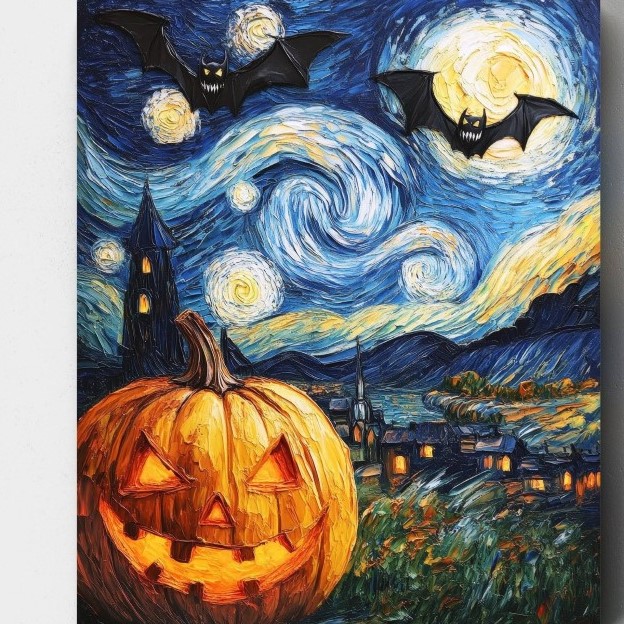
Eerie Full Moon Scenes with Bats
Full moons are iconic for Halloween. Paint them glowing brightly amidst a dark sky. Add flying bats to create movement and atmosphere. Incorporate other elements like whispering clouds or barren tree branches. Use shades of blue, silver, and white for a chilling night-time vibe.
Techniques for Creating Stunning Halloween Art
Mastering techniques can elevate your Halloween canvas painting to exceptional levels. From enhancing depth to creating intricate designs, thoughtful techniques make your artwork stand out.
Layering Colors for Depth and Atmosphere
Layering adds dimension to your Halloween canvas art. Begin with a base color that sets the mood—dark shades for eerie scenes and vibrant tones for playful themes. Gradually add layers using lighter or contrasting colors to build depth and details. Blend edges carefully for smooth transitions. Layering also helps create realistic lighting effects, such as moonlit shadows or glowing pumpkins. Experiment with color combinations for unique atmospheres.
Using Stencils for Intricate Designs
Stencils simplify complex designs like haunted houses or spooky silhouettes. Choose reusable stencils for convenience. Secure the stencil on the canvas with painter’s tape to avoid shifting. Use small amounts of paint and apply it carefully with a sponge or brush. Gradually remove the stencil to reveal precise edges. Stencils are perfect for quick patterns like bats, spider webs, or geometric shapes. They save time while ensuring sharp, detailed artwork.
Creating Texture with Mixed Media
Mixed media adds tactile interest to Halloween art. Use items like sponges, palette knives, or even fabric. Apply layers of paint unevenly for rough or cracked effects, such as weathered graveyard surfaces. Add texture with materials like glitter, sand, or cotton—glitter for stars, cotton for mist. Mixed media techniques work well for vivid pumpkins or eerie landscapes. Let layers dry completely to preserve intricate textures. These methods make your Halloween canvas art visually engaging and unique.
Tips for Beginners in Halloween Canvas Painting
Embarking on Halloween canvas painting is exciting and rewarding. Beginners can easily start with these useful tips to create beautiful art. Keep it simple and avoid common mistakes to grow your skills.
Simple Designs to Start With
Start with basic and manageable designs to build confidence. Simple ideas like:
- Pumpkin Outlines: Sketch cheerful or spooky pumpkins with minimal details using orange and green hues.
- Ghost Silhouettes: Paint white, flowing ghost shapes against a dark background.
- Black Cats: Create a black cat sitting on a fence or under a moonlit sky.
- Spider Webs: Use white or silver lines to create delicate webs against orange or black backgrounds.
Geometric patterns such as stripes or polka dots also work well for borders or backgrounds. Begin with fewer colors and add details gradually. These simple designs allow beginners to practice brush control and blending.
Common Mistakes to Avoid
Avoiding mistakes ensures a smoother painting process. Here are some to keep in mind:
- Skipping Sketching: Always sketch your design lightly with a pencil before painting.
- Using Too Much Paint: Layer paint gradually. Excess can cause blotches and uneven textures.
- Ignoring Drying Time: Let each layer dry completely to prevent smudging.
- Overloading Details: Focus on simplicity at first. Too many details can overwhelm and complicate the design.
- Using Unfitting Brushes: Choose appropriate brushes for each area, such as small ones for details.
By starting with easy designs and avoiding these pitfalls, beginners can create enjoyable and rewarding Halloween canvas art.
Inspiring Ideas for Kids and Families
Halloween canvas painting is a fantastic activity for kids and families. It combines creativity with festive fun. These ideas focus on making painting simple, interactive, and enjoyable for everyone.
Fun and Easy Interactions with Colors
Introduce children to basic color mixing. Let them explore how primary colors create new shades. Use Halloween-themed palettes—orange, black, purple, and green work well. Encourage kids to paint shapes like pumpkins, ghosts, or bats.
Another easy activity is sponge painting. Dip sponges in paint and press them onto the canvas. This technique works wonderfully for creating the look of swirling fog or eerie sky effects.
Finger painting adds a playful touch too. Children can use their hands to form pumpkins, moons, or scary creatures. Keep the designs simple and let the kids enjoy experimenting with messy, hands-on fun.
Collaborative Halloween Art Projects
Create a group project that involves everyone. A family mural is a great option. Use a large canvas and divide it into sections. Each family member can work on their own spooky design, like skeletons, spiders, or haunted houses.
Another idea is painting a Halloween story together. Choose a theme, like a witch’s adventure or spooky forest scene. Each person adds a piece to the story on the canvas.
Stencil-based projects are perfect for group effort as well. Adults can help with placing the stencils while kids apply the paint. Designs like jack-o’-lantern faces or ghost shapes make the collaboration fun and engaging.
Collaborative projects not only bring families together but also create lasting memories. These shared tasks ensure plenty of Halloween spirit while fostering creativity and teamwork.
Displaying and Preserving Your Halloween Canvas Art
Show off your Halloween canvas art creatively and keep it looking its best for years. These tips focus on showcasing and protecting your creations effectively.
Innovative Ways to Showcase Seasonal Art
- Gallery Wall: Arrange multiple Halloween paintings together for a themed gallery wall display.
- Mantle Decorations: Place smaller artworks on a fireplace mantle amid spooky figurines or candles.
- Floating Shelves: Use floating shelves to create a layered showcase of different canvas sizes.
- Seasonal Frames: Add seasonal, Halloween-themed frames for a finished and festive touch.
- Outdoor Displays: Weatherproof your canvas art and hang it on doors or porches for festive curb appeal.
- Table Centerpieces: Use small canvases on easels as unique table decorations.
- Rotating Displays: Switch out your Halloween paintings with holiday-themed art throughout the year.
These creative ideas ensure your art adds charm to your Halloween decor.
Tips for Long-Term Protection and Storage
- Use Sealants: Apply a clear acrylic sealer to protect your canvas art from dirt and fading.
- Avoid Direct Sunlight: Keep paintings away from direct sunlight to prevent color fading.
- Keep Away from Moisture: Store art in dry areas to avoid warping or mold growth.
- Dust Regularly: Use a soft, dry cloth to gently clean your canvas art.
- Frame with Glass Covers: Protect canvas paintings with glass or acrylic covers in frames.
- Store Flat or Upright: Always store canvas art flat or upright to avoid sagging.
- Use Acid-Free Materials: Choose acid-free paper or boxes for storing your art long term.
Protecting and showcasing your Halloween canvas art ensures it remains a part of your seasonal celebrations for years to come.
DIY Seasonal Decorations Incorporating Halloween Canvas Art
Transform your Halloween canvas art into captivating holiday decorations. These ideas blend creativity with festive charm.
Using Canvas Art in Centerpieces and Wall Decor
Table Centerpieces
- Spooky Canvas Paintings: Position small, spooky canvas paintings on mini easels to create eye-catching centerpieces. These canvases can feature Halloween themes such as ghosts, pumpkins, or eerie landscapes.
- Enhancing the Setting: Arrange the paintings among a collection of pumpkins and Halloween figurines. This arrangement will evoke a festive atmosphere, perfect for dining tables or party setups.
- Layering Elements: Consider varying the height of the easels to create visual interest. For example, place taller items like jack-o’-lanterns next to shorter paintings to produce a more dynamic centerpiece.
Gallery Walls
- Themed Wall Creation: Choose a dedicated wall space to create a gallery of Halloween-themed canvas paintings. This space can reflect a variety of Halloween motifs such as witches, black cats, and haunted houses.
- Artful Arrangement: Arrange multiple paintings in different sizes and orientations for an eclectic yet harmonious look. Use frames that complement each other for a cohesive design.
- Incorporating Other Decor: Add additional decoration elements, such as string lights or Halloween-themed garlands, to enhance the festive feel of the gallery wall. This can create a striking focal point in your home.
Mantle Displays
- Combining Artwork with Decor: Use your fireplace mantle as a prime display area. Combine your Halloween artwork with decorative elements such as candles, seasonal garlands, and quirky ornaments.
- Creating Ambiance with Candles: Use candles of varying heights alongside your canvas paintings to create a cozy and inviting atmosphere. Opt for colors like deep purple, orange, or black to match the Halloween theme.
- Seasonal Ornaments: Incorporate ornaments like small skulls, spiders, or autumn leaves to add character and depth to your mantle display. This variety enriches the overall visual experience and captures the spirit of Halloween.
Floating Shelves
- Showcase Paintings of Different Sizes: Utilize floating shelves to display an assortment of canvas paintings in various sizes. This layering effect creates visual interest and allows for flexible arrangement.
- Mixing in Decorative Items: Incorporate small decorative items like skulls, colorful gourds, or mini broomsticks alongside the artwork. This combination offers a well-rounded look that celebrates the Halloween theme.
- Changing Displays: The beauty of floating shelves is the ability to change the arrangement easily. Consider rotating the artworks or decorative elements throughout the Halloween season to keep the display fresh and exciting.
Framed Wall Art
- Adding Halloween-Inspired Frames: Invest in frames that feature Halloween motifs or colors. For instance, frames painted in black, orange, or decorated with spider web designs can add an extra festive touch.
- Polished and Festive Appearance: Framing your artwork gives it a more finished and polished look. This also allows you to hang the pieces on the wall more securely.
- Creating a Cohesive Theme: Select frames that complement the artwork inside them. For example, matching a whimsical ghost painting with a playful frame can enhance the overall theme of your Halloween decor.
These creative uses make your Halloween art a central part of indoor decor.
Design Ideas for Porch and Outdoor Decorations
- Door Artwork: Hang water-resistant canvas art outside to welcome visitors with spooky designs.
- Garden Displays: Place weatherproofed art on stakes or walls in your yard for seasonal charm.
- Entryway Decorations: Combine painted canvases with lanterns or hay bales for a cozy welcome.
- Fence Decor: Attach canvases to fences along with spider webs or string lights.
- Hanging Porch Art: Suspend small canvases using ropes for eerie movement and texture.
With these outdoor ideas, your canvas art stands out and sets a festive tone.
Conclusion
In conclusion, Halloween canvas painting offers an exciting way to celebrate the season while capturing your creativity. From classic designs to whimsical artworks, the possibilities are endless. By following our guide, you can create stunning pieces that will surely impress your guests.
Take the time to gather the necessary materials, choose your designs, and enjoy the painting process. With your unique creations on display, you’ll elevate your Halloween decor and create a festive atmosphere in your home. So grab your brushes and acrylic paints, and let your imagination run wild this Halloween season! Happy painting!