Introduction
Origami, the age-old Japanese art of paper folding, has captivated enthusiasts worldwide for centuries. Among the myriad of origami creations, paper hat origami stands out due to its versatility, creativity, and sheer fun. Paper hats can be used in various contexts, from festive parties to stylish accessories during themed events. This article will explore the enchanting world of paper hat origami, detailing designs, methods, and materials you need to produce fantastic headwear that you can flaunt anywhere. Whether you are a novice or an experienced paper artist, you will find helpful tips and techniques to create fashionable hats that will impress everyone around you.
The Basics of Origami Paper Hats
Before diving into specific designs, it’s essential to grasp the foundational principles of making origami paper hats. Understanding the basics lays a solid groundwork for more complex creations.
Choosing the Right Paper
- Types of Paper: Selecting the ideal paper is one of the first steps in origami. You can choose from several types of paper, including:
- Origami paper: This lightweight paper is ideal due to its foldability and range of colors.
- Construction paper: A more sturdy option that comes in various vibrant hues.
- Old newspapers or magazines: These can be recycled creatively, adding a unique artistic touch to your hat.
- Optimal Sizes: Most paper hat origami projects work well with square sheets, typically ranging from 8 to 12 inches. Larger hats may require bigger pieces of paper, so consider the design before cutting.
Essential Tools for Origami
While origami can often be done with just paper, several tools can enhance your crafting experience:
- Bone Folder: This tool is incredibly helpful for creating crisp, clean folds and can dramatically improve the look of your finished hat.
- Scissors: Although traditional origami usually avoids cutting, some designs may require specific shapes or alterations.
- Ruler and Pencil: Using a ruler can help you measure and mark guidelines, especially if you are creating custom shapes.
Basic Folding Techniques
Familiarity with some fundamental folding techniques is essential for producing beautiful origami hats. Among the most commonly used folds are:
- Valley Fold: This fold creates a crease downward, resulting in a valley-like appearance on one side of the paper.
- Mountain Fold: The opposite of the valley fold, which creates an upward crease that resembles a mountain peak.
- Reverse Fold: It involves folding a section forward, then folding it back over itself in the opposite direction. This technique is often used to refine shapes in origami designs.
With this base knowledge, you are ready to embark on your paper hat origami journey!
Popular Styles of Paper Hats
Now that you understand the fundamentals, let’s explore some popular origami hat designs that you can create. Each style offers its unique elegance and functionality, making them perfect for various occasions.
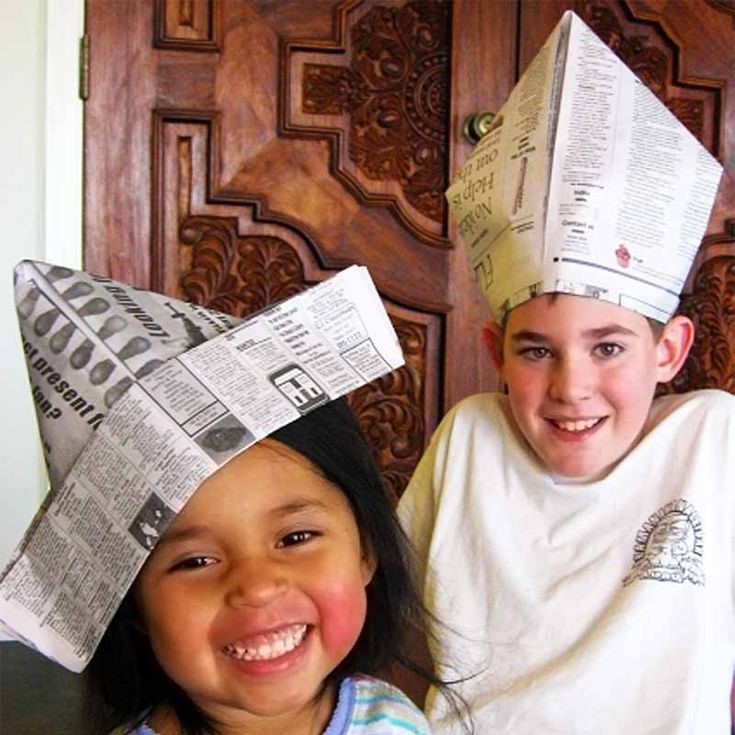
Traditional Origami Party Hat
The classic origami party hat is a staple for celebrations and gatherings. Here’s how to make one:
- Materials Needed: A square sheet of colorful origami paper.
- Instructions:
- Begin with your square paper and fold it in half diagonally, forming a triangle.
- Take the two corners of the triangle, fold them down towards the base, creating a smaller triangle shape.
- Fold the top point of the triangle downwards toward the base to finish the hat’s peak.
- Optionally, embellish your party hat by decorating it with stickers, glitter, or other fun accessories.
This classic design is perfect for birthdays, festive gatherings, or any occasion where fun is in the air!
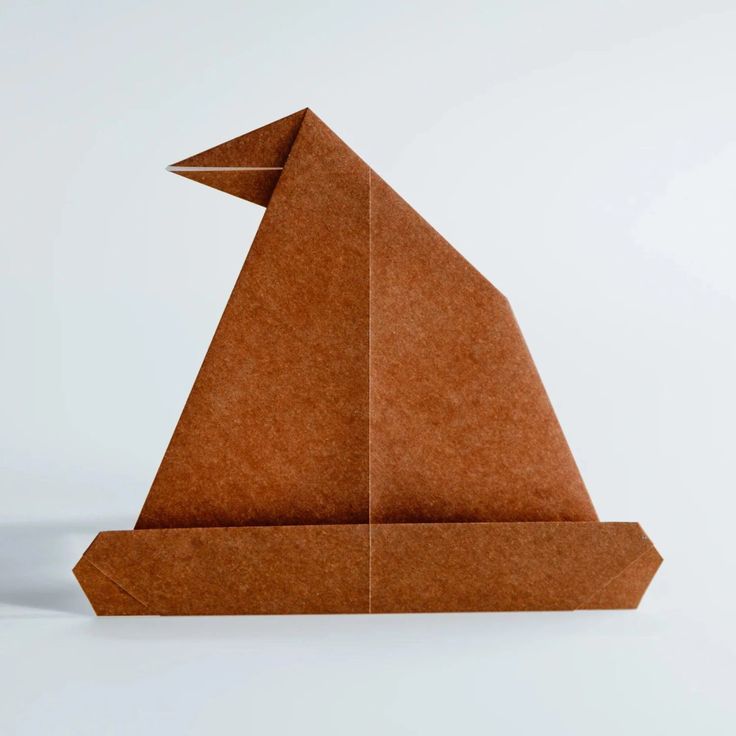
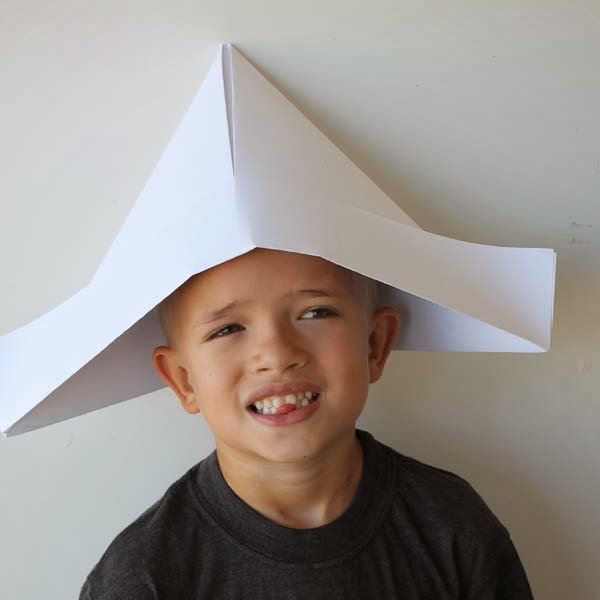
Sun Hat Origami
A sun hat made from origami can be a playful accessory for warm weather events or outdoor activities. Here’s how to create one:
- Materials Needed: A larger square piece of paper, such as wrapping paper, which gives a decorative touch.
- Instructions:
- Start by folding your square in half diagonally to form a triangle.
- Take the two sides of the triangle and bring them toward the middle to form a smaller triangle.
- Open the top flap to shape the brim and create a unique silhouette.
- Personalize the hat by coloring, drawing, or adding floral accents.
This stylish origami sun hat is ideal for relaxing backyard get-togethers, picnics, or beach trips!
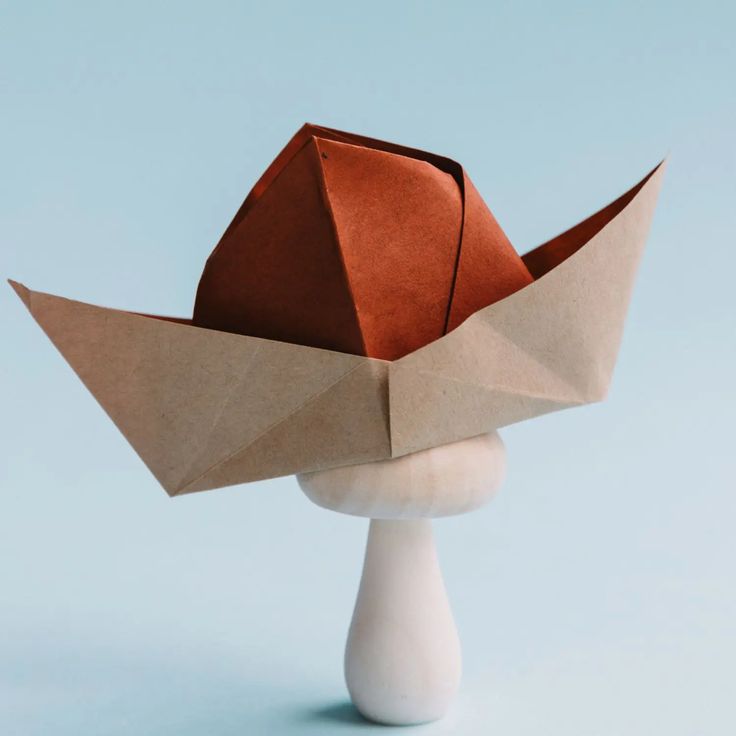
Tricorn Hat Origami
Need a whimsical touch for a pirate-themed party or historical event? A tricorn hat made from origami can be a fantastic addition!
- Materials Needed: A square piece of sturdy paper, like cardstock, for durability.
- Instructions:
- Begin with your paper oriented as a square and fold it diagonally to create a triangle.
- Fold the corners of the triangle inward to the centerline, forming a smaller triangle shape.
- To create the traditional tricorn shape, fold each side outward at an angle.
- You can further embellish the hat by decorating it with decorations like feathers or ribbons.
This design is commonly adored at festivals, masquerades, and costume parties.
Advanced Techniques and Variations
Once you’re comfortable with basic styles, consider experimenting with advanced techniques to elevate your creations. Here are a few ideas:
Combining Different Papers
- Layering Techniques: Use multiple sheets of paper to create layered hats for added depth. For instance, place a smaller hat on top of a larger one to create an eye-catching effect.
- Texture Exploration: Experiment with textured or patterned paper (like glitter paper) to add visual interest. This can enhance the overall appearance of your hat significantly.
Adding Paints and Illustrations
- Customization: Before forming your hats, consider using fabric markers or paints to add designs or patterns on the paper. Customize it to fit specific events or personal styles.
- Seasonal or Themed Hats: Tailor your paper hats according to seasons or special occasions. Think pumpkins for Halloween or hearts for Valentine’s Day!
Group Projects for Fun
Family Crafting: A Joyful Experience for All
- Quality Time Together: Gathering friends or family for a paper hat-making workshop allows you to spend quality time with loved ones. This shared experience fosters bonding and creates lasting memories as everyone engages in a creative activity.
- Creative Expression: Encourage participants to unleash their creativity by making unique designs. Provide a variety of papers, colors, and embellishments, so everyone can personalize their hats according to their individual styles and preferences.
- Learning and Collaboration: Facilitate a collaborative environment where participants can share ideas and techniques. Encourage beginners to learn from more experienced crafters, promoting teamwork and enhancing the overall crafting experience.
- Showcase Completed Hats: At the end of the workshop, set aside time for everyone to showcase their completed hats. This allows participants to appreciate each other’s creativity and encourages them to celebrate their artistic accomplishments.
Hat Parade: Fun for Everyone
- Plan the Mini Parade: Organize a mini parade where everyone can proudly display their crafted hats. This event can be a highlight for children, turning the hat-making activity into an exciting celebration of creativity.
- Perfect for Celebrations: The Hat Parade is an excellent addition to birthday parties or school functions. It adds an interactive element to the event, capturing the attention of attendees and creating a festive atmosphere.
- Involve Everyone: Encourage friends, family members, or classmates to participate in the Hat Parade. This inclusivity ensures that everyone feels involved and valued, enhancing the overall enjoyment of the event.
- Prizes and Recognition: Consider offering fun prizes or recognition for different categories, such as “Most Creative Hat” or “Funniest Design.” This friendly competition can motivate participants to put extra effort into their creations and add a playful twist to the parade.
- Capture the Memories: Don’t forget to take photos during the Hat Parade! These snapshots can serve as delightful keepsakes, capturing the joy and enthusiasm of the event for everyone to reminisce about later.
Incorporating Technology Into Your Origami
As origami enthusiasts adapt to modern trends, technology can enhance your crafting experience:
Online Tutorials and Resources
- Video Guides: Platforms like YouTube offer numerous video tutorials that visually demonstrate the folding process. This can be particularly beneficial for visual learners.
- Interactive Apps: Certain mobile apps provide step-by-step instructions for various origami projects, including paper hats. These tools can help you track your progress and modify designs as needed.
Community Engagement
- Social Media Platforms: Engaging with online communities related to origami can enhance your skills. Websites and social media platforms allow enthusiasts to share their creations, techniques, and inspirations.
- Origami Challenges: Participate in challenges that encourage creativity and innovation within the community. Contributing to these projects can also offer unique perspectives and ideas.
Conclusion
In conclusion, engaging with paper hat origami opens up an exciting and creative world that promotes fun and imagination. From classic party hats to unique sun hats and tricorn designs, the possibilities are endless when you harness the art of origami.
Embrace the versatility of paper hats by inviting friends, family, or classmates into the crafting process. This engaging experience fosters creativity, bonding, and joy among participants while enhancing celebrations for individuals of all ages.
As you delve deeper into the world of origami, remember that every hat you create tells a story and represents your creativity. So gather your materials, explore new designs and techniques, and allow your imagination to guide you. The journey of crafting fashionable hats through paper hat origami awaits you—get ready to showcase your impressive creations! Let’s start folding and bring those stylish hats to life!