Introduction
Painting over oil-based paint can be a daunting task for many DIY enthusiasts and homeowners. However, with the right techniques and preparation, you can achieve a beautiful finish that enhances your space. If you’re wondering how to paint over oil based paint, you are not alone. Understanding the unique challenges that come with oil-based paints is crucial for ensuring a successful transformation of your surfaces.
In this comprehensive guide, we will detail everything you need to know about painting over oil-based paints, including the reasons for doing so, essential tools, effective techniques, and tips for achieving a flawless finish. By the end of this article, you will be well-equipped to tackle your painting project confidently and successfully.

Understanding Oil-Based Paints
1. Characteristics of Oil-Based Paints
- Durability: How to paint over oil based paint? One of the main advantages of oil-based paints is their durability. They are known for creating a tough, hard finish that can withstand impacts, moisture, and wear over time. This quality makes them ideal for high-traffic areas, such as kitchens and bathrooms.
- Finish Quality: Oil-based paints tend to provide a smoother, glossier finish compared to water-based paints. This can be particularly appealing for trim, cabinets, and furniture. However, achieving this finish can be more work initially because of the application and drying times.
- Long Drying Times: Unlike water-based paints, oil-based paints take longer to dry. While this slow drying time allows for a smooth application, it also means you have to wait longer between coats. It’s important to plan your project accordingly.
2. Common Reasons to Paint Over Oil-Based Paint
- Color Change: Over time, you may decide to change the color of a surface that has been painted with oil-based paint. This change can refresh your space and enhance your home’s overall aesthetic.
- Transition to Water-Based Paints: Many homeowners choose to switch to water-based paints for their lower VOC emissions, faster drying times, and easier clean-up with soap and water. Understanding how to make this switch correctly is essential.
- Damaged Surfaces: If the existing oil-based paint is showing signs of wear, such as chipping or fading, you may want to repaint to restore the surface’s appearance and protect the underlying material.
Preparing for Your Project
1. Gather Necessary Supplies
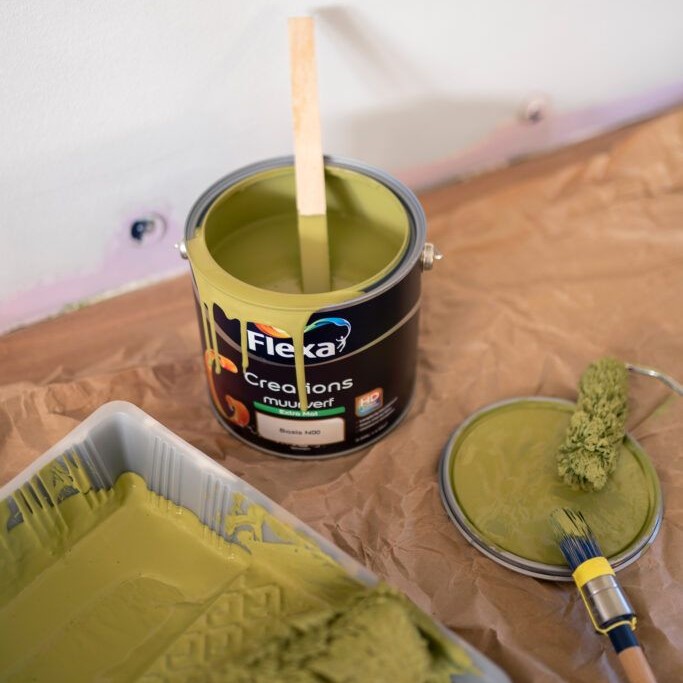
- Essential Materials: Before you begin, make sure you have all the necessary materials. You will need drop cloths, painter’s tape, sandpaper (fine and medium grit), primer, paintbrushes, rollers, and quality paint appropriate for the job (either water-based or oil-based).
- Personal Protective Equipment (PPE): Wear gloves, a mask, and goggles to protect yourself from dust and painting fumes. Make sure you work in a well-ventilated area to minimize exposure to harmful chemicals.
2. Clean the Surface
- Removing Dirt and Grease: Start by thoroughly cleaning the surface you plan to repaint. Use a mixture of warm water and a mild detergent to wipe down the area. It’s important to remove any oils, dirt, or dust that have accumulated over time to ensure proper adhesion.
- Drying the Surface: After cleaning, allow the surface to dry completely. This step is essential because painting on a damp surface can lead to peeling or poor adhesion of the new paint.
3. Sand the Surface
- Creating a Good Bond: Sanding the oil-based paint surface creates a texture for the new paint to grip onto, allowing for better adhesion. Use fine-grit sandpaper (220 grit) to lightly scuff the surface. Focus on areas that may be glossy, as these will not take paint as well as more textured areas.
- Cleaning Up Dust: After sanding, wipe down the surface again with a damp cloth to remove any sanding dust. Ensure that no dust particles remain before applying primer or paint.
Priming the Surface
1. Importance of Primer
- Sealing the Oil-Based Paint: Primer is crucial when painting over oil-based paint because it seals the old paint and promotes better adhesion of the new paint. Skipping this step can lead to peeling or poor coverage.
- Choosing the Right Primer: Use a high-quality primer that is compatible with both oil-based and water-based paints. Look for oil-based or shellac-based primers, as these will effectively seal the oil paint. Always check labels for product compatibility.
2. Applying Primer
- Application Techniques: Use a paintbrush or roller to apply primer evenly across the surface. Ensure that you cover all areas, including corners and edges. A thin, even coat is more effective than a thick one.
- Drying Time: Allow the primer to dry according to the manufacturer’s instructions. This typically takes a few hours, but dry times can vary based on humidity and temperature.

Choosing the Right Paint
1. Understanding Paint Types
- Water-Based vs. Oil-Based Paints: When it comes to painting over oil-based paint, you can choose either water-based or oil-based paint. However, it’s generally best to use water-based paint for easier application and clean-up.
- Selecting Quality Paint: Look for high-quality paint specifically formulated for use over oil-based surfaces. Many brands offer products that are designed to adhere well to previously painted surfaces.
2. Testing Compatibility
- Conducting a Test Patch: Before committing to a large area, conduct a small test patch. Apply your chosen paint to an inconspicuous area and let it dry. This allows you to see how well the paint adheres and if it achieves the desired look.
Painting Techniques
1. Preparing for Painting
- Ensuring Optimal Conditions: Make sure the temperature is between 50°F and 85°F (10°C to 30°C) for the best results. High humidity or extreme temperatures can negatively affect the paint’s adhesion and drying time.
- Final Clean-Up: Wipe down the area one last time to ensure it’s free from any dust or debris before you begin painting.
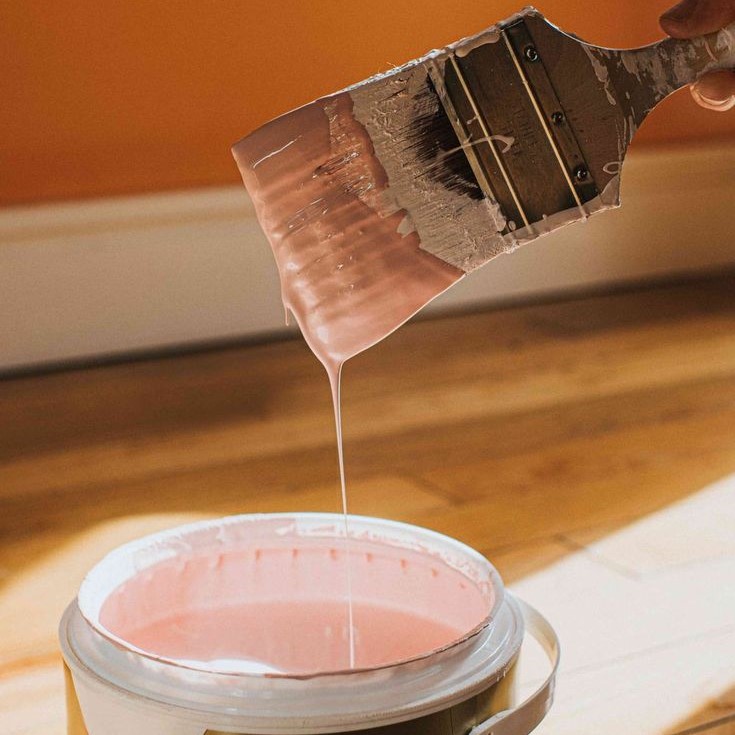
2. Applying the Paint
- Brush or Roller Choices: Use a compatible paintbrush for cutting in around edges, and a roller for larger flat surfaces. For oil-based areas that were primed, use a natural-bristle brush for the best results.
- Thin Coats: Apply thin layers of paint. It’s better to build up multiple thin coats than to apply one thick coat, which can lead to drips or uneven coverage.
- Allowing for Drying Time: Be sure to allow each coat to completely dry according to the manufacturer’s instructions before applying subsequent coats. This often takes several hours.
Finishing Touches
1. Inspect and Touch Up
- Final Inspection: After the last coat has dried, take a close look at the surface. If there are any spots that need attention or are uneven, touch them up with a small brush.
- Cleaning Tools: Clean your brushes and rollers immediately after use, especially if you worked with oil-based products or solvents. Follow the manufacturer’s instructions on proper cleaning methods.
2. Dispose of Materials Properly
- Safe Disposal: Disposing of leftover paint and materials responsibly is important. Check local regulations regarding hazardous waste disposal for oil-based products.
Conclusion
In conclusion, learning how to paint over oil based paint can transform your surfaces and improve your home’s aesthetic appeal. By following the steps outlined here—from proper preparation, priming, and choosing the right paint to applying it with care—you can achieve a smooth, beautiful finish that lasts.
Taking the time to understand the materials and techniques involved will allow you to confidently tackle your painting project. So gather your supplies and get started; your transformed space is just a few coats away! Whether it’s a room makeover or a detailed furniture piece, successfully painting over oil-based paint can breathe new life into your home, making it a project worth undertaking.