The Rising Popularity of the DIY Planter Box
Gardening has become a major trend recently. Many homeowners want to grow their own food. Others simply want beautiful flowers. Consequently, the demand for gardening structures has increased. A diy planter box is a perfect solution for many reasons. It allows you to control the soil quality easily. Furthermore, it helps manage limited space effectively. You can place these boxes on patios or balconies. Therefore, they are versatile for urban living.
Building your own box is also very cost-effective. Store-bought planters can be incredibly expensive. In contrast, you can build one for a fraction of the cost. Additionally, you can customize the size to fit your exact needs. You might need a small window box. Or, you might need a large raised bed for vegetables. A diy planter box gives you that flexibility. It is also a fun weekend project. You get the satisfaction of building something with your hands. Thus, it combines functionality with personal achievement.
Selecting the Best Materials
Choosing the right wood is crucial for longevity. You want your diy planter box to last for years. Therefore, you must select wood that resists rot. Cedar and redwood are the best options available. They contain natural oils that repel insects and prevent decay. Consequently, they do not require chemical treatments. This is important if you plan to grow vegetables. You do not want chemicals leaching into your food. However, these woods can be pricey. Pine is a cheaper alternative. But, it rots much faster unless treated.
If you use pine, line the interior with plastic. This extends the life of the wood significantly. Furthermore, avoid using pressure-treated wood for edible gardens. Old treatments contained arsenic. Modern treatments are safer but still caution is advised. Reclaimed wood is another trendy option. It adds a rustic, weathered look to your garden. You can often find old pallets for free. Just ensure the pallets were not used for chemicals. Thus, material choice sets the foundation for your project.
Essential Tools You Need
Having the right tools makes the job easier. You do not need a professional workshop. However, a few basics are necessary for a diy planter box. First, you need a saw. A circular saw is great for straight cuts. Alternatively, a miter saw helps with angled corners. Next, you need a drill. A cordless drill is the most convenient tool. You will need drill bits and screwdriver bits. Furthermore, you need a tape measure and a pencil. Accurate measurements prevent wasted wood.
A speed square is also very helpful. It ensures your cuts are perfectly square. Additionally, you will need safety glasses. Safety should always be your priority. Wood splinters can cause serious eye injuries. You might also need a hammer and nails. However, exterior wood screws are better than nails. They hold the wood together more securely. Therefore, invest in high-quality deck screws. They are coated to resist rust. Finally, a sander or sandpaper is useful. It smooths out rough edges. Consequently, you avoid getting splinters while gardening.
Trending Designs
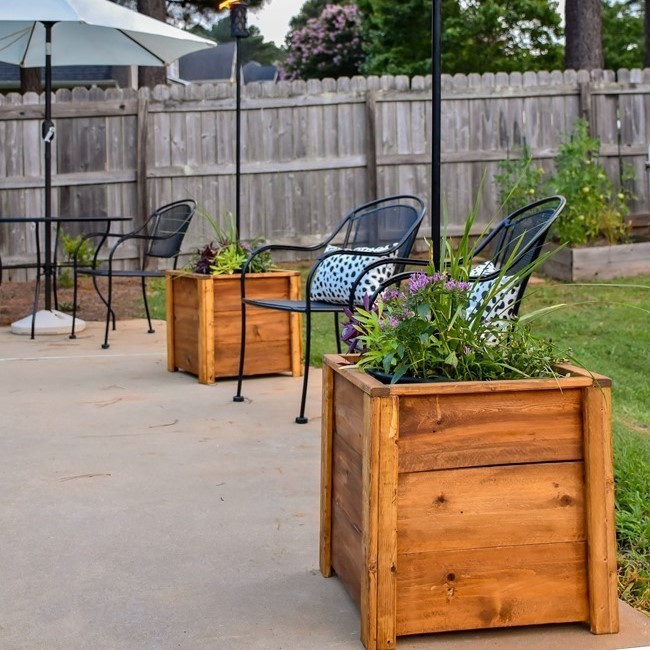
Design trends are constantly evolving. This year, minimalist styles are very popular. A simple, rectangular diy planter box fits modern homes perfectly. Clean lines and sharp edges define this trend. Another popular style is the tiered planter. This design stacks boxes on top of each other. Consequently, it creates a cascading effect for flowers. It is great for small spaces. Furthermore, galvanized metal accents are trending. You can line a wooden frame with metal sheets. This creates an industrial farmhouse look. Vertical gardens are also gaining traction. You can build a trellis onto the back of your planter. This supports climbing plants like peas or jasmine.
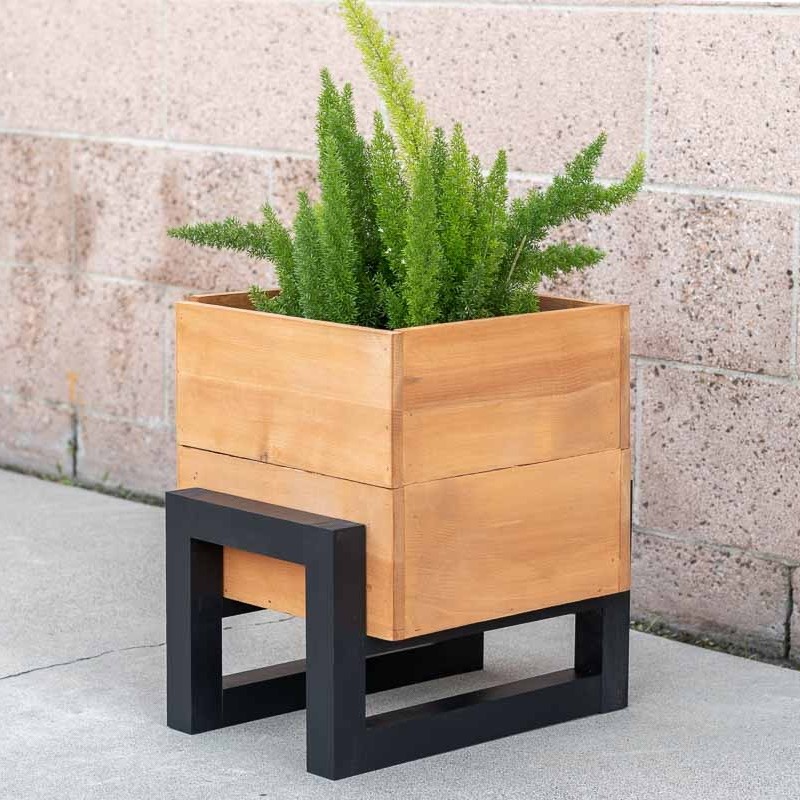
Additionally, concrete and wood combinations look stunning. You can cast concrete legs for a wooden box. This blend of textures is very chic. Therefore, do not limit yourself to a basic box. Look for inspiration in architecture. Try to match the style of your home. A well-designed planter adds curb appeal to your property.
Step-by-Step Guide
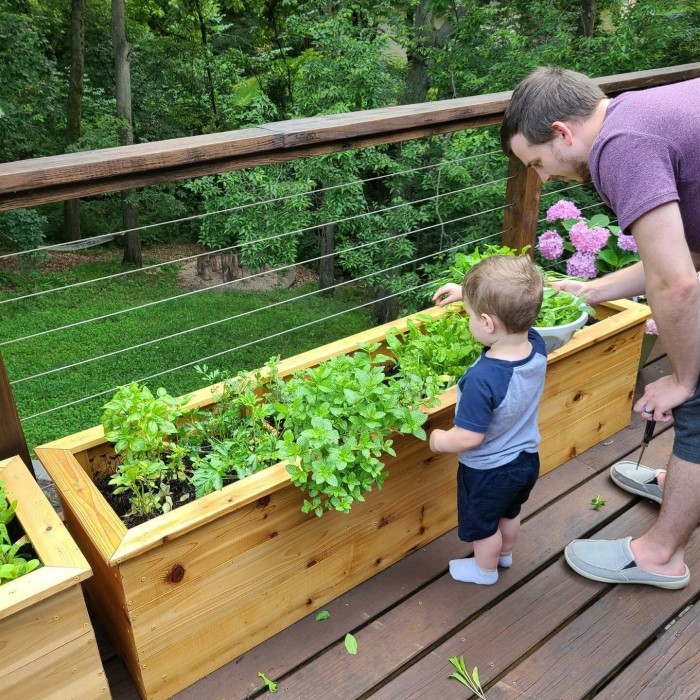
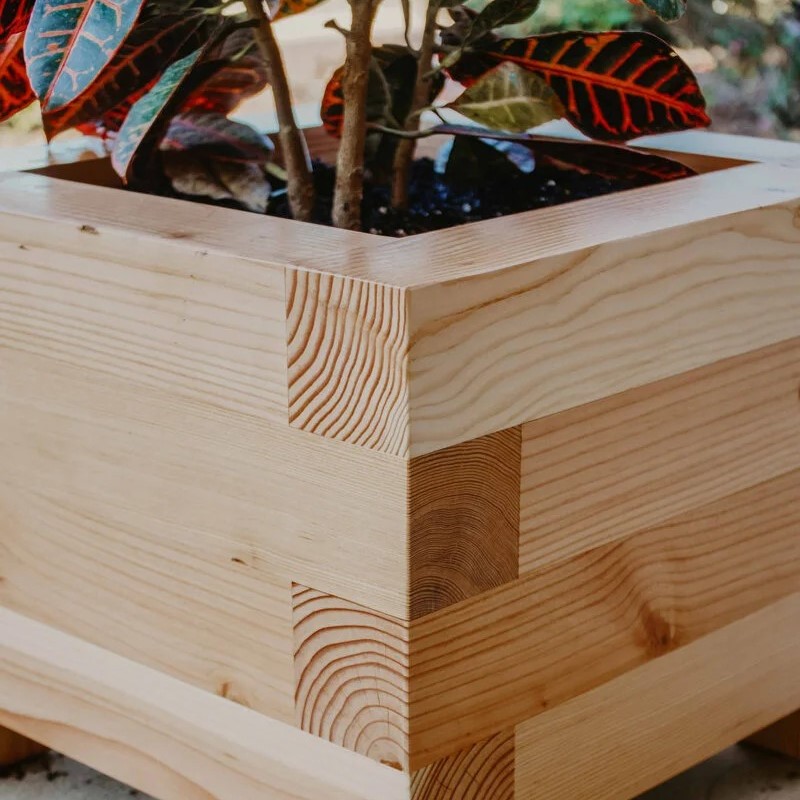
Building a diy planter box is straightforward. First, decide on your dimensions. A standard size is 4 feet by 2 feet. Cut your side and end pieces accordingly. For this example, use 1×6 inch lumber. Cut two pieces at 4 feet long. Then, cut two pieces at 2 feet long. Next, assemble the frame. Place the long boards parallel to each other. Butt the shorter end pieces against them. Drill pilot holes before inserting screws. This prevents the wood from splitting. Use two screws at each corner. Now, you have a rectangular frame. You need a bottom for the box.
Cut a piece of plywood to fit. Alternatively, you can use slats with gaps. Leave small gaps between slats for drainage. Secure the bottom with screws. Then, drill several drainage holes through the bottom. Without drainage, water will pool and rot the roots. Finally, sand all the rough edges. Your basic box is now ready for finishing. You can paint it or leave it natural.
Drainage and Soil Science
A beautiful box fails without proper soil science. Drainage is the most critical factor. If water cannot escape, roots will drown. Therefore, every diy planter box needs drainage holes. You should also consider the soil type. Garden soil is often too heavy for boxes. It compacts tightly and blocks air. Instead, use a potting mix. Potting mixes are light and fluffy. They usually contain peat moss, vermiculite, and perlite. These ingredients hold moisture but also drain well. Consequently, roots get both water and oxygen.
Furthermore, consider adding a layer of gravel at the bottom. Some experts debate this, but it can help flow. Fill the box nearly to the top. Leave about an inch of space. This allows water to pool before soaking in. Additionally, mix in slow-release fertilizer. This provides nutrients over time. Plants in containers deplete nutrients faster than in the ground. Thus, regular feeding is essential. Understanding these scientific principles ensures your plants thrive.
Protecting and Maintaining
Wood is organic and will eventually degrade. However, you can extend its life significantly. Moisture is the primary enemy of wood. Therefore, protecting your diy planter box from water is vital. You can apply a waterproofing sealer. Look for a non-toxic, plant-safe option. Linseed oil is a natural choice. It seals the wood without harmful chemicals. Apply the sealant every year or two. Furthermore, consider lining the inside of the box.
Use a heavy-duty plastic sheet. Punch holes in the plastic for drainage. This barrier keeps the wet soil away from the wood. Consequently, the wood stays drier. Another tip is to elevate the box slightly. Use small feet or casters. This allows air circulation underneath. It prevents the bottom from sitting in standing water. In winter, empty the box if possible. Wet soil freezes and expands. This can crack the wood. Thus, maintenance is an ongoing process. A little care goes a long way.
Creative Customization Ideas
Make your project unique with personal touches. A diy planter box is a blank canvas. Paint is the easiest way to customize it. You can paint it a solid color to match your house. Or, you can use stencils for intricate patterns. Furthermore, consider adding decorative trim. You can attach carved wooden brackets to the corners. This adds a touch of elegance. Another idea is to attach rope handles. It makes the box portable and adds a nautical theme. You can also burn designs into the wood. This technique is called wood burning or pyrography.
It creates a permanent, rustic look. Additionally, consider the hardware. Use decorative screws or bolts. These small details stand out. You can even add a trellis or an arch. This transforms a simple box into a focal point. Therefore, let your creativity shine. Involve your family in the decoration process. It becomes a memorable group activity. Your custom planter will be the envy of the neighborhood.
Frequently Asked Questions About Planter Boxes
What is the best wood for a DIY planter box?
Cedar and redwood are the best choices. They have natural oils that resist rot and insects. This makes them durable without chemical treatment. If you use cheaper wood like pine, line the box with plastic. This protects the wood and prevents rot. Always use untreated wood for edible plants.
Do I need to drill holes in the bottom?
Yes, drainage holes are absolutely necessary. Without them, water accumulates. This leads to root rot and plant death. Drill at least four to five holes. Cover them with mesh to keep soil inside. This ensures excess water can escape freely.
How deep should a planter box be?
The depth depends on what you grow. Most vegetables need at least 6 to 12 inches. Tomatoes and root vegetables need deeper soil, around 12-18 inches. Leafy greens and herbs can grow in shallower boxes. Always research your plant’s specific root depth requirements.
Should I line my wooden planter box?
Lining the box is a good idea. It protects the wood from constant moisture. Use a plastic liner with drainage holes. This extends the life of the planter. It also prevents chemicals in the wood from reaching the soil. This is especially important for food crops.
Conclusion
Building your own garden structure is rewarding. A diy planter box improves your outdoor space significantly. It provides a custom home for your plants. You have learned how to choose materials. You also understand design trends and construction steps. Furthermore, you know the importance of drainage. By following this guide, you can create a durable masterpiece. It will serve you for many seasons. Therefore, gather your tools and start building. Your garden is waiting for this upgrade.