The Timeless Appeal of Handcrafted Wood Frames
Creating something with your own hands is deeply satisfying. It connects you to the object in a unique way. Many people search for store-bought solutions for their art. However, nothing compares to a custom-made frame. Learning how to make a picture frame out of wood is a rewarding journey. It allows you to display your cherished memories with pride. Furthermore, it offers a level of customization that stores cannot match. You control the wood type, the stain color, and the dimensions. Consequently, the final product perfectly complements your artwork or photo.
Woodworking might seem intimidating to beginners. The prospect of using saws can feel daunting. Yet, building a frame is an excellent entry point. It requires minimal materials and basic tools. Therefore, it is the perfect project to build confidence. You will learn essential skills like measuring and cutting. These skills apply to many other future projects. Additionally, the cost is often lower than buying a high-quality custom frame. You can use scrap wood or affordable lumber. This makes it an economical hobby.
Moreover, a handmade frame makes a wonderful gift. It adds a personal touch to any occasion. Friends and family will appreciate the effort and thought. The warmth of natural wood enhances any image. It brings a touch of nature into the home. In contrast, plastic or metal frames can feel cold and impersonal. Wood has character. It has grain patterns and texture. These elements add life to the piece.
Selecting the Right Lumber for Your Project
The foundation of any good frame is the wood. Choosing the right lumber is a critical first step. There are many options available. Each type of wood has its own properties. Softwoods like pine are affordable and easy to cut. They are great for practice. However, they can dent easily. Therefore, you must handle them with care. Pine takes stain well, but it can look rustic. This is often desirable for certain styles.
Hardwoods like oak or maple are more durable. They offer a finer grain pattern. Consequently, they look more elegant. They are harder to cut. So, you need sharp tools. These woods are perfect for heirloom quality frames. They might cost more. But the final result is often worth the investment. Another option is poplar. It is a hardwood but is relatively soft. It is a favorite among picture frame makers.
Furthermore, consider the grain direction. Straight grain is easier to work with. It cuts cleanly and predictably. Wild or interlocked grain can tear out during cutting. This can ruin your piece. Therefore, inspect the lumber carefully before buying. Look for straight boards. Warped or twisted boards will result in a crooked frame. It is nearly impossible to fix a twisted frame later.
You must also decide on the profile. You can buy plain boards. Then, you can router a “rabbet” into the back. This is the groove that holds the glass and picture. Alternatively, you can buy “picture frame molding.” This lumber already has the rabbet cut. It saves time and effort. However, it limits your design choices. In summary, select wood that matches your skill level and desired aesthetic.
Essential Tools for Precision and Safety
How to make a picture frame out of wood? You cannot build a quality frame without the right tools. Precision is key in framing. Even a small error can create a visible gap. Therefore, investing in good tools is wise. The most important tool is a saw. You need to cut perfect 45-degree angles. A miter saw is the best choice. It makes accurate crosscuts and miter cuts. A power miter saw is fast and efficient. However, a manual miter saw and box work well for beginners. They are affordable and safe.
Next, you need a measuring tape. Accuracy here is non-negotiable. A fractional tape measure is best. You will measure the artwork and the wood. Furthermore, a good quality pencil is essential. Mark your cut lines clearly. A speed square or combination square helps ensure your lines are straight. These small tools make a big difference.
Clamping is another vital aspect. You need clamps to hold the frame together while the glue dries. Corner clamps are specifically designed for frames. They hold the joints at a perfect 90 degrees. This ensures the frame is square. Alternatively, you can use a strap clamp. It wraps around the entire frame. It applies even pressure from all sides.
Safety gear is just as important as tools. Always wear safety glasses. Sawdust can fly into your eyes easily. Hearing protection is also recommended. Power saws can be loud. Additionally, a dust mask protects your lungs. Wood dust can be harmful. Therefore, prioritize your safety. Finally, you will need sandpaper or a sanding block. You must smooth the wood before finishing. Start with coarse grit and move to fine grit. This prepares the surface for paint or stain.
Mastering the Miter Cut: The Heart of the Frame
How to make a picture frame out of wood? The defining feature of a picture frame is the miter joint. This joint connects the corners at a 45-degree angle. When done correctly, it creates a seamless corner. The grain flows continuously around the frame. This looks professional and elegant. However, cutting a perfect miter requires technique. First, you must measure your artwork accurately. Measure the width and height. Then, add extra space for the rabbet. This ensures the glass fits easily.
Next, calculate the length of your frame pieces. The inside edge of the frame matches the artwork size. The outside edge will be longer. This is where many beginners make mistakes. Therefore, double-check your math. Measure twice, cut once. This old adage saves wood and frustration. When you are ready to cut, secure the wood. Ensure your saw blade is sharp. A dull blade tears the wood fibers.
Set your saw to 45 degrees. Make the first cut on one end of the board. Then, measure the length. Mark the board. Make the second cut. It is crucial that opposing pieces are identical. If the top piece is 10 inches, the bottom must be exactly 10 inches. If they differ, the frame will not be square. Consequently, it is best to cut one dimension at a time. Cut the top and bottom pieces first. Verify they match. Then, cut the side pieces.
Furthermore, consider the “kerf.” This is the width of the saw blade. It removes a small amount of wood. You must account for this when cutting. If you cut right on the line, the piece will be too short. Therefore, cut just outside the line. You can always sand it down. But you cannot add wood back. In conclusion, take your time with the cuts. Precision now prevents headaches later.
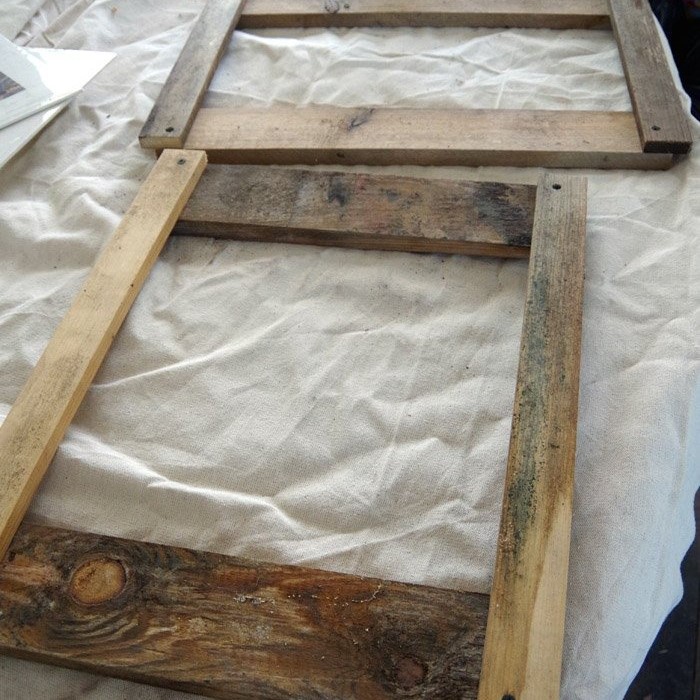
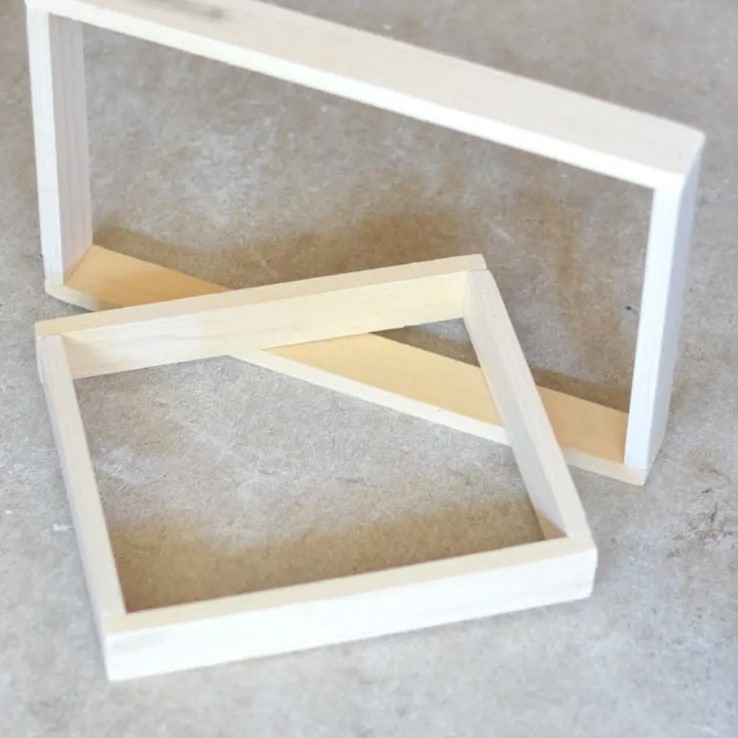
Assembling and Gluing the Corners Securely
How to make a picture frame out of wood? You have cut your four pieces. Now, it is time to assemble them. This step requires patience. You need a flat surface to work on. Lay out your pieces in order. Check the corners. Do the 45-degree angles align perfectly? If there are small gaps, you might need to trim them. A shooting plane can help here. However, for beginners, sandpaper on a block works too. Gently sand the high spots.
Apply wood glue to the mitered ends. Use a small brush or your finger. Spread the glue evenly. Do not use too much glue. It will squeeze out and make a mess. However, do not use too little. The joint needs coverage. Join the first two corners. Then, join the remaining corners. You now have a loose frame. It is fragile at this stage.
This is where clamps become essential. Place the frame in a corner clamp or strap clamp. Tighten the clamps gradually. Check the frame for squareness. You can measure diagonally from corner to corner. If the measurements are equal, the frame is square. If not, adjust the clamps. The glue will start to set quickly. Therefore, work efficiently. Wipe away any excess glue immediately with a damp cloth. Dried glue is hard to remove later.
For added strength, you can use “V-nails” or brads. V-nails are driven into the corner joint. They hold the miter together. A brad nailer can also be used. However, be careful not to split the wood. If you do not have nails, glue alone is strong enough for small frames. Just let it dry completely. Let the clamped frame sit for at least 24 hours. This ensures the bond is secure. Consequently, the frame will be rigid and durable.
Sanding and Finishing for a Professional Look
Once the glue is dry, remove the clamps. You will likely see some dried glue squeeze-out. Also, the wood might have rough edges. Sanding is the solution. Start with 120-grit sandpaper. Sand the entire frame. Follow the direction of the wood grain. Sanding across the grain creates scratches. These will show up when you stain the wood. Therefore, always sand with the grain.
Pay attention to the corners. They should be smooth and flush. If the pieces are slightly uneven, sand them level. This is called “flush sanding.” It creates a seamless transition between pieces. After the initial sanding, switch to 220-grit sandpaper. This finer grit smooths the surface further. It removes the scratches from the previous sanding. Consequently, the wood feels soft to the touch. Wipe the frame with a tack cloth. This removes all the dust.
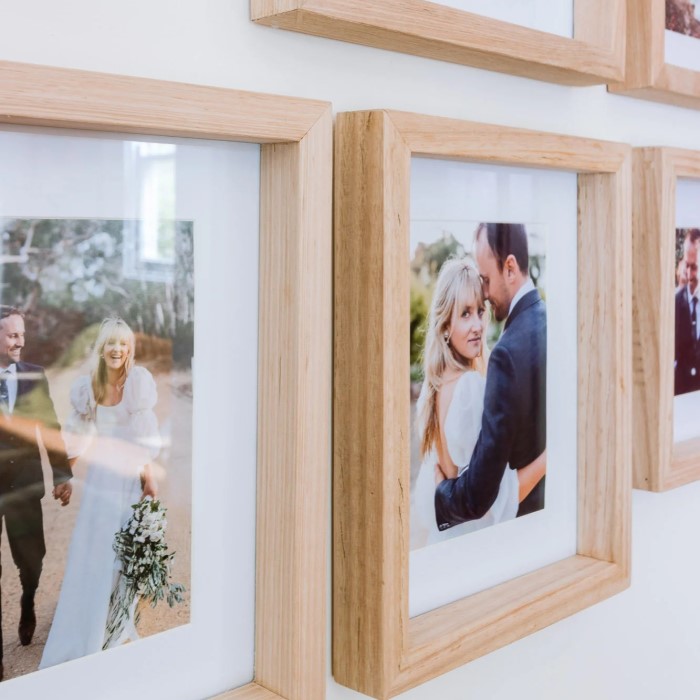
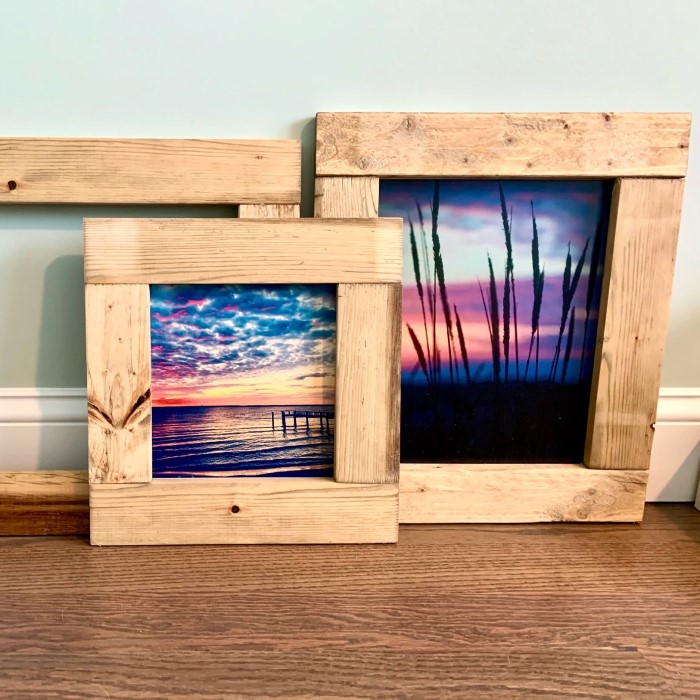
Now you are ready to finish. You have many options. Wood stain is a popular choice. It enhances the natural grain. Apply the stain with a rag or brush. Wipe off the excess after a few minutes. The longer you leave it, the darker the color will be. Let the stain dry completely. Then, apply a clear topcoat. Polyurethane is durable. It protects the wood from moisture and scratches. Apply two or three thin coats. Lightly sand between coats with fine sandpaper.
Painting is another option. A primer is recommended first. It helps the paint adhere. Then, apply your chosen paint color. Acrylic or latex paint works well. You can also use a spray paint. It gives a smooth, factory-like finish. Alternatively, you can leave the wood natural. Just apply a clear sealer or oil. This preserves the raw look of the wood. In summary, the finish transforms the raw wood into a polished product. It highlights your hard work.
Installing Hardware and Final Assembly
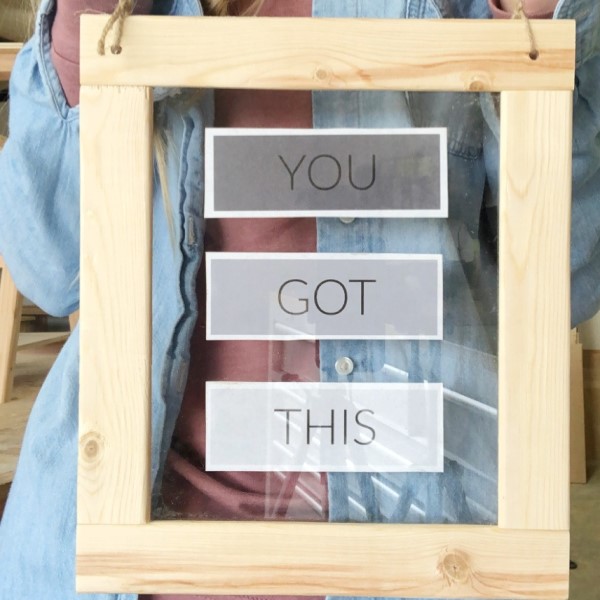
How to make a picture frame out of wood? The frame is built and finished. Now, you must make it functional. You need to install the hardware. First, clean the glass. Dust and fingerprints show up easily. Place the glass into the rabbet. Next, place your artwork or photo. Ensure it sits flat. You might need to use acid-free tape to hold it. Then, place a backing board. This is usually cardboard or foam core. It holds the picture in place.
To secure the backing, use “points.” These are small metal tabs. You can push them into the wood with a point driver. Or you can tap them in with a hammer. They keep the contents from falling out. Do not drive them too deep. You might need to remove them later to change the photo. Consequently, make them snug but removable.
Next, install the hanging hardware. A sawtooth hanger is simple. It attaches to the top center of the frame. Use small nails provided. Ensure it is level. For heavier frames, use D-rings and wire. Screw a D-ring into each side of the back. Then, string picture wire between them. Twist the wire securely. This method is more versatile. It allows you to adjust the hanging height.
Finally, inspect the frame one last time. Clean the front glass. Check for any dust inside. If you see dust, you must take it apart. A clean presentation is vital. Your frame is now ready for display. Hang it on the wall or place it on a shelf. Step back and admire your work. You have successfully created a custom frame. It is a testament to your skill and patience.
Troubleshooting Common Mistakes
How to make a picture frame out of wood? Even experienced woodworkers make mistakes. Knowing how to fix them is part of the process. One common issue is gaps in the miter joints. This usually happens because the cut was not exactly 45 degrees. Do not panic. You can fix small gaps. Wood filler is a quick solution. Choose a filler that matches your stain. Press it into the gap. Wipe away the excess. Once dry, sand it smooth. It will be barely visible.
Another problem is a frame that is not square. This means the corners are not 90 degrees. The frame will look crooked on the wall. To check this, measure the diagonals. If they differ, the frame is out of square. You can sometimes force it square during assembly. Use a strap clamp and adjust the pressure. If the glue is already dry, it is harder to fix. You might need to cut the joints apart. This is drastic. Therefore, checking for squareness before the glue dries is crucial.
Sometimes, the wood splits when you drive a nail. This is frustrating. It often happens near the ends of the board. To prevent this, drill a pilot hole. Use a drill bit slightly smaller than the nail. This gives the nail a path. It reduces pressure on the wood fibers. If a split happens, you can use wood glue. Squeeze glue into the split. Clamp it until dry. Then, sand the area.
Conclusion
Building a picture frame is a fulfilling project. It combines technical skill with artistic expression. You start with raw lumber. You cut, assemble, and finish it. The result is a beautiful vessel for your memories. This guide has shown you the basics. You learned about wood selection. You learned about tools and cutting techniques. Furthermore, you learned how to assemble and finish your work. These skills are the foundation of woodworking. They will serve you well in future projects. Remember that practice makes perfect. Your first frame might not be flawless. But it will be yours. You made it with your own hands.
The process of learning how to make a picture frame out of wood opens up a world of possibilities. You can frame your own art. You can create gifts for loved ones. The potential is limitless. Woodworking is a journey. Enjoy every step of the process. From the first cut to the final polish. So, gather your tools. Pick out a beautiful piece of lumber. Start creating today. You will be amazed at what you can achieve.