Introduction
Crafting with children can be an incredibly rewarding experience. It not only encourages creativity but also strengthens the bond between parent and child. One of the best projects to embark on together is making a childs apron pattern. Not only is it a fun activity, but it also results in a practical item that your child can use while cooking, crafting, or engaging in various activities. This article will guide you through the steps of creating a simple yet delightful apron pattern designed specifically for children, ensuring that the process is enjoyable for both you and your little ones.
Benefits of Making a Child’s Apron
Encouraging Creativity
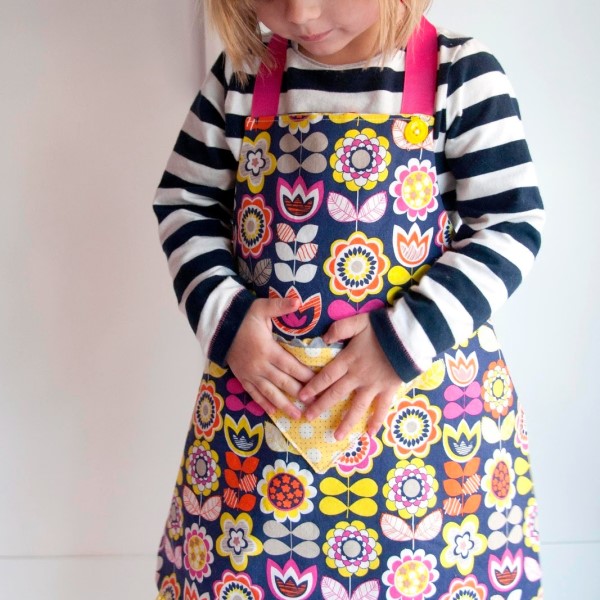
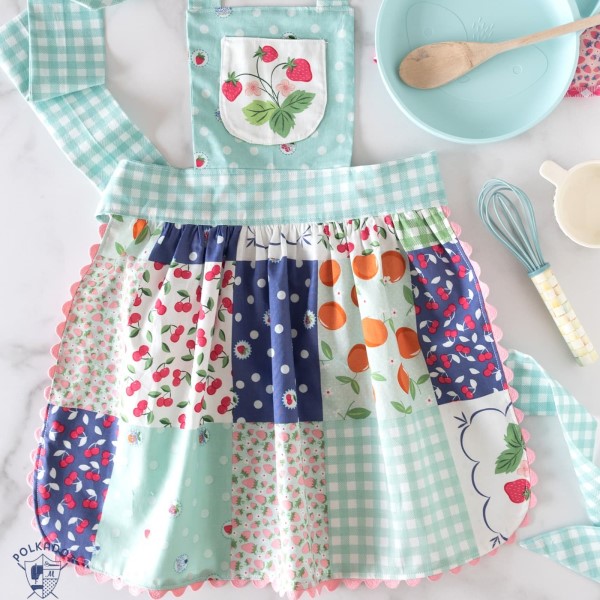
Making an apron together allows children to express their creativity. They can choose the fabric, colors, and any additional embellishments they want to include. This project fosters a sense of ownership and pride in their work. They can choose fabrics with their favorite characters or vibrant patterns that reflect their personality.
- Choice of Patterns: This flexibility helps children learn about design principles as they explore what combinations work well together.
- Personal Touches: Adding personal touches, like initials or decorative pockets, allows for endless customization. Those little details will make their apron stand out.
Learning Basic Sewing Skills
As you guide your child in making their apron, they will learn fundamental sewing skills. This includes how to use a sewing machine, how to cut fabric properly, and basic stitching techniques. It’s a wonderful opportunity to teach them about tools and equipment used in sewing.
- Step-by-Step Instructions: Teaching them how to follow the pattern closely encourages patience and attention to detail.
- Problem-solving Skills: Children often encounter challenges while crafting, and working through these problems will enhance their critical thinking skills.
Practical Use
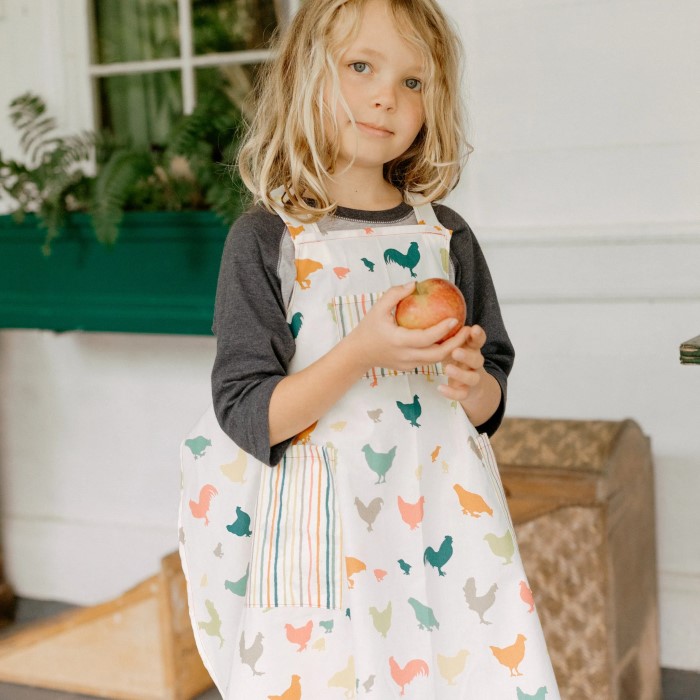
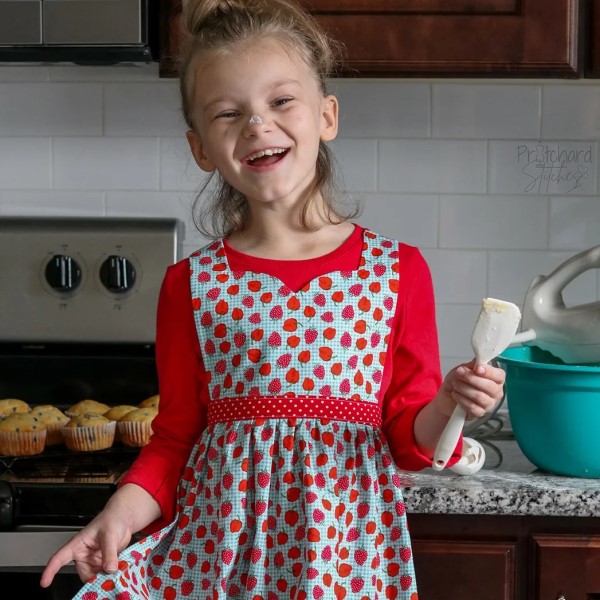
Having a customized apron is practical. Children can wear these aprons during cooking lessons, arts and crafts projects, or gardening activities. This not only keeps their clothes clean but also boosts their confidence as they engage in activities that require a bit more involvement.
- Functional Education: They learn to take care of their belongings and to appreciate the work that goes into creating items that are useful.
- Confidence Boost: Wearing an apron they helped to create will give them a sense of accomplishment and pride.
Materials Needed
Fabric
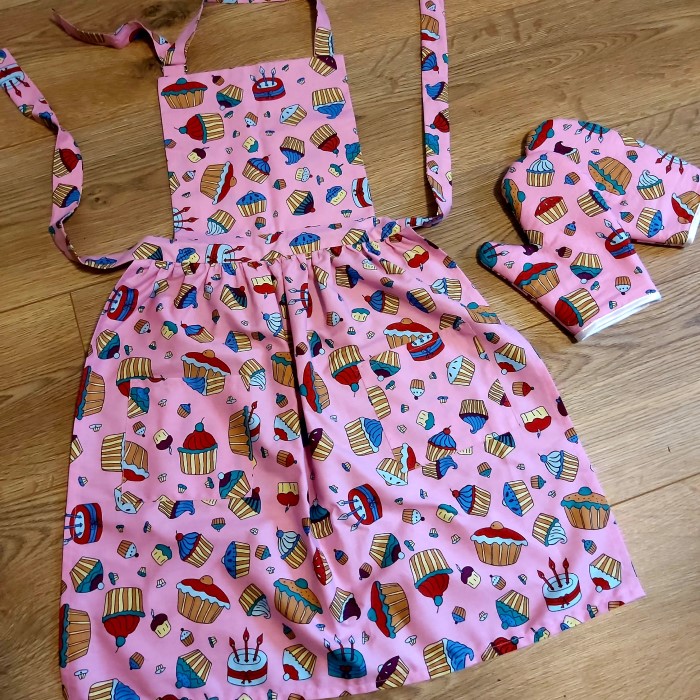
The first step in creating your childs apron pattern is selecting the right fabric. Cotton is often the preferred choice due to its breathability and easy washability. Depending on the design, you can consider the following types:
- Cotton Fabric: Soft, durable, and easy to work with, making it perfect for a child’s apron.
- Canvas: If you want a sturdier option, canvas fabrics can withstand more wear and tear.
- Fleece: This is another fun option that can add a pop of color and warmth.
Other Supplies
In addition to fabric, you will need some basic sewing supplies:
- Sewing Machine: A sewing machine will make the process quicker and easier.
- Thread: Choose thread that matches or contrasts the fabric for visual interest.
- Scissors: Sharp fabric scissors are essential for clean edges.
- Measuring Tape: Accurate measurements are key to a well-fitting apron.
- Pins and Clips: These will help hold your fabric pieces in place as you sew.
- Iron: An iron will help make your fabric smooth, which is essential for precise cutting and sewing.
Make sure to gather all your supplies before starting your project to ensure a smooth crafting experience.
Step-by-Step Instructions
Step 1: Choosing the Design
Begin by selecting the childs apron pattern. Basic apron patterns usually include a rectangular body, straps, and pockets. You can find numerous free patterns online or create your own. For beginners, a simple design is best.
- Decide on Size: Make sure to choose a size appropriate for the child’s age and height.
Step 2: Taking Measurements
Measure the child to determine the size of the childs apron pattern. Standard measurements for a child’s apron are:
- Length: From the shoulder to the desired hem, typically between 20 to 24 inches for a toddler-sized apron.
- Width: Measure across the child’s chest. Generally, this would be around 12 to 16 inches.
Write down these measurements to ensure accuracy when cutting your fabric.
Step 3: Cutting the Fabric
Using the measurements you’ve taken, cut the appropriate pieces from your chosen fabric. Remember to add seam allowances (usually 1/4 to 1/2 inch) on all sides.
- Trace the Pattern: If you’re using a pattern, lay it out on your fabric and use tailor’s chalk to trace the outline.
- Cut Carefully: Use sharp fabric scissors to ensure clean edges.
Step 4: Assembling the Apron
Now that you have all your pieces cut out, it’s time to start assembling. Follow these steps:
- Pin the Pieces Together: Place the front piece and any pockets (if using) together, pinning to hold in place.
- Sew the Edges: Sew around the edges of the pockets, then attach them to the front piece of the apron. Then, sew the apron body together, leaving the sides open for straps.
- Create Straps: Cut out strips of fabric for straps, fold them in half, and sew down the open side. Turn them inside out.
- Attach Straps: Finally, attach the straps to the top of the apron. Make sure they are secure and comfortable for the child.
Step 5: Finishing Touches
After sewing the childs apron pattern together, it’s time for the finishing touches.
- Iron the seams: This helps to flatten any wrinkles and ensures better presentation.
- Add Closing Mechanisms: If you prefer, you can add snaps, Velcro, or buttons for additional closure options.
- Embellishments: Feel free to add decorative elements like fabric paint, appliqué designs, or embroidered initials to personalize the apron.
Make sure to check for any loose threads and trim them for a clean finish.
Maintenance of the Child’s Apron
Washing Instructions
Keeping the childs apron pattern clean is essential, especially with kids involved in messy activities. Here’s how to care for it:
Machine Wash
- Compatibility with Cotton Fabrics: Most cotton fabrics used for projects such as children’s aprons or fabric posters can be safely washed in a machine. This convenience makes cleaning easy and efficient, particularly for items that are frequently exposed to spills or dirt.
- Water Temperature: When machine washing cotton fabrics, always opt for cold water. Using cold water helps preserve the vibrancy of colors, preventing fading over time. Hot water can cause dyes to bleed or fade, especially in darker or more vibrant fabrics.
- Washing Cycle Settings: Select a gentle cycle on your washing machine to minimize agitation. This gentle approach reduces the risk of damaging your fabric, helping to maintain its integrity and appearance after multiple washes.
- Pre-Treating Stains: Before washing, consider pre-treating any stains or heavy soiling. Apply a small amount of detergent or a stain remover directly to the affected area and let it sit for a short period before placing it in the wash. This step increases the chances of effectively removing tough stains without damaging the fabric.
Avoid Bleach
- Caution with Bleach: Unless the fabric is white, it is essential to avoid bleach when washing cotton fabrics. Bleach can cause unwanted color changes, leading to fading or discoloration. This is particularly important for fabric posters, which often showcase vibrant images or designs.
- Choosing Detergents: Instead of using bleach, opt for a color-safe detergent formulated to clean effectively without harming the colors in your fabric. These detergents are designed to help maintain the vibrancy of colored fabrics while still removing dirt and stains effectively.
- Testing for Colorfastness: If you are unsure how a fabric will respond to certain cleaning products, conduct a test. Apply a small amount of the detergent on an inconspicuous area of the fabric to see if any discoloration occurs before proceeding with the full wash.
Air Dry or Low Heat
- Benefits of Air Drying: Air drying is the preferred method for drying cotton fabrics. This method prevents shrinkage and helps maintain the fabric’s overall shape and structure. Additionally, air drying reduces the risk of setting any wrinkles that may occur during washing.
- Using a Clothesline or Drying Rack: When air drying, use a clothesline or a drying rack to hang your fabric. Make sure to position it in a well-ventilated area away from direct sunlight to help prevent fading and damage from UV rays. Avoid laying the fabric flat on surfaces prone to staining or dirt.
- Dryer Settings When Necessary: If you choose to use a clothes dryer instead, set it to low heat. High temperatures can lead to excessive shrinkage and may cause the fabric to lose its shape. Always monitor the drying process and remove the fabric promptly once it is dry to prevent wrinkles from forming.
- Avoiding Over-Drying: Be cautious not to over-dry your fabric in the dryer. Over-drying can leave the fabric feeling stiff and rough. If your fabric feels too rigid after drying, consider running a gentle cycle with a damp cloth to soften it before using it again.
Regular Checks
Check the apron regularly for wear and tear. If you notice fraying or loose seams, mend them promptly to ensure the apron remains safe and functional. This regular maintenance will prolong the life of the apron.
Frequently Asked Questions
How much fabric do I need for a child’s apron?
Typically, you will need about 1 to 1.5 yards of fabric, depending on the size of the apron and design. It’s best to consult patterns for specifics.
How to make an apron for a child?
Begin by selecting a pattern, taking measurements, cutting the fabric, and sewing it together, as outlined in this guide.
What size apron for a 3-year-old?
For a 3-year-old, a child’s apron should generally be around 20-24 inches in length and 12-14 inches in width, but it’s essential to tailor the size based on the child’s proportions.
What age is best for kids’ aprons?
Kids as young as 2-3 years old can start using aprons during activities like cooking or crafts. It helps them learn to keep their clothes clean and fosters a sense of responsibility.
Conclusion: Enjoy Crafting Together
Creating a childs apron pattern offers a fun and educational experience for both you and your child. From selecting fabrics to sewing the final apron, each step allows for creativity and bonding time. Not only will your child gain sewing skills, but the finished product serves as a practical tool, encouraging them to engage in cooking or crafting activities.
Embark on this enjoyable project today, and relish the memories you will create together! With our step-by-step instructions and tips, you can craft a beautiful, personalized apron that is sure to be cherished for years to come. Happy sewing!