Introduction
The holiday season brings joy, celebration, and a beautiful opportunity for creativity. One of the most delightful ways to add sparkle to your festivities is by making stunning DIY Christmas bows. These bows can elevate your holiday decorations, embellish gifts, and create a warm festive atmosphere in your home. In this guide, we will explore various techniques, styles, and materials for crafting beautiful Christmas bows that can impress your friends and family. By the time you finish reading this article, you’ll be equipped with everything you need to create eye-catching bows to enhance your holiday experience.
Materials Needed
Before diving into the creative process, it’s essential to gather all the necessary materials for making DIY Christmas bows. Here’s a list of items you will need:
- Ribbons: Select ribbons in various colors and widths. Traditional colors like red, green, and gold work well, but don’t hesitate to incorporate modern shades like silver or blue for a unique twist. Consider using wired ribbon for added structure.
- Scissors: A pair of sharp scissors is crucial for cutting your ribbons to the desired lengths. Good scissors ensure clean, precise cuts.
- Wire or Pipe Cleaners: These materials can be used to secure your bows and keep their shape. Wire allows for more flexibility in the bow’s structure.
- Hot Glue Gun: For attaching bows to various surfaces, a hot glue gun is excellent for added security. It’s especially useful for securing bows onto wreaths, gifts, and garlands.
- Optional Embellishments: Consider beads, pearls, or flowers to enhance the appearance of your bows. Accessories add a personalized touch to your creations.
By assembling these materials ahead of time, you can streamline the crafting process and focus on creativity.
Techniques for Making Stunning DIY Christmas Bows
Once you have your materials ready, you can start creating beautiful bows. Below are some techniques to help you craft stunning DIY Christmas bows.
Simple Bow Technique
- Cut the Ribbon: Start by cutting a length of ribbon; typically, two to three feet works well. The length can be adjusted based on how large you want your bow to be.
- Create a Loop: Form a loop by bringing the two ends of the ribbon together, leaving some overlap. Pinch the center where the loop is.
- Wrap the Center: Take a smaller piece of ribbon or use a pipe cleaner and wrap it around the pinched center of the bow to secure it in place.
- Fluff It Up: Finally, adjust the loops to create fullness and fluffiness. You can also gently curl the ends of the ribbon with scissors for added flair.
This simple bow technique is quick and effective, perfect for beginners.
Tiffany Bow Technique
- Begin with Ribbon: Use a wired ribbon for firmness. Cut a generous length of around three feet.
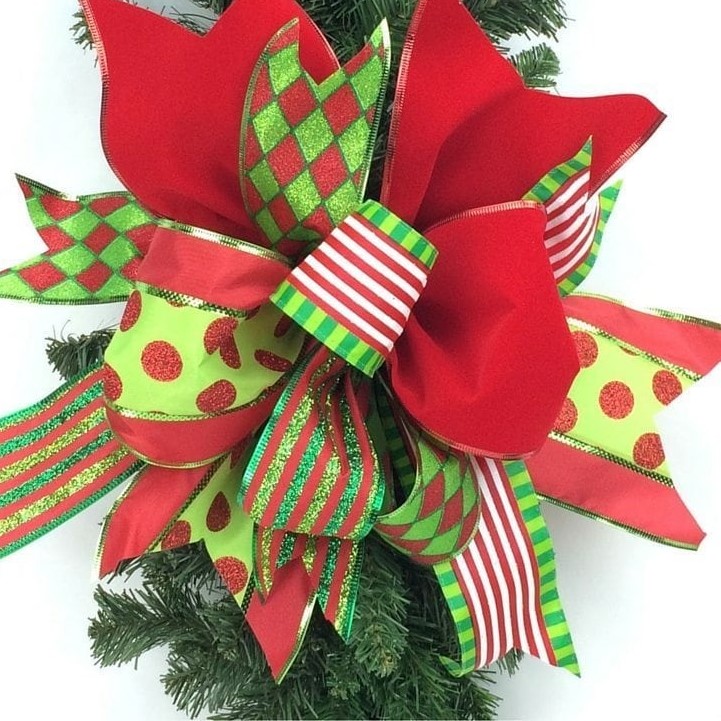
- Make Multiple Loops: Create four loops on each side of the center, ensuring they are of equal size. This is the hallmark of a Tiffany bow, known for its elegant fullness.
- Secure at the Center: Once the loops are formed, pinch the center and secure it tightly with a wire or pipe cleaner.
- Adjust and Fluff: After securing, adjust the loops to create a balanced and full appearance. The wire allows you to bend and shape the bow as desired.
The Tiffany bow is perfect for making larger, show-stopping decorations.
Six Loop Bow Technique
- Select Your Ribbon: Choose a wide ribbon for this bow, cutting a length of about four feet.
- Create Loops: Form three loops on each side of the center, ensuring they are spaced evenly and are of equal size.
- Pinch and Tie: Once your loops are formed, pinch the center and tie a wire around it tightly to secure everything.
- Shape the Bow: Fluff each loop to achieve fullness. The six-loop bow is perfect for adding an extravagant touch to gifts or decorations.
This bow technique provides a grand and luxurious look.
Three Loop Bow Technique
- Prepare the Ribbon: Cut a ribbon to about two feet in length, or adjust based on the desired bow size.
- Form Shorter Loops: Create three loops on each side, ensuring they are smaller compared to other bow techniques.
- Pinch and Secure: Once you have the loops, pinch them together at the center, and secure it with a wire.
- Fluff for Volume: Adjust the loops slightly to create volume. This bow is great for smaller gifts or subtle accents.
The three-loop bow is simple yet adds a sweet elegance to your decor.
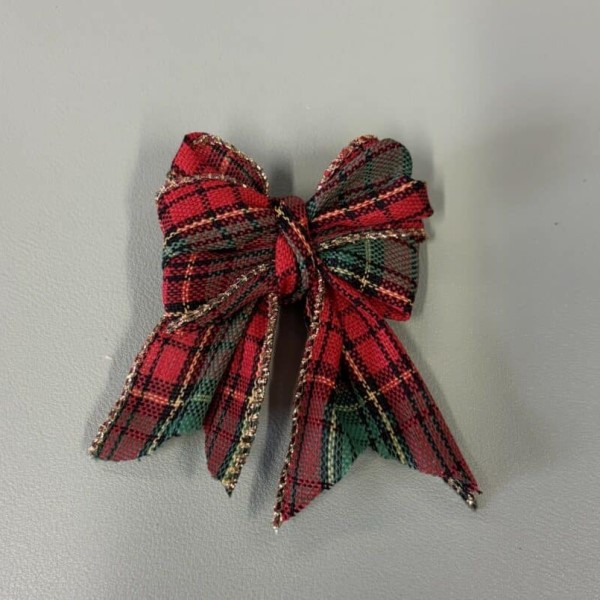
Using Color Gradients and Patterns
Adding color gradients or patterns to your ribbons can elevate the visual appeal of your DIY Christmas bows. Here’s how to incorporate these elements effectively:
- Color Gradient Transition: Select ribbons that gradually shift in color for an ombre effect. For instance, you could start with deep red and move to a lighter shade, creating a stunning visual transition.
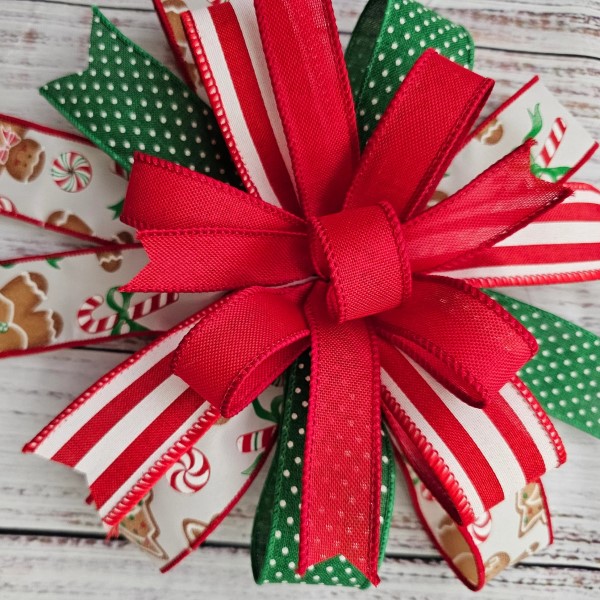
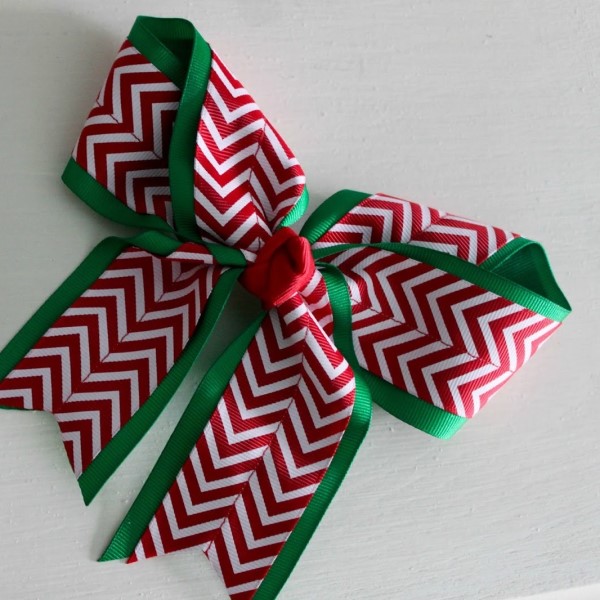
- Mixing Patterns: Combine different ribbon patterns, such as stripes with polka dots. This playful mix can add depth to your bows, creating a memorable and eye-catching accessory.
- Layering Different Ribbons: Use multiple ribbons with varying widths and colors in your bows. When layered thoughtfully, they can produce a rich, textured look that captures attention.
Experimenting with color and patterns allows you to personalize your bows and make them truly unique.
Finishing Touches and Presentation
Once you have crafted your DIY Christmas bows, focus on the finishing touches to ensure they shine in your holiday decor:
Cooling and Setting
- Importance of Cooling: Once you have glued or heat-attached elements to your bows, it’s essential to allow them to cool properly. This cooling period is crucial for ensuring that all components bond securely. When the glue or melted areas cool, they solidify and create a secure hold that maintains the integrity of your bow’s structure.
- Ensuring Shape Retention: Allowing your bows to cool completely helps them retain their intended shape. After moving or adjusting the bows, a lack of proper cooling can lead to deformation. Ensuring they are set_correctly gives you peace of mind, knowing they will look perfect when displayed or given as gifts.
- Proper Surface for Cooling: When setting your bows to cool, place them on a flat, clean surface. Avoid touching or moving them until they have fully cooled to maintain their form. This practice prevents accidental bending or misalignment.
Trimming Excess Ribbon
- Creating a Polished Look: After fluffing and adjusting your bows, it’s essential to trim any uneven ribbon ends. This step enhances the overall polished and tidy appearance of your finished product. Lengths that are consistent contribute to a professional look and elevate the decorative quality of your bows.
- Regular Maintenance: Regularly trimming the ribbon ends can significantly enhance the neatness of your bows. Whenever you notice uneven lengths or frayed edges, take a moment to trim them. This habit will ensure your bows always look well-made and thoughtfully crafted.
- Diverse Cutting Styles: Consider experimenting with various trimming styles. For example, cutting the ends at an angle for a more dynamic look or creating a “V” shape can add a stylish touch that enhances the bow’s visual appeal. Different shapes offer a chance to personalize your bows and make them unique.
Add Embellishments
- Enhancing Holiday Spirit: Adding embellishments to your bows can significantly enhance their festive spirit. Consider attaching decorations, such as small ornaments, faux flowers, or sparkling ribbons, to create a more intricate and inviting appearance.
- Creative Options: Get creative with your embellishments. Use seasonal elements like pinecones, berries, or small Christmas decorations. These additions can add depth and dimension to your bows, making them standout features in your holiday decor.
- Balance and Harmony: When choosing embellishments, ensure that they balance well with the overall design of the bow. Avoid making the bow too heavy with decorations, as this can detract from its aesthetic appeal. Aim for a harmonious mix that complements the ribbon and enhances the visual impact.
Think About Display
- Placement Considerations: When thinking about where to display your bows, carefully consider their placement. Whether they will be used for wrapping gifts, adorning a Christmas tree, or decorating your home, the location can impact their visual effectiveness.
- Transformative Power of Placement: A well-placed bow can instantly transform the overall look and feel of your space. For instance, placing a large, beautifully crafted bow on a gift can elevate the presentation and express thoughtfulness. Similarly, positioning bows on wreaths or as part of garlands can add a festive touch throughout your home.
- Experimenting with Angles: When hanging bows, experiment with different angles and heights. Displaying bows at various heights can create visual interest and add depth to the overall decor. Whether on gifts, trees, or mantels, strategic placement enhances the holiday ambiance.
FAQs
- How to make simple bows out of ribbon?
To create simple bows, cut a length of ribbon and form a loop, securing the center with a tie. Fluff the loops and trim the ends for a polished look. - How to do a Tiffany bow?
To make a Tiffany bow, create multiple loops on each side, secure the center tightly, and adjust for fullness. This adds elegance to your decorations. - How to make a 6 loop bow for Christmas?
Form three loops on each side of the center with wide ribbon, secure tightly, and fluff the loops for a grand appearance perfect for holiday displays. - How to make a 3 loop ribbon bow?
For a three-loop ribbon bow, form three loops on each side, secure at the center, and fluff. This technique is ideal for smaller gifts or subtle accents.

Conclusion
In conclusion, DIY Christmas bows offer a wonderful way to enhance your festive decorations and make your holiday season extra special in 2026. With a variety of techniques, colors, and patterns to explore, you can create stunning bows that elevate your gift-giving and decorating experiences.
By practicing the techniques outlined in this guide, from making simple bows to intricate designs, you will find joy in crafting unique decorations. Join the fun this holiday season and let your creativity take flight as you transform ordinary ribbons into extraordinary pieces of art. Happy crafting!